Starting a ball of yarn involves knowing the right techniques to prevent tangles and ensure smooth crocheting or knitting.
Starting a ball of yarn might seem like a simple task, but there’s a right way to do it to prevent tangles and knots down the line. In this article, you’ll learn the most effective method to start a ball of yarn, ensuring a smooth and hassle-free crocheting or knitting experience.
We’ll guide you through the process step-by-step, from choosing the right type of yarn, finding the end, to creating the perfect tension. Whether you’re a beginner or a seasoned crafter, this comprehensive guide will be your go-to resource for starting a ball of yarn.
Key takeaways:
- Choose the right yarn type and find the end
- Gather necessary materials, find a suitable space, and allocate enough time
- Start by unwrapping a small length of yarn and wrap it around your fingers
- Wrap the yarn evenly and with a comfortable tension
- Maintain consistency in wrapping and ensure the yarn ball is compact and tidy
Prepping Your Yarn for Balling
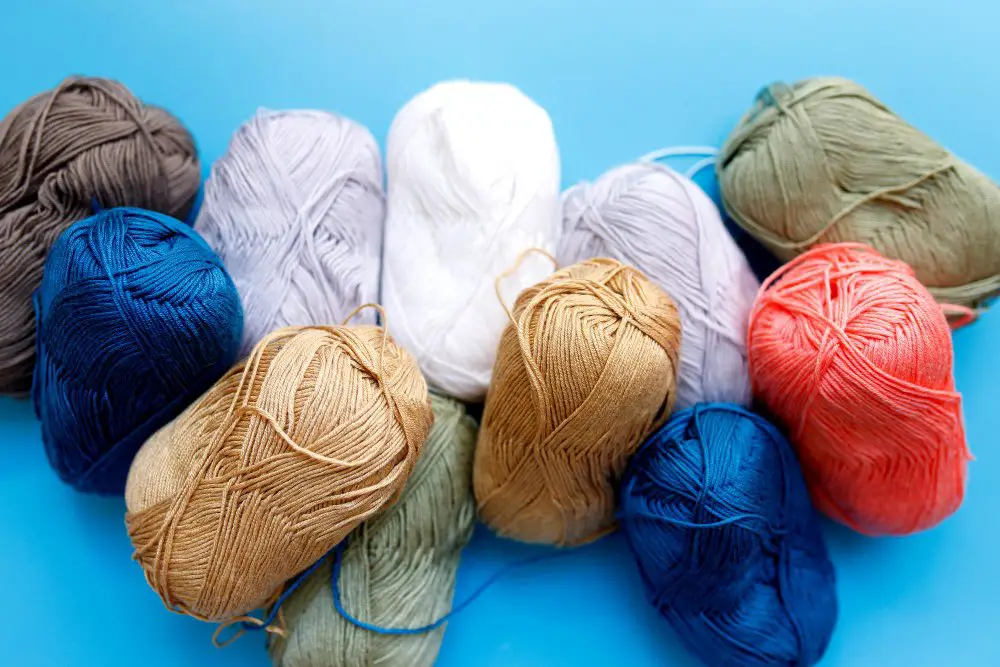
First, select the type of yarn you wish to ball. Ensure it’s free from tangles or knots for a smoother process. If working with a new skein, find the end that’s tucked inside. This is typically easier to work with than the outside end.
Next, gather your necessary materials. A clean, flat surface where you can spread the yarn out is ideal. Necessary tools might include a yarn winder or a swift, although these are not mandatory. You can also create a ball of yarn using just your hands.
Finally, ensure you have adequate time to dedicate to this process. You don’t want to be interrupted midway, as this can lead to tangles and knots in your yarn. A relaxed and patient attitude is beneficial when balling yarn. Rushing through the process can lead to errors and frustrations.
Beginning the Process of Yarn Balling
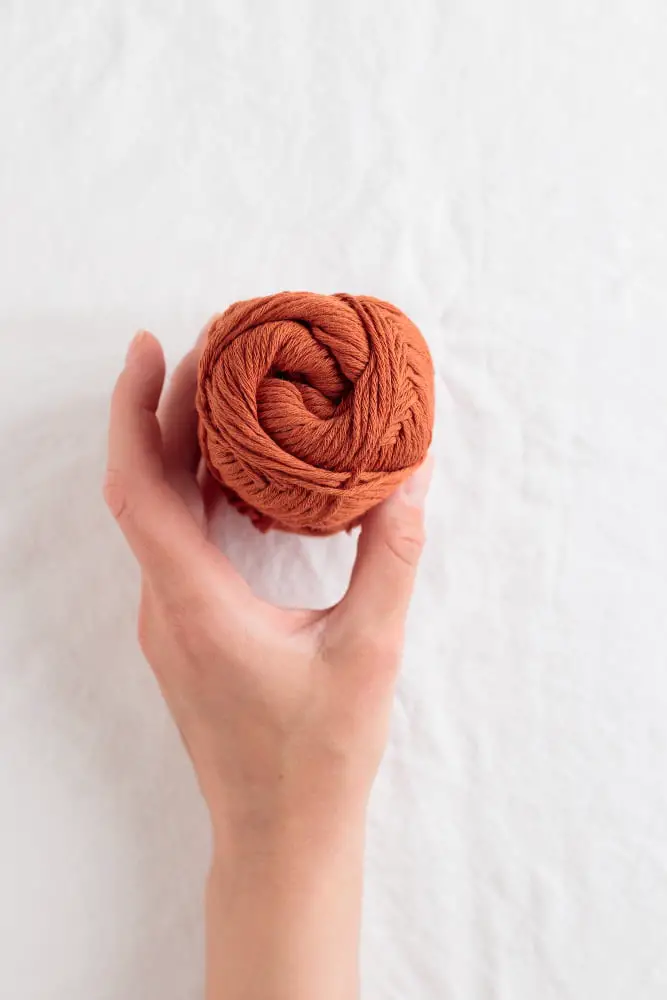
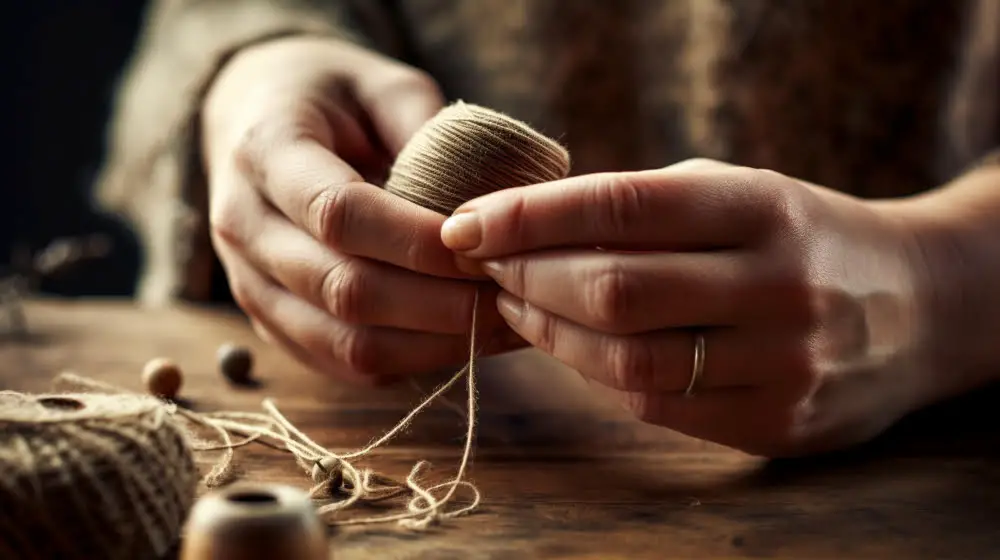
Start by selecting your chosen yarn. Unwrap a small length from the package or skein. Depending on the yarn manufacturer, the beginning of the yarn may either be tucked inside the skein or wound around the outside. Gently pull the loose end to avoid tangling.
To create the initial structure of the yarn ball, loosely wrap the yarn around your fingers several times. Remove the wrapped yarn from your hand and fold it in half, enveloping the initial wraps and securing them by tightly re-wrapping around the middle. Rotate the yarn after every few wraps to maintain evenness.
Continue wrapping, taking care to rotate consistently, ensuring a smooth and even surface. This will create a firm center to your yarn ball, providing a solid base for continued wrapping. Use a comfortable tension while wrapping to avoid over-tightening, which can lead to difficulties in working with the yarn later.
In essence, the initial process of balling yarn revolves around gently pulling the yarn from its source, creating a central core by wrapping and folding, then continuously layering the yarn evenly around this core. This structured approach ensures a tidy, easy-to-use ball of yarn ready for your next knitting or crocheting project.
Techniques for Proper Yarn Wrapping
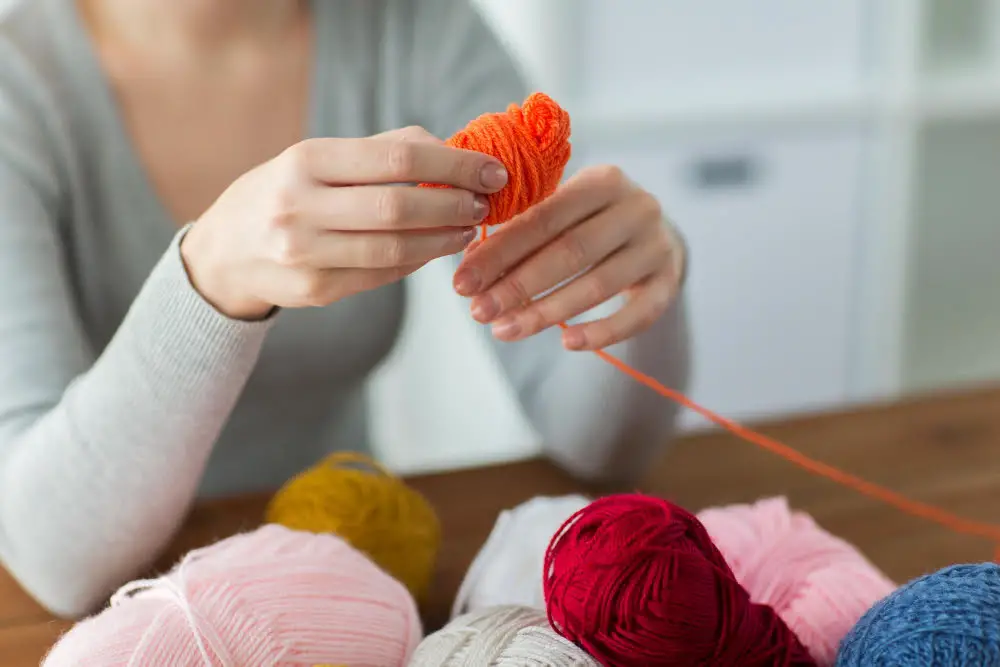
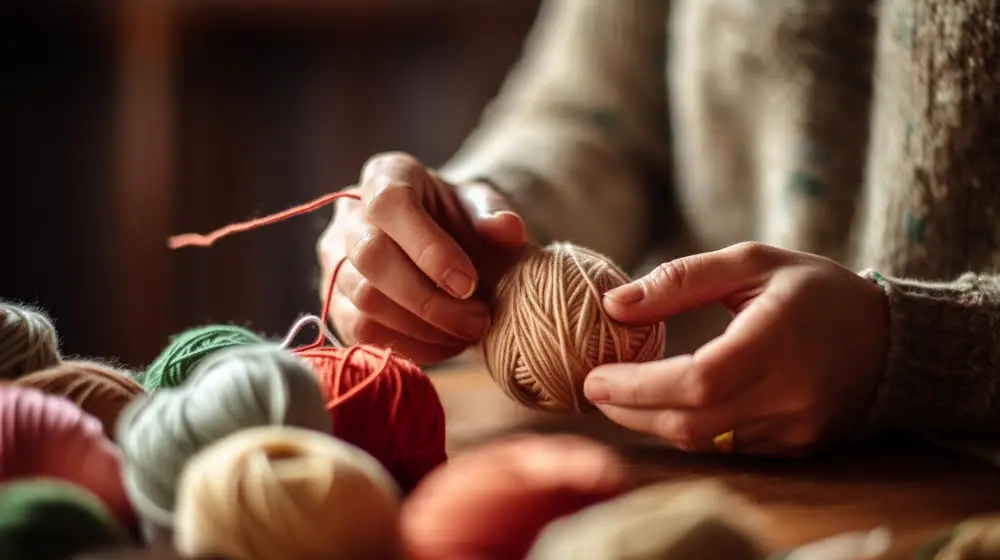
To begin, loosely wrap the yarn around your fingers several times before slowly slipping the loops off. Maintain the coil’s shape and start wrapping the yarn around the center of the coil in different directions. This will eventually change the coil into a compact ball shape.
Always hold the yarn under slight tension, but take care not to pull too hard to avoid stretching and damaging the yarn. The key here is to keep a light but steady grip.
Change the wrapping direction occasionally. This ensures an even distribution of yarn and helps you avoid creating protrusions in your yarn ball.
Periodically turn the ball as you wrap. You want to maintain an even, rounded shape that won’t easily topple over or unwind.
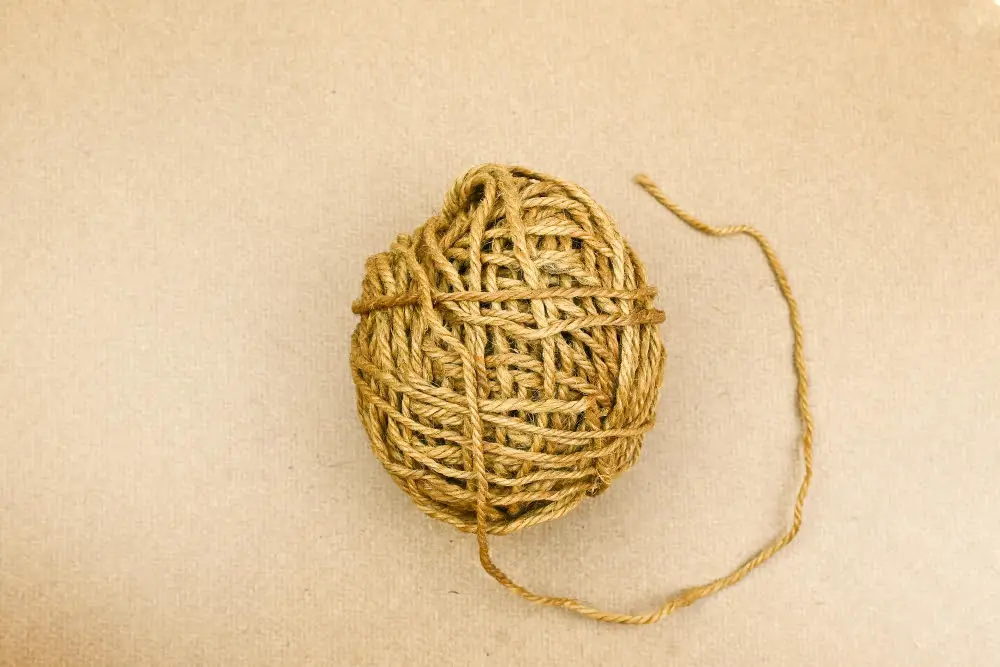
Remember, the structure of the yarn ball is vital. A well-wrapped ball of yarn should unwind smoothly and stay intact until the last strand is unspooled.
Maintaining Consistency in Yarn Wrapping
Building a stable yarn ball relies heavily on maintaining a consistent wrapping process throughout. The key to keeping this uniformity involves several factors:
Proportional force should be applied to the yarn through the entire process – neither too loose nor overly taut.
The position of the yarn during wrapping is paramount. Aim to wrap the yarn on different axes to prevent uneven layering.
For a spherical yarn ball, change the wrapping direction periodically. This distributes the yarn evenly around the ball.
Choose an environment free of distractions to ensure consistency. Interruptions may lead to irregular wrapping and a lopsided yarn ball.
Regularly pause and examine the yarn ball from different angles during wrapping. This allows you to detect any inconsistencies early, making them easier to rectify.
Practicing the aforementioned tips will help create a uniform yarn ball, enhancing your overall yarn craft experience.
Ensuring the Yarn Ball Is Compact and Tidy
Avoid leaving loose loops or segments by continually turning and evenly distributing the yarn around the ball. This practice ensures a tight, compact structure.
Handle the yarn gently to avoid stretching, which can cause uneven tension in the resulting ball.
Consider using a yarn ball winder for convenience and a neater result – this tool winds yarn into a cake-like shape that pulls easily from the center.
Should a knot or break in the yarn occur, avoid winding over it, as it can create bumps in the finished ball. Instead, cut the yarn at the knot or break, wind it separately, and tie the two ends together when done winding.
To avoid tangling, unravel a few meters of yarn before starting to wind. This practice lessens the likelihood of the whole skein getting tangled.
Remember to secure the end of the yarn to the interior of the ball when starting and finishing the winding process; this practice will keep the ball tidy and easy to use later.
Lastly, remember that compactness and tidiness count toward ease of future use. A well-wound ball of yarn will not only be more user-friendly but will also save space in your yarn storage.
Avoiding Common Mistakes in Yarn Balling
To forge ahead, it’s crucial to bypass pitfalls that could hamper your yarn balling experience.
One prevailing error includes wrapping the yarn too loosely, leading to tangles. To prevent this, maintain a controlled tension throughout the process.
Another common mishap is winding too tightly, which could potentially stretch the yarn and alter its texture or size. To counteract this, aim for a balanced tension that’s neither too loose nor too tight.
It’s critical to not pull from the outside of a ball of yarn already in use, as it can result in an unsteady ball that rolls around. Instead, pull yarn from the center to keep your yarn ball sturdy and eliminate unnecessary movement.
Last but not least, remember to take breaks. Yarn balling is a delicate process that requires patience. Attempting to rush this process may result in uneven balls and hand fatigue. Pacing yourself ensures that you craft neat, tidy balls of yarn without strain.
Additional Tips to Make Your Yarn Ball Perfect
To ensure your yarn ball is nothing short of perfect, consider these important tips:
For beginners, slow and steady wins the race. Focus on learning the technique before speeding up the process.
Prevent tangles by keeping the loose end accessible throughout.
Consider using a yarn bowl to prevent the yarn from rolling away.
Avoid wrapping the yarn too tightly. Overly tight wrapping can stretch and ultimately weaken the yarn, affecting the final crafted product.
Use a yarn winder if dexterity or time are issues. These tools can greatly speed up the balling process and ensure a consistent outcome.
Remember, practice makes perfect. Consistent practice will transform these steps into second nature, perfecting the art of yarn balling.
FAQ
How do you find the inner end of a ball of yarn?
To find the inner end of a ball of yarn, insert your thumb and index finger into each side of the ball’s end opposite the outside end, compress the ball until your fingers meet, feel for the center, and extract it along with the end.
What are the steps to successfully start a ball of yarn without causing knots or tangles?
To start a ball of yarn successfully without causing knots or tangles, find the end of the yarn from inside the skein, hold it steady, and gently pull the yarn from the outside while rolling it into a ball, ensuring the tension remains consistent throughout.
Which techniques are most effective for maintaining yarn tension while starting a ball of yarn?
Holding the yarn with a consistent grip and using a yarn bowl or holder can effectively maintain yarn tension when starting a ball of yarn.
How can you use a yarn swift and winder to start a ball of yarn efficiently?
A yarn swift and winder can be used to start a ball of yarn efficiently by setting up the swift in the open configuration, securing the end of the yarn to the winder and then turning the winder to create a neatly wound ball.


