Learn how to crochet a basket with this easy-to-follow guide, covering everything from materials needed to the final stitch.
Ready to dive into the world of stylish storage? Crocheting a basket is not only fun, but also a brilliant way to tame the chaos at home. Keep reading for all you need—strong yarn secrets, hook size wizardry, and those little extras that make all the difference. Get ready to hook up a masterpiece!
Key takeaways:
- Opt for sturdy yarn like cotton or jute for a strong basket structure.
- Use a larger crochet hook for better stability.
- Remember to use stitch markers to keep track of your work.
- Choose a yarn weight of category 5 or 6 for stiffness and durability.
- Add final touches like borders, handles, appliqués, and lining for a polished look.
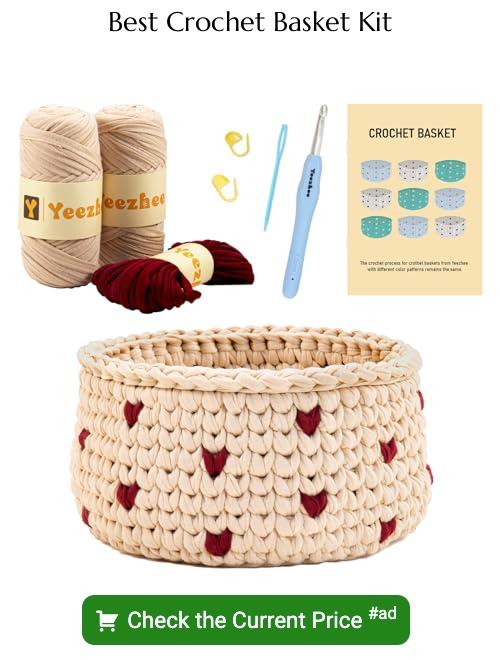
Materials Needed
Gather your essentials before diving into the crochet world of basketwork. Start with yarn, preferably a sturdy and bulky one. Think cotton or jute, the superheroes of basket-building, ensuring your creation stands tall and proud.
Don’t forget your crochet hook. Size matters here, folks. Opt for something hefty, like a 6.0mm to a 9.0mm hook. You want that basket to hold up better than your New Year’s resolutions.
Next up, a yarn needle. This little tool helps weave in loose ends, avoiding that classic “fringe” look unless, of course, fringe is your thing.
Stitch markers? Absolutely vital. Keep track of those rounds unless you enjoy frogging (that’s crochet lingo for unraveling) more than necessary.
Lastly, grab some scissors sharp enough to tackle yarn but not too sharp that they’re auditioning for a slasher film. Safety first, crafters!
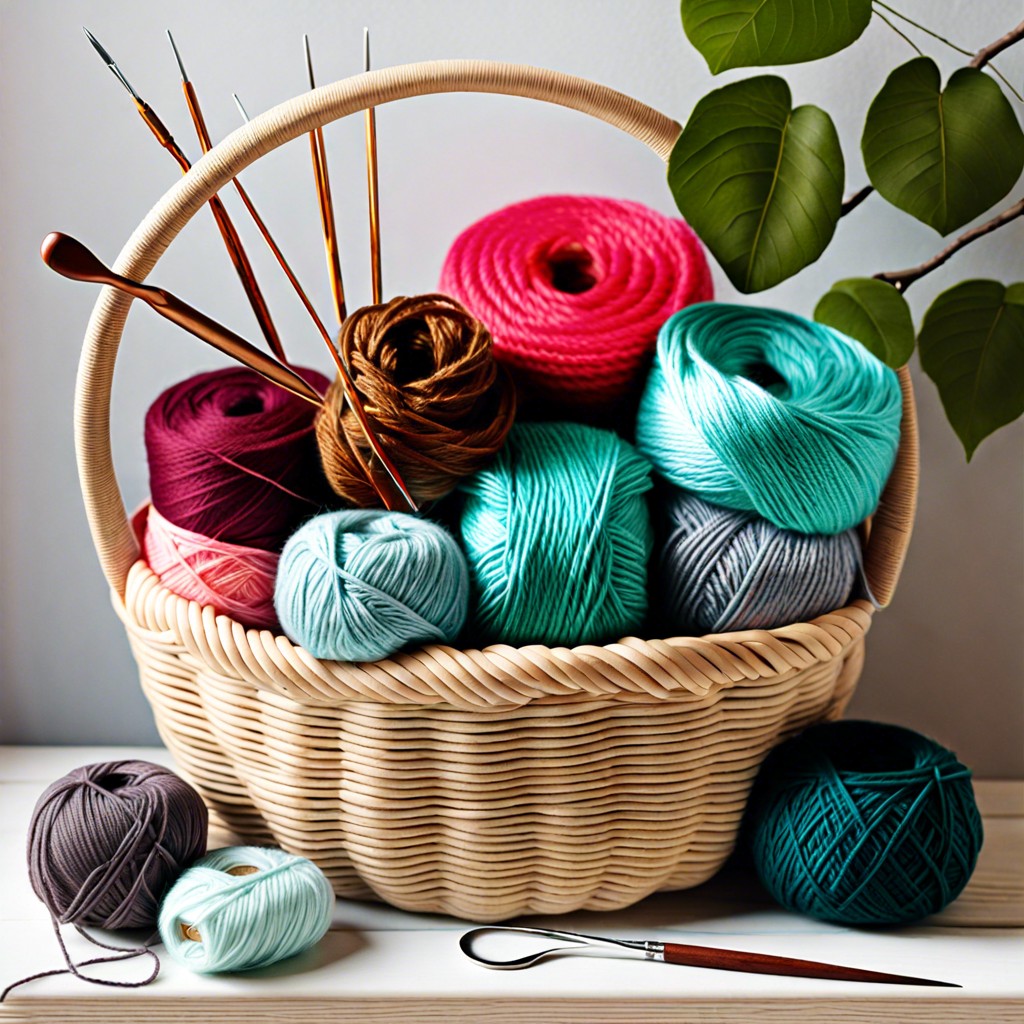
Choosing the Right Yarn
Opt for a sturdy, thick yarn to give your basket the structure it needs to stand upright. Cotton or a bulky weight yarn works wonders here.
Acrylic yarn is also an option, but make sure it’s a heavier weight to avoid a floppy basket.
Stay away from delicate or stretchy yarns; they’ll leave you with a lopsided mess, perfect for abstract art, but not much else.
Color choice is all yours, but remember: darker colors hide dirt and stains better than lighter ones.
For a truly rustic look, consider jute or pima cotton yarns. They give your basket an earthy, charming appeal.
Yarn weight matters. Aim for a category 5 (bulky) or 6 (super bulky) for optimal stiffness and durability. Your basket should be able to hold its own, literally.
Tools Required
Before diving into the craft, you’ll need the right tools to make your basket journey smooth and enjoyable.
First up, a good crochet hook. Most baskets use a larger hook to give them a sturdy structure. A 5.5mm or larger should do the trick, but it can depend on your yarn choice.
A tapestry needle is a must-have for weaving in ends and joining parts. Think of it as your magical tool for clean finishes.
Stitch markers are your little lifesavers. They keep track of rounds and important points, especially handy if you’re easily distracted by a Netflix binge.
Lastly, don’t forget a pair of sharp scissors. Cutting your yarn with dull scissors is like using a butter knife on a steak. Not fun.
Basic Crochet Stitches and Techniques
Start by mastering the single crochet (sc). This stitch is the reliable sidekick of your hook that you’ll rely on heavily. Insert the hook into the stitch, yarn over, pull through, yarn over again, and pull through both loops. Boom, you’re officially crocheting.
Get cozy with the slip stitch (sl st). The slip stitch is like a ninja, stealthily connecting your yarn without adding height. Slip it through like you’re hiding in plain sight.
Don’t forget to add increases (inc) and decreases (dec) to your repertoire. Increasing is adding extra stitches by working two single crochets into one stitch. Decreasing involves turning two stitches into one by crocheting them together. Think of it as yarn magic, abracadabra!
Mastering these basics will set the foundation. These stitches will be your bread and butter, or should we say yarn and hook?
Starting the Basket Bottom
Grab your yarn and hook, and let’s dive right into creating the base for your crochet basket. Start by making a magic ring (sounds like something out of a fantasy novel, but it’s real). Take the short end of the yarn and wrap it around your fingers to form a loop, then pull the working yarn through the loop with your hook. Voila, magic!
- Here’s the lowdown:
- Chain a few stitches (usually 2-4, depending on your pattern).
- Crochet into the center of the ring (usually single crochets or double crochets).
- Join the round with a slip stitch in the first stitch you made. Fancy, isn’t it?
Next, begin increasing each round. This just means you’ll add more stitches as you go to keep your work flat. Think of it as making a pizza base – you don’t want it to curl up into a bowl just yet!
- Remember:
- Follow a pattern like this: Increase in every stitch, then every second stitch, then every third stitch, and so on.
- Keep your tension even; floppy bases ain’t nobody’s friend.
Now you’re cooking with yarn! Once the base is the desired size, it’s time to move on to forming the sides.
Forming the Basket Sides
Now that you’ve wrangled the base into submission, it’s time to give your basket some height. Let’s make those sides pop.
First, mark your stitch count like a pro – you don’t want a wobbly basket. Use stitch markers or leftover bits of yarn if you’re feeling resourceful.
Next, work in continuous rounds. This means you’ll crochet in a spiral without joining at the end of each round. Sure, your first few sides might look like they’ve had too much coffee, but trust the process.
Keep your tension consistent. Channel your inner zen and avoid tight or loose hooks. Think Goldilocks – not too tight, not too loose, just right.
Increase stitches as needed to make the sides grow. Remember, no one wants a pancake basket. But don’t worry, you’ll have plenty of practice dodging those increases once you get the hang of it.
Finally, give your creation a little squish now and then. This helps keep the shape and gives you an excuse to admire how fabulous your project is becoming. Voila! You’re making basket art.
Finishing Touches and Decoration
Adding those final flourishes can elevate your basket from functional to fabulous. Here’s how to make it pop:
First, consider adding a border. A simple single crochet or a fancy picot edge can give your basket a polished look. Just remember, your basket is like a blank canvas—get creative!
Handles are super handy (pun intended). They can be crocheted directly onto the basket or attached separately. For extra flair, consider braiding the handles with some colorful yarn.
Ever heard of appliqués? Crocheted flowers, leaves, or even cute little animals can be sewn onto the sides for extra charm. Trust me, nothing says “I made this” like a crocheted cat gracing the side of your basket.
Feel like a rebel? Throw in some tassels or pom-poms. They’re easy to make and add a playful touch. Plus, you’ll have an excuse to play with more yarn, as if you needed one.
Finally, consider lining the inside. Fabric lining not only gives a professional finish but also prevents stretching. Just a quick sew job, and you’re ready to impress everyone with your multi-skilled crafting prowess.
Go wild—your basket is your playground!
Related Posts
 Easy Crochet Gnome Pattern Free: Transform Yarn into Whimsical Friends
 Crochet Star Blanket: A Stellar DIY Guide
 How to Crochet Slippers for Beginners Step by Step with Pictures: Cozy Feet Awaits
 Adjustable Ring Crochet: Master the Magic Circle
 How to Crochet Without a Hook: Hands-On Creativity