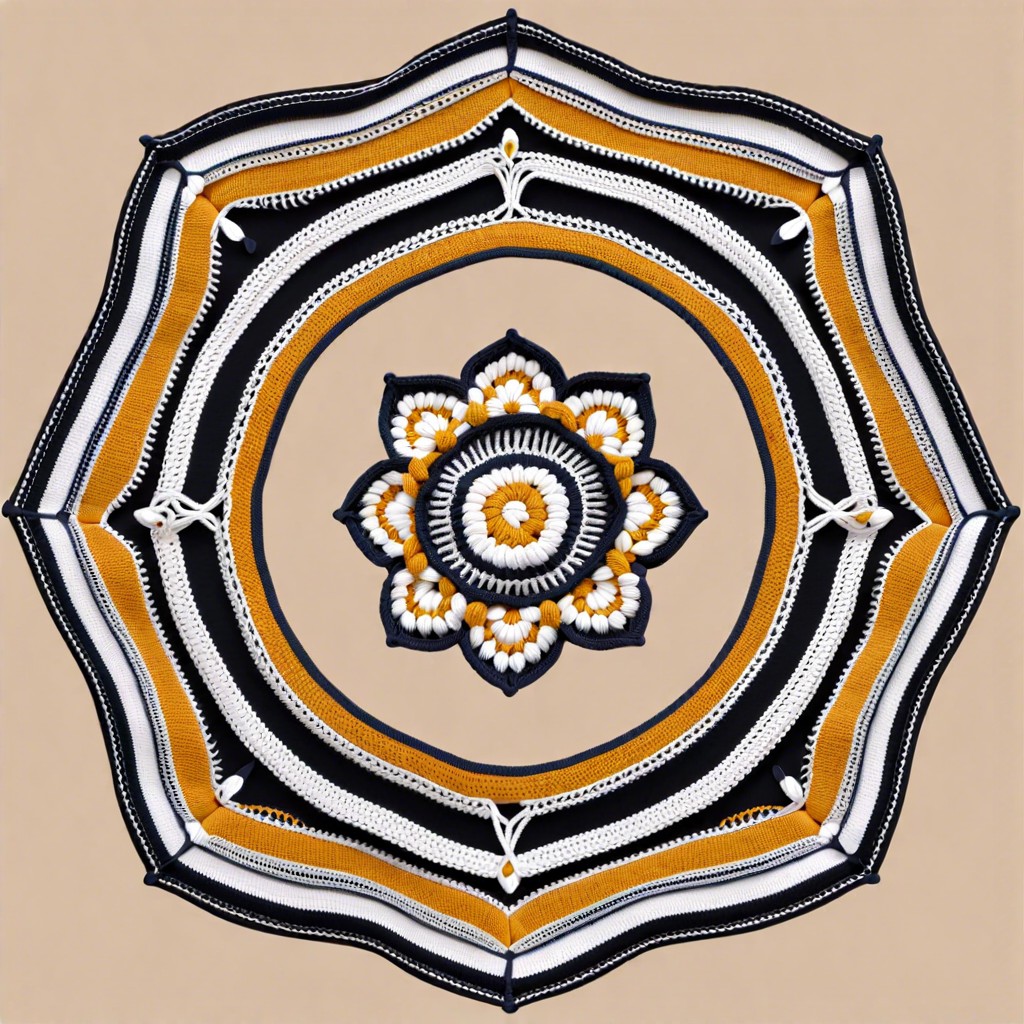
Learn how to crochet a border on a blanket to give your cozy creation a polished, finished look.
Key takeaways:
- Gather essential tools and materials before starting the border.
- Master basic stitch techniques like single crochet and slip stitch.
- Follow a step-by-step tutorial for crocheting a single crochet border.
- Count stitches and use stitch markers for even spacing.
- Prevent curling or warping by using a larger hook size and blocking.
Essential Tools and Materials Needed

To start crocheting a beautiful border on your blanket, gather essential tools like a crochet hook that complements your yarn weight, scissors for cutting the yarn, and a tapestry needle for weaving in ends. Choose yarn that matches your blanket or go bold with a contrasting color for a pop! Having these basics on hand will make the border crocheting process smooth and enjoyable.
Basic Stitch Techniques for Borders
When crocheting a border on a blanket, it’s essential to have a strong grasp of basic stitch techniques. Understanding fundamental stitches like single crochet, double crochet, and slip stitch will help you create a beautiful and structured border with ease. Familiarize yourself with these stitches before diving into your border project to ensure a smooth crocheting experience. Remember, practice makes perfect, so don’t hesitate to practice these basic stitches before starting your border.
Single Crochet Border Tutorial
To crochet a single crochet border on your blanket, start by creating a slipknot and attaching your yarn to the edge of your blanket. Then, work your first single crochet stitch into the first stitch or space. Continue to single crochet evenly along the sides of the blanket, working extra stitches if needed to navigate corners smoothly. To finish, slip stitch into the first single crochet you made and fasten off. Remember to weave in any loose ends for a polished look. And there you have it – a beautiful single crochet border to complete your blanket!
Tips for Ensuring Even Border Spacing
To ensure your border has even spacing, it’s essential to count your stitches for each side diligently. Consistency is key in achieving a polished look. Using stitch markers can be a lifesaver in keeping track of stitch counts. Additionally, blocking your blanket before adding the border can help in making sure your stitches are more uniform. Don’t rush the process – take your time to maintain consistent tension throughout. A little extra effort in this area will go a long way in enhancing the overall appearance of your crocheted blanket border.
Preventing the Border From Curling or Warping
To prevent your crocheted border from curling or warping, try using a larger crochet hook size than what you used for the main blanket. Adding more stitches to your border can also help prevent curling by creating a sturdier edge. Additionally, blocking your finished blanket can help relax the stitches and ensure that the border lays flat. Lastly, be mindful of your tension while crocheting the border to maintain an even edge and prevent any distortion.
