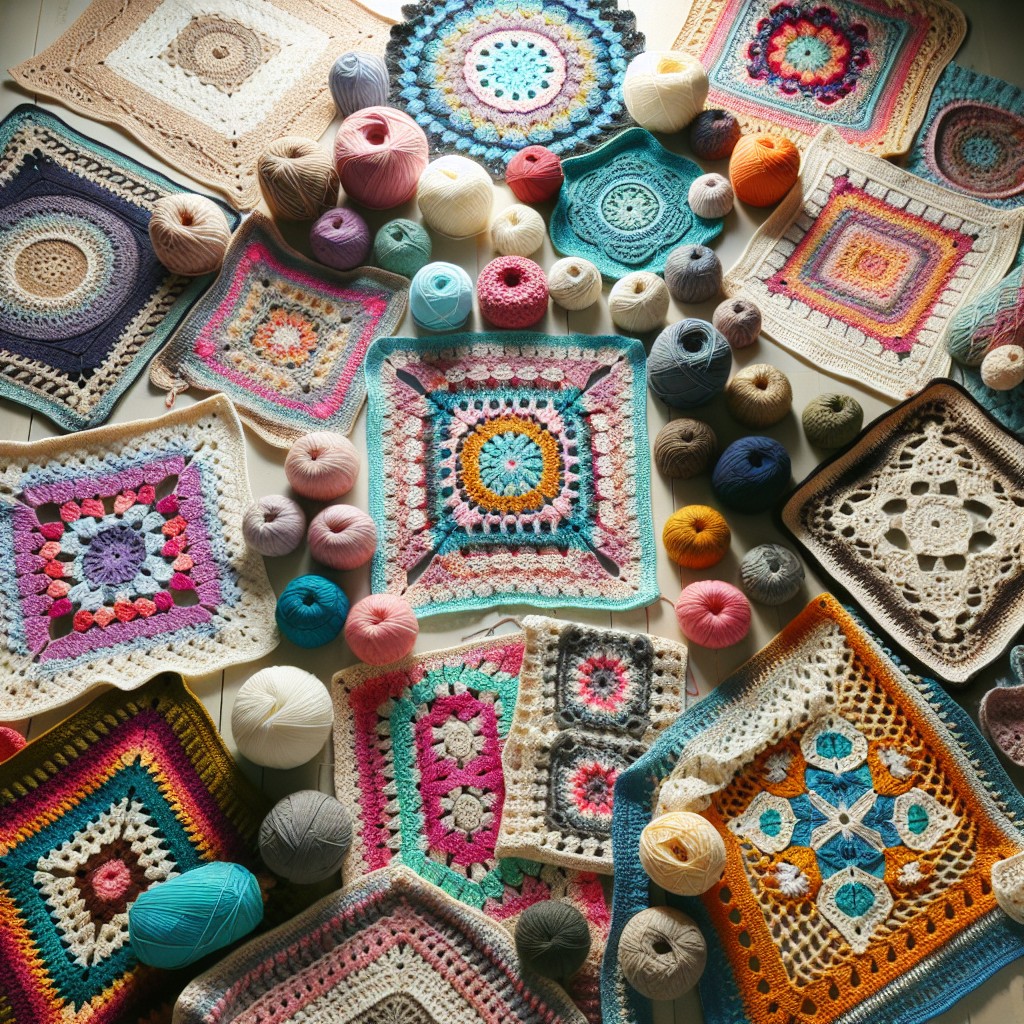
Learn the basics of crocheting a blanket step by step, starting with selecting the right yarn and hook, moving onto creating a foundation chain, and finishing with tips for weaving in ends.
Key takeaways:
- Choose a crochet blanket pattern based on skill level, intended use, size, and time investment.
- Select the right yarn and crochet hook size for texture and density.
- Master basic crochet stitches like single, double, half double, and treble crochet.
- Seamlessly join new yarn or change colors for a neat finish.
- Finish with weaving in ends and blocking the blanket for a polished look.
Choosing a Crochet Blanket Pattern

Assessing your skill level is essential when selecting a pattern. Beginners might consider simple designs with basic stitches, such as single or double crochet, while more experienced crafters could opt for intricate patterns featuring complex stitch combinations.
Consider the intended use of the blanket. For daily use, a durable stitch like the half double crochet is ideal, whereas a decorative piece may warrant a more delicate approach, such as the lacy shell stitch.
The size of the blanket affects the choice of pattern as well. A baby blanket might feature more playful motifs, while a full-sized blanket offers a canvas for larger, repetitive patterns or colorwork.
Take into account the amount of time you are willing to invest. Large projects with finer yarn may take longer, so if you’re looking for a quicker result, opt for chunkier yarn and larger hooks coupled with simple, repetitive patterns.
Lastly, patterns with clear instructions and support, such as tutorial videos or step-by-step guides, can be incredibly helpful, particularly for those undertaking their first blanket project or trying out a new technique.
Selecting the Right Yarn and Crochet Hook Size
When embarking on a blanket project, the type of yarn you choose will greatly influence the texture, warmth, and drape. For a cozy, warm blanket, wool or acrylic yarns are excellent choices, with acrylic being hypoallergenic and more affordable. For cooler climates or lighter throws, cotton or bamboo yarns provide breathability and softness.
The yarn weight, ranging from lace to super bulky, determines the density of the stitches. A thicker yarn will create a heavier, warmer blanket more quickly but will require a larger hook. Conversely, finer yarns are perfect for detailed patterns and delicate textures but take longer to work up.
The crochet hook size pairs with the yarn weight. A thicker yarn requires a larger hook to create loose stitches that maintain the fabric’s drape. Each yarn label suggests an ideal hook size; however, you should also consider your personal tension. If you crochet tightly, size up to maintain the blanket’s flexibility.
For a harmonious outcome, it is crucial to use a hook that feels comfortable in your hand and complements your chosen yarn. Always create a gauge swatch to ensure that the fabric created suits the intended purpose of the blanket. A swatch allows adjustment in hook size before embarking on the full project, saving time and resources.
Executing Basic Crochet Stitches for Blankets
To create a blanket, mastering a few fundamental stitches is essential. The single crochet (sc) is perhaps the easiest and creates a tight, warm fabric. To work a single crochet, insert your hook into the stitch, yarn over, pull through, yarn over again, and pull through both loops on the hook.
The double crochet (dc) is another versatile stitch, achieving a more open weave and quicker growth. To double crochet, yarn over, insert the hook into the stitch, yarn over, pull up a loop, yarn over, pull through two loops, yarn over once more and pull through the remaining two loops.
For a textured, dense blanket, the half double crochet (hdc) bridges the gap between sc and dc in height. The hdc is worked by yarning over, inserting the hook, yarning over, pulling up a loop, yarning over once again and then pulling through all three loops on the hook.
If speed is your goal, the treble crochet (tr) works up fast due to its tall stitches. You start by yarning over twice, inserting the hook into the stitch, yarning over, pulling up a loop (four loops on hook), yarning over, pulling through two loops, yarning over, pulling through two more loops, then yarning over and pulling through the final two loops.
Combine these stitches in various sequences to create rich textures and patterns in your blanket. Always remember to count your stitches to maintain consistent width throughout your work, and check your gauge if following a specific pattern to ensure the finished size matches what is intended.
Joining New Yarn or Changing Colors
To seamlessly integrate a new yarn, whether the same color or a different one, it’s crucial to ensure that the join is both strong and barely noticeable. Here’s a technique that accomplishes this:
When you have about six inches of yarn left, lay the new strand of yarn alongside your working yarn. For a few stitches, crochet with both strands, then drop the old yarn and continue with the new one. Later, you can weave in the loose ends for additional security.
For changing colors, complete all but the last yarn-over of the last stitch with the old color. Yarn-over with the new color and pull through to finish the stitch. The first stitch of the next row or round will now be in the new color, creating a clean color change. Trim the old yarn, leaving a tail for weaving, and continue with your project.
Remember, when weaving in your ends, use a yarn needle or hook to weave them in multiple directions within the stitches to ensure they stay hidden and secure. This will enhance the blanket’s durability and maintain a neat appearance.
Finishing Techniques: Weaving in Ends and Blocking the Blanket
Once you’ve completed your blanket, it’s time to give it a polished look. Weaving in ends is crucial to ensure your work doesn’t unravel. Start with a yarn needle, and thread the loose end through the backs of nearby stitches. Weave back and forth a few times in different directions for security. Trim any excess yarn close to the work, being careful not to snip the blanket itself.
Blocking is the final step of finishing your blanket, which enhances the drape and smooths the stitches. For natural fibers, wet your blanket evenly with cold water, then gently squeeze out excess moisture without wringing. Lay it flat on a clean towel or blocking mat, shaping it to the desired dimensions. Pin the edges if necessary to maintain the shape. Allow the blanket to air dry completely. For synthetic fibers, steam blocking is a gentle alternative, using the steam setting on your iron without touching the fabric. Hold the iron above the blanket and allow steam to penetrate the fibers, then pin and let cool. This process helps even out your stitches and can relax the yarn, granting your blanket a professional, finished look.
Remember, the time invested in these final touches greatly contributes to the blanket’s longevity and aesthetic appeal.


