This article will guide you through the steps to crochet a flat circle, offering tips for even stitches and a seamless finish.
Key takeaways:
- Choose the right materials for crocheting a circle.
- Start a circle with a magic ring for a seamless finish.
- Follow a basic crochet circle pattern to maintain a flat shape.
- Use techniques for evenly spacing increases to avoid ruffling.
- Get creative with project ideas for using crochet circles.
Materials Needed for Crocheting a Circle
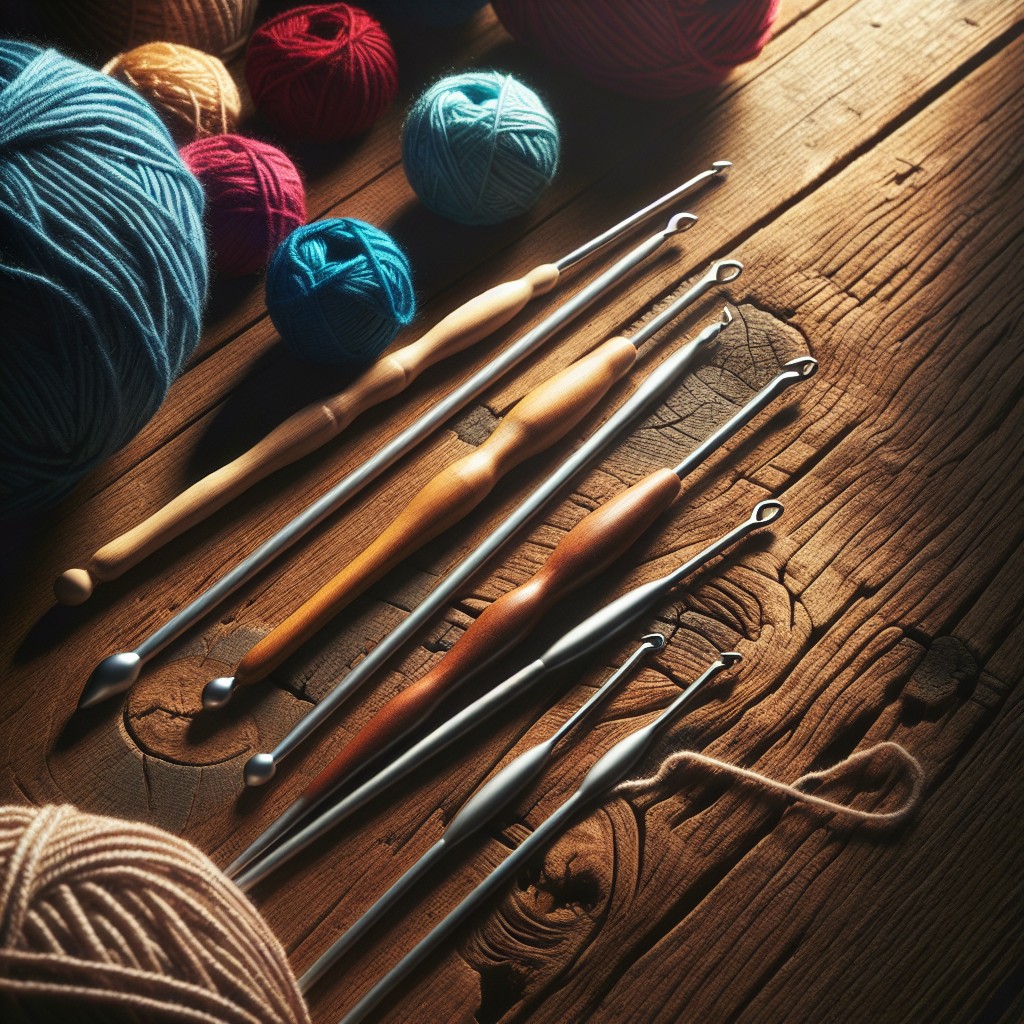
Choosing the right yarn is essential; consider the project’s final use—acrylic for washable items like coasters, cotton for kitchenware, and wool for warmth in hats or amigurumi. Match your yarn to a suitable crochet hook size as indicated on the yarn label—generally, a larger hook creates a looser fabric, and a smaller hook makes a denser fabric. A stitch marker is handy for identifying the end of each round, especially when working in a spiral. Scissors and a yarn needle are necessary for finishing off and weaving in ends. If a stiffer circle is desired, a non-water-soluble glue can stabilize the final piece.
Starting a Circle With a Magic Ring
Begin by looping the yarn around your fingers to create a ring, ensuring the tail end stays underneath the working yarn. Hold this loop with your thumb and forefinger.
Insert your crochet hook through the center of the ring, yarn over (bringing the hook under and then over the working yarn), and draw up a loop. This initial loop on your hook begins the magic ring.
Chain 1 (ch 1) to secure the magic ring if you’re working with single crochet stitches, or chain more if using taller stitches like double crochet (for example, ch 3 for double crochet stitches).
Work the specified number of stitches into the ring for your first round. As you crochet, make sure your stitches are placed over both the ring and the yarn tail; this will allow you to tighten the circle.
After completing the required stitches for the round, pull the yarn tail to close the circle tightly. The magic of the magic ring is that you can pull the center closed, so no hole remains.
To join the round, slip stitch into the top of the initial chain you made.
With the magic ring complete, you can now proceed to subsequent rounds and your pattern’s instructions for increasing to maintain a flat circle.
Basic Crochet Circle Pattern Outline
To create the base of a crochet circle, you typically start with six single crochet (sc) stitches in a magic ring for a standard tight circle. However, the number of stitches can vary based on the type of yarn and hook size, or if a looser circle is needed for the project.
To expand the circle evenly, you must increase the number of stitches in each subsequent round. The key is to spread these increases evenly to maintain a flat circle shape. Usually, for single crochet, you would increase by six stitches in each round. That is, in the second round, you would make two sc in each stitch around, resulting in 12 stitches.
In the third round, you alternate one sc in the next stitch with two sc in the following stitch, ending with 18 stitches in total. As the circle grows, the pattern for increases changes. You will add one more stitch between increases in every new round. This pattern helps to keep the circle flat without ruffling or cupping.
Keeping track of your rounds and stitches is crucial. Using a stitch marker can be helpful, placing it at the end or the beginning of each round to mark your progress. This tool becomes invaluable as the circle grows larger and counting stitches by sight becomes more challenging.
Remember, the success of a crochet circle lies in the proper calculation and even distribution of increases. Stay patient, and do not hesitate to unravel a few stitches to correct the circle’s shape if needed.
Techniques for Evenly Spacing Increases
To achieve a flat circle during crochet, it’s essential to place your increases in a strategic pattern. Each round will require more increases evenly spaced apart to maintain the shape.
Initially, work an increase in every stitch. For the next round, alternate a single stitch and an increase. In subsequent rounds, you continue to add one more stitch between increases. For example, after a round of “single crochet one, increase in the next stitch,” the following round would be “single crochet two, increase in the next stitch,” and so on.
Keep track of your stitch count in each round to ensure that your increases are consistent. This systematic approach prevents your work from ruffling or cupping, which indicates too many or too few increases, respectively.
Use a stitch marker to mark the beginning of your round; this helps to keep your place. It allows you to “read” your stitches from previous rounds to accurately place your increases without losing count.
If your circle is beginning to warp or wave, consider a less frequent increase or try a different size hook to adjust the tension of your stitches. Remember that adaptable consistency is crucial for a perfect circle.
Project Ideas for Using Crochet Circles
Craft stunning coasters by adding a decorative border to a simple crochet circle. These can bring a homemade touch to your coffee table and also make thoughtful gifts.
Create colorful appliques by making small crochet circles that can be sewn onto bags, hats, and blankets. This is a fantastic way to use leftover yarn and add a personal flair to any item.
Design a bespoke rug by joining large crochet circles together. This can be an eye-catching addition to any room, providing both comfort and style.
Fashion a unique piece of wall art by stiffening crochet circles and arranging them in a creative pattern. Whether it’s a modern abstract piece or a representation of something more traditional, it’s an excellent way to personalize your living space.
Craft a soft and snuggly baby blanket by stitching together an array of smaller circles. This can produce a tactile and visually engaging pattern that’s perfect for a little one’s sensitive touch.
Amplify your wardrobe with a crochet circle scarf or cowl. By joining circles side-to-side, you can produce a stylish accessory that’s both warm and fashionable.
Enhance holiday decorations by making crochet circle ornaments. Whether it’s a whimsical snowman for Christmas or a bright sun for summer, these add charm to any celebration.
Related Posts
 Easy Crochet Gnome Pattern Free: Transform Yarn into Whimsical Friends
 Crochet Star Blanket: A Stellar DIY Guide
 How to Crochet Slippers for Beginners Step by Step with Pictures: Cozy Feet Awaits
 Adjustable Ring Crochet: Master the Magic Circle
 How to Crochet Without a Hook: Hands-On Creativity