Learn how to crochet an adorable dog by following these easy steps and helpful tips.
Ready to turn some yarn into man’s best friend? Whether you’re a seasoned crocheter or just starting out, this guide’s got everything you need to create an adorable crochet dog. From mastering essential stitches like single crochet and easy-peasy techniques such as the magic ring to gathering just the right materials, you’re covered. We’ll walk you through crafting a head, body, legs, and arms, ensuring that your fluffy friend is shaped and stuffed to perfection. Fetch your crochet hook and let’s get started—because who needs a real dog when you can crochet one that doesn’t chew your shoes?
Key takeaways:
- Essential stitches: single crochet, increase, decrease
- Techniques include magic ring, sewing, changing colors
- Materials needed: worsted weight yarn, crochet hook, stuffing
- Crochet head and body, shape with stitches and stuffing
- Crochet legs and arms, stuff and close tightly
Toki, Realistic Crochet Dachshund Pattern
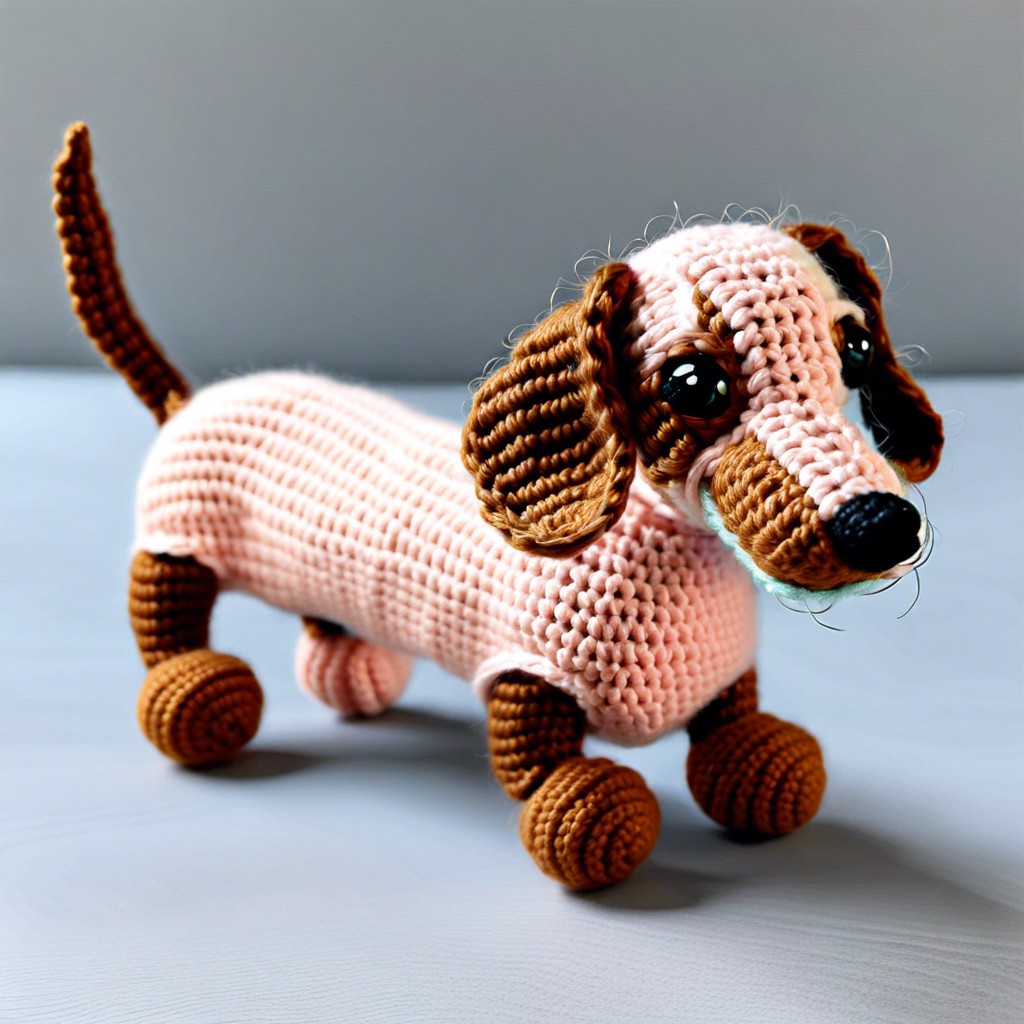
Toki is a crochet masterpiece that will have you feeling like a dog whisperer. This pattern captures the essence of a real Dachshund, making it perfect for gifting or adding to your home decor.
To get started, you’ll need an intermediate knowledge of crochet, as this pattern involves various techniques to achieve that lifelike look.
- Points to consider:
- Essential stitches include single crochet, increase, and decrease.
- The pattern includes detailed instructions and photos.
- You’ll be working in rounds, not rows.
- Some sewing is required for assembly, so keep that yarn needle handy.
- Patience is key – this little guy has plenty of parts to crochet and assemble.
Enjoy bringing Toki to life one stitch at a time!
Needed Techniques
Starting with the basics, you’ll need to know how to chain stitch and single crochet. These are the bread and butter of any crochet project, akin to the trusty peanut butter and jelly combo in a lunchbox.
Next, familiarize yourself with the magic ring technique. This little trick is perfect for creating closed shapes like the head and body of your crochet pooch. It’s like pulling a rabbit out of a hat—except, you know, a cute little dog instead.
Another must-have in your crochet toolkit is increasing and decreasing stitches. Increasing adds volume to your dog’s plush little body, and decreasing helps shape those adorable legs and arms. Think of it as your crochet gym routine—a bit of sculpting here, a bit of toning there.
Don’t forget about sewing pieces together. Your crocheted dog’s head won’t stay on its body with hope and wishes alone. Needle and thread help bring all the parts together seamlessly.
Finally, brushing up on changing colors can add lifelike detail to your doggy creation. A change in yarn color can turn a simple crochet dog into a spotted or multicolored masterpiece.
Needed Materials and Tools
Get ready to gather your goodies! For this project, you’ll need a few essential items to bring your canine companion to life.
First, let’s talk yarn. You’ll want a medium-weight yarn, often labeled as worsted weight or category 4. Color is your call, though classic doggy browns, blacks, and whites never go out of style.
Next on the list: a crochet hook. A size G (4.0 mm) should do the trick. Not too big, not too small—just right for creating those tight, tidy stitches.
Don’t forget about stuffing. Fiberfill is your new best friend; it will give your pup that plush, huggable feel.
You’ll also need a yarn needle for sewing pieces together. Trust me, you don’t want a leg falling off mid-fetch.
Safety eyes give your pup some character. Opt for 9-12mm, depending on the look you like. And no, googly eyes aren’t a safe substitute, sadly.
Last but not least, grab some stitch markers. These little heroes keep you on track and prevent your pup from becoming a wonky mutant.
Crochet the Head and Body
Start by choosing a cozy spot with good lighting—you’ll need to see what you’re doing, unless you have X-ray vision. Begin with a magic ring to keep things neat. It sounds mystical, but it’s really just a loop that you crochet into to form a tight circle.
Focus on creating single crochet (sc) stitches to shape the head’s initial rounds. Increase the number of stitches each round to make the head grow like a balloon but without the helium.
Once the head is plump and spherical, transition to the neck and body, seamlessly continuing from the head. Don’t stop for coffee; you’re on a roll. Decrease stitches gradually to give the body a tapered shape down to the tail, unless you want your dog to look like a sausage.
Keep your stitch count in check; otherwise, you might create an accidental mutant. Use stitch markers if counting isn’t your forte—they’re lifesavers. Stuff the head and body as you go for a fuller look that won’t deflate your efforts.
Crochet the Legs (2x)
Start with the magic ring, creating six single crochets inside. Talk about magic! Increase your stitch count in the next few rounds to shape the leg—usually 12-16 stitches per round.
To give your dog sturdy legs, maintain a consistent stitch pattern for several rows. Aim for symmetry because mismatched legs might look quirky, but your pup might walk funny.
Stuff each leg as you go. Think of it like filling a tiny sausage—just don’t make yourself hungry.
Close up the top of each leg with decrease stitches. Keep it neat and tidy. You’ll appreciate this when assembling the dog, trust me.
Remember: You need two identical legs. If one looks more like a tentacle, frogs are cool too.
Crochet the Arms (2x)
Okay, let’s get those little arms ready! First, you’ll start with a magic ring. Magic, because who doesn’t like a bit of wizardry in their crafting?
After that, single crochet your way around, increasing as you go. Kind of like feeding your dog treats – just keep adding more.
About halfway, you’ll stop increasing and crochet in the round. Think of this as giving your pooch a firm handshake – consistent and steady.
Don’t overstuff! No one likes an overstuffed sausage dog. A little polyfill goes a long way.
Finish off with some smooth decreases to taper the arm. Picture putting a sleeve on your little dog’s coat. Simple, right? Repeat, and your dog’s ready to pounce!
Assembling
Now that you’ve crocheted all the parts, it’s time to bring your dog to life! Lay everything out on a flat surface to get an idea of your soon-to-be furry friend.
First, stuff the head and body firmly with fiberfill, ensuring it’s evenly distributed to avoid any lumpy pup problems.
Next, attach the head to the body. Use a whipstitch or your favorite joining method. Make sure it’s secure; we wouldn’t want a bobblehead dog unless that’s your thing.
For the legs, position them evenly on each side of the body. Think of them as stabilizers, allowing your crochet dog to stand tall and proud. Sew them on tightly.
Then, attach the arms in a similar way, slightly forward on the body. This gives a natural stance like the dog is ready to wag its tail or fetch a ball at any moment.
To finish, take a step back and appreciate your dog-in-progress. Make any final adjustments to the stuffing and positioning before you secure the last stitches.


