Learn how to crochet adorable animals with this straightforward guide, perfect for both beginners and seasoned crafters.
Key takeaways:
- Choose soft, durable yarn in a variety of colors
- Have essential tools like hooks, needles, and stuffing
- Master basic stitches and amigurumi techniques for shaping
- Read and follow patterns carefully, using markers as guides
- Assemble pieces securely, stuff evenly, and add facial features
Choosing the Right Yarn and Colors
Selecting yarn for crocheting adorable animals is a joyful adventure, akin to choosing paint for a masterpiece. Opt for acrylic or cotton yarns; they’re soft, durable, and machine washable, perfect for your cuddly creations. Keep fuzz and texture in mind—you want your animal to be as huggable as it is cute!
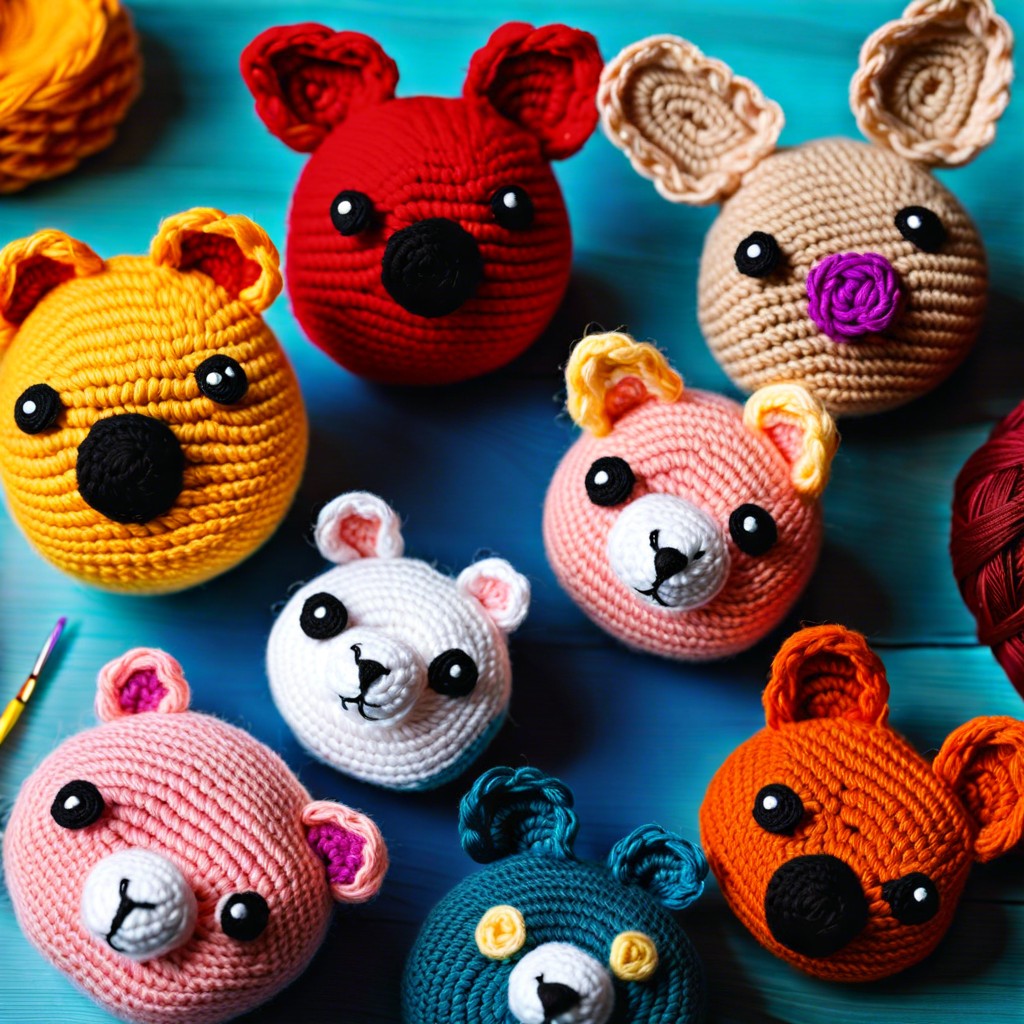
Color choice can significantly impact the character of your critter. Natural or realistic shades work well for lifelike animals, while bold and bright colors add a fantastical twist to mythical creatures. Always have a variety of colors on hand to bring features like eyes, noses, and paws to life. To ensure consistency in your project, buy enough yarn from the same dye lot. This prevents color variations that can turn your knit kitten into a patchwork puzzle.
Essential Crochet Tools and Materials
To embark on your critter-crocheting adventure, you’ll need a few basic tools. First off, grab some crochet hooks—sizes will depend on your yarn choice, but typically, a smaller hook size works best for tighter, neater stitches that won’t let the stuffing peek through. Yarn needles are your friends for sewing pieces together, and stitch markers will help you keep track of rounds without losing your mind.
Choosing yarn is like picking your team in a superhero movie: each has its strengths. Acrylic yarn is durable and easy to clean, making it great for toys. Cotton yarn, on the other hand, is softer and gives a lovely matte finish but might require a bit more skill to shape.
Don’t forget the stuffing! Polyester fiberfill is commonly used for its soft and lightweight nature, maintaining the shape of your creation. A pair of scissors and a ruler will also come in handy, ensuring your furry friends are cut to the right size and look neat, not like they’ve just had a wild night out.
Get these basics, and you’re set for a successful journey into the enchanting land of crochet animals.
Master Basic Crochet Stitches and Amigurumi Techniques
Before diving into the whimsical world of crocheting animals, getting a handle on a few basic stitches and specific amigurumi techniques will put you on the path to success. Single crochet is the star of the show in amigurumi, providing a tight, uniform fabric that holds stuffing well and keeps your critter shapes intact. It’s also crucial to master the magic ring, a method used to start amigurumi projects that minimizes the hole at the beginning of your work.
Increasing and decreasing stitches expertly helps shape the cute curves and contours of your animal friends. Don’t forget to practice crocheting in the round—this technique forms the basis of most amigurumi projects, ensuring your creatures develop a desirable 3D structure without unsightly seams.
Lastly, familiarize yourself with invisible decrease technique. It helps avoid gaps and bumps in your fabric, making your finished piece look smoother and more polished. Remember, nobody wants a lumpy llama or a bumpy bear! Grab your hook, some yarn, and let’s make some stitch magic!
Reading and Following Amigurumi Patterns
Diving into amigurumi patterns can feel like cracking a secret code. Fear not! Once you get the hang of the abbreviations—you’re golden! Look out for common terms like “sc” for single crochet, “inc” for increase, and “dec” for decrease. These are the building blocks of shaping your adorable critter.
Always start by carefully reading through the entire pattern. This snapshot gives you a blueprint of what’s to come. Anticipating color changes, counting rounds, and understanding when to add stuffing or accessories are pivotal for turning yarn into a zoo.
Markers are a must here. Use them to pinpoint the start of each round and help keep your sanity intact as you follow the pattern’s spirals. Remember, most amigurumi projects work in continuous rounds, not joining at the end of each.
Lastly, embrace the process of trial and error. If the snout looks more like an elephant’s when it’s supposed to be a mouse’s, backtrack a few stitches and adjust. Each project sharpens your skills, paving the way from ‘what is this?’ to ‘wow, I made this!’. Happy crocheting!
Assembling and Finishing Crochet Animals
Assembling your crochet animal might feel like trying to put together a puzzle with a twist—each piece is squishy! Start by laying out all the parts you’ve crocheted: head, body, limbs, ears, and tail.
Securely sewing the pieces together is crucial, so grab your darning needle. Always stitch from the inside out for invisible seams, keeping your stitches tight and consistent. This makes your animal look seamless and professional.
Next, it’s stuffing time! Use a pencil or the back of your crochet hook to push the stuffing evenly into smaller parts, like the limbs. Be generous but balanced; overstuffed sections can lead to a lumpy look, while under-stuffing makes them floppy.
Adding facial features brings your animal to life. Safety eyes and embroidered noses are popular choices. For a truly customized approach, consider using contrasting yarn colors to add expressive eyebrows or whiskers.
Finally, give your creation a thorough once-over, trimming any stray yarn ends and adjusting stuffing if needed. This meticulosity transforms a yarn bundle into a charming animal companion.
Related Posts
 Easy Crochet Gnome Pattern Free: Transform Yarn into Whimsical Friends
 Crochet Star Blanket: A Stellar DIY Guide
 How to Crochet Slippers for Beginners Step by Step with Pictures: Cozy Feet Awaits
 Adjustable Ring Crochet: Master the Magic Circle
 How to Crochet Without a Hook: Hands-On Creativity