Understanding how to embroider letters with yarn is vital because it allows you to personalize your crafts creatively and uniquely.
Embroidering letters with yarn is a wonderful way to personalize your knitting or crocheting projects.
This article will guide you through the process step by step, from selecting the right yarn and needle to sketching your letters and finally, the embroidery itself.
Whether you’re a beginner or an experienced yarn enthusiast, you’ll find clear, detailed instructions to help you master this skill.
Plus, we’ll share some tips and tricks to ensure your embroidered letters look professional and polished.
Let’s dive into the art of embroidering letters with yarn.
Key takeaways:
- Choose the right yarn for your embroidered letters
- Gather essential materials for yarn embroidery of letters
- Use the proper tools for yarn letter embroidery
- Follow the steps to embroider letters with yarn
- Take care of and maintain your yarn embroidery properly.
Choosing the Right Yarn for Embroidering Letters
Picking the perfect yarn is pivotal to creating striking embroidered letters. Various factors can influence your choice.
1. Yarn Weight: Lighter weights, like fingering and sport, offer precision for detailed work. Heavier weights, such as worsted and bulky, produce bolder, larger designs.
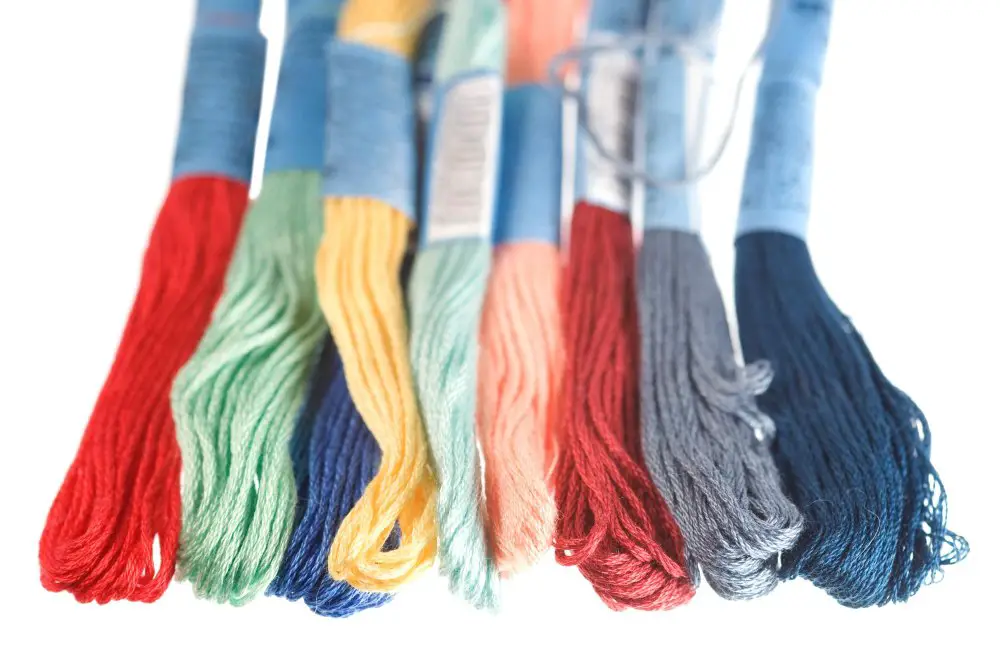
2. Yarn Fiber: Choose a fiber based on your project’s needs. Cotton and linen yarns hold their shape well, ideal for crisp letters. Wool or acrylic yarns lend a softer, fuller look.
3. Color and Texture: Opt for solid colors for clean, easy-to-read letters. Variegated and textured yarns can add visual interest, but may reduce legibility.
4. Durability: Consider how the embroidered piece will be used. For items that will see heavy use or washing, pick a sturdy, machine-washable yarn.
Balancing these factors will guide you to the right yarn for your embroidery.
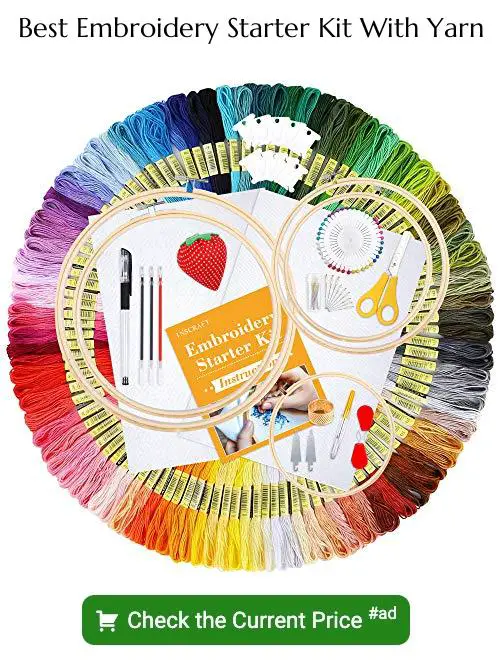
Essential Materials for Yarn Embroidery of Letters
To embark on this journey, there are a few key items you’ll need.
1. Yarn: Select a thickness that suits your project. For delicate, detailed work, choose a lightweight thread; for bolder, more visible stitches, go for a heavier weight.
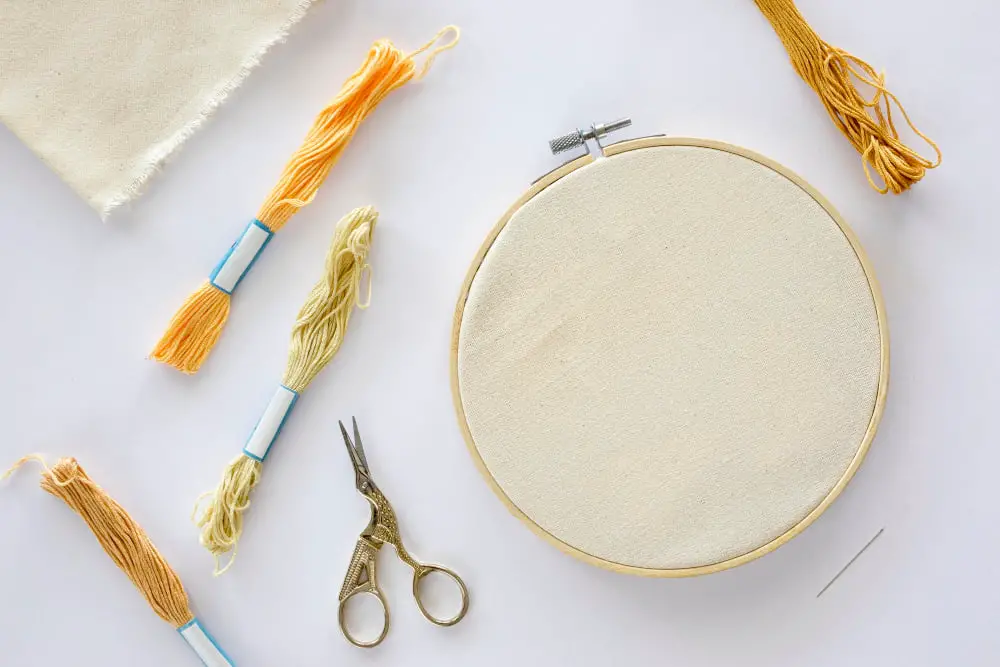
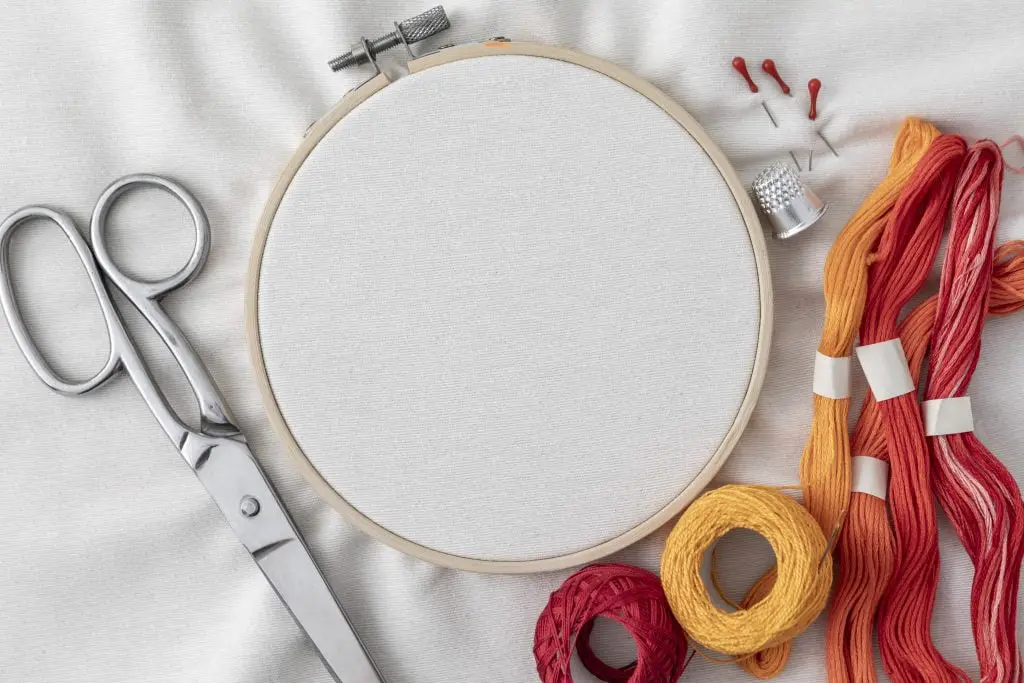
2. Fabric: Opt for fabric with a weave loose enough to allow the yarn to pass through, but tight enough to hold the stitches in place.
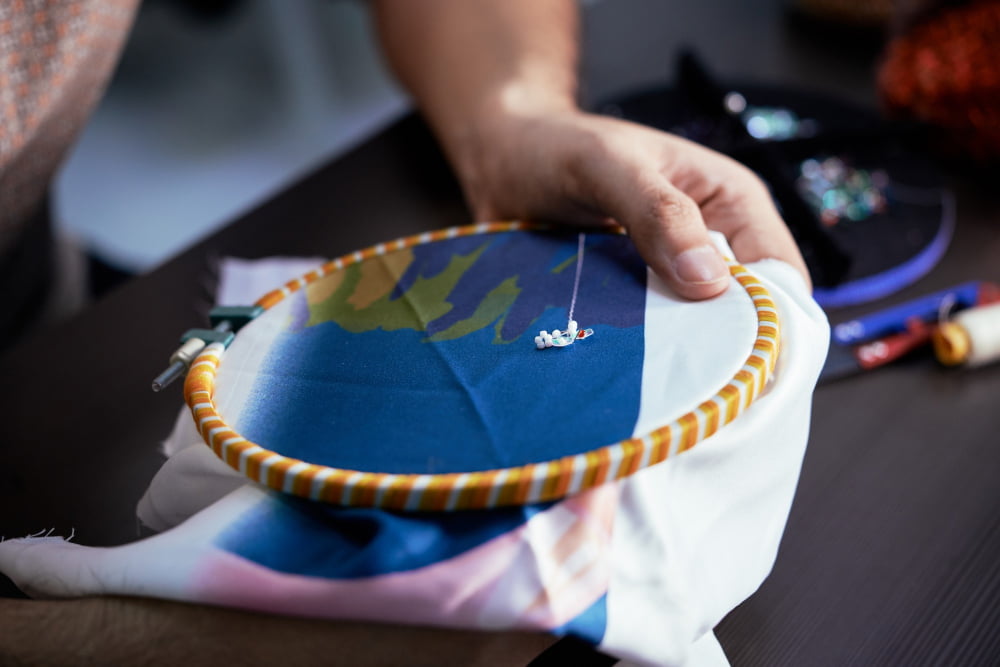
3. Embroidery Hoop: This tool keeps the fabric taut while you stitch, ensuring neatness and precision.
4. Needles: Use a tapestry needle, which has a blunt end and a large eye making it suitable for threading yarn.
5. Scissors: For cutting your yarn and trimming your finished letters.
6. Pattern: Sketch your letters or use a stencil to ensure evenness and symmetry in your design.
Remember, the quality of your materials can greatly influence your final outcome, so choose wisely!
Required Tools for Yarn Letter Embroidery
Delving into the world of yarn embroidery necessitates the right tools. Embroidery hoops, while not essential, provide a sturdy canvas to aid in evenly stitching your letters. They come in a range of sizes to suit your project’s scale.
Embroidery needles are critical; opt for one with a large eye to accommodate the thickness of the yarn. Tapestry needles, with their blunt points, are an excellent choice to avoid splitting the yarn fibers as you work.
Marking tools, like an erasable fabric marker, are instrumental in sketching out the letters before you start your embroidery. For darker fabrics, a white or silver marker is ideal.
As for scissors, invest in a sharp pair dedicated to cutting yarn. This preserves their edge and prevents fraying the yarn. Look out for scissors with a fine point, useful for precise cutting in tighter spaces.
Bear in mind, a threader can be paramount to avoid frustration while threading your needle. This is especially pertinent when working with thicker or textured yarns.
And lastly, illumination is key. Consider a good lamp offering either natural or LED light to work under, as this will ease eye strain and permit you to stitch without straining yourself.
Steps to Embroider Letters With Yarn

Firstly, draft your word or phrase onto the fabric using a pencil or tailor’s chalk, keeping in mind to draw reverse letters if you’re working from the back of the fabric. For beginners, consider starting with block letters.
Next, thread a tapestry needle with your chosen yarn. Start at the beginning of a letter and make your first stitch by pushing the needle through the fabric from the back to the front, and then back down again. Remember, the length of the stitch will determine the look of your letters. Shorter stitches grant a more detailed appearance, whereas longer ones yield a more rustic look.
To follow your outline, repeat this process. Keep your stitches close together to create a solid line. When you reach the end of a letter, push the needle to the back of the fabric and secure it with a knot, then trim any remaining yarn.
To start a new letter, simply re-thread your needle and follow the same process. Once all the letters are embroidered, step back and admire your work. Be cautious not to pull the yarn too tight as it can cause the fabric to pucker. Practice makes perfect, so feel free to practice on scrap fabric before embarking on your main project.
Tips and Common Mistakes in Yarn Letter Embroidery
Tighten your stitches but avoid pulling too hard; excessive tension may cause your fabric to warp. Conversely, if stitches are too loose, the letter form might not hold well over time.
Remember to keep yarn from twisting as this can result in uneven stitches. Hold the tail of your working yarn taut and straight while you form each new stitch to avoid this mishap.
When outlining your letters, refrain from making overly long stitches. Shorter stitches essentially yield better curves and angles, making your letters more readable.
Avoid pushing the needle directly through the yarn of previous stitches. This will split your yarn, causing a jagged, fuzzy appearance.
Clean hands make clean work. Prior to starting, ensure your hands are free from oil or dirt. This helps to prevent discoloration of the yarn.
Lastly, keep consistent with your stitch direction. If you start a letter with vertical stitches, finish the letter the same way. This maintains a polished and coherent look to your piece.
Cleaning and Caring for Your Yarn Embroidery

Proper maintenance is key to keeping yarn-embroidered letters vibrant and in good shape.
1. For general cleaning, use cold water and a mild detergent. Hot water can cause the yarn to shrink or the colors to bleed.
2. Avoid scrubbing or wringing out the embroidery. Instead, gently squeeze out excess water with a towel, then lay it flat to air dry.
3. Direct sunlight could fade the colors, so it’s better to dry your piece in the shade or indoors.
4. Light brushing could help maintain the fluffiness of the yarn, but be gentle to avoid fraying or pulling out the threads.
5. In case of stains, treat them immediately to prevent them from setting. Use a stain remover suitable for the yarn type and color fastness.
6. It’s not advisable to iron directly on the embroidered area. If necessary, iron on the reverse side, using a pressing cloth for added protection.
7. Regular dusting or vacuum cleaning can help keep the embroidery free from dust and dirt. But remember to use the vacuum’s upholstery attachment and apply only a gentle level of suction.
8. Store the embroidery in a cool, dry place, away from direct sunlight. Keep it flat or rolled to avoid creasing.
Remember, every type of yarn has its specific care requirements, so always refer to the yarn label’s information.
Repair and Maintenance of Yarn Embroidered Letters
Keeping your yarn-embroidered letters looking their best over time involves both regular care and occasional repair work. Avoid washing embroidered pieces frequently, as this accelerates wear. Use gentle cycle settings and mild detergents when machine washing is necessary.
For spot cleaning, a careful application of soap and water with a soft brush minimizes the risk of damage. Rinse carefully to maintain color integrity of your yarn.
Loose ends can be inevitable with regular use of your embroidered item. Reign it in by threading the errant yarn strands through a blunt needle and weaving them back through the underside of the work.
Snags may occur, especially in items like blankets or clothing. Start by gently pulling the fabric around the snag to encourage the fibers to spring back into place. If a loop of yarn is pulled out, NEVER cut it. Instead, thread it through a needle and carefully pull it back to the backside of the work.
Lastly, if a part of the yarn-embroidered letter falls off or becomes faded, you can restitch the missing or faded portion using the same type and color of yarn. Always remember to match the original stitch pattern for continuity.
FAQ
Can you do embroidery with yarn?
Yes, you can do embroidery with yarn, but you’ll need a needle with a larger eye, such as a chenille needle, to accommodate the thicker thread.
Can you use yarn instead of embroidery thread?
Yes, yarn can be used instead of embroidery thread as long as it is of a thicker weight, able to be threaded onto a tapestry needle, and easily pulled through the used fabric.
What embroidery stitch is best for letters?
The back stitch is considered the best embroidery stitch for letters due to its ease of use in embroidering script and printed fonts.
What type of yarn is most suitable for embroidering letters?
For embroidering letters, cotton or wool embroidery floss is most suitable due to its fine texture and strength.
In what ways does using yarn for embroidery significantly differ from using thread?
Using yarn for embroidery provides a bulkier texture and more visible detail due to its thickness compared to using thread, which offers finer, more intricate detailing.
How can one adjust needle size when embroidering with yarn instead of thread?
When embroidering with yarn instead of thread, adjust the needle size by choosing a larger needle with a bigger eye to accommodate the thickness of the yarn.


