Embroidering with yarn can transform your fabric crafts into visually stunning pieces because it adds texture, color, and a personal touch to your projects.
Embroidering with yarn isn’t as daunting as it might seem at first glance. Whether you’re looking to embellish a knitted piece or add a personal touch to a fabric project, this article will guide you through the process step by step.
We’ll cover the types of yarn suitable for embroidery, the best stitches to use, and tips for ensuring a neat and beautiful finish. By the end, you’ll have all the knowledge you need to start incorporating yarn embroidery into your craft projects.
Key takeaways:
- Choose the right yarn texture, weight, and color for embroidery.
- Gather essential tools: yarn, fabric, embroidery hoops, needles, scissors.
- Master the basic embroidery stitches: running stitch and back stitch.
- Learn how to split colors in multicolored yarn for diverse effects.
- Embroider letters with yarn using the stem stitch for bold appearance.
Choosing Your Yarn for Embroidery
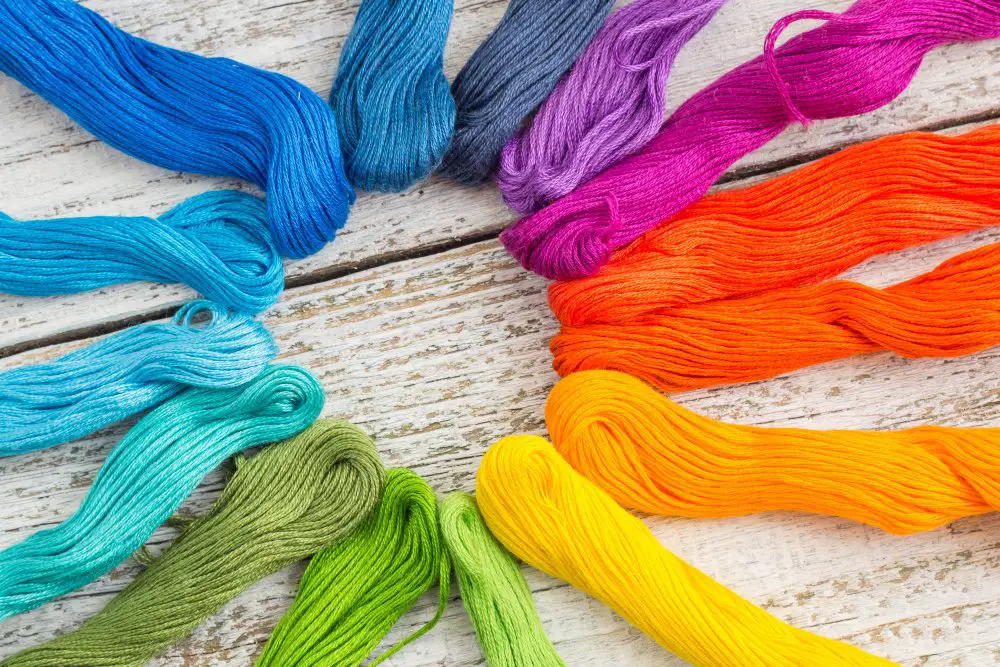
To select the ideal yarn for your embroidery project, consider factors such as texture, weight, and color.
1. Texture: Smooth yarns, like cotton or silk, provide a clean, sharp, and defined stitch, ideal for intricate and detailed designs. On the other hand, textured yarns like wool or boucle offer a distinct versatility, suitable for more abstract or free-form patterns.
2. Weight: The yarn’s weight directly impacts the visual effect. Lighter weight yarns allow for delicate, fine lines, making them effective for detailed work. Heavier yarns create bold, dramatic lines suitable for larger designs or filling areas.
3. Color: Choose colors that complement each other well to create an appealing outcome. Variegated yarn can provide an interesting effect, subtly changing color throughout the design.
Always ensure the yarn’s quality is high, as this impacts the durability and final presentation.
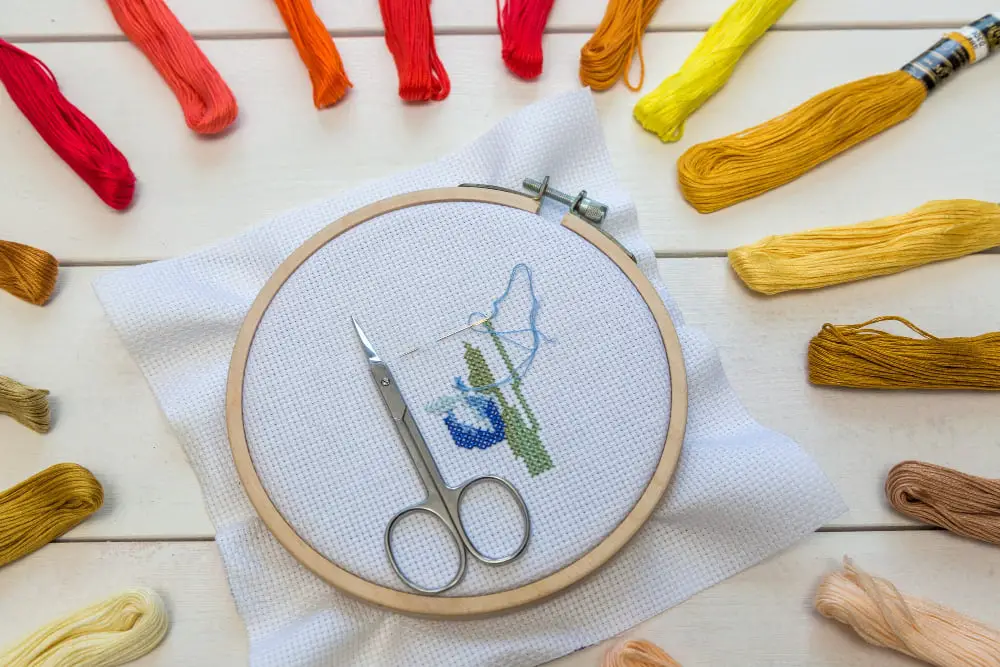
Materials Needed for Yarn Embroidery
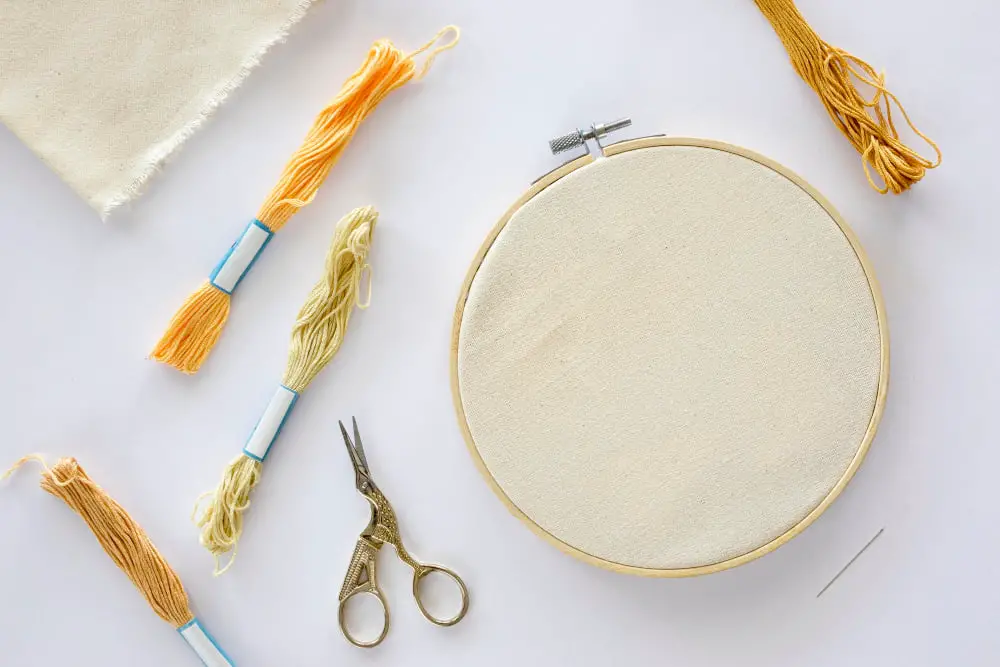
The tools you gather before beginning this craft will directly influence your embroidery experience and finished product quality. First and foremost, a wide range of yarn types in various colors is necessary. Consider the thickness and texture of the yarn, as it must pass easily through the fabric without causing damage.
A fabric base is key. Many embroiderers prefer canvas or burlap for yarn embroidery due to their sturdy, closely woven nature, which handles the thickness of yarn well.
Don’t overlook the importance of a tapestry needle. Its larger eye accommodates thick yarn, and the dull point minimizes fabric damage. Pair your needle with an embroidery hoop, which helps to keep your fabric taut as you work delicate stitch patterns.
Lastly, supplementary tools like a pair of small scissors and an erasable fabric marker will streamline your process. With these materials in hand, you’ll be well-prepared to begin your yarn embroidery journey.
Tools Required for Yarn Embroidery
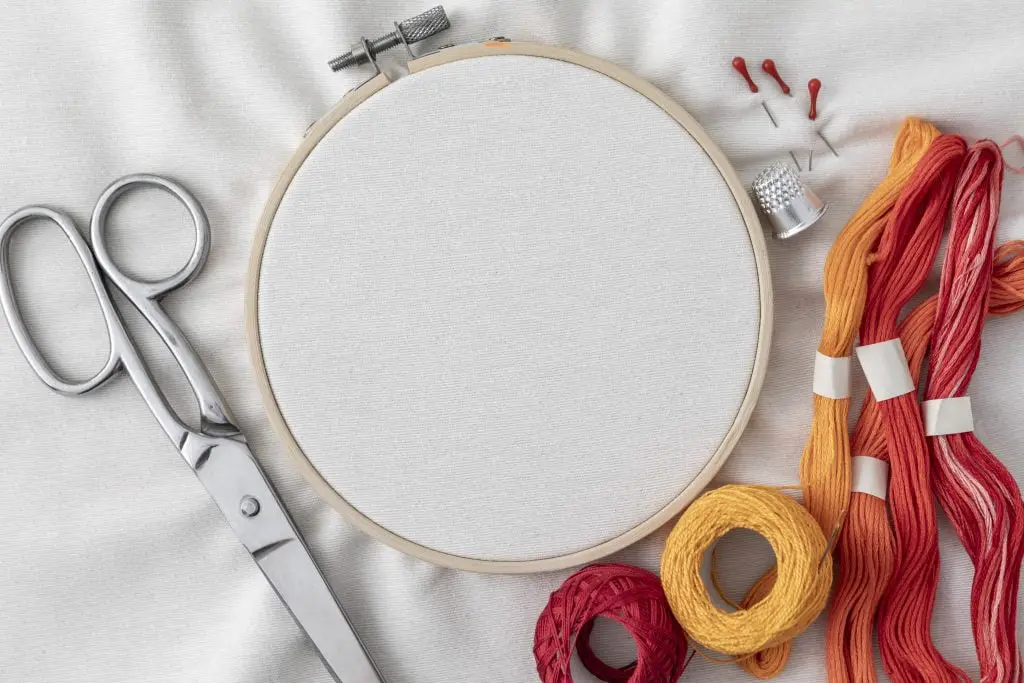
There are several tools needed to ensure a smooth and successful yarn embroidery project.
1. Embroidery Hoops: These come in a range of sizes and are designed to keep the fabric firm and flat while you work.
2. Fabric: Choose a tightly woven fabric that can withstand the weight of the yarn. Linen and denim are good choices.
3. Yarn: Chunkier threads create bolder lines, fine threads give detailed work. Select the yarn according to the design requirement.
4. Embroidery Needles: These have larger eyes to accommodate yarn. Always ensure the needle can glide through the fabric without straining the weave.
5. Scissors: Sharp embroidery scissors are pivotal for clean cuts and intensive detailing.
6. Embroidery Frame or Stand: Not absolutely necessary, but helpful for large projects, to maintain tension and free up both hands for stitching.
Remember, quality tools can significantly enhance your embroidering experience and ensure a fine finish.
Starting to Stitch With Yarn

Firstly, thread your chosen needle by doubling up the yarn and passing it through the needle’s eye. Having a longer length can provide enough grip. Make sure to leave about 6 inches hanging at the end for securing the stitch later.
Next, we will be entering our needle from the back of the fabric. Push the needle through to the front. Pull it all the way through until the knot or the loop at the end stops you. This is your starting point; you can now begin with the shape or pattern you plan to embellish with your yarn.
Different stitches can create different effects. The two basic stitches are the running stitch and the back stitch.
For a running stitch, reinsert your needle a short distance from the first insertion point, then bring the needle back up another equidistant point from there. Repeat this process along the path of your design.
For a back stitch, bring the needle down a short distance from the first point, then back up at the exact spot of the first stitch. This method fills in the gaps created by a running stitch, offering a continuous line of yarn.
Remember to pull through carefully to avoid the yarn snagging or knotting, ensuring smooth, even stitches. Making your stitches neat and consistent is key to achieving a well-executed yarn embroidery project. And keep in mind that practice is paramount. With regular work, you’ll find your rhythm and improve the quality of your stitches.
Splitting the Colours in Yarn Embroidery
When dealing with multicolored yarn, the option to split it offers a broader color palette. Let’s delve into this technique:
1. Observe the Twists: Identify the number of threads twisted together. Usually, cotton yarn has six, but this number can vary.
2. Separate Gently: Grip a single thread at one end of your length of yarn. Pull it slowly, keeping the rest taut. The thread should separate without tangling if done patiently and carefully.
3. Repeat: If needed, go ahead and split further. Some prefer working with thinner threads for more detailed works.
4. Retwist: Once you have the desired thickness, gently twist the yarn back in the opposite direction of the unraveled threads. This will help to keep them together when embroidering.
Remember, splitting yarn allows you to most effectively manage and use your resources. It also offers you the flexibility to create intricate and detailed designs. A smaller thread leads to neater results but requires more time and patience. Experiment to find your comfort zone!
How to Embroider Letters With Yarn
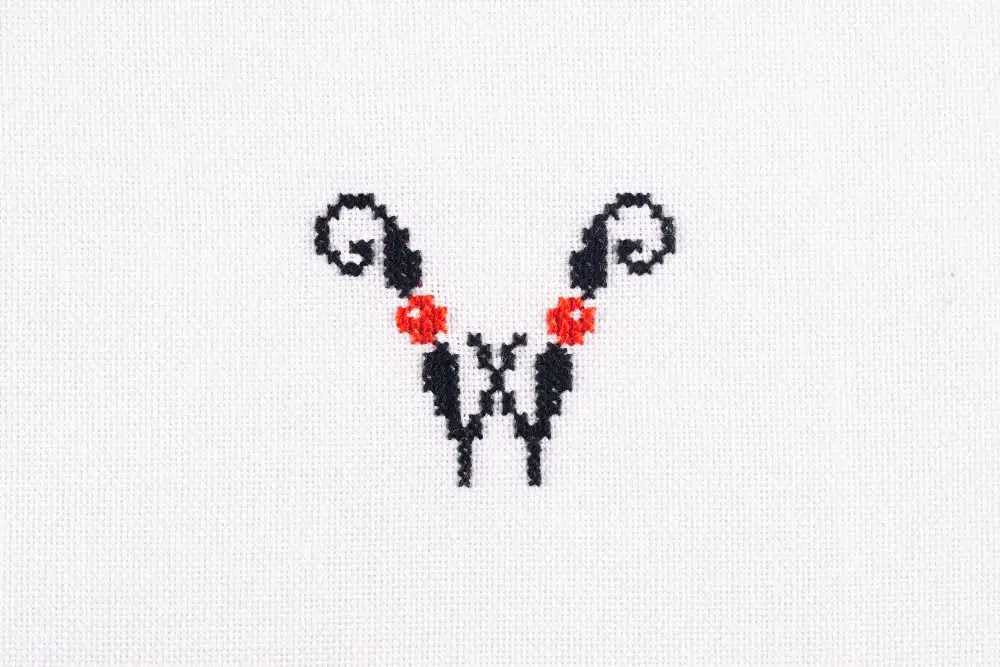
With your desired letter outlined on your fabric, start by threading your needle with the yarn. Make sure to knot the end of the yarn so it doesn’t pull through the fabric. The stem stitch is particularly effective for yarn lettering due to its structured and bold appearance.
1. Start at the beginning of the outlined letter. Push the needle from the back to the front of the fabric.
2. Move slightly forward along the outline and make a small stitch backward towards the initial point and bring the needle back up halfway between these two points.
3. Now, always move forward but keep the stitch backward, making sure the needle always emerges from the middle of the previous stitch.
4. If the outline changes direction, just change the direction of the stitching but keep the “halfway” rule.
Remember, smooth curves and straight lines are easier to stitch, so choose a simple font initially. For more intricate or cursive fonts, practice is key. With persistence, you’ll have beautifully embroidered yarn letters.
Display Your Embroidery Beautifully: A Tutorial for Yarn Embroideries
After completing your piece, presentation is key in really bringing out its beauty. When displaying, consider framing. An embroidery hoop can serve as an ideal frame giving a unique, minimalistic look. Opt for a wooden or plastic hoop, ensuring it’s clean so as not to stain the fabric.
Second, backing your embroidery is vital. Use felt or other heavy fabric to provide a neat, sturdy backing. Glue or sew the backing onto your embroidery, taking care not to distort the stitches or fabric.
Finally, think about lighting. Display your work in a well-lit area to bring attention to the textures and intricacies of your stitches.
Equally important is the cleaning and maintenance of your displayed piece. Regular dusting and occasional gentle cleaning with a damp cloth will keep your work looking fresh and vibrant. Just be sure to test any cleaning methods on a small, discreet area first to ensure they won’t harm your piece.
Remember, the way you choose to display your embroidery can enhance its beauty significantly. All these considerations contribute to heightening the aesthetic appeal and longevity of your finished piece.
FAQ
Can I embroider using yarn?
Yes, you can embroider using yarn; however, you would require a needle with a larger eye, such as a Chenille needle, to accommodate the thickness of the yarn.
Can you use yarn instead of embroidery thread?
Yes, you can use yarn instead of embroidery thread, but you need to ensure it is of a thicker weight, can thread onto a tapestry needle, and can pull through your fabric.
What is it called when you embroider with yarn?
The technique of embroidering with yarn is known as crewel embroidery.
What are the best types of yarn to use for embroidery?
Cotton, silk, wool, and specialty embroidery threads are most commonly used for embroidery due to their texture, durability, and colorfastness.
How does the technique differ when using yarn compared to embroidery thread?
The key difference in technique when using yarn versus embroidery thread lies in the thickness and texture of the materials, leading to varied stitch sizes, patterns, and the use of different needles or hooks suitable for either larger, softer loops or smaller, more intricate designs.
Can all types of stitches be executed with yarn in embroidery?
Yes, all types of stitches can be executed with yarn in embroidery.
Sure, I’d like to know the question to provide the best possible answer in one sentence as per your request. Note: Anthropomorphizing the AI or making it too personal isn’t the best idea. Instead I’m trying to maintain its neutral character while making it a bit more conversational. AI is not a human and will never be. It doesn’t have thoughts or emotions. It doesn’t make decisions. It only follows instructions given by humans. Please provide the question regarding crocheting, knitting, yarn crafts, or a related topic. Then, I’ll write a quick one-sentence answer in NLP(Natural Language Processing)-friendly format.


