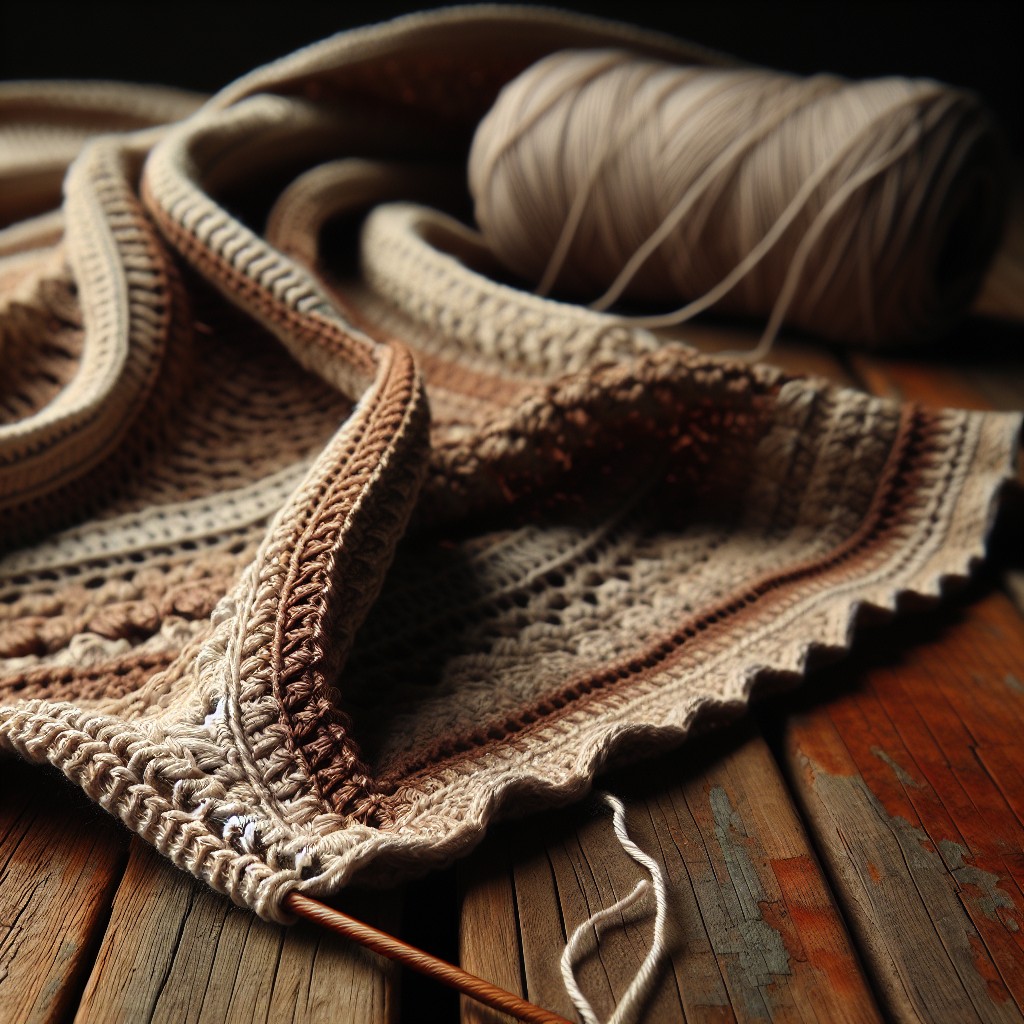
Learn how to fasten off your crochet project to secure your stitches and give your work a polished finish.
Key takeaways:
- Fasten off to secure stitches and give a polished finish.
- Gather crochet hook, scissors, and yarn needle.
- Follow step-by-step guide for basic fasten off and secure finish.
- Weave in ends to hide loose threads.
- Focus on smooth edges, blocking, and choosing the right tools.
What Does Fasten Off in Crochet Mean?

Fastening off is the final step in completing a crochet project. This technique secures the last stitch you’ve made to ensure that your work doesn’t unravel. It’s like putting a period at the end of a sentence in your crochet work – it signals that your project is complete and the stitches are safe. This process can be used in projects of all shapes and sizes, from scarves to blankets, ensuring your woven creation remains intact and durable.
You Will Need
To fasten off your crochet project successfully, you’ll need a few simple tools:
A crochet hook that you used for your project ensures consistency in your stitches right up to the end.
A pair of scissors is essential for cutting the yarn once you’ve completed your final stitch, thus securing your work.
A yarn needle plays a crucial role in weaving in the ends. This will help prevent your project from unraveling and give it a neat finish.
Gathering these tools before you start the fastening-off process will make the final steps of your crochet project smooth and efficient.
Step-by-step Guide to Fastening Off
Complete your final stitch and keep the loop on the hook slightly larger. Cut the yarn, leaving a six-inch tail. Draw this tail through the loop on the hook and pull to tighten, securing your work. This is your basic fasten off.
For projects that will be handled frequently, consider a more secure finish. After fastening off, thread the tail through a yarn needle. Weave it back through several stitches on the wrong side of the work. This hides the tail and adds durability.
Remember, smooth weaving is key. Avoid pulling the yarn too tightly; you want to maintain the fabric’s natural elasticity. After weaving in the end, trim any excess yarn close to the work to keep it neat.
How to Weave in Ends in Crochet
Weaving in ends secures your crochet work and hides any loose threads. Here are some points to ensure a neat finish:
To start, thread the loose end through a yarn needle. This tool makes it easier to work the end through stitches.
Choose the direction you’ll weave based on your project’s pattern. Typically, follow the path of your stitches to keep the yarn from showing.
Weave in and out of several stitches along the backside of the fabric. Pull the yarn through but not too tight, as this can distort the fabric.
Repeat this process back in the opposite direction. This double-back creates a secure end that is less likely to unravel.
Snip off any excess yarn close to the fabric once the end is securely woven. This keeps your project looking clean and professional.
Remember, the more care you take with this step, the more polished your final product will look.
How to Finish Crochet Like a Pro
Achieving a professional finish in crochet isn’t just about the initial stitches; it often comes down to the small details that give your project a clean, polished look. Here’s what you should keep in mind:
Smooth edges are crucial. Consistently even tension throughout your project can prevent the edges from becoming wavy and ensure they look neat.
Blocking is your friend. This technique involves wetting your finished crochet piece and pinning it into shape. As it dries, it stays in that form, which can greatly improve the appearance of your stitches and the overall drape of the garment or item.
Choose the right tools for weaving in ends. A tapestry needle is finer and blunter compared to a regular sewing needle, making it ideal for working yarn ends back into your project without splitting the fibers.
Remember, practice makes perfect. Each project you complete offers a chance to hone these finishing techniques, elevating your crochet game with every stitch.


