Learn how to weave in ends in crochet to give your projects a clean, professional finish.
Key takeaways:
- Weaving in ends gives crochet projects a professional finish.
- It prevents unraveling and maintains shape and durability.
- Essential supplies: yarn needles, small scissors, crochet hook, good lighting.
- Steps: finish last stitch, thread needle, weave under stitches, create knot, trim excess.
- Tips: use small crochet hook, choose lighter weight yarn, weave through wrong side, weave in different directions, tug gently, trim excess.
What Is “weaving in the Ends”?
When you finish a crochet project, you’re often left with loose yarn tails. The process of weaving these ends into your work secures them, preventing the piece from unraveling while helping to maintain its shape and beauty. It’s a necessary finishing touch that elevates the neatness and durability of your creations. By integrating these strands back into your stitches, the completed project looks cleaner and more professional.
Why Is It Important?
Weaving in the ends ensures your crochet projects look polished and professional. Without securing these loose threads, your work could unravel, turning hours of crafting into a frayed mess. It also helps maintain the shape and structure of the finished piece, keeping it sturdy for long-term use and wear.
Basic Supplies You’ll Need
To start weaving in ends with crochet projects, gather these essential items:
A set of yarn needles with blunt tips ensures smooth entry into stitches without splitting the yarn. These come in various sizes, so select one that complements the thickness of your yarn for easier handling.
Small, sharp scissors are crucial for snipping yarn ends close to the work. This precision avoids unwanted frayed ends poking through your finished piece.
Keep a crochet hook handy, preferably in a size similar to or slightly smaller than the one used for your project. This helps pull through stubborn ends, especially in tighter stitches.
Opt for good lighting and a comfortable seat. Seeing what you are doing clearly can make a big difference in the neatness of your weave and will keep your hands and eyes from tiring too quickly.
With these tools at your disposal, you’re well-prepared to tackle those pesky ends and give your crochet projects a tidy, professional look.
How to Weave in the Ends
First, finish your last stitch and cut the yarn, leaving a six-inch tail. This length makes it easier to handle without tangling or pulling too tight.
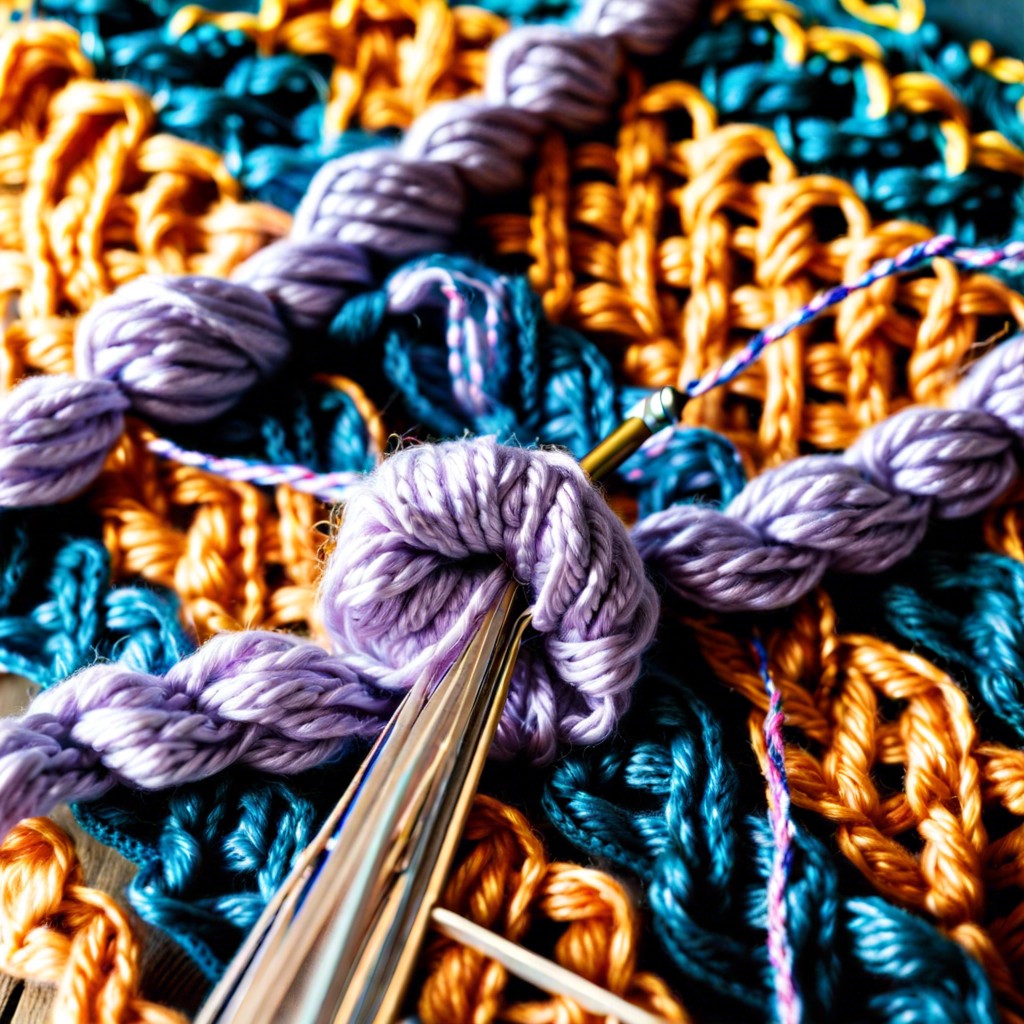
Thread the yarn tail through a yarn needle. If the tail end is frayed, twist it to make threading easier.
Carefully insert the needle under the stitches along the seam or edge. Mimic the path of the knit to make the end less visible. Around three to four inches of weaving should suffice, but a bit more doesn’t hurt, especially if the item will be frequently washed.
For added security, make a small loop with the yarn, pass the needle through it, and gently pull to create a knot. Avoid pulling too tight as it may cause bunching or distort the fabric.
To finish, continue weaving for another inch in a different direction to ensure the tail won’t unravel. Trim any excess yarn close to the fabric, being careful not to cut into your crocheted work.
Weaving ends as you go can save time and make the finishing process less cumbersome. Try incorporating this technique into your next project to keep your work tidy from start to finish.
Tips for Weaving in the Ends
- Choose a crochet hook or tapestry needle that is small enough to easily pass through the stitches without stretching them. This precision will help keep your fabric looking neat.
- Opt for a similar or lighter weight yarn to sew in your ends, so they don’t peek through the front of your work or create bulky spots.
- Avoid cutting your yarn too short after fastening off. Leaving a tail of about six inches gives you enough length to secure the end properly without fumbling.
- Weave your ends through the wrong side of the work to keep them hidden. Follow the path of the stitches to disguise the tail effectively.
- Weave back and forth in different directions. Entering the yarn through three different directions creates a more secure finish, reducing the likelihood of the end unraveling over time.
- Gently tug the yarn after weaving to ensure it sits comfortably within the fabric, then snip off any excess close to the work to maintain a tidy appearance.
By keeping these simple strategies in mind, your projects will maintain their structured and polished look even after multiple uses and washes.
Related Posts
 Easy Crochet Gnome Pattern Free: Transform Yarn into Whimsical Friends
 Crochet Star Blanket: A Stellar DIY Guide
 How to Crochet Slippers for Beginners Step by Step with Pictures: Cozy Feet Awaits
 Adjustable Ring Crochet: Master the Magic Circle
 How to Crochet Without a Hook: Hands-On Creativity