Discover how to felt yarn because this technique will allow you to create unique and robust materials perfect for various exciting crafts projects.

Felting yarn is a creative way to add a unique texture to your knitting or crocheting projects. This process involves agitating the yarn to cause the fibers to lock together, resulting in a denser, more durable material.
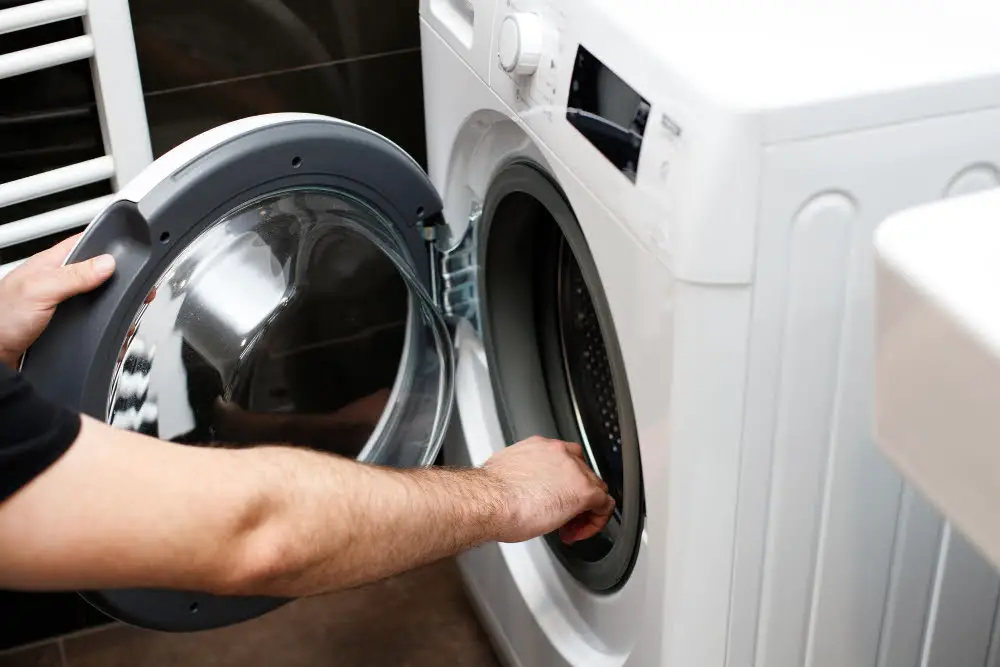
To felt yarn, you’ll need to choose a wool or animal fiber yarn, as synthetic fibers won’t felt. Then, you’ll knit or crochet your item as usual, before washing it in hot, soapy water to induce felting.
The agitation from the washing, combined with the heat and soap, will cause the fibers to interlock. Keep reading to learn more about each step in this process, as well as tips for achieving the best results.
Key takeaways:
- Choose 100% wool yarn for felting.
- Use hot, soapy water and agitation to felt yarn.
- Monitor progress for desired texture and firmness.
- Rinse and shape the felted yarn, then let it dry.
- Explore various projects like home decor and jewelry.
Materials for Felting Yarn
Felted yarn projects need a selection of specific materials that contribute to the final product’s texture and appearance.
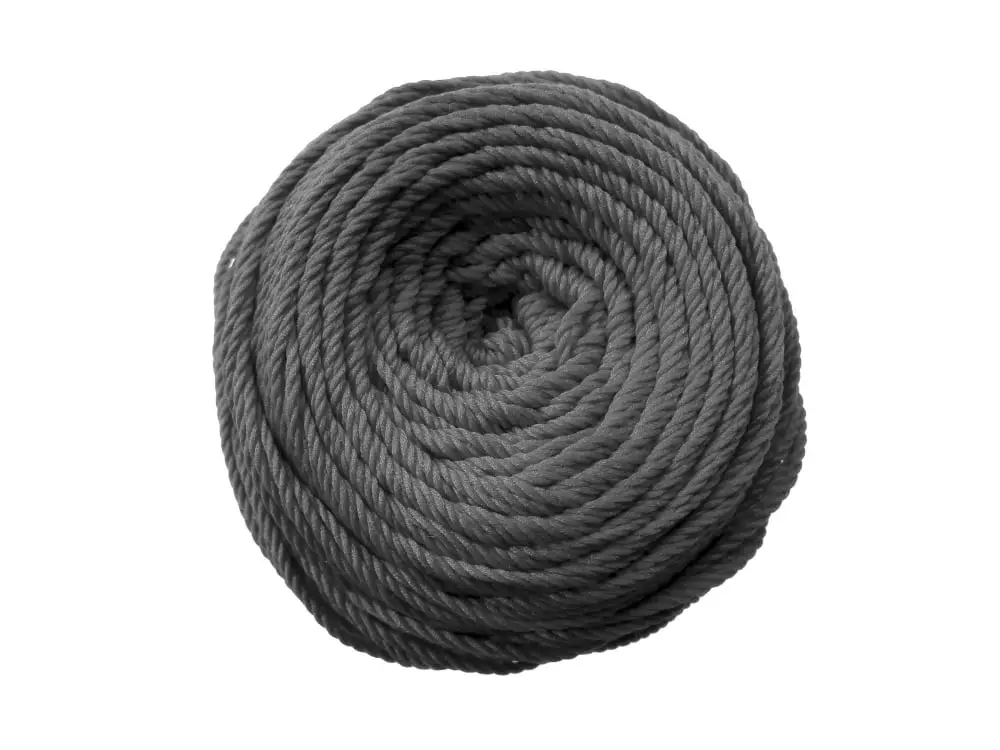
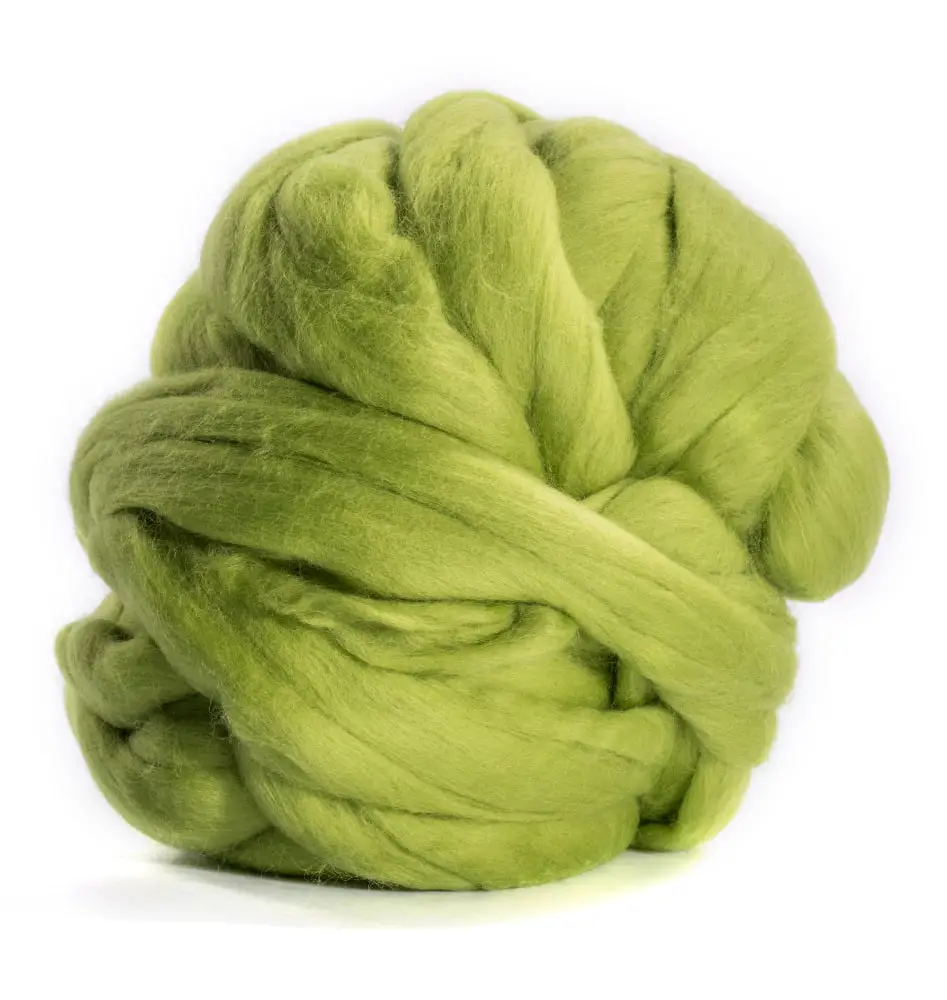
First, 100% wool yarn is paramount. Other types of yarn may not properly felt. This is due to wool’s unique protein fibers which, when subjected to heat, agitation, and moisture, tend to stick together or ‘felt,’ creating a denser and fuzzier material.
A detergent, preferably mild and without bleach, is also required. The soap helps to break down the fibers in the wool, enabling them to stick together during the felting process.
Finally, consider the hardware. You must have access to a washing machine or a container that allows for agitation of the yarn. A pair of rubber gloves will protect your hands, and a towel can be useful to remove excess water post felting.
Remember, picking the right materials can make or break your felting process, so choose carefully!
Selecting the Right Equipment and Tools for Felting Yarn

Commencing your felting journey requires a few essential items. Firstly, 100% wool yarn is the most suitable fiber because of its ability to bind and mat together when exposed to water and agitation. Other types of yarn may only partially felt or possess a blend of fibers, which can affect the final results.
A washboard or similar textured surface aids in the agitation process, producing friction to cause the yarn to felt. A bucket or basin for hot water is also necessary. The combination of heat, water, and soap changes the wool’s structure and encourages felting.
Dish soap or wool wash plays a crucial role in the process as it eliminates the natural grease (lanolin) in the wool that could hinder felting.
Finally, investing in a good pair of rubber gloves can protect your hands from excessive heat and the soap’s dryness impact. It’s also helpful to have a towel handy for the drying and rolling phase.
Remember: each felting project might require different tools based on the nature of the work, but the ones outlined here are generally applicable to all basic projects.
Step-by-step Instructions to Felt Yarn
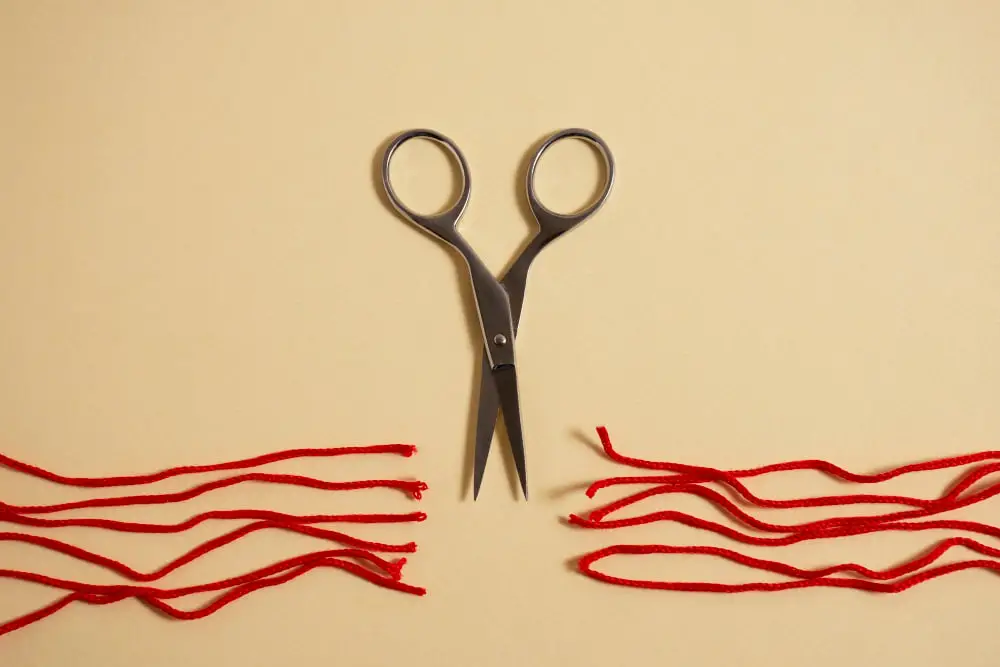
Firstly, choose yarn that has a high wool content, preferably 100%. Cut or tear your yarn into strips that are the length you want to felt.
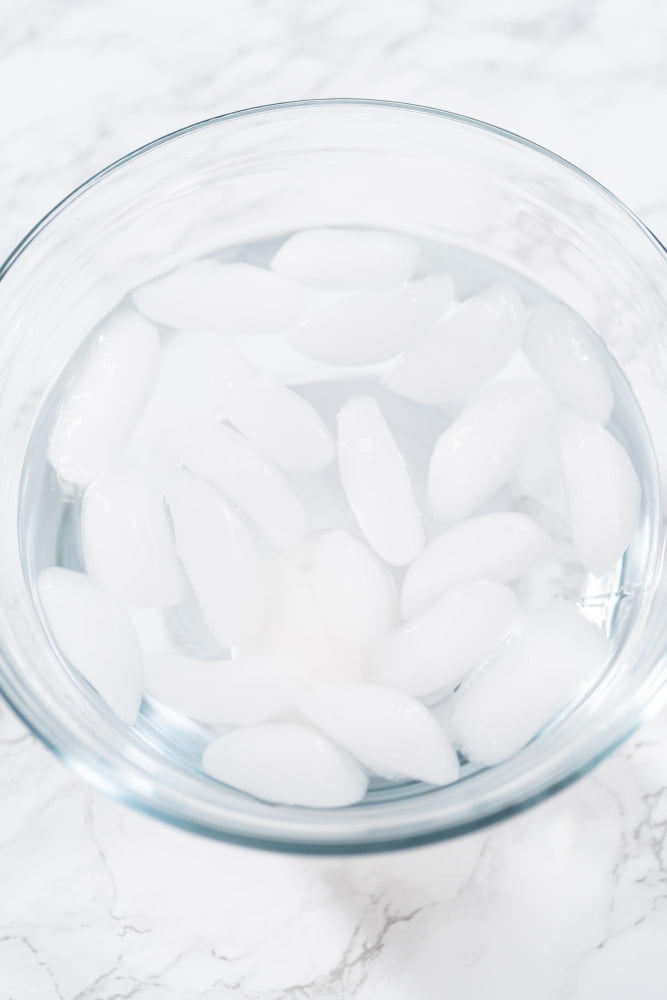
Get a basin filled with hot soapy water. The hotter the water, the better as heat helps to open up the wool fibers and promotes felting. Integration of soap is key, because it changes the pH of the water, helping the wool fibers to entangle and lock together.
Grab a strip of yarn and immerse it fully in the hot soapy water. Start rubbing the yarn between your hands, as if you were trying to warm them. The friction combined with the hot soapy water initiates the felting process.
Be aware that the yarn will shrink significantly. Depending on the wool content of your yarn, it could potentially shrink up to 50%. Keep this in mind while deciding the initial length of your yarn strips.
Continue to check your yarn throughout the process. Once you notice the fibers beginning to mesh and the fabric feels thicker and fuzzier, your yarn is nearly felted. Don’t rush this process. If you remove your yarn too soon, it will not be fully felted and may unravel.
After successfully felting, rinse the object in cold water, gently squeezing out excess moisture. The temperature shock between hot soapy water and cold rinse helps to prod the felting process. Lay it out and shape it the way you want it to dry. Hold off from wringing or distorting the item as that may lead to unwanted shapes and creases.
Lastly, let your felted yarn dry completely for 24-48 hours. Assure access to air freely around it to prevent mildew and odor. Patience is vital during this step, as rush-drying can potentially damage the yarn and undo the felting. These steps will ensure your yarn is felted properly, giving you a versatile material that is ready for your next craft project.
Tips On Monitoring Felting Progress
Observing your yarn’s transformation is vital during the felting process. Here are a few helpful hints to ensure you’re on track:
- Check Regularly: Every few minutes, open your washing machine or sink to monitor the felting. If it’s tightly felted early on, you might want to finish the process sooner.
- Measure Your Yarn: Note the initial size before starting the process. Some shrinkage is normal when felting. Keeping track of this will help you decide when to stop.
- Texture: Your yarn will start to look fuzzy, and individual strands will be less noticeable as the felting process progresses.
- Firmness: Felted fabric should feel denser than the original yarn. If it still feels soft and loose, more felting is necessary.
Remember, felting is not a precise art and results can vary depending upon the type of yarn, temperature of water, and amount of agitation. It’s always better to start checking earlier than you think you should.
Recognizing When to Halt the Felting Process
Monitoring the felting process ensures the yarn develops the desired texture. Generally, felting may take anywhere from 10 to 30 minutes. And while time is one indicator, there are a few other cues to look for to know when to stop.
Felted yarn creates a fabric dense with interlocking fibers, and the stitches once visible in your knitted or crocheted piece should become nearly or fully obscured. Feel the fabric as well. The transformation into matted wool results in a firm, thick texture.
Also, pay attention to shrinkage. Felting causes your project to decrease in size, and overfelting can lead to excessive shrinkage. In case of a felted garment, periodically check the fit throughout the process.
Lastly, monitor the color. Over the course of felting, colors can appear increasingly vibrant as loose wool fibers matt down. If you notice a sharp color enhancement, this may be a sign that felting is nearing its end.
Remember, each piece can have different felting ‘end points’ based on personal preference and project specifics, so trust your instincts as well.
Finishing and Blocking Your Felted Yarn Project
After the felting process, it’s crucial to rinse your project thoroughly in cold water to remove any soap residue that might remain. Squeeze out excess water gently, being careful not to twist or wring the felted material, as this can further distort it.
Next, it’s time to block your project. Blocking involves setting your felted yarn into the desired shape while it dries. Here’s how:
- 1. Prepare a blocking surface, commonly a blocking mat or a clean, dry towel.
- 2. Lay the felted project on the blocking surface and allow it to naturally lay flat.
- 3. Manipulate the project with your hands to its intended shape. For complex shapes, sewing pins can be used to hold the project in place.
- 4. Allow the project to dry thoroughly. It may take several days depending on the thickness of the felted yarn and the ambient humidity.
Remember, blocking not only shapes your felting project, but it also ‘finishes’ it, creating a crisp, professional look. The more time you invest in blocking, the better your felted item will turn out to be.
Considerations for Additional Creative Felting Projects Using Felted Yarn

With felted yarn, the possibilities for crafting projects are limitless. Explore designs beyond traditional items like bags, hats, and slippers. The thick, cozy material provides ample versatility.
1. Home Décor: Felted yarn can turn into eye-catching coasters, hot pads, or placemats. Consider also crafting durable, unique rugs or cushy poufs.
2. Jewelry: Strands of felted yarn become sturdy, lightweight bead substitutes. These can be made into necklaces, bracelets, or earrings, or even incorporated into brooches or pins.
3. Artwork: Felted yarn isn’t restricted to utilitarian objects. It can be shaped into elaborate sculptures or combined into wall hangings, yielding a three-dimensional textile art piece.
4. Embellishments: Smaller felted components, like flowers or applique designs, can spruce up other projects, such as sweaters or unadorned scarves.
Using felted yarn in your crafting projects brings a novel texture and added durability to your items. It invites creative expression and innovation. Remember, the success of your project heavily relies on understanding your yarn’s felting properties and closely monitoring your felting process. The rest is up to your imagination.
FAQ
What is the felting method of yarn?
The felting method of yarn refers to either the wet felting process, which involves the use of water, soap, and agitation to cause fibers to bind together, or the dry felting process.
Can you turn yarn into felt?
Yes, yarn can be transformed into felt using a process called felting which involves exposure to moisture, heat, and agitation.
What does it mean to felt yarn?
Felting yarn refers to the process wherein wool is submerged in warm water with soap, agitated, and then cooled to allow the scales on the wool fibers to open, shift closer together, and permanently interlock.
What types of yarn are most suitable for felting?
Wool and alpaca yarns are most suitable for felting due to their natural fibers’ ability to bind and shrink when exposed to heat and agitation.
How does temperature influence the felting process of yarn?
Temperature significantly influences the felting process of yarn as higher temperatures cause the fibers to open up and bond together, effectively creating a felted look.
Can one utilize the felting technique for repairing damaged knitted pieces?
Yes, the felting technique can be used to repair damaged knitted pieces effectively by binding loose fibers together.


