Spinning wool into yarn is a satisfying process because it gives crafters unique control over the texture and color of their end product.

Spinning wool into yarn is a rewarding process that allows you to create your own unique crafting material.
This article will guide you step-by-step through the process, from choosing and preparing the wool, to spinning it into yarn using a drop spindle or spinning wheel.
Whether you’re a beginner or an experienced spinner looking to refine your technique, this comprehensive guide has all the details you need to spin wool into beautiful, handmade yarn.
Key takeaways:
- Spinning wool allows for unique control over texture and color.
- Key materials needed: raw wool, spindle or spinning wheel, hand carders, niddy noddy.
- Prepare wool by washing, carding, and drafting.
- Efficient fiber management and even drafting are crucial for smooth spinning.
- Park and draft method simplifies the spinning process.
Materials Needed to Spin Wool Into Yarn
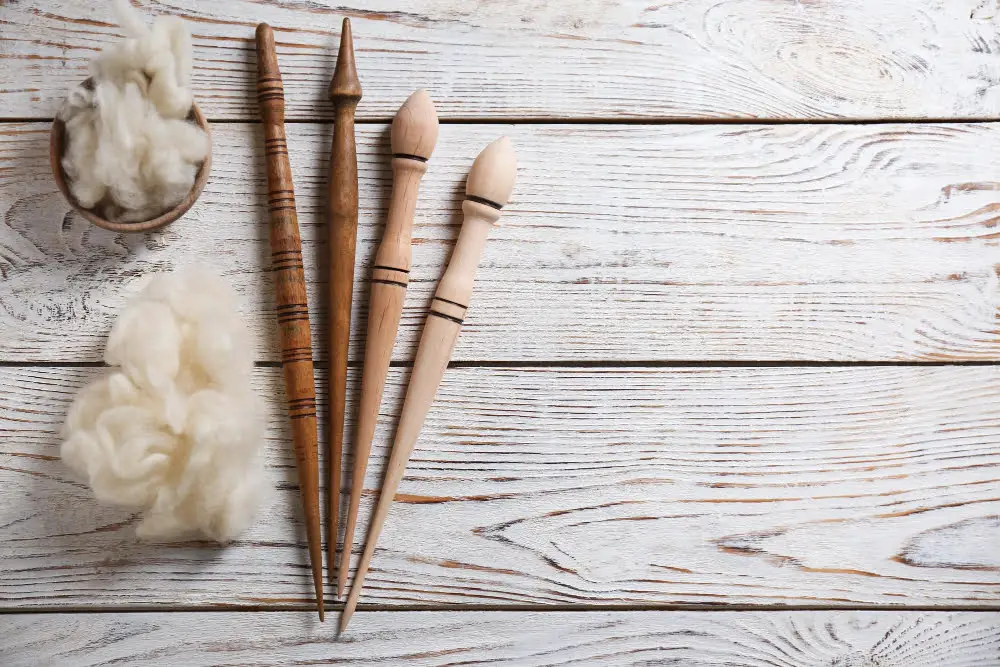
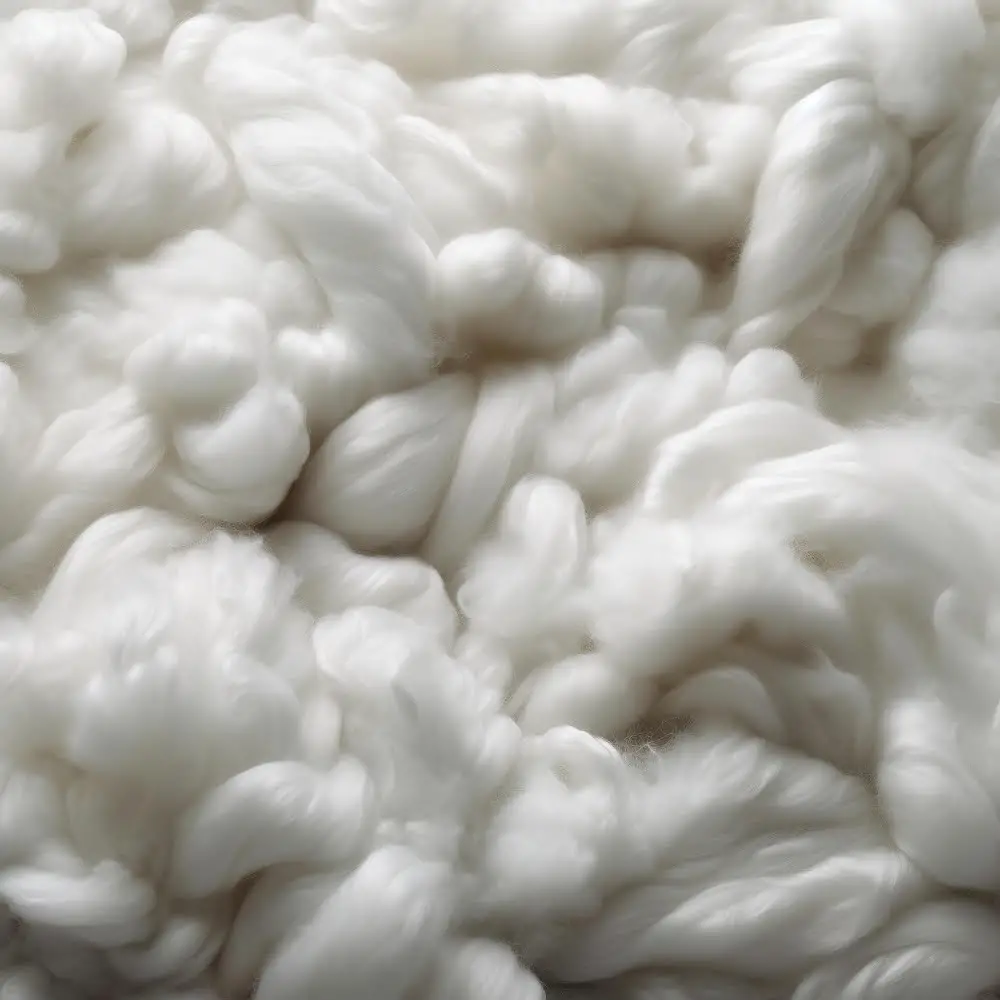
To embark on this exciting yarn-spinning journey, a few key tools and supplies are instrumental. First and foremost, raw wool which serves as the core ingredient. It is obtainable directly from farmers or craft stores, and it comes either as raw fleece or in processed forms like roving.
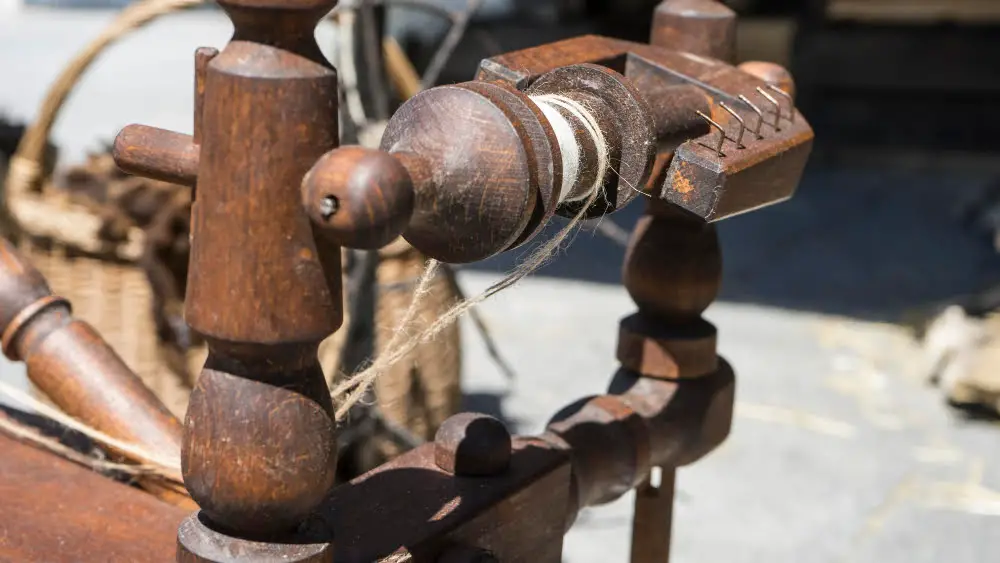
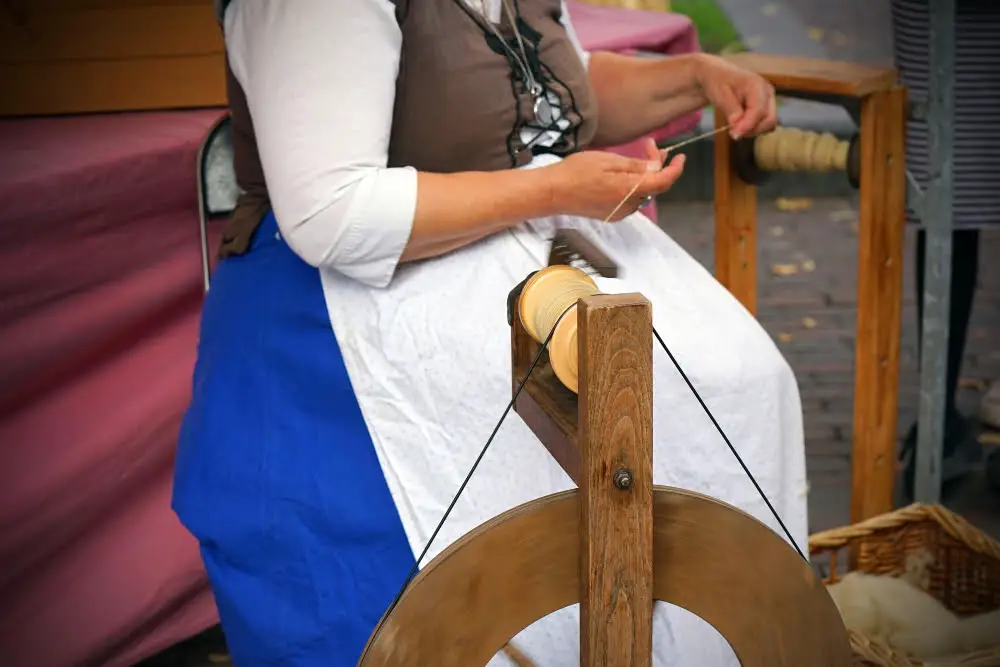
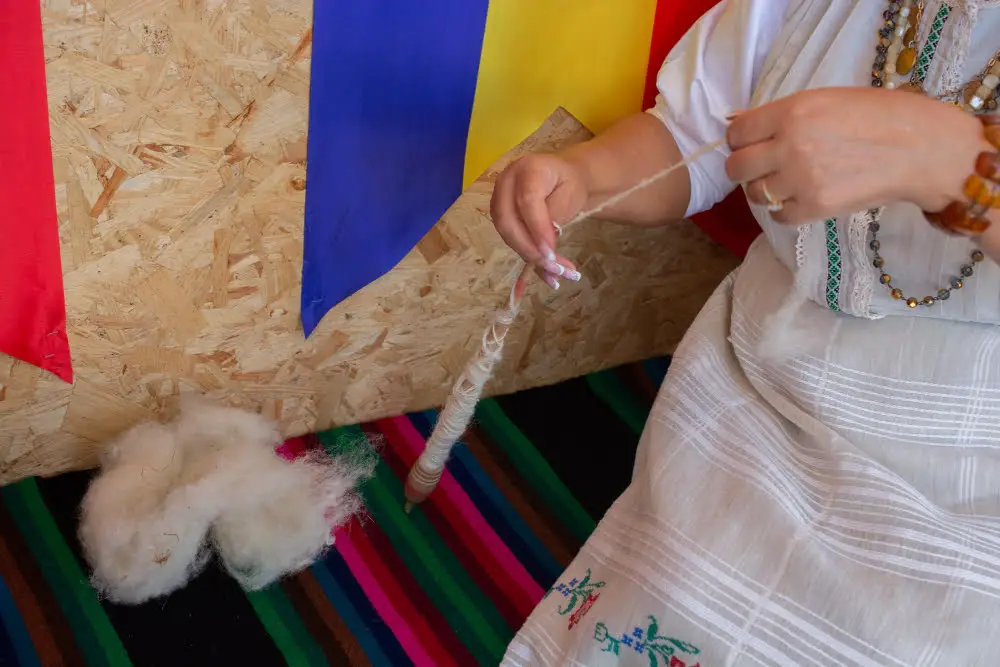
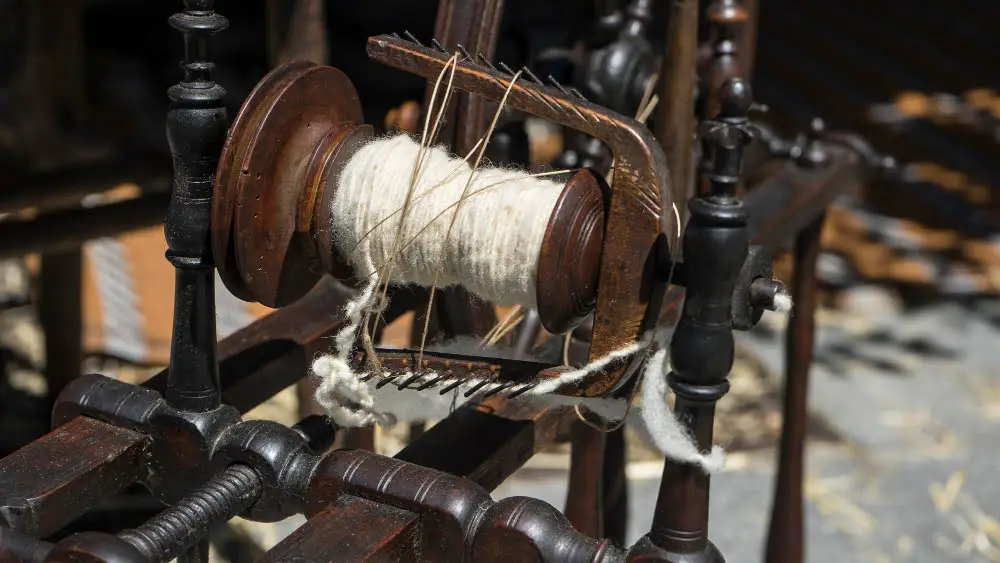
Next, a spindle or spinning wheel. Beginners often opt for a drop spindle because it’s more convenient, affordable, and portable. For a more traditional and faster approach, a spinning wheel is ideal but can require a larger investment of both time and money.
Thirdly, a pair of hand carders, which are essential for preparing your wool. They help clean and disentangle the raw wool, turning it into a manageable form to be easily spun.
Finally, a niddy noddy or any yarn-swift. This tool is crucial for winding your spun yarn into a hank, which then goes on to the final stage of setting. Don’t forget that a bowl of clean water and a gentle wool wash will also be needed to clean the final product. This helps get rid of any lanolin or dirt residual and sets the twist of your newly spun yarn.
Remember, quality tools and supplies result in quality spun yarn; therefore, the investment is worthwhile for creating beautiful, sturdy, and long-lasting yarn.
Preparing the Wool for Spinning

To prepare wool for spinning, there’s a specific procedure to follow. The first task is to wash the raw wool to eliminate any dirt or oils, a process fondly referred to as scouring. Utilize lukewarm water with a mild soap or wool wash and gently clean the wool without agitating it excessively to prevent felting. Afterwards, rinse with ample water until the wool is completely soap-free.
The cleaned wool undergoes carding, a process designed to untangle and align the wool fibers for spinning. Hand-carders or a drum carder can be used to accomplish this task. By brushing the wool between the two carders, you’re able to align the fibers and create a woolen or worsted yarn depending on your desired outcome.
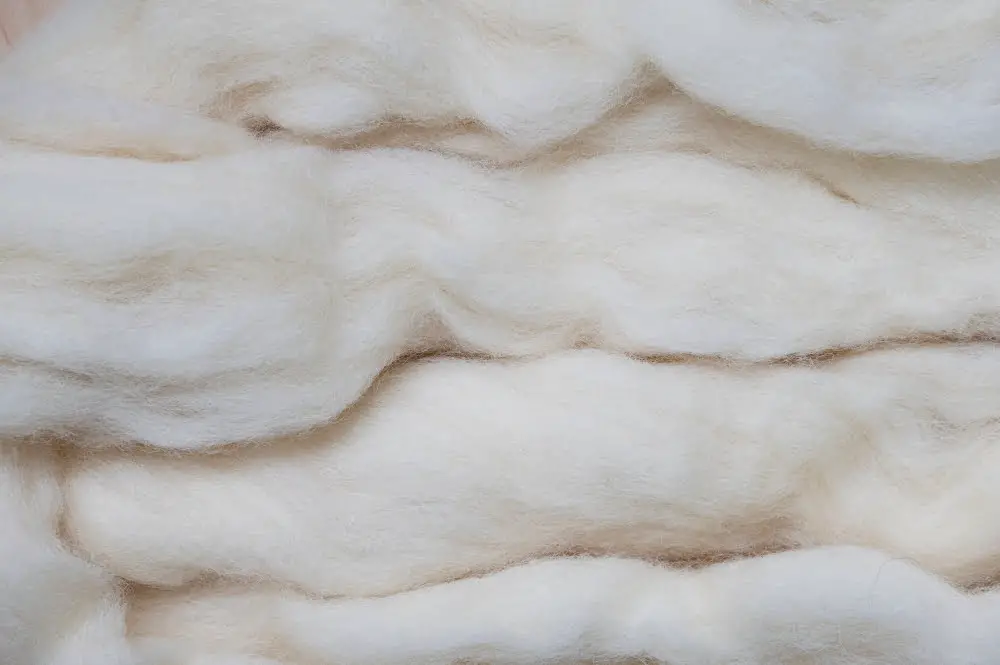
Lastly, after carding, the wool is then rolled into a fluffy, fiber cylinder called a rolag, or formed into a long strip called a roving. This process, known as drafting, allows for the wool to be smoothly and consistently spun into yarn. Remember, patience and practice are key for mastering the art of preparing wool for spinning.
Pre-drafting for Easier Spinning
Initiating the process involves separating the wool fibers gently. This is accomplished by neatly pulling apart a small section of the wool roving, approximately a finger’s width. It’s crucial to note that while doing this, you do not want to entirely separate the fibers. The goal here is to make them less dense, which enables a smoother spinning process.
Next focus on creating uniformity. Aim for an even thickness throughout your pre-drafted fiber. This lays the groundwork for the consistency of your spun yarn. Pay attention to spots that may seem thinner or thicker, and adjust accordingly to reach a consistent mass.
Bear in mind the ‘drafting triangle’. This refers to the area where you hold the fiber in preparation for spinning. It’s crucial to ensure it’s not too tight or too loose, as it modulates how the fibers feed into your yarn. It’s a delicate balancing act that results in beautifully spun wool.
Remember, practice makes perfect. The more you pre-draft, the more you’ll understand how the fibers behave and how to adjust your handling for the best results. You’re now one step closer to spinning your own yarn.
Fiber Management for Efficient Spinning
Before you start to spin, arrange your fibers parallel to each other. This alignment allows the spinning process to begin smoothly and reduces clumping or tangles.
An efficient way to manage fiber is to divide the roving (bundle of wool) into smaller, more manageable pieces. This step makes the spinning process easier, especially for beginners.
Also, keep the roving in a basket or a bag close to you while spinning. This containment helps to reduce unnecessary movements and keeps your roving clean and free from dust.
Keeping a steady draw on the fiber source during spinning can help maintain a consistent thread width and density. You can accomplish this by maintaining the same grip and pull force on the roving, which leads to even and phenomenally pleasant results.
Remember not to hold the roving too tight. You want the fibers to flow freely as you spin. A firm but gentle hold on the wool allows the spinning wheel or the drop spindle to pull the fiber from your fingers effortlessly.
Appropriate fiber management is key for efficient spinning, making the process smooth and enjoyable while leading to a consistent and beautiful yarn.
Attaching a Leader to the Wool
Having your materials prepared, it’s time to introduce the leader, essentially a piece of yarn that kick-starts the spinning process. There are a few ways to attach the leader to your fiber.
One common method is to simply tie a knot, attaching the leader to the shaft of the spindle. Let the leader yarn drop through the whorl’s hook, allowing it to copiously extend past the hook.
Another approach involves looping the leader yarn around the shaft, then back through the whorl’s hook. This method ensures stability as you begin to spin.
Remember, the leader’s connection with the wool shouldn’t be overly taut, maintaining a bit of give. In any case, make sure the leader is securely attached to ensure a smooth spinning journey.
The kind of yarn chosen as a leader can vary, but slightly textured yarn can better grip the wool, improving the spinning process.
Now, you are ready to add more wool to the leader. By following these steps, you’re ensuring a solid foundation for the spinning voyage ahead.
Adding More Wool Fiber to the Leader
Once your leader is adequately attached, it’s essential to add more wool fiber. Ideally, you should hold the roving or wool top in your non-dominant hand, making sure it’s adequately pre-drafted and fluffy.
Now, join the pre-drafted fiber with the leader, pinching the junction between your thumb and forefinger. Turn the spindle in a clockwise direction, allowing the twist to lock the wool fiber onto the leader.
Maintain an even, relaxed grip on the wool to ensure a smooth, continuous feed of fiber onto the spindle. Monitoring the twist and controlling the feed rate are crucial to create consistent, even yarn.
Spinning Techniques: Park and Draft
Mastering the park and draft method greatly simplifies the spinning process. The term “park” refers to holding the spindle still, while “draft” means pulling the fibers to be spun.
1. Start with spindle in one hand and the drafted wool in the other.
2. Spin the spindle clockwise until it has a good amount of twist.
3. Carefully “park” it between your knees, ensuring it stays stationary.
4. Now, using both hands, you “draft” by gently pulling out fibers from the fiber supply, extending them but not breaking them.
5. When enough fibers are drawn out, release the spindle, allowing the twist to travel up the wool, forming the yarn.
Remember, the key to good spinning lies in maintaining a balance between twist and draft. Too much twist before drafting can be tricky to manage, so release the fibers in smaller increments. Conversely, too little twist results in weak, loosely spun yarn. Practice to find your rhythm and consistency will follow.
How to Wind The Spun Wool On the Spindle
After the spindle is full, it’s important to carefully wind the spun wool, ensuring it doesn’t slip loose. Here’s what to do:
1. Start by securing the end of your yarn. To do so, simply loop it around a hook or notch on the spindle, if available, or tuck the end gently under the wound-on yarn.
2. Unhook the yarn from the spindle shaft or whorl, then gently unwind the yarn.
3. Make sure to guide the yarn down to the base of the spindle, creating a cone shape.
4. Wind evenly to prevent bulges. If a bulge forms, wind a layer of yarn diagonally over it, then resume winding in the original direction.
5. Continue this process until all the spun yarn is neatly wound onto the spindle.
Remember, little adjustments are key. If the spindle begins to tilt due to lopsided yarn, correct it by winding yarn where needed to balance it out. This step is necessary to keep the spun yarn secure and the spinning process smooth. Try to keep the process methodical and rhythmic, this not only makes it enjoyable but also produces a neat, even yarn.
Finishing Touches: Winding a Hank and Blocking
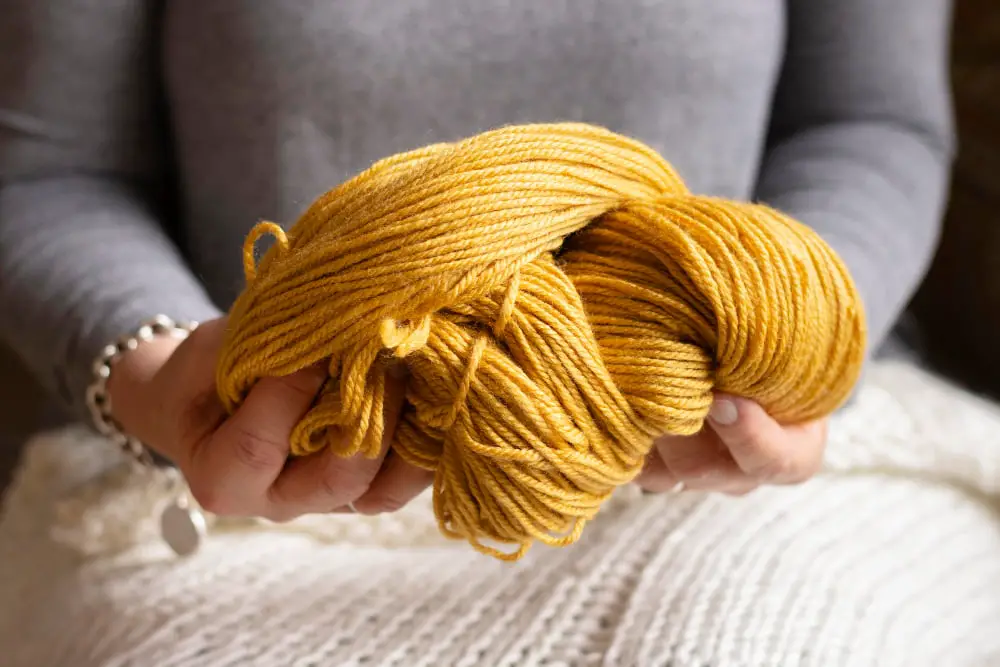
Once your spindle is full, it’s time to transfer your spun wool onto a niddy noddy to wind a hank. This helps keep your yarn tangle-free. The process is simple: begin by tying the end of the yarn on one arm of the niddy noddy, then wind the yarn across it in a figure-eight pattern until you’ve transferred all the yarn from the spindle.
Once the yarn is wound into a hank, it’s time for blocking. This process relaxes and sets the twist in the yarn to give it a more finished look. First, soak the hank in lukewarm water for approximately 20 minutes. Gently squeeze out the excess water and hang the hank up to dry, using a weight at the bottom to stretch it out. Avoid wringing or twisting the wet yarn to prevent any damage.
Remember, patience is key as it may take a day or two for the yarn to dry completely. Once it’s dry, you’re ready to start on your next knitting or crocheting project with your newly spun yarn.
Trouble-Shooting Your Yarn Spinning Issues
Experiencing issues while spinning your yarn is normal. Here are some common problems and solutions to ensure a smooth spinning process.
1. Uneven Yarn: This can be due to inconsistency in drafting. Practice maintaining consistent fiber volume in each draft for even yarn.
2. Broken Yarn: If your yarn keeps breaking, it may be spun too thin or not enough twist. Try increasing the volume of fiber per draft, or increase your spinning speed to add more twist.
3. Heavy Yarn: Spinning too slowly or drafting too quickly can result in heavy, over-twisted yarn. Balance your spinning speed with your drafting speed for a more desirable yarn weight.
4. Slubs or Lumps: These often occur when a chunk of wool is spun without drafting. Ensure all fibers are thoroughly pre-drafted before you begin spinning.
5. Yarn Won’t Wind on Spindle: A common problem with beginners is not having enough tension on the yarn when winding. Maintain a firm but gentle tension on your yarn as you are winding it onto the spindle.
Remember, the perfect wool yarn comes with practice – so keep spinning!
FAQ
What do you need to spin wool into yarn?
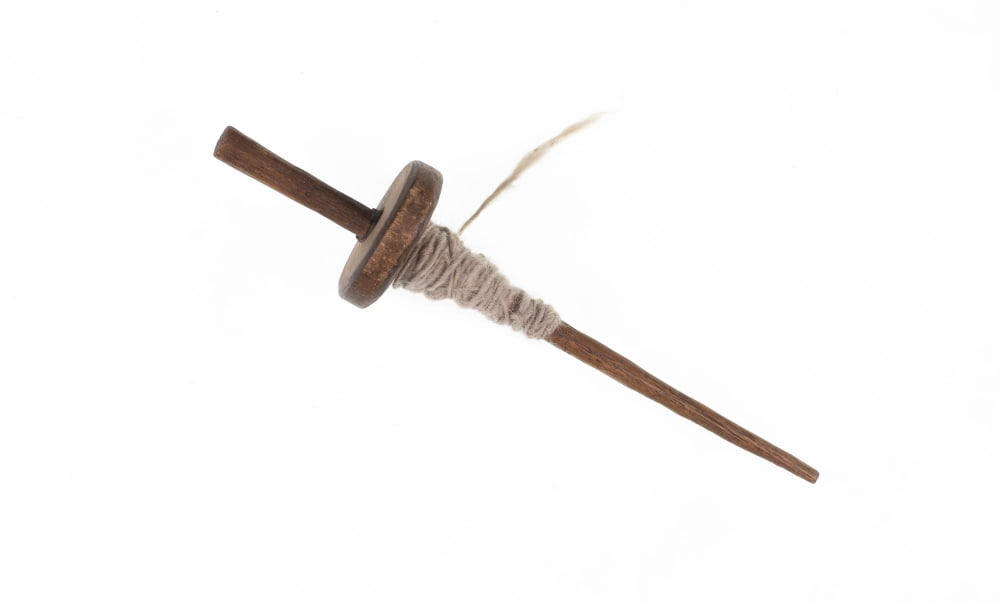
To spin wool into yarn, you primarily need a spindle, which is a straight rod typically made of wood, designed to twist the fiber into yarn.
Can you spin wool at home?
Yes, it is entirely possible to spin wool at home, utilizing various spinning techniques suitable for animal fibers.
What types of wool are best suited for spinning into yarn?
Merino, Shetland, and Corriedale wools are most suitable for spinning into yarn due to their fine, soft fibers and excellent crimp.
What are the necessary steps in the process of washing and carding wool before spinning?
The necessary steps for washing and carding wool before spinning include cleaning the wool thoroughly to remove impurities, drying it carefully, and then carding it to detangle and align the fibers for smoother spinning.
How does the thickness of spun yarn vary based on spinning techniques?
The thickness of spun yarn can drastically vary based on spinning techniques, with tighter spins generally producing thinner yarns, and looser spins resulting in thicker, more bulky yarns.


