Explore the world of yarn crafts by learning to make a yarn wall hanging, because it’s an exciting process that gives you the chance to showcase your creativity in every thread.
Creating a yarn wall hanging can be a rewarding way to add a personalized touch to your home decor. This article will guide you through the process step by step, from selecting the right materials, choosing the perfect color scheme, to knotting techniques and hanging tips.
Whether you’re a seasoned yarn artist or a beginner looking for a fun new project, you’ll find all the detailed instructions you need right here to craft a beautiful yarn wall hanging.
So, get your yarn, scissors, and dowel ready, and let’s dive into the creative process!
Key takeaways:
- Choose the right materials for your yarn wall hanging.
- Consider the size and scale of your wall hanging.
- Select the appropriate yarn and tools for your project.
- Measure and cut the yarn strands for your wall hanging.
- Attach the yarn to the dowel and shape it to your desired pattern.
Gathering Your Yarn Wall Hanging Supplies
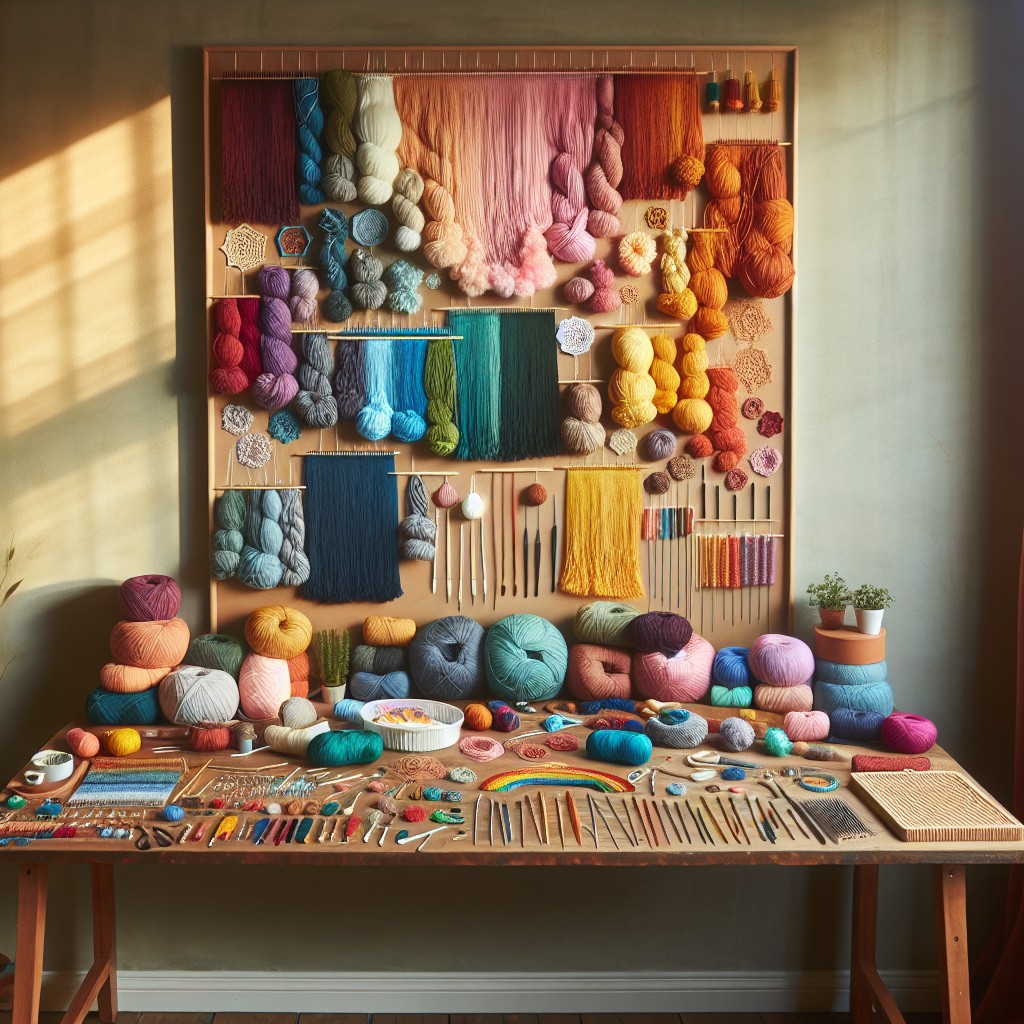
In crafting your masterpiece, an assortment of tools and materials is essential. Begin with sourcing a dowel or stick, which will serve as the main frame. The length depends on your desired finished size.
Yarn selection is crucial; consider varying textures and colours for visual interest and don’t shy away from incorporating materials such as wool, silk, or cotton. You’ll need a pair of sharp scissors for cutting yarn and shaping the end product.
Finally, grab a sturdy cord or twine for hanging. Remember to stick to high-quality materials to enhance the durability and aesthetic appeal of your piece. Maybe explore your local craft store or even online platforms, where a vast variety of art supplies are available.
Choosing the Right Size for Your Yarn Wall Hanging
Consider the wall space where the hanging is bound to feature. A large, vacant wall may accommodate a more expansive piece, while a petite wall space might just suit a smaller and more delicate arrangement better.
The look and ambiance you want to generate is also an influencing factor. Are you aiming for a bold statement or subtle accent? Larger wall hangings can command attention and become a focal point in the room, whereas smaller pieces blend naturally into the existing décor.
Your choice of dowel length should align with your artistic vision as well. Longer dowels lend themselves to wider, more impressive hangings, while shorter dowels facilitate compact, precise designs. Remember, the scale of your piece isn’t determined by the dowel alone but by its interconnectedness with the length and number of your yarn strands.
Ultimately, let individual creativity be your leading light – after all, it’s the charm of DIY. Your chosen size should harmonize with your space and personal style, affirming that there are no strict rules or boundaries when it comes to artistic expression.
DIY Yarn Wall Hanging Materials
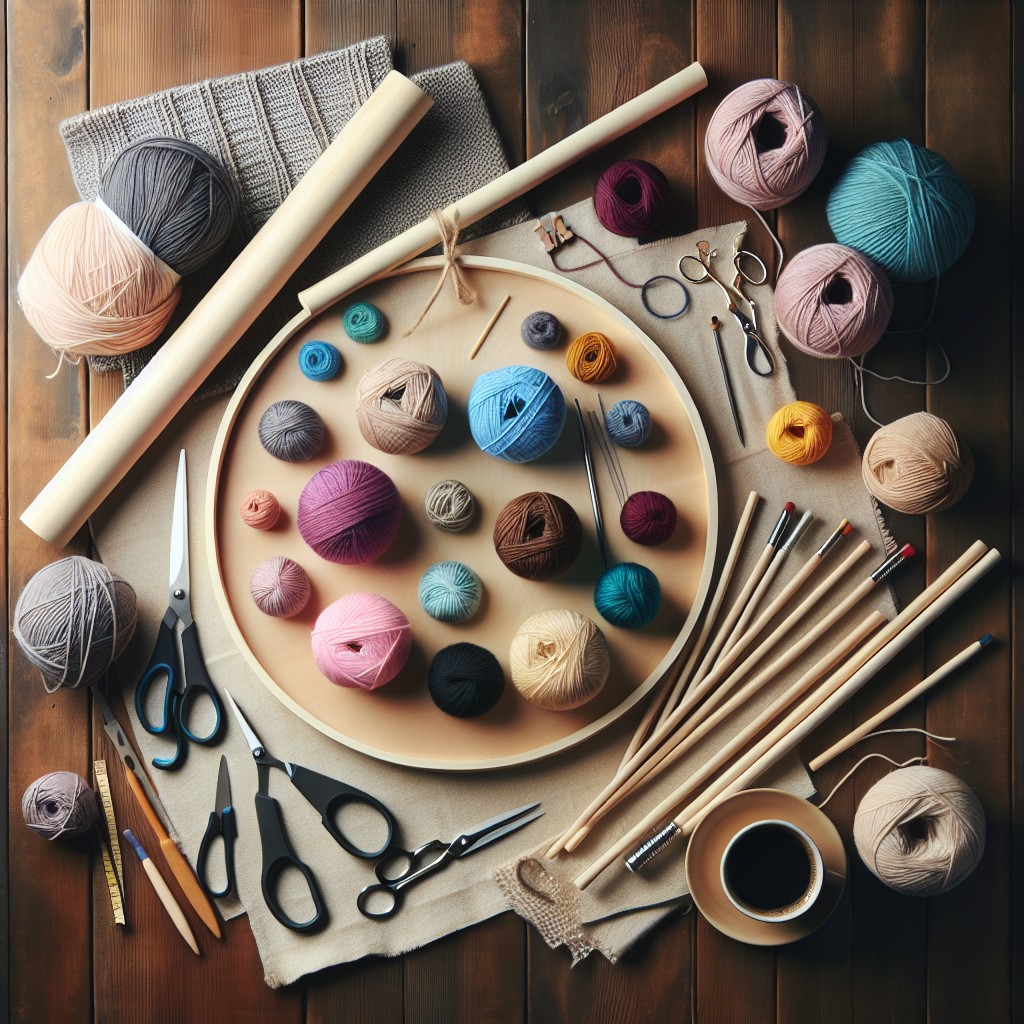
Selecting the right materials is crucial to the success of your yarn wall hanging project. Start with a wooden dowel or stick, the backbone of your wall hanging upon which the yarn will be attached. Choose a flat or round dowel depending on your desired look.
Next, consider the type of yarn. Acrylic, cotton, or wool yarns work well with a wide variety of colors and thicknesses available. Opt for a thicker yarn for a chunkier look or a thinner yarn for more intricate designs.
To hang your project, you’ll need a hanging cord. It can be as simple as a piece of yarn, twine, or a decorative ribbon. Lastly, gathering a pair of sharp scissors will ensure clean cuts when trimming the yarn. Try to maintain a sharp pair only for fabric and yarn.
Supplemental tools like a tape measure for accurate yarn lengths and a comb or brush for fringing and texturing the yarn can also be brought into play.
Measuring Lengths of Yarn for Wall Hanging
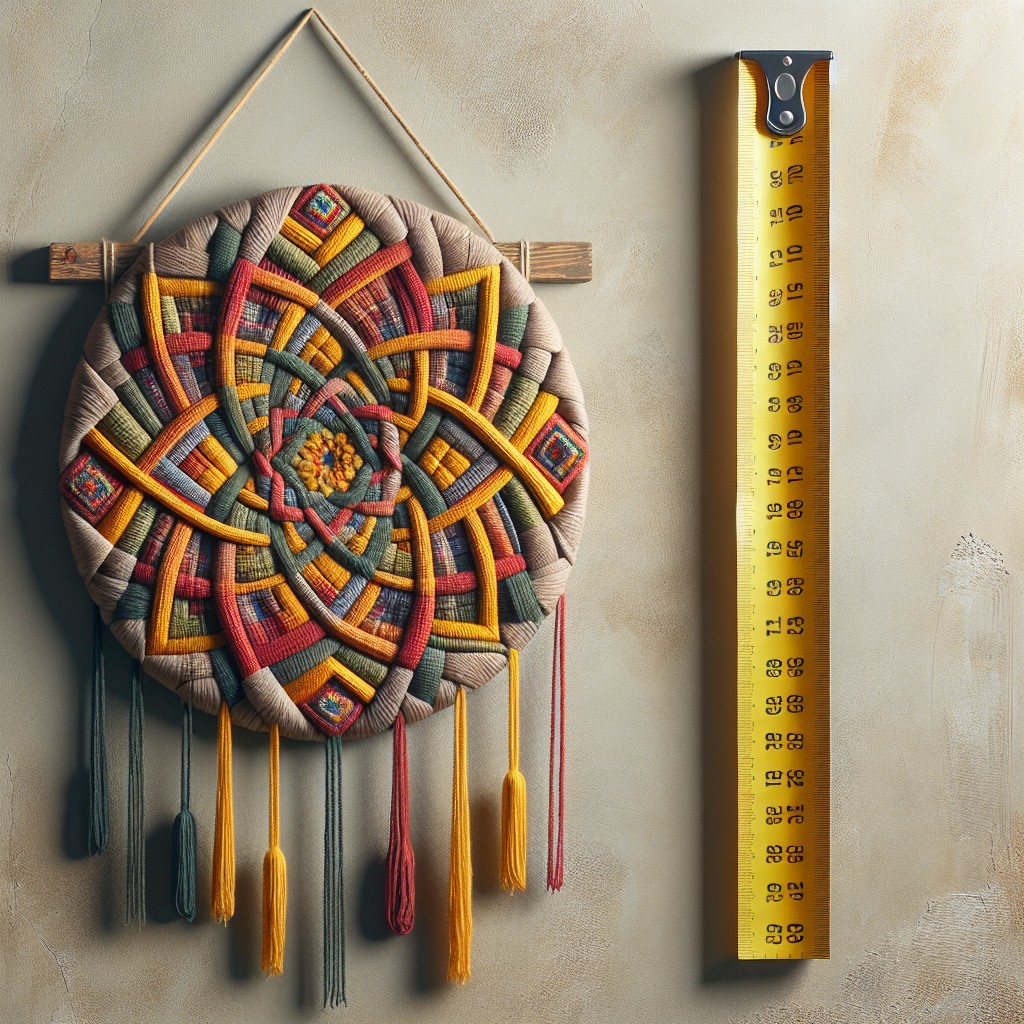
To ensure proper fit and aesthetic appeal, consider the planned location of your wall hanging and the desired overall length. A common method is to double the desired final length when cutting strands since they will be folded over the dowel. For example, a 2-foot wall hanging will require 4-foot long pieces of yarn.
1. Start by determining the length of the yarn strands. Visualize your wall hanging in its intended location and decide how long you want it to be.
2. Remember to double that measurement to account for the folding over the dowel.
3. Mark the length on a flat surface or use a long ruler, then hold one end of the yarn at the starting point and extend it to the measured length. Cut the yarn at this point.
4. Repeat this process for each strand of yarn. You may want to cut a few extra strands just to be on the safe side.
5. Group all the cut yarn strands together and smooth them out. This step will ensure each strand is the same length and will give your wall hanging a clean, professional look.
Remember, it’s better to err on the side of longer strands. It is always easy to trim excess length from the bottom but impossible to add length once the yarn has been cut.
How to Wrap the Yarn for Wall Hanging
Select a strand of yarn and fold it in half to form a loop at one end. This loop is essential as it plays a key role in fixing the yarn to the dowel.
Position the loop underneath the dowel, ensuring the yarn’s loose ends are at the top, pulled over the dowel.
Now clinch the yarn ends through the loop situated under the dowel. Pull the yarn ends until a knot forms at the top of the dowel, and the loop disappears.
Feel free to adjust the tension of the knot; however, remember, a tighter knot will secure the yarn better but may distort the dowel. Ideally, strike a balance between a firm yet flexible knot.
Repeat this process for each strand of yarn. Ensure all knots face the same direction for a uniform appearance. The number of yarn pieces you wrap around the dowel will determine your wall hanging’s fullness and volume.
Remember, consistency is key when wrapping and knotting – uneven wraps can disrupt the symmetry and aesthetic appeal of the final project.
Laying the Yarn in Your Desired Pattern
Begin your layout by sorting the yarn lengths according to color or texture based on your preferred design. For instance, you might choose to arrange your yarn from lightest shade to darkest, or mix the textures to create visual appeal.
Make sure to fringe the yarn ends equally for consistency on both ends. You could also use a comb or brush to separate and fluff the strands to increase their volume and enhance texture.
Try holding up the dowel periodically to gauge how the pattern is forming. Remember, creativity is key, don’t be afraid to rearrange the strands until you achieve your ultimate look.
Finally, group your pieces together by color or texture to make the next step, attaching the yarn to the dowel, more manageable.
Attaching Yarn to the Dowel for Wall Hanging
Begin with a simple knot known as a lark’s head knot. Fold your yarn strand in half, creating a loop at one end. Keep your dowel over this loop and then pass both ends of the yarn strand through this loop hugging the dowel tightly. Repeat this process with all your measured strands until you fill your dowel to your satisfaction.
Remember to keep your yarn strands evenly spread. Begin attaching from the middle, then move outwards to the ends for a balanced look. Visualize the final product while placing each strand.
In case of adding layers of different colors, complete one color first, and then move to the subsequent one. Similarly, for patterns, plan ahead, mark your dowel where needed, and then attach your yarn accordingly.
Tug lightly and make sure all knots are tight, and strands are firmly attached to the dowel. Any loose ends might compromise the overall aesthetic of your wall hanging.
How to Attach Hanging Cord to Dowel
To secure your creation on a wall, incorporating a hanging cord is a must. Firstly, cut a length of cord or thick yarn, estimating twice the width of the dowel. Now, tie each end of this length to the ends of the dowel, creating a triangle shape. Make sure it’s secure with tight knots.
The triangle of cord or yarn will now serve as the main hanger for your wall art. In case of unevenness, adjust the cord to align the dowel horizontally. Remember, the knots should be on the top of the dowel, ensuring your wall hanging lays flat against the wall.
Just keep in mind, a thicker cord or yarn can add more stability and offer a more rustic appearance.
Trimming and Shaping Your Yarn Wall Hanging
Once your yarn is securely attached to the dowel, you’ll want to create a pleasing shape. Here’s how:
1. Begin trimming from the bottom. Keep the ends longer towards the edges and gradually shorter towards the center, creating a v-shape.
2. Always trim less than you think you need at first. You can always cut off more, but adding length back is impossible.
3. When shaping, look at your wall hanging from a little distance. This will give you a better perspective of the overall form.
4. Use sharp, high-quality scissors for a clean cut. Blunt scissors may fray the yarn ends.
5. Experiment with varying lengths and asymmetrical designs. This can add a unique, modern touch to your piece.
Remember, the goal is to create a balanced, harmonious design that complements your space and personal aesthetics.
Hanging Your DIY Yarn Wall Hanging
After ensuring your wall hanging is evenly trimmed and textured, the next step is to secure it to the chosen spot on your wall. It’s time to give your finished masterpiece its rightful place. Use a nail, hook, or hanger strong enough to bear the weight of your piece. Make sure it’s hammered securely into the wall. Now, carefully align your cord or mounting thread on the nail, and regulate its positioning until it hangs exactly as you’d like.
Take a step back to check the overall placement. It’s essential to ensure it’s at eye level and centrally located to enhance visibility and create a focal point. If you’ve created multiple hangings to display as a series, maintain equal spacing between each piece for symmetry.
Remember, wall materials vary, and so do mounting methods. For plaster walls, picture hanging hooks tend to work best; whereas, drywalls may require the use of drywall anchors for added support.
Don’t rush this process; adjusting the hang for the perfect spot is as vital to the overall aesthetic as the creation process itself. Take your time and you’ll have a beautiful piece of art that adds warmth and personality to your room.
Yarn Wall Hanging Maintenance and Care Tips
Keeping your yarn wall hanging looking its best involves periodic dusting using a soft, dry cloth or a feather duster. A handheld vacuum on the lowest setting can also effectively remove dust and debris without damaging the yarn fibers.
If your yarn wall hanging is placed in a high-traffic area, it might accumulate dirt more quickly. In such cases, spot cleaning is recommended. Use a soft cloth dipped in mild detergent diluted in water and gently clean the dirty parts. Rinail dry without rubbing the yarn to avoid causing any damage to its texture.
For major stains or spills, professional cleaning might be the best option. It’s important never to soak your yarn hanging in water or place it in a washing machine as this could severely damage the ‘wool fiber and distort the wall hanging’s shape and color.
Finally, keep your yarn wall hanging out of direct sunlight. Long term exposure can cause the colors to fade. Instead, choose a spot in your home that gets indirect natural light to best preserve the yarn’s vibrant hues.
Tips for Choosing Yarn Colors for Wall Hanging
To add visual interest to your wall hanging, consider using a mix of complementary and contrasting colors. The color wheel can be a good reference point, with adjacent colors offering a harmonious look while opposite colors create contrast.
Consider room decor and wall color where you plan to display the wall hanging. Pick yarn colors that complement or enhance these elements to create a unified aesthetic.
Light colors can make a room seem larger and more open, while dark colors add cosiness and depth. You may use a mix of both to create subtle shifts in mood and perception.
Variegated yarn can add interesting color gradients and patterns without additional effort. It’s an excellent choice for those who want a multi-colored wall hanging without changing yarns.
Remember, there’s no ‘right’ or ‘wrong’ color choice – personal preference plays the most significant role. Create a piece that resonates with you and brings joy to your space.
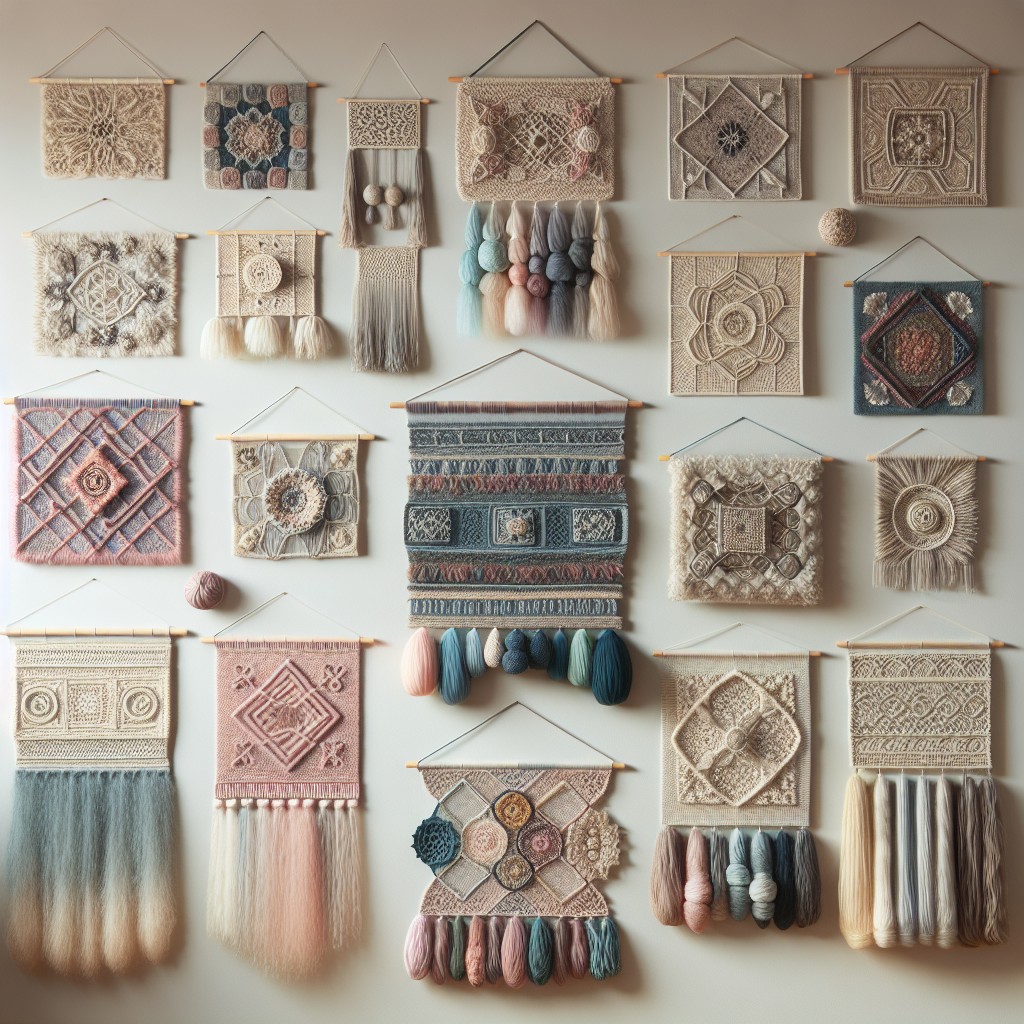
Techniques for Texturing Your Yarn Wall Hanging
To infuse more character into your wall hanging, experimenting with varied textural effects can be the perfect touch. Here are a few techniques to achieve different textures:
1. Loop Stitch: If you loop the yarn, it will create bouncy curls, adding volume and depth.
2. Yarn Fringe: This look comes from cutting the yarn at an angle, providing a fringed effect that’s great for a boho design.
3. Twisting or Braiding: By twisting or braiding the yarn, you’ll introduce a structured pattern that adds intricacy to the craft.
4. Mixing Yarn Types: Incorporate different types of yarn like chenille, boucle, or ribbon yarn to make your piece really pop!
5. Knotting: Knotting the yarn at various intervals is another way to add texture and unique visual interest.
Remember, practising and playing around with different textural techniques will allow you to create a truly customized yarn wall hanging!
FAQ
How many skeins of yarn do I need for wall hanging?
For a large wall hanging, at least five skeins of yarn are typically needed.
How do you make a yarn storage wall?
To make a yarn storage wall, purchase a pegboard from a hardware store, cut it to your desired size, acquire three 1/4" dowels and cut them into 5" pegs, then mount the pegboard on the wall, securing each corner with a single screw.
What kind of yarn is used for wall hanging?
Any type of yarn can be utilized for wall hangings; however, the thickness of the yarn will determine the thickness of the final product.
What are the different techniques for creating patterns in a yarn wall hanging?
Different techniques for creating patterns in a yarn wall hanging include knotting, braiding, twisting, color blocking, fringing, and incorporating beads or other embellishments.
How do I choose the right color scheme for my yarn wall hanging?
To choose the right color scheme for your yarn wall hanging, consider the color palette of the room it will be in, your personal preferences, and the mood you want to create.
What tools are necessary for making a yarn storage wall?
To make a yarn storage wall, you will need empty wall space, shelving or picture rails, hooks or dowels, yarn skeins, yarn winders, and optionally, decorative elements like labels or paint.


