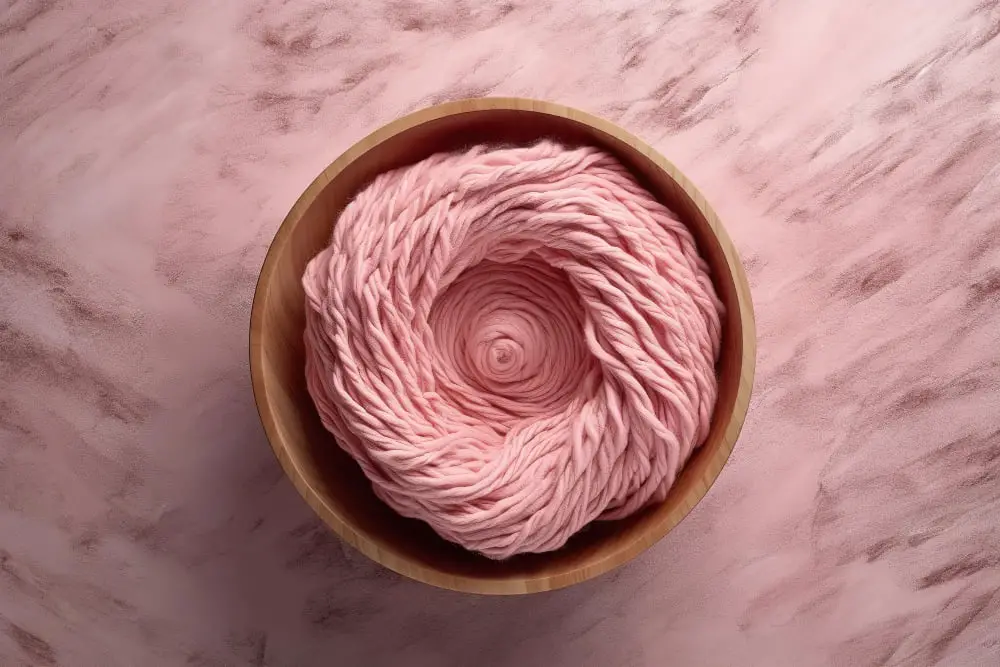
Explore the creation of your own yarn bowl because it offers an organized and fun way to manage your knitting projects.
Creating a yarn bowl is a fun and practical project for every yarn craft enthusiast. It’s a perfect solution for keeping your yarn balls tangle-free while you’re immersed in your knitting or crocheting.
This article will guide you through each step of crafting your own yarn bowl, from choosing the right materials to the final finishing touches. Whether you’re a seasoned pro or a beginner in yarn crafts, you’ll find clear, detailed instructions that will help you create a functional and attractive yarn bowl.
Stay tuned to discover how to bring this project to life.
Key takeaways:
- Choose quality materials for a durable yarn bowl.
- Wrap the yarn tightly around the bowl to prevent gaps.
- Allow the bowl to dry completely before removing the yarn.
- Use a yarn bowl to keep your yarn clean and prevent tangles.
- Customize your yarn bowl with unique designs and finishes.
Materials Needed for Yarn Bowl
To get started with your project, you’ll need to gather the following essentials:
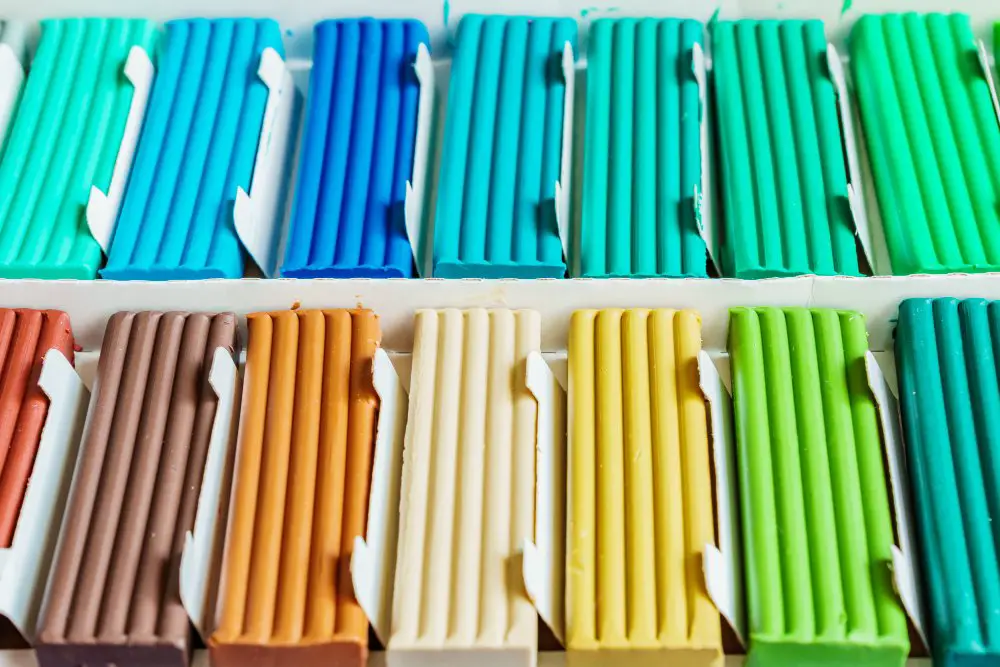
- Clay: This is the main material for the bowl. Consider air-dry or oven-bake clay depending on your preference, both work well.
- Smooth surface: Protect your workspace by using wax paper or a ceramic tile. This ensures easy cleanup and prevents damage to your table.
- Rolling Pin: A rolling pin will be used to flatten the clay before shaping it into a bowl.
- Bowl and Knife: Use an existing bowl as a mold for your project. A craft or kitchen knife can be used to sculpt and shape the clay.
- Paints and Brushes: Add personal touches with acrylic paints. Fine brushes offer better control for intricate designs.
- Clear Sealant: After your bowl is painted and dried, finish with a non-toxic water-based sealant to protect the paint and provide a glossy finish.
- Yarn: Don’t forget the star of the show – the yarn itself! Once the bowl is complete, it’s ready to hold your favorite skeins.
Remember, it’s all about customization, so feel free to get creative! Substitute tools and materials based on what you have on hand. Adjust shapes and sizes according to your needs, and choose colors and finishes that reflect your unique style.
Step By Step Instructions to Make a Yarn Bowl
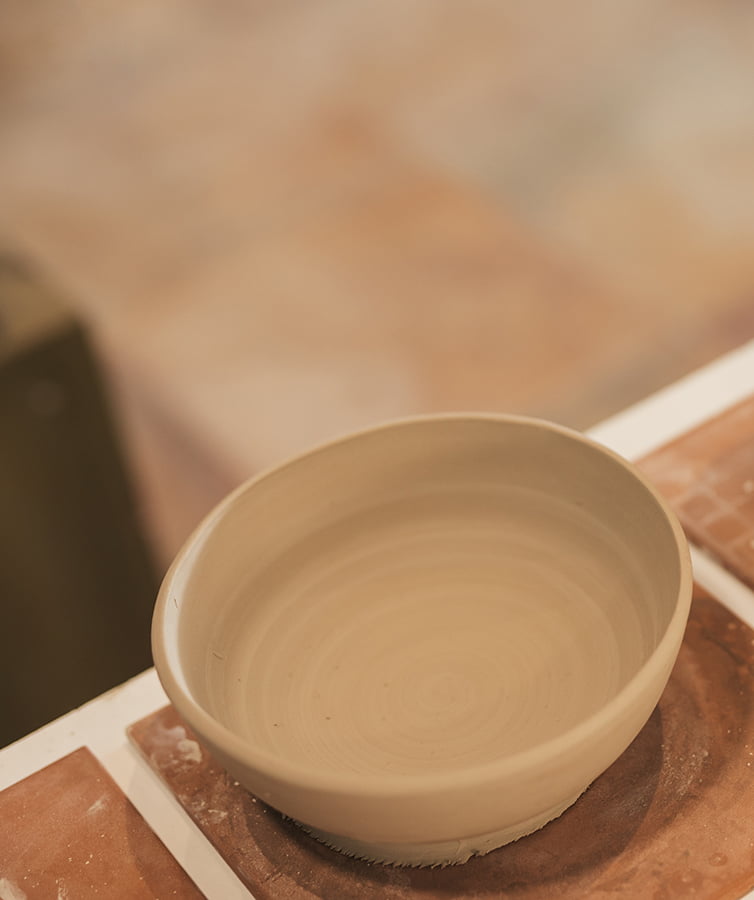
1. Select your bowl: Choose a ceramic or wooden bowl as your base, considering the size and shape according to your yarn balls.
2. Create adhesive mixture: Mix equal parts of water and white glue in a separate bowl. This will serve as your adhesive for attaching the yarn to the bowl.
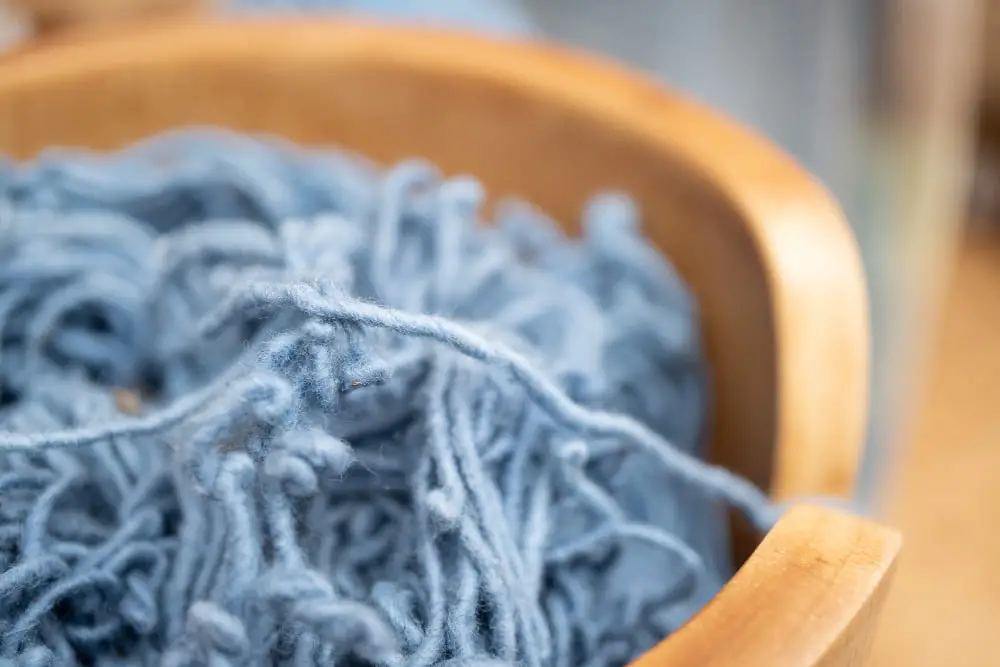
3. Soak the yarn: Immerse the yarn in the glue mixture until it’s thoroughly soaked. Squeeze out excess glue but ensure it’s still moist.
4. Wrap the bowl: Begin at the top edge of the bowl and start wrapping the soaked yarn tightly around it. Try to keep the yarn strands as close together as possible to avoid gaps.
5. Let it dry: Once you’ve covered the entire bowl with yarn, allow it to dry completely. This usually takes 24 hours but can vary depending on climate.
6. Remove yarn bowl: After drying, the yarn should be stiff and hold the shape of the bowl. Carefully remove it, avoiding force to prevent damaging your new yarn bowl.
Remember, patience is key with this craft. It might take a few tries to perfect, but the end product is an artful and practical tool for your crafting needs!
DIY Yarn Bowls Guide
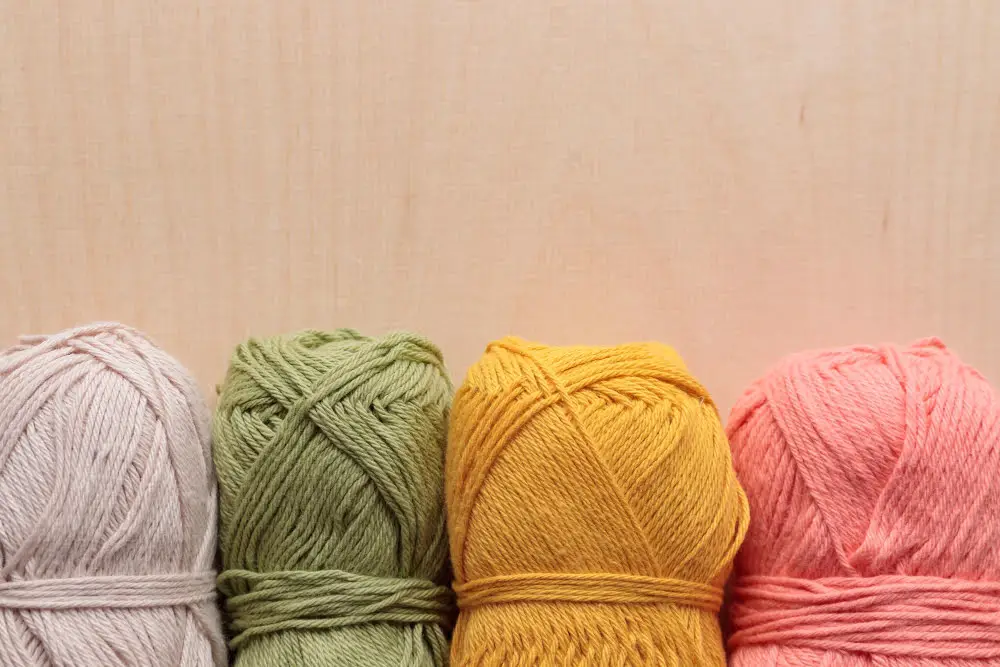
Transitioning from just gathering the necessary materials, let’s delve into the actual process of creating your custom yarn bowl. First, select the yarn to be used – ideally, it should be sturdy yet pliable. A resilient cotton yarn works fantastic for this purpose and is easily available.
Second, for a durable structure, use a balloon as your foundation. Inflate it to the desired size of your bowl and let it be your guide.
Next, dip your selected yarn into the glue, making sure it is thoroughly coated but not overly saturated. Begin to wrap the yarn around the balloon. The pattern you choose here – whether it’s a simple horizontal wrap or a more complex, haphazard design – entirely depends on your preference.
After your yarn is placed to your satisfaction, allow it to dry entirely. This step might take a few hours or even overnight. Patience is the key, making sure it’s fully dry before moving ahead will help to maintain the bowl’s shape.
Finally, pop the balloon, and voila! You have a DIY yarn bowl ready to hold your knitting or crocheting projects. Remember, the key to the perfect yarn bowl is to take it slow and enjoy the process. After all, crafting should always be fun! Let’s proceed by understanding why using a yarn bowl can prove beneficial for your yarn crafts.
Benefits of Using a Yarn Bowl
In the context of yarn crafts, a yarn bowl is not just a tool but also an enhancement to the overall crafting experience. Here’s why:
1. Keeps yarn clean: While working on a project, the yarn bowl safeguards your yarn from dust and dirt. Less cleaning, more crafting!
2. Prevents tangles: The cleverly designed swirl or hole acts as a guide, allowing the yarn to unravel smoothly while preventing knots and tangles.
3. Facilitates even tension: As the yarn unravels smoothly from the bowl, it provides even tension, essential for creating consistent stitches.
4. Stays in place: The weight of the bowl ensures it stays put, keeping your yarn from rolling away, thus saving not only your time but also your patience.
5. Adds aesthetic value: Being an inherent part of your craft kit, yarn bowls come in different designs and patterns, adding a dash of style and personality to your crafting space.
In essence, a yarn bowl promises a hassle-free crochet or knitting experience, making it a perfect companion to your craft journey. Remember, investing in good tools is as important as mastering your craft skills.
Tips for Making the Perfect Yarn Bowl
1. Choose Quality Materials: Start with a ball of yarn suitable to your project and a solid, well-crafted bowl. The bowl’s smoothness ensures the yarn glides freely without snagging.
2. Size Matters: Consider the project size to select the appropriate bowl diameter. Bigger projects need larger bowls to accommodate more yarn.
3. Proper Placement of Holes: The hole or channel should be smoothly finished. Its placement makes a significant difference. Ensure it’s large enough so yarn can pass through but not so big that it slips out easily.
4. Protect the Surface: Use a bowl with protective feet or pad the bottom to prevent it from scratching furniture.
5. Keep It Tangle-Free: Avoid tangling by not putting more than one ball of yarn in the bowl at once.
6. Go with the Flow: Ensure the yarn flows smoothly from the bowl to your hands. Position the bowl in a way that the yarn pull is comfortable and doesn’t strain your hands or wrists.
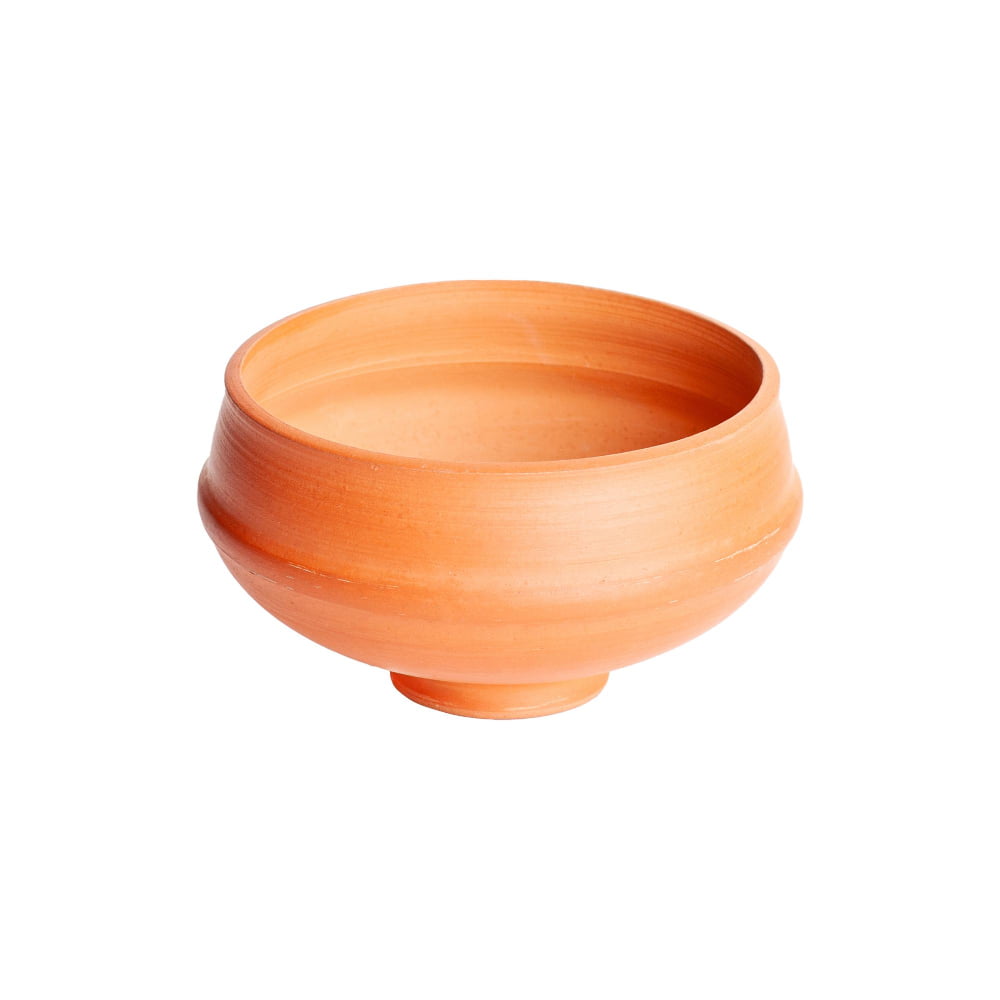
7. Explore Options: Yarn bowls come in a variety of materials like wood, ceramic or plastic. Each offers different benefits. Will you prioritize aesthetics or practicality? Think it through.
Remember these tips while making your yarn bowl to keep the process seamless and maximize its potential.
Common Mistakes While Making a Yarn Bowl
While crafting your yarn bowl, you may possibly make some oversights. For instance, selecting a bowl with thin walls can lead to fragility, heightening the risk of cracking or breaking during the carving process.
Another common error is rushing through the drying phase. Hastening this integral period could result in issues such as warping, leading you to start from scratch. To avoid this, ensure the bowl dries properly before you commence carving.
Ignore the urge to pull your yarn forcefully from the bowl. This can result in the bowl tipping over or the yarn not feeding through properly. Always remember – it’s not a battle, it’s a dance between you and your yarn.
Finally, overlooking the finishing process may yield a less than satisfactory result. Sanding and sealing are crucial for a smooth, snag-free surface that doesn’t catch or fray your yarn. So pay special attention to these finishing touches.
With a keen eye for these common missteps, you shall strike the balance between form and function in your yarn bowl creation.
Maintaining and Cleaning a Yarn Bowl
Once you’ve successfully crafted your yarn bowl, proper care is pivotal for its longevity. Here are a few key points:
- 1. Avoid placing the bowl in high moisture areas – Exposing the bowl to moisture could potentially damage the material over time. A dry room with moderate temperature is usually best.
- 2. Light cleaning – Dust the bowl regularly. Use a dry cloth for removing dust to maintain cleanliness.
- 3. Deep cleaning – In case of any spills, use a damp cloth and mild soap, followed by immediate drying to prevent water absorption.
- 4. Protect from extreme temperature variations – Rapid temperature changes can lead to cracks in the bowl. Avoid placing it near heaters or air conditioners.
- 5. Regular inspection – Over time, normal wear and tear may cause minor damages. Regular inspection helps to detect and address them early.
Each step upholds the quality of the yarn bowl, ensuring you can enjoy its benefits for many crafting sessions to come.
Sharing and Showcasing Your Yarn Bowl Project

Once you’ve completed your yarn bowl project, it’s rewarding to display it to the world. It’s not simply about receiving praise for your craft but also inspiring others to try it out.
Here are some ways you could do it:
1. Social Media: Platforms like Instagram, Pinterest, and Facebook are great for showing off your work. These not only have a large audience, but also boost engagement through their interactive features.
2. Blogging: Create a blog post detailing your yarn bowl creation journey. Share the highs and lows, beautiful shots of the completed bowl, and maybe a few work-in-progress snaps.
3. Craft Fairs and Local Stores: Physical displays at local craft fairs or community boutiques can garner appreciation from fellow craft enthusiasts.
4. Craft Circles: Sharing within your knitting or crocheting group can incite exciting discussions about techniques and experiences.
Remember, every share is a potential inspiration for someone else in the crafting community.
Special Techniques for Unique Yarn Bowl Designs
In designing yarn bowls with a unique touch, think outside the proverbial box. Understanding the fundamental techniques first is paramount, but applying a sprinkle of creativity can make the project even more stimulating.
Here are some approaches:
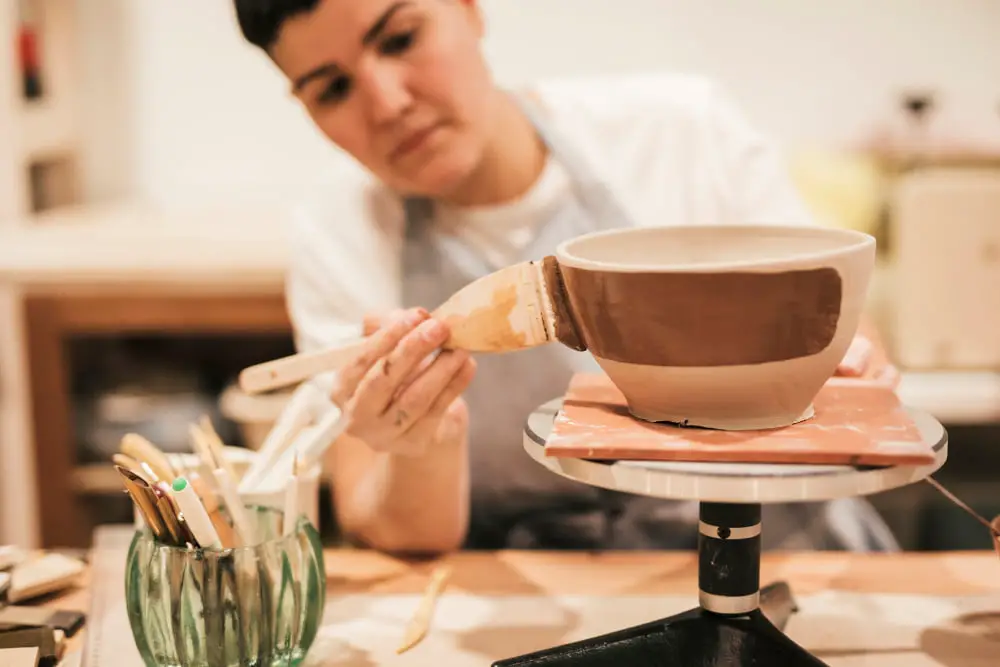
- 1. Paint it: Unleash your inner artist with a touch of acrylic paint. Florals, landscapes, geometric patterns—sky’s the limit.
- 2. Decoupage: Use up those scraps of pretty paper or fabric to lend interesting textures and patterns to your bowl.
- 3. Clay Carving: You can carve intricate designs or simple patterns into the clay before it dries for a one-of-a-kind piece.
- 4. Multi-Tiered Bowls: If you are comfortable working with clay, try creating a stacked, or multi-tiered bowl, which not only looks unusual but also increases functionality.
- 5. Mix Materials: Combine different clay types or incorporate other materials like wood for an eclectic finish.
It’s worthwhile noting, there is no wrong or right design when it comes to personalizing your yarn bowl. Creativity should be enjoyable and experimental, a space where anything goes. If it reflects your taste and fulfills its purpose, you’ve done it right!
FAQ
What is the best material for a yarn bowl?
The best material for a yarn bowl is wood because it allows the yarn to move around smoothly, facilitating easy yarn pull as you work.
What are the three holes for yarn bowl?
The three holes in a yarn bowl are designed to let you knit or crochet with multiple strands of yarn simultaneously, keeping them tangle-free for a smooth crafting process.
Are yarn bowls worth it?
Yes, yarn bowls are worth it as they keep your yarn clean, tangle-free, and enables smooth unravelling due to their smooth interior.
How to choose the right size for your yarn bowl?
To choose the right size for your yarn bowl, consider the weight and volume of the yarn you usually work with, opting for a larger bowl for bulkier yarns and a smaller one for finer strands.
What are the benefits of using a handmade yarn bowl?
A handmade yarn bowl keeps the yarn from tangling, provides easy access while knitting or crocheting, and adds a touch of personalized beauty to the crafting space.
How to maintain and care for your yarn bowl?
To maintain and care for your yarn bowl, gently clean it with a dry or slightly damp cloth, avoid soaking, and keep it away from extreme temperatures to prevent cracking.


