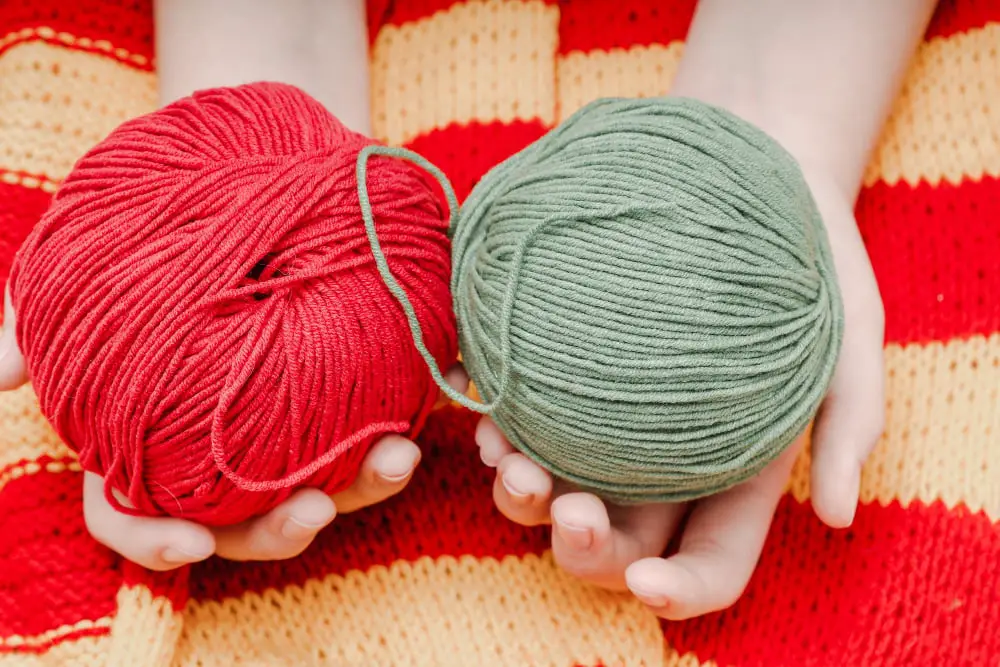
Creating a center pull yarn ball reduces tangles and increases efficiency while crafting, because it allows you to pull out the working yarn from the core, ensuring a smoother knitting or crocheting experience.

Creating a center pull yarn ball is a simple and practical skill that every crocheter or knitter should master. It helps to keep your yarn from tangling and makes your knitting or crocheting experience much smoother.
This article will guide you through the step-by-step process of making your own center pull yarn ball. From selecting the right yarn to the actual winding process, you will find all the necessary details to create a perfect center pull yarn ball.
By following these steps, you will be able to keep your yarn in order and focus more on your crafting. Stick around for the complete solution.
Key takeaways:
- No rolling: Yarn comes out smoothly from center.
- Continuous supply: Uninterrupted and easy flow of yarn.
- Movement-free knitting: Ball stays put, great for smaller spaces.
- Reduced tension: Even stitch throughout your project.
- Proper yarn storage: Keep in cool, dry area; avoid direct sunlight.
Understanding Why to Opt for a Center Pull Yarn Ball Over Traditional Yarn Ball

When it comes to the world of crocheting or knitting, it’s not only about the techniques applied to the crafting process but also the materials used and how they’re managed. A center pull yarn ball dramatically simplifies the knitting process.
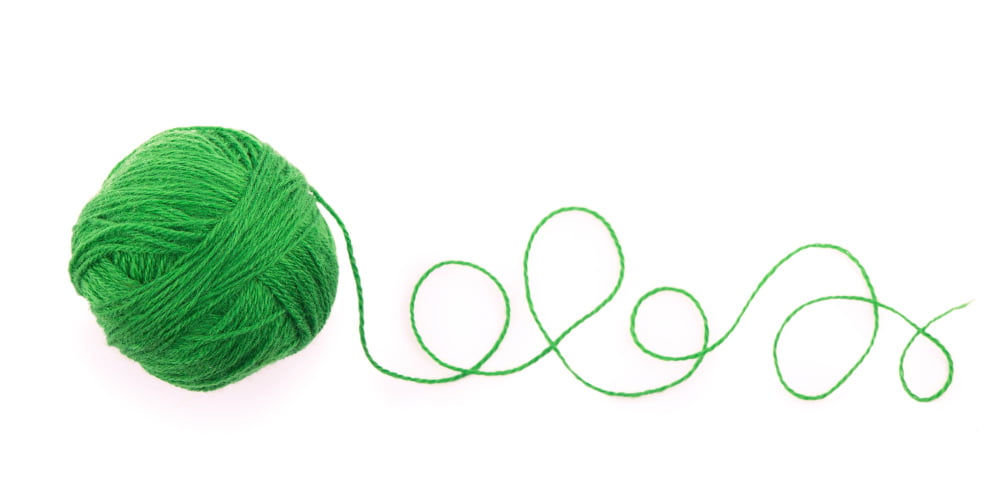
1. No rolling: The yarn comes out smoothly from the center, meaning the ball doesn’t roll around. This keeps the yarn clean and away from the dirt or dust on the floor.
2. Continuous supply: The center-pull feature also ensures an uninterrupted and easy flow, which won’t tangle or knot as often as the outer pull yarns.
3. Movement-free knitting: Unlike traditional balls that can bounce and tumble away as you pull, the center pull yarn ball stays put. This convenience makes it favorite among knitters, particularly when working in smaller spaces or on the go.
4. Reduced tension: The tension in the yarn stays consistent when pulling from the center, providing an even stitch throughout your project.
Thus understanding why many knitters prefer this type of yarn can help improve the overall crocheting or knitting experience.
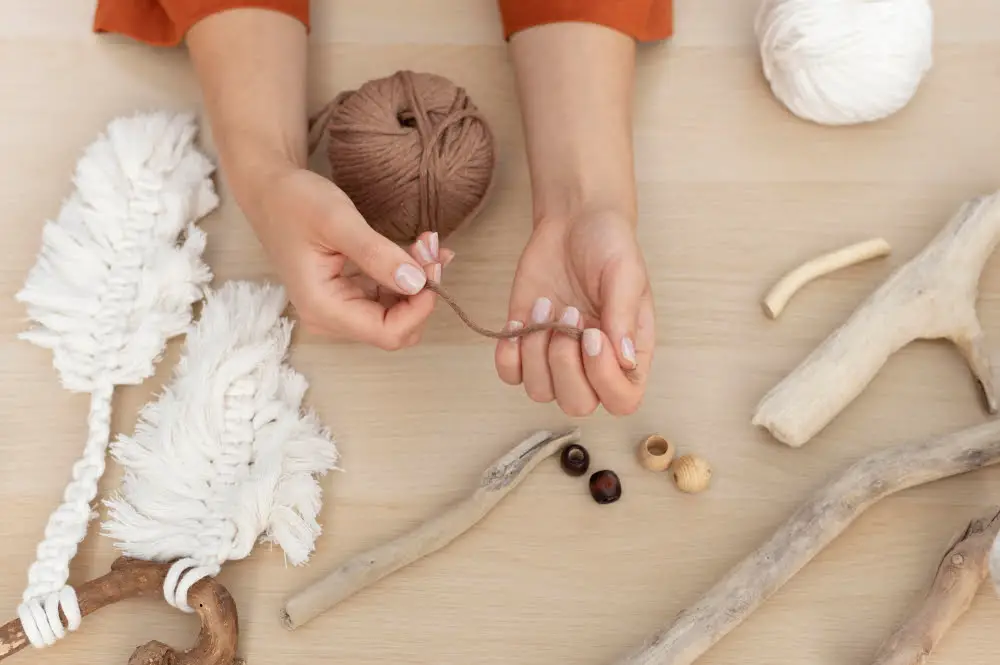
Necessary Supplies for Creating a Center Pull Yarn Ball
To begin your yarn ball project, first gather the essential tools:
- Yarn: This is the main component of your project. You can opt for any type or weight of yarn, as the procedure remains the same for all.
- Straw: A straw can act as a handy centerpiece and makes pulling the yarn from the center easier when you start knitting or crocheting.
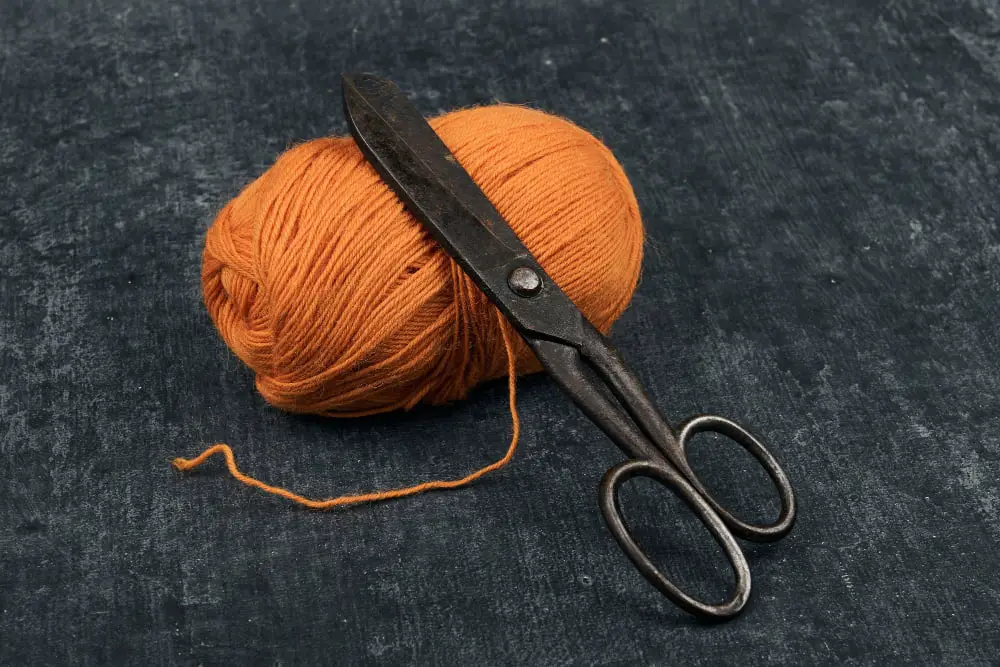
- Scissors: Sharp scissors are needed to cut the yarn once you’ve achieved the desired size of your yarn ball.
- Your Hands: Your hands will do most of the work during this process, from holding the yarn to winding it around the straw.
Rounding up these supplies beforehand will save time and make the process more efficient. Remember, the quality of your tools can impact the final result, so choose wisely.
The Importance of a Straw in Making a Center Pull Yarn Ball

A straw isn’t merely a drinking tool when it comes to crafting a center pull yarn ball. It acts as the core of our project, holding together the entire structure and ensuring the ball retains its shape while winding. Furthermore, it serves as an avoidance technique for tight pull from the yarn’s center, ensuring the yarn flows smoothly throughout use.
Simply thread the end of your yarn through the straw, taping it down if necessary, and commence winding. In essence, the straw provides stability, prevents excessive tightening, and enables smoother yarn usage.
The Process of Starting to Roll Your Yarn Into a Ball
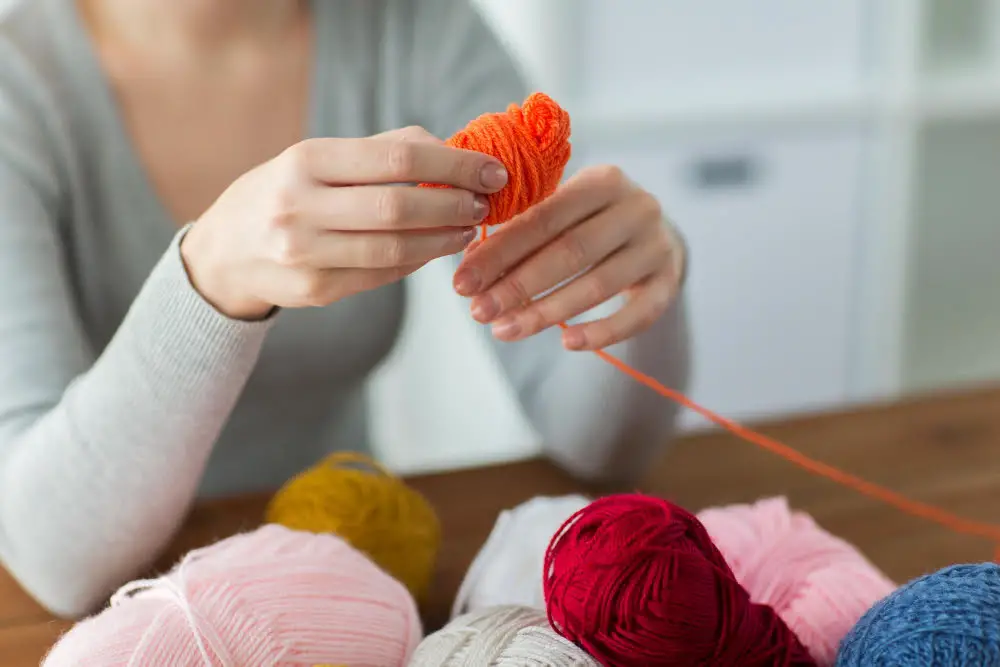
To embark on your yarn ball creation journey, first, measure about 6 inches of yarn from the end and pinch this point between your thumb and forefinger. This will create the “tail,” the end part that will be pulled from the center of your finished yarn ball.
Now, you’re ready to begin winding. Wrap the yarn around your fingers a few times loosely. Then, remove the wound yarn from your fingers, switch your grip so you’re holding it in the middle, and start wrapping crosswise. This initiates a perpendicular wrap, giving it a wider base.
Be sure to intermittently switch the direction of your wrapping, which will help maintain an even, spherical shape as you build your yarn ball. Rotate the ball every so often in your fingers, this change will prevent the creation of any weak points within your ball. Remember, always keep the tail free – it is the heart of a center pull ball.
Step-by-Step Guide to Wind a Center Pull Ball of Yarn
Beginning with the yarn end protruding from the straw, gently start winding the yarn around it. Try to keep this initial winding fairly tight and aim for an oblong shape. As the yarn begins to layer, shift the direction of the winding to a perpendicular angle, it helps in maintaining the appropriate shape.
For smoothness, continue winding yarn at this perpendicular angle around the core you’ve formed, frequently shifting the ball’s position in your hand. This prevents formulating an overly oblong shape.
The essence is to cover your tracks with each new layer of yarn to prevent any loops from popping out in the future while you’re working. Maintain patience and consistency throughout this process to ensure an even and functional center pull yarn ball.
Methodology for Stacking the Yarn Appropriately
To stack the yarn effectively, it’s important to build layers. One layer seals before you start the next one. It’s a balancing act very much akin to creating a well-formed snowball.
1. Consistency is key. Try to maintain the same tension as you wind.
2. An optimal layer starts from one side then winds towards the other in a diagonal motion. This prevents the ball from becoming too narrow or too wide.
3. Avoid crossing – Aim to wind your next layer adjacent to the previous pass. Crossing over creates an unstable structure that may cause your ball to collapse.
4. Watch the angle – Roughly aim for a 45-degree angle while winding to secure the yarn in place without being too tight.
5. Remember the straw – As you build your layers, ensure you keep rotating the straw on the ball’s center, keeping the ease of pulling intact.
These techniques will help you ensure a uniform yarn ball, which further makes crocheting and knitting more manageable.
Tips to Secure Your Yarn While Creating a Center Pull Yarn Ball
Ensuring your yarn remains secure on the homemade yarn ball winder, typically a toilet paper roll, is crucial to the proper formation of a center pull yarn ball. There are several methods to make sure your yarn stays put.
1. Begin by winding the yarn around your fingers a few times before sliding it off and placing the loops over the roll.
2. Maintain a steady tension as you continue to wind, which will help the yarn hold its place on the roll.
3. Alternate the direction of winding periodically. This not only avoids the yarn from slipping but also gives it a spherical shape.
4. Use your fingers to guide and hold the yarn in place, preventing it from slipping. This will also allow you to control the stacking of yarn layers and maintain the shape.
5. Tie a small knot around the straw or roll at the start of your yarn winding. This gives the yarn a staying place and avoids unnecessary unwinding.
By adhering to these strategies, you can avoid the frustration of loose and unravelling yarn while forming your center pull yarn ball.
Solving Common Issues: What If My Yarn Ball Looks Too Egg Shaped?
If your yarn ball ends up more oval than round, don’t panic. This can happen when higher tension is applied to one side more than the other while winding. Here’s how to troubleshoot this issue:
1. Loosen the yarn: If you notice the egg shape forming, gently unravel a few layers of yarn, then re-wind them a little more loosely to relieve the tension.
2. Change direction: While re-winding, occasionally rotate the direction you’re wrapping the yarn. This can help even out any uneven pressure you’re applying and promote a more round shape.
3. Use a winding tool: Consider using a ball winder to achieve a more consistent shape. This tool helps you maintain an even tension and forms a perfect center-pull ball of yarn.
Remember, a slightly imperfect shape won’t affect your yarn’s performance. The important thing is the center-pull feature, which your egg-shaped yarn ball will still have!
Procedure to Finalizing Your Center Pull Yarn Ball
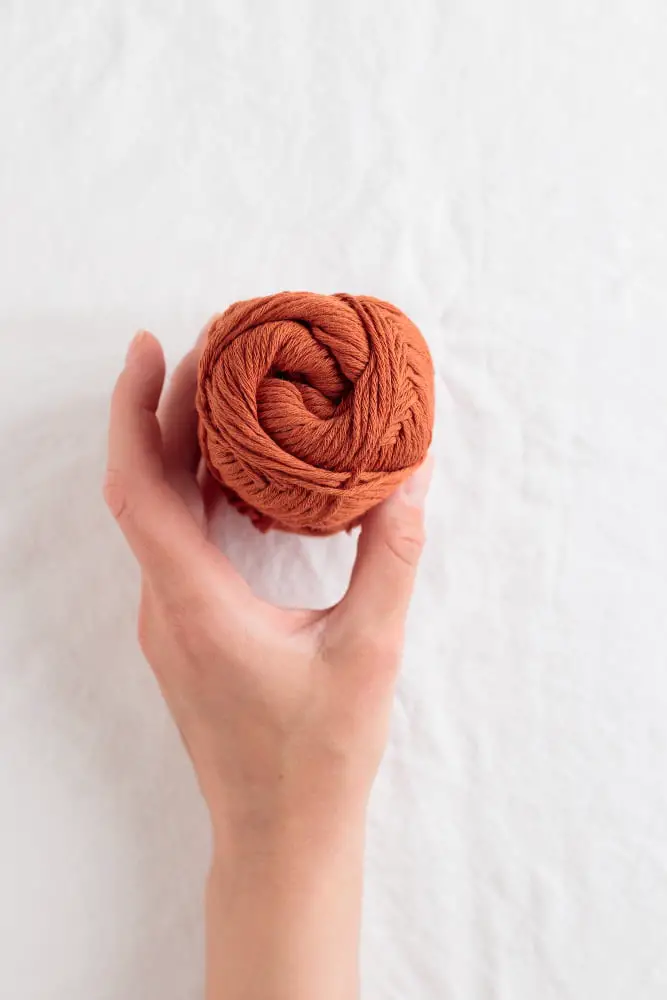
Once the ball has achieved a desirable size, carefully ease the straw out of the center, taking care not to tug or pull on the yarn while doing so. This leaves a hollow in the middle, ensuring easy pull for your knitting session.
Then, take the yarn end still attached to the straw and tuck it into the ball under a few layers of yarn to secure it. This end now becomes your center pull, eliminating the possibility of the ball rolling or bouncing as you work.
Be gentle in this process, maintaining the loosely wound structure that facilitates smooth, tangle-free pulling during knitting.
Benefits of Learning How to Make a Center Pull Yarn Ball
Delving into the benefits of mastering this skill can deepen your overall appreciation for the craft of yarn work. Firstly, using a center pull yarn ball aids in preventing any unwelcome yarn tangling, which can frequently occur with traditionally wound balls. This means less interruption during your crafting sessions.
Secondly, the ball stays more consistently in place during usage, improving your control over the craft work. Whether on a table or on your lap, a center pull yarn ball is less likely to roll around and away from you.
Thirdly, it saves you from the annoyance of hunting for the elusive yarn ends concealed inside or beneath a standard yarn ball. With a center pull, the end of your yarn is always readily accessible.
Lastly, this technique also aids in maintaining the tension of the yarn. This can lead to a more uniform stitching, which can improve the final overall look of your craft project. With these benefits, it pays to learn how to create a center pull yarn ball.
Proper Yarn Storage After Creating a Center Pull Yarn Ball
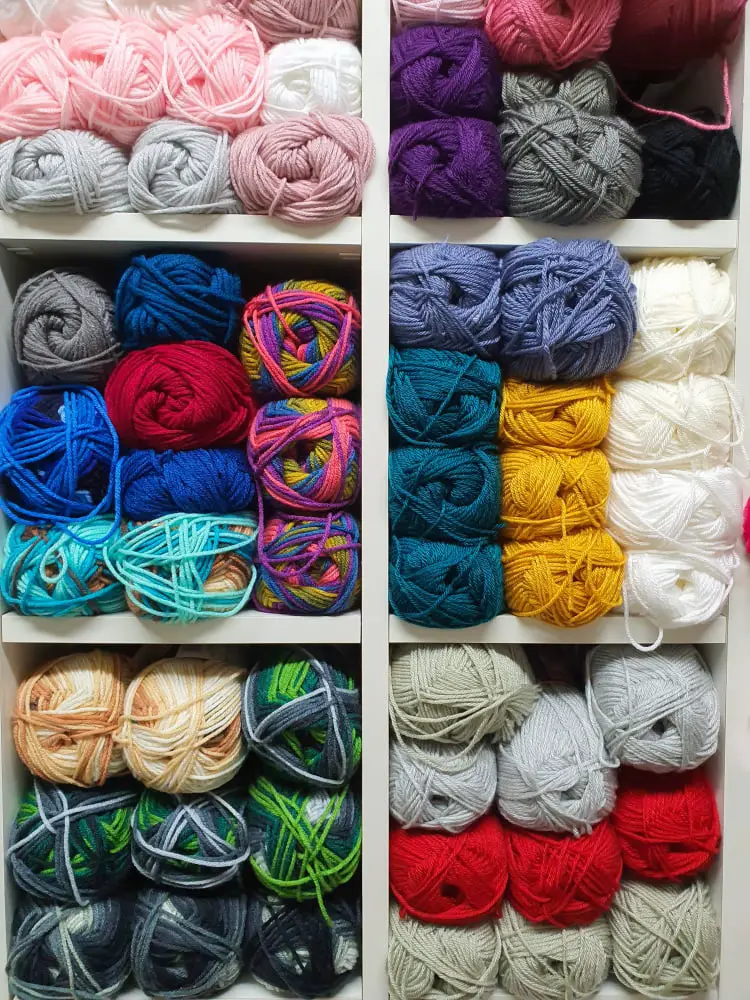
To maintain the integrity of your freshly prepared center pull yarn ball, consider the following storage tips:
1. Keep in a Cool, Dry Area: Moisture can lead to mildew, which can damage your yarn. Heat, on the other hand, might cause synthetic yarns to stretch or sag.
2. Avoid Direct Sunlight: Prolonged exposure to the sun could lead to discoloration. Store your yarn in a place that doesn’t receive direct sunlight.
3. Use Yarn Bowls: They keep your yarn clean and tangle-free while you’re working. They also reduce the risk of the ball unraveling.
4. Bag It: For long-term storage, consider placing your yarn in breathable fabric bags. Avoid plastic bags as they can trap moisture.
5. Don’t Wind Too Tight: If you’re storing yarn for a long time, remember a tight wind might stretch the yarn.
6. Use a Yarn Winder: This tool helps maintain tension and keeps your bundle consistent, which is beneficial for both storage and usage.
These storage tips help ensure that your center pull yarn ball remains in perfect condition, ready for you when you start your next knitted masterpiece.
FAQ
Is it better to center pull yarn?
Yes, many individuals prefer to pull yarn from the center as it tends to maintain the neatness of the ball.
Why do you center pull yarn?
Center pulling yarn is beneficial as it permits the yarn to relax prior to knitting and reduces the likelihood of tangling, providing a smoother knitting experience.
What tools do you need to make a center pull yarn ball?
To make a center pull yarn ball, you need a yarn swift, a ball winder, and the yarn of your choice.
How does center pulling yarn prevent tangles and knots?
Center pulling yarn prevents tangles and knots by allowing the yarn to flow freely from the center of the skein without causing any tension or friction on the outer layers.
What are the step-by-step instructions for creating a center pull yarn ball?
To create a center pull yarn ball, start by winding the yarn around your fingers, remove the resultant loop and continue winding the yarn around it in different directions until you have a ball, and then tuck the end of the yarn into the ball.


