Master the art of tying a bow with yarn because this skill can add a charming touch to your crafts, making them unique and personalized.
Tying a bow with yarn is a simple yet elegant technique that can add a touch of charm to any knitting or crocheting project. This task can be accomplished in just a few steps, whether you’re adorning a gift, adding a decorative element to a craft, or creating a hair accessory.
This article will guide you through the process, providing clear, step-by-step instructions. From choosing the right type of yarn for your bow to mastering the perfect knot, this comprehensive guide ensures you’ll have all the information you need to create beautiful yarn bows with ease.
Key takeaways:
- Choose a medium-weight yarn for bow making.
- Prepare your yarn before starting the bow making process.
- Cut the yarn to the required length, keeping in mind the desired size and thickness of the bow.
- Form the first loop of the yarn bow, making sure it’s not too small and maintaining tension.
- Create the second loop to shape the bow, ensuring both loops are symmetrical.
Selecting Appropriate Yarn for Bow Making
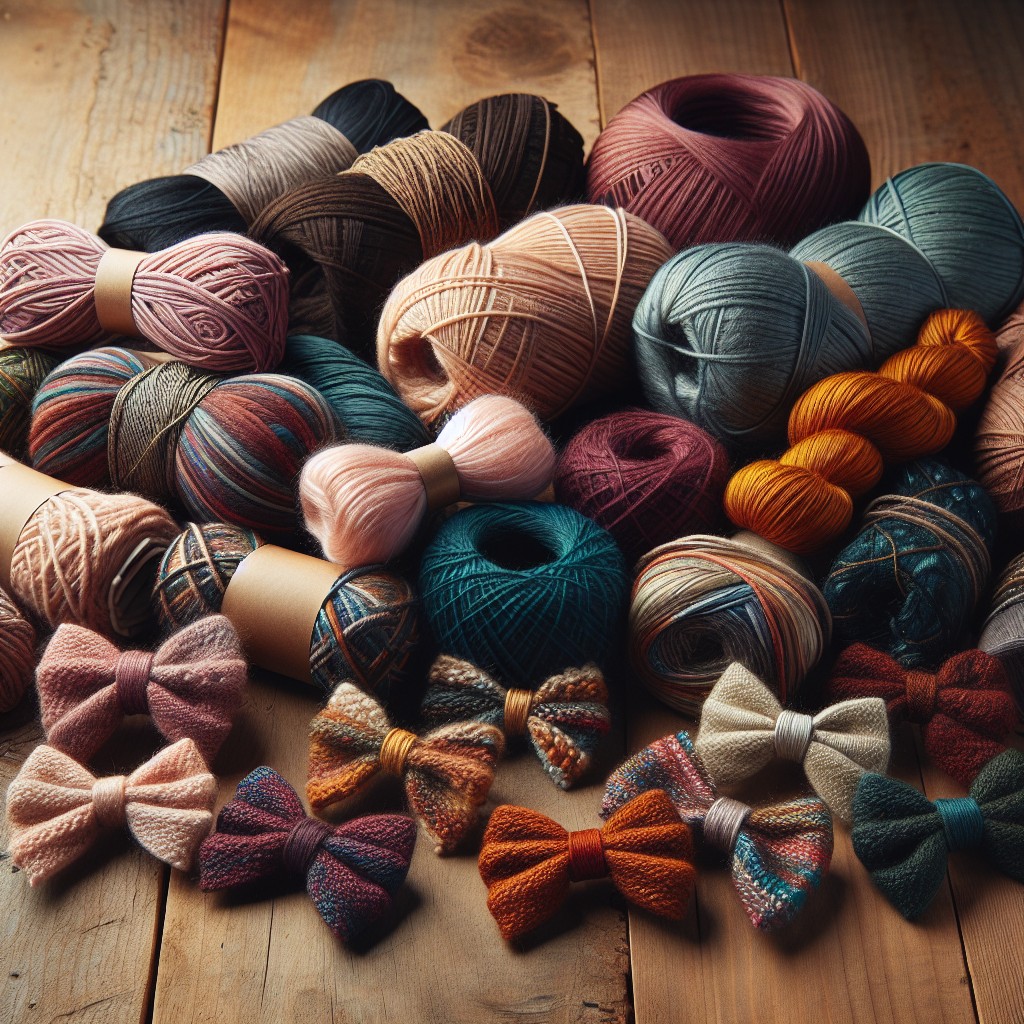
When it comes to bow making, not every type of yarn is suitable. Ideally, opt for a medium-weight yarn, which is perfect for retaining the bow’s shape after tying. A thicker yarn can make your bow bulky, while a thinner one may not be durable enough. Additionally, the yarn’s texture plays a part. A slick, smooth yarn can easily slip and untie, so consider something with a bit of grip to it. Last but not least, choose a color that complements the finished craft or gift wrap. Always keep these primary aspects in mind as they heavily influence the final outcome.
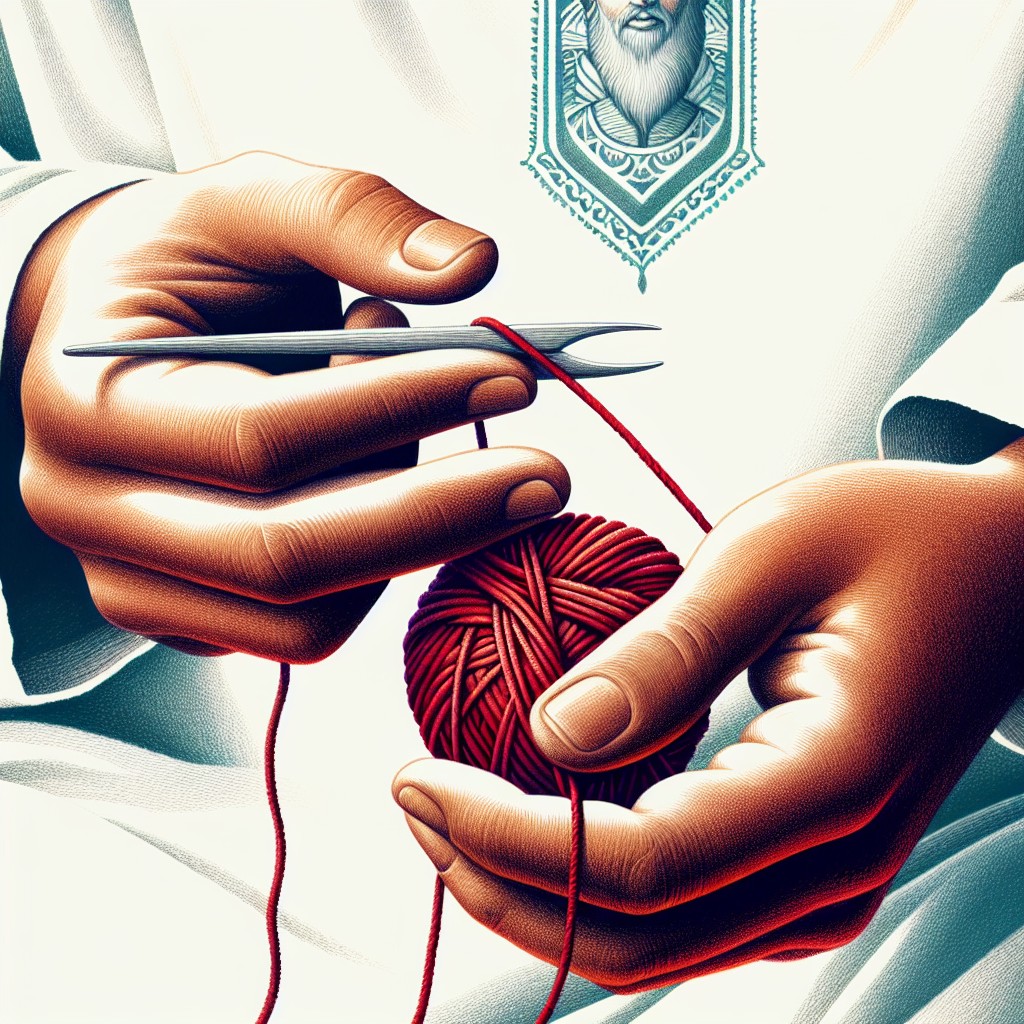
Preparing Your Yarn for Bow Creation

Before you commence the bow-making process, make certain that your yarn is thoroughly prepared. Start by untangling any knots, ensuring a smooth, straight piece is accessible to work with.
The quality of your yarn is intrinsic to a well-constructed bow, therefore, choose a piece that’s clean and free from any fraying or damage. Yarn type can vary greatly, from chunky knit varieties to thinner crochet yarns, so it’s important to select a thickness and texture in line with the desired look for your bow.
Lastly, gather all necessary knitting tools and accessories before starting the bow making process. This will help to streamline your work and prevent unnecessary pauses.
Cutting the Yarn to the Required Length
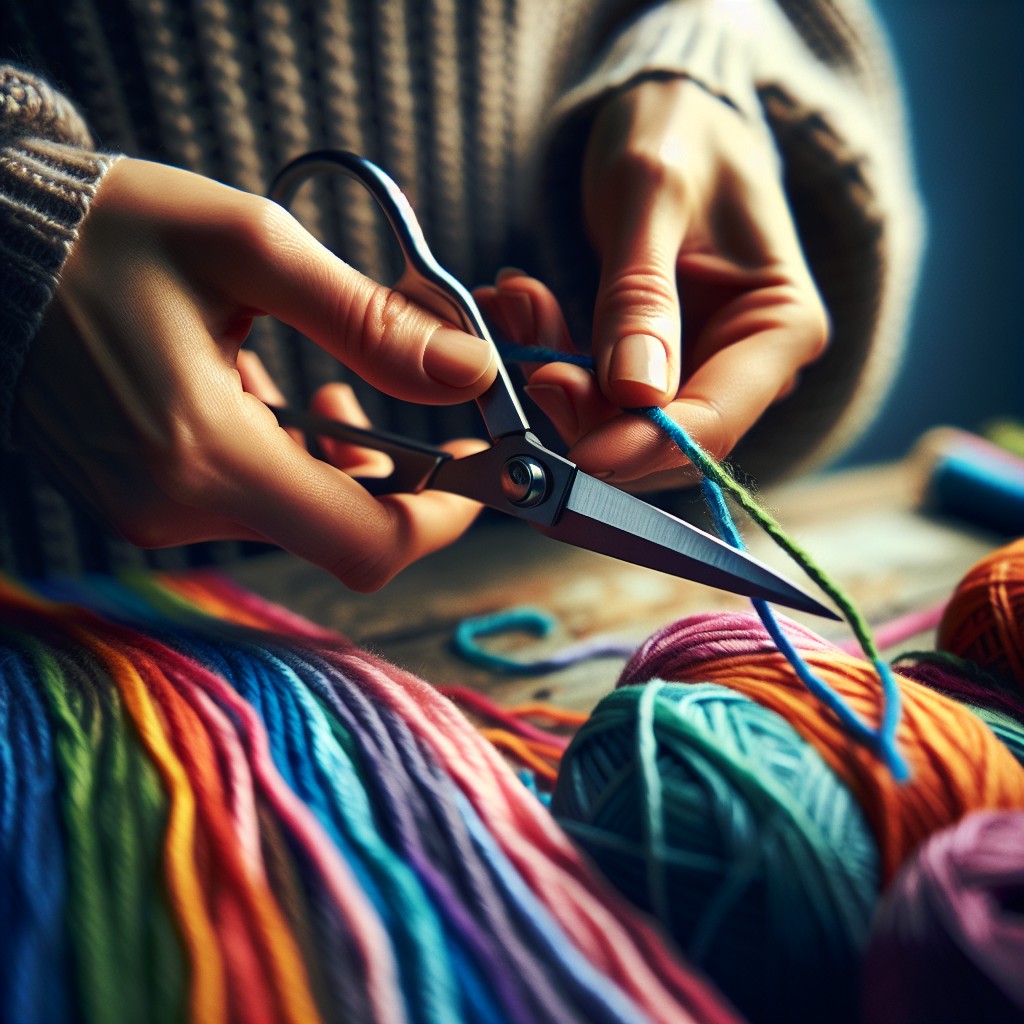
When determining the length of your yarn, it is best to err on the side of excess. Having too much length is always better than running out midway, as you can cut off any excess at the end. For a medium-sized bow, generally, a length of about 24 inches is suggested. For larger or smaller bows, adjust accordingly.
Keep in mind that the length of the yarn will affect not only the size of the bow but also the thickness. For example, doubling the yarn can make your bow more robust and fuller. Also, if you plan to have longer tails on your bow, you’ll need to factor that into your length as well. Always remember, it’s better to start with more and adjust down if necessary.
To cut the yarn, use the sharpest pair of scissors you have on hand. A crisp, clean cut is much easier to work with and gives a more polished result. Remember, your bow is only as good as the individual yarn cuts that make it. Always prioritize quality above speed.
Formation of the First Loop in Yarn Bow Tying
To create your initial loop, hold the length of the yarn in your left hand with the free end facing downwards. With your right hand, take a portion of the yarn about six inches away from the free end and fold it back towards your hand, forming a loop.
Here are essential points to keep in mind:
- Ensure the loop isn’t too small; a larger loop creates a fuller bow.
- The free end of the yarn, also known as the ‘tail’, should be long enough to maintain control of the yarn as you form the second loop.
- Ensure the loop is not twisted; keeping it flat will make the bow look neat and symmetrical.
- Maintaining the tension in the loop is vital. You can do this by securely holding the intersection point where the loop meets the tail within your left hand.
Crafting the Second Loop, Creating the Shape of a Bow
After forming the first loop, it’s time to create the second. This will complete the outline of your bow.
1. Hold the trailing end of the yarn against the loop you’ve already crafted. This creates an ‘X’ shape.
2. Fold this ‘tail’ over to create the second loop. Aim for it to mirror the size of your first loop.
3. Remember to hold the center of the bow, the intersection where the loops and the tails meet to keep your work in shape.
4. Maintaining an even tension in the yarn is necessary. This ensures the loops of the bow are sturdy and not limp.
5. Consistently check to ensure both loops are symmetrical. This makes for a better end result.
The formation of the second loop requires patience. Aim for a symmetrical, well-balanced bow. By now, you should start to see the familiar and beloved shape of a bow emerging. Crafting the perfect yarn bow is a rewarding experience. Enjoy the process.
Securing the Loops for the Yarn Bow
Having fashioned your loops, it’s crucial to stabilize them. Begin by threading a smaller piece of yarn through the center of the loops. Tie the ends together at the back, pulling firmly but gently to prevent distorting the bow shape.
Using the same piece of yarn, wrap it around the center of the loops couple of times and secure with a knot on the underside of the bow. This process gives the bow its distinctive shape while also providing a degree of robustness to ensure it doesn’t come undone.
Experiment with different strength knots or additional yarn wraps for larger or more elaborate bows.
Creating the Ends of the Yarn Bow
Having secured your loops, it’s now time to focus on the tails of the bow. Each end should be of equal length, therefore measure and trim if necessary.
Here’s how you delve into this task:
- Identify both ends of the looped yarn.
- Measure the two ends against each other to ensure they are equal.
- If needed, use a scissor to trim and adjust the tails to make them symmetrical.
- Finally, decide on the look of your ends: at a slant, straight across, or forked (also known as dovetailed). Cut accordingly to suit your design requirements.
Remember, the beauty of handmade is in the details. Ensuring symmetrical and neatly cut ends will give your yarn bow a professional finish.
Embellishing and Final Touches On Your Yarn Bow
Once you’ve tied your bow, it’s time to consider additional details that will make your creation unique.
Firstly, you might want to add some beading to the center, or glue small artificial flowers or rhinestones to give the bow a more elaborate look. Be sure to use craft glue for a strong bond.
Alternatively, you may prefer to jazz up your bow by weaving in a strand of sparkly or metallic yarn. Simply thread it under and over the loops of your bow for a more decorative effect.
Adding ends or ‘tails’ to your bows can also enhance its look. Cut an additional piece of yarn, knot it in the middle, and attach it to the back of the bow to create tails that hang down.
Lastly, take a step back and look at your creation. You might want to adjust the loops a little to make sure they are symmetrical and even.
Remember, the key to creating a beautiful bow is in the details; therefore, do not rush the finishing touches. With patience and creativity, you’ll have a decorative yarn bow that will bring charm to any project.
FAQ
What are the different styles of bows that can be created with yarn?
Yarn can be used to create numerous styles of bows including the classic bow, the loop bow, the cinched bow, the double bow, and the boutique bow.
How can one adjust the size and appearance of a yarn bow?
The size and appearance of a yarn bow can be adjusted by varying the length of the yarn strands used and the number of loops made in the bow.
What kind of yarns are most suitable for crafting decorative bows?
For crafting decorative bows, medium-weight yarns such as worsted or Aran are most suitable due to their flexibility and durability.


