Learn how to start a new row in crochet, mastering the simple steps to continue your project seamlessly.
Key takeaways:
- Choose the right yarn and hook for your project.
- Master the slip knot and starting chain for a secure foundation.
- Follow the basic steps for the first row to maintain tension and symmetry.
- Turn your work and start the second row for seamless continuation.
- Learn basic stitches like single crochet, double crochet, and half double crochet.
Choosing the Right Yarn and Hook
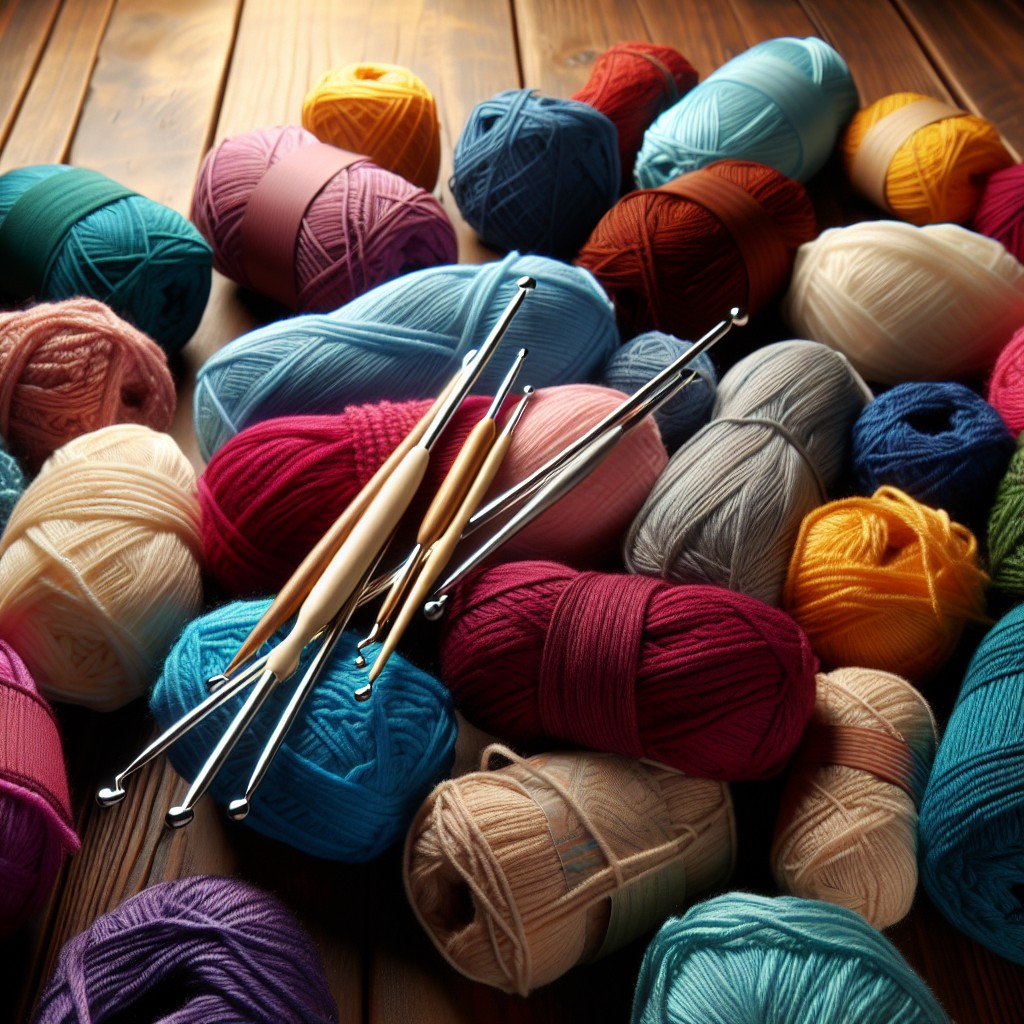
Selecting an appropriate yarn and hook can greatly influence your project’s outcome. Opt for a yarn that both appeals to your senses and meets the requirements of your pattern. The weight of the yarn is pivotal as it determines the size of the hook you’ll need.
If you’re just beginning, consider using a medium-weight yarn and a size H-8 (5mm) crochet hook. These are generally easier to handle and allow you to see your stitches more clearly. Check the yarn’s label, which typically suggests the ideal hook size for that particular thread.
As you progress, experiment with different yarns and hooks to discover which combinations work best for you. Lighter yarns and smaller hooks are perfect for delicate patterns, while bulkier yarns and larger hooks suit projects like blankets and scarves better. Remember, practice makes perfect, so don’t be afraid to try various tools until you find your groove.
Slip Knot and Starting Chain
To begin crocheting, you first need to master the slip knot. This initial knot creates the foundation for your starting chain and ensures your yarn is securely anchored. Place the yarn over your fingers, twist to form a loop, then pull a new loop through with your crochet hook. Tighten gently around the hook without strangling it; this will be your working loop.
Once your slip knot is secure, you’re ready to crochet the starting chain, which serves as the spine for your project. Hold the tail of the yarn with your thumb and middle finger for stability. Using your hook, yarn over (wrap the yarn around the hook) and pull through the loop on your hook. Congratulations, that’s your first chain stitch! Repeat this action until you’ve reached your desired number of stitches. Remember, the number of chain stitches often dictates the width of your finished piece, so count carefully. This foundational row sets you up perfectly to dive into the more inventive realms of crocheting.
First Row Basics
After completing your starting chain, it’s time to dive into crocheting the first row, which lays the foundation for your entire project. Here are some key points:
Begin by identifying the second chain from your hook. This is where you’ll insert your hook to make the first stitch. Remember, skipping the chain closest to your hook helps maintain the correct edge and tension.
Make your first stitch according to your pattern’s instructions, typically a single crochet or double crochet for beginners. Insert your hook into the chain, yarn over, and pull through to start forming the stitch, following through based on the type of stitch you’re making.
Continue working each chain in the row. Keep your tension consistent to avoid irregularities in the size of your stitches. If your stitches are too tight, it might be hard to insert the hook; too loose, and your work might look uneven.
By the end of your first row, count your stitches to ensure you have the exact number required by your pattern. This count is crucial as it sets the stage for the subsequent rows, helping maintain an even and symmetrical piece.
Remember, each stitch and row is a step towards completing your beautiful handcrafted project. Enjoy the process as your creation starts to take shape!
Turning Your Work and Starting the Second Row
Once you’ve completed the first row, it’s time to prepare for the next step. Start by turning your crocheting piece clockwise until what was your right hand side is now on your left. This maneuver is not unlike flipping a page in a book.
With the work turned, insert your hook into the top of the chain from the previous row. Make sure your yarn is behind your work to begin. This position helps create a clean, neat edge that matches your initial row. You’re now all set to continue with your chosen stitch for the new row.
Remember, the first few tries might feel a bit like patting your head while rubbing your stomach, but soon it will become as natural as breathing. Keep your stitches even and your tension consistent for the best results.
Basic Stitches for New Rows
When you’re ready to expand your crochet repertoire in new rows, mastering a few basic stitches is crucial. Here’s a rundown of three fundamental ones to get you comfortably crafting.
The single crochet (sc) is the simplest and most compact stitch. Insert your hook, yarn over (yo), pull through, yarn over again, and draw through both loops on your hook. This stitch gives a tight, dense fabric suitable for sturdy items like coasters or amigurumi.
Next up is the double crochet (dc), which adds height and airiness to your work. Yarn over before inserting your hook into the stitch, yarn over again and pull through, yarn over once more and draw through two loops, then yarn over and pull through the remaining two loops. This stitch is a favorite for making blankets and scarves due to its quicker build and lighter texture.
Lastly, the half double crochet (hdc) strikes a balance between the sc and dc. Yarn over, insert the hook, yarn over, pull through, yarn over, and draw through all three loops on your hook. This stitch creates a slightly more compact texture than the dc, making it ideal for items that need some drape without being too airy.
Each stitch provides a different texture and density, allowing you to craft a variety of projects with just these foundational skills. As you practice these stitches, try mixing them to discover unique patterns and textures in your crochet projects.
Related Posts
 Easy Crochet Gnome Pattern Free: Transform Yarn into Whimsical Friends
 Crochet Star Blanket: A Stellar DIY Guide
 How to Crochet Slippers for Beginners Step by Step with Pictures: Cozy Feet Awaits
 Adjustable Ring Crochet: Master the Magic Circle
 How to Crochet Without a Hook: Hands-On Creativity