Learn the steps to master the double crochet stitch, a fundamental technique for creating textured fabric in crochet projects.
Key takeaways:
- Familiarize yourself with crochet abbreviations for accurate pattern reading.
- Follow the step-by-step tutorial to create consistent double crochet stitches.
- Learn how to work double crochet in rows and maintain straight edges.
- Understand the technique for working double crochet in the round.
- Avoid common mistakes like incorrect stitch count and inconsistent tension.
Abbreviation
In crochet patterns, you’ll often see double crochet represented by the abbreviation ‘dc’. This shorthand notation keeps instructions concise and easier to read. When multiple stitches are combined, additional abbreviations may come into play, such as ‘2dc’ indicating two double crochet stitches made into the same stitch or space. It’s essential to familiarize yourself with these abbreviations, as they are the building blocks of pattern language and will allow you to follow instructions accurately. Besides ‘dc’, other common abbreviations include ‘ch’ for chain, ‘sl st’ for slip stitch, and ‘hdc’ for half double crochet, all of which may be used in conjunction with double crochet in various patterns.
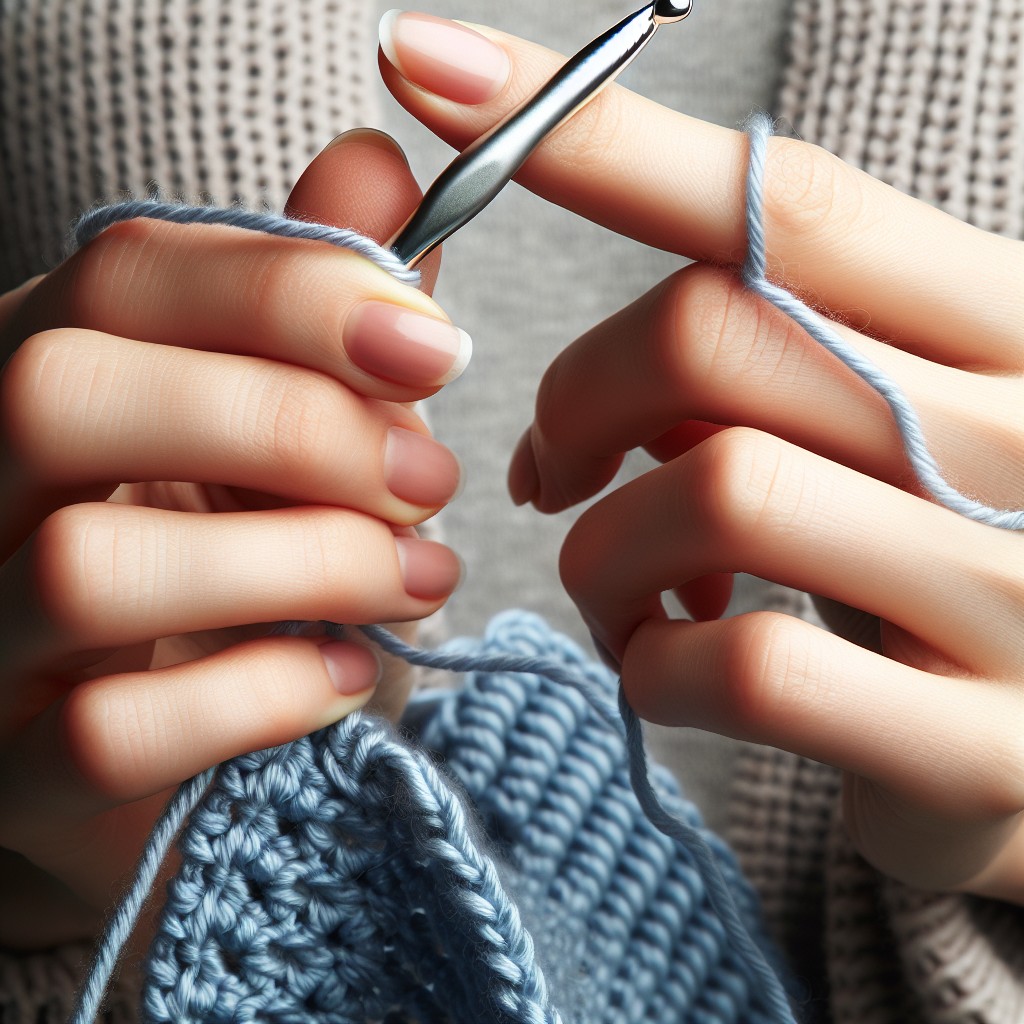
Double Crochet Step-by-Step Tutorial
To begin a double crochet, create a foundation chain with the number of chains required for your project plus three additional chains to act as the first double crochet stitch.
Yarn over, which means to wrap the yarn from back to front over your crochet hook, and insert the hook into the fourth chain from the hook, counting the loop on the hook as the first chain. This starting chain will determine the height of your stitches.
After inserting the hook into the correct chain, yarn over again and pull the yarn back through the chain. You should now have three loops on your hook.
Next, yarn over once more and pull through the first two loops on your hook, leaving you with two loops.
Finally, yarn over and pull through the remaining two loops. You’ve completed one double crochet.
Continue this process in each chain across your foundation chain. Remember to yarn over before inserting your hook into the next chain to keep consistent with the double crochet stitch pattern.
When you reach the end of a row, chain three (this counts as the first double crochet of the next row), then turn your work to start the next row. Your hook should now be ready to perform the first double crochet into the next stitch.
Each double crochet stitch should be worked into the top of the previous row’s stitch, under both loops unless your pattern specifies otherwise.
By maintaining even yarn tension and hook placement, your double crochet stitches will be consistent in size and appearance, ensuring a neat and orderly fabric.
Double Crochet in Rows
To start a new row in double crochet, turn your work. Begin by chaining three, which counts as the first double crochet stitch. This turning chain gives the row its necessary height.
Now, yarn over and insert your hook into the fourth chain from the hook on the previous row — the first actual stitch. Yarn over again and pull through the stitch. You should have three loops on the hook.
Yarn over once more and pull through the first two loops on the hook, leaving you with two loops. Yarn over a final time and pull through the remaining two loops. This completes your second double crochet stitch.
Continue this process along the row. Work into each stitch from the previous row, keeping the yarn tension consistent to ensure even stitches. After completing the last stitch, turn your work and start a new row with a chain three. Keep your edges straight by not skipping the last stitch and avoiding adding extra stitches at the beginning of rows.
Double Crochet in the Round
When working double crochet in the round, start by creating a slip knot and then chain the number of stitches specified (often 4 or 5 for a small circle). Slip stitch into the first chain to form a ring. Chain 3 to count as your first double crochet (or chain 2 for a tighter starting round, depending on pattern instructions or personal preference), and then proceed to double crochet into the center of the ring, completing the number of stitches the pattern calls for.
After finishing the first round, slip stitch into the top of the beginning chain-3 to join the round. For subsequent rounds, you’ll need to increase to keep the work flat. Increase by placing two double crochet stitches into each stitch from the previous round, or as per the pattern’s instructions. Always slip stitch to join the round unless the pattern specifies otherwise, like working in a spiral.
To maintain a seamless look, use a stitch marker to mark the end of your rounds if you’re working in a spiral. This will help you keep track of your progress. In concentric rounds, chain 3 at the beginning of each new round to maintain the proper height for double crochets. Remember to move your stitch marker up with each completed round to keep your place.
For shaping, increase or decrease the number of stitches as your pattern requires. This aspect is crucial for achieving the correct shape and size of your project, whether it’s a hat, amigurumi, or any other item worked in the round. Decreases are typically done by crocheting two stitches together (double crochet two together – dc2tog), while increases are made by adding extra stitches in certain stitches from the previous round.
Tension is key in creating even rounds. Keep your stitches consistent to avoid a wavy or buckled piece. If your work starts to curl up or you notice the piece isn’t laying flat, consider whether you need to adjust the tension or the number of increases per round.
Remember, your first attempt might not be perfect, and that’s completely okay. Practice makes progress and gives you a chance to fine-tune your technique. Enjoy the rhythmic process of double crochet in the round, as it’s a foundational skill that will serve you well in diverse crochet projects.
Common Mistakes to Avoid
When working on double crochet stitches, ensuring accuracy can make the difference between a project that looks professional and one that appears uneven. Keep an eye on these common pitfalls to enhance your crocheting technique:
Incorrect stitch count can throw off your entire pattern. At the end of each row, count your stitches to ensure consistency.
Yarn tension matters significantly in double crochet. Too tight a tension will make your fabric rigid, while too loose a tension can make it look sloppy. Practice maintaining an even tension for a more uniform appearance.
Starting in the wrong chain from the hook after turning can lead to increasing or decreasing by mistake. Remember that the turning chain often counts as the first double crochet in the new row.
Skipping the turning chain when working on new rows may result in the edges of your project pulling inwards. To create straight edges, always make your first double crochet into the top of the turning chain from the previous row.
Incomplete yarnovers or pull-throughs will make your stitches look incomplete or too tight. Ensure each yarnover wraps fully over the hook and pull through all loops on the hook to complete each stitch properly.
Addressing these issues early in one’s crocheting journey can make a substantial difference in the quality and finish of your projects. Keep practicing and reviewing your technique for the best results.
Related Posts
 Easy Crochet Gnome Pattern Free: Transform Yarn into Whimsical Friends
 Crochet Star Blanket: A Stellar DIY Guide
 How to Crochet Slippers for Beginners Step by Step with Pictures: Cozy Feet Awaits
 Adjustable Ring Crochet: Master the Magic Circle
 How to Crochet Without a Hook: Hands-On Creativity