Learn how to expertly finish your crochet project with easy steps and practical tips.
Key takeaways:
- Fasten off with a secure knot and smooth end.
- Weave yarn ends under stitches for a tidy finish.
- Weave ends for amigurumi to prevent unraveling.
- Weave ends for flat crochet projects for an invisible result.
- Join new yarn seamlessly with overlapping and weaving.
The 3 Steps to Fasten Off Your Crochet Project
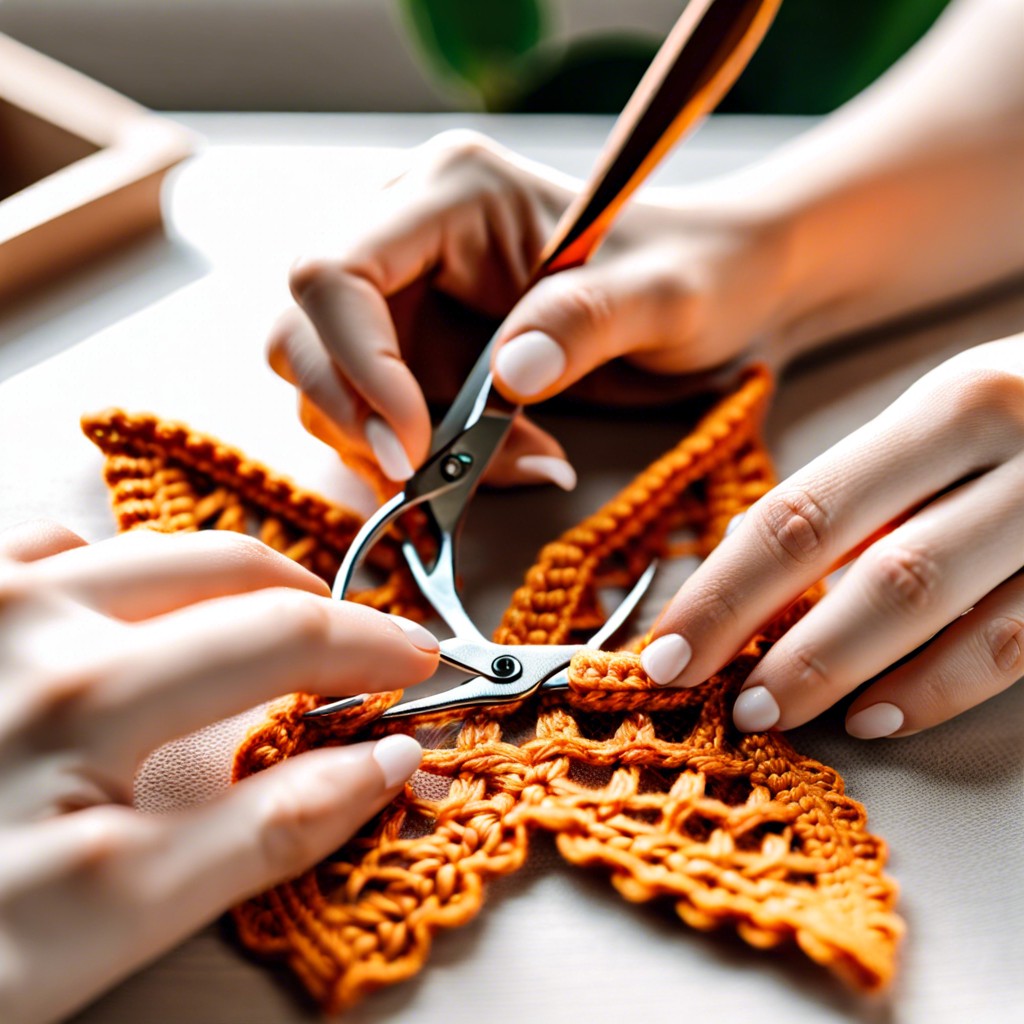
First, finish your final stitch, then cut your yarn, leaving about six inches. Yarn has feelings too, you know—give it some room to breathe! Pull the cut end through the loop on the hook. Tug it snugly—firm but not so tight it loses its cool.
Next, secure it. Think of it as tying a bow on a gift. Just a little knot or two does wonders for confidence. Who doesn’t want their stitches secure and happy?
Lastly, smooth the end. No one wants a messy project. Get your yarn needle or trusty crochet hook ready. Use it to weave the yarn back through a few stitches. Think of it as tucking your project in for a cozy night’s rest—tidy and secure.
Weaving in Your Yarn Ends
Select a tapestry needle with a large eye, perfect for threading your yarn tail. Thread the needle with the yarn end, ensuring it’s snug but not too tight.
Now, identify a row of stitches near the finishing point. Slide the needle under a few stitches, pulling the yarn through gently. Yes, it’s like sewing, but without the drama of curtains.
Turn the needle around and weave back in the opposite direction through the same stitches. This helps secure the yarn, like giving it a cozy blanket hug.
Snip off any excess yarn, but don’t get too scissor-happy. A trimmed but secure end is your goal.
And voilà, those yarn ends are tucked in tighter than a secret in a small town!
Weaving in Yarn Ends for Amigurumi
Keep that adorable amigurumi looking neat and tidy!
Firstly, thread your yarn needle with the tail end of your yarn. Choose a needle with a large enough eye to make this part painless.
Next, insert the needle into the nearest stitch and start weaving through the back of the stitches. Aim for around 2-3 inches—weaving too short can lead to tragic unraveling.
Change directions halfway through. This little trick helps secure the yarn even more. Nobody likes a floppy bunny ear.
If your amigurumi piece is stuffed, weave through the stuffing too. It makes everything extra snug and less likely to wiggle free.
Trim any excess yarn close to the fabric but avoid cutting too close. A millimeter of yarn won’t hurt anyone.
Weaving in Yarn Ends for Flat Crochet Projects
*Grab your tapestry needle and yarn end, and get ready to conquer those stray threads.*
- Thread the needle with the yarn end. Fun fact: threading a needle is like trying to get a cat into a bath – it just takes practice and a little finesse.
- Insert the needle into the stitches on the wrong side of your fabric. Work in one direction for a few stitches. This is the ninja move where the yarn becomes invisible.
- Change direction and weave back through a few more stitches. Think of it as making a U-turn in bumper-to-bumper traffic; it secures the yarn in place.
- Trim any excess yarn close to the fabric. But don’t get too snip-happy; make sure it’s just right!
- Pat yourself on the back and do a little happy dance. Your project looks seamless and professional – mission accomplished!
Joining New Yarn
When your yarn mysteriously vanishes mid-project like socks in a dryer, fret not. New yarn joins the party with ease.
First, leave a tail. Aim for about six inches. It’s the golden rule.
Overlap the tails of the old and new yarns. Hold them with your non-dominant hand. They might act all springy and rebellious, but stay strong.
Pick up your hook and continue crocheting. Crochet over the yarn tails for a few stitches. This secures them snugly.
For extra security, weave the tails into your work using a yarn needle. A stitch here, a stitch there, making sure they’re hidden and unlikely to escape.
Smooth any bumps where the new yarn joins. You want a seamless look, not a hill in your scarf.
Voilà. Simple, effective, and no yarn tantrums.
Related Posts
 Easy Crochet Gnome Pattern Free: Transform Yarn into Whimsical Friends
 Crochet Star Blanket: A Stellar DIY Guide
 How to Crochet Slippers for Beginners Step by Step with Pictures: Cozy Feet Awaits
 Adjustable Ring Crochet: Master the Magic Circle
 How to Crochet Without a Hook: Hands-On Creativity