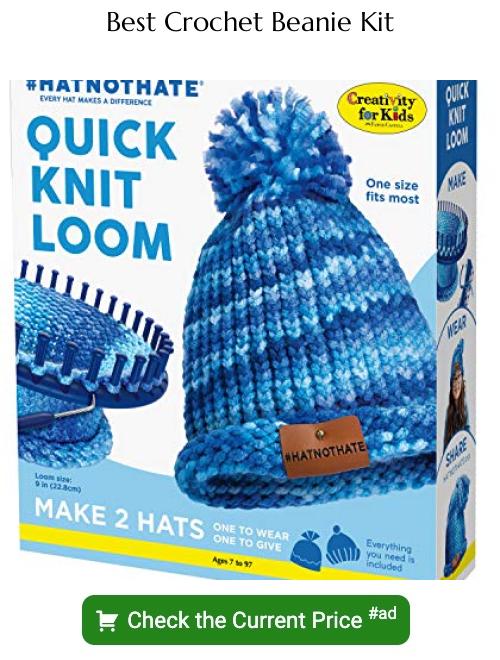
Curious about how long it takes to crochet a beanie? Here’s your quick answer!
Key takeaways:
- Chunky yarn and big hook for faster beanie crocheting.
- Increase evenly for smooth expansion.
- Use single crochet for a tight finish.
- Know the right beanie sizes for different ages.
- Choose the right yarn for chunky beanies.
How to Crochet a Hat in 1.5 Hours
Grab some chunky yarn and a big ol’ hook (we’re talking size N or P here). This combo is your fast-pass ticket to beanie-ville.
Start with a magic loop and crochet in the round. No seams, no fuss. Just keep going around and around until you’ve got your base.
Use double crochet stitches. These babies are tall, so your beanie grows faster than you can say “yarn stash.”
As you work your rounds, remember to increase evenly. This keeps your hat expanding smoothly—like magic, but without the top hat and bunny.
For a quick finish, switch to single crochet for the last couple of rows. This tightens the hat and gives it a neat edge.
Simple brim or no brim, the choice is yours. Both look fabulous and can save precious minutes.
There you have it—speedy and stylish!
Size Chart for Crocheting Beanies
First things first, when it comes to beanie sizes, one size does *not* fit all. Babies and adults have wildly different head circumferences. No big surprise there, right?
To hit the nail on the head – literally – here are some ballpark figures:
For newborns, aim for about 12-14 inches in circumference. It’ll stretch, promise.
Toddlers? Think 16-18 inches. They haven’t developed ego yet, so they won’t mind the snug fit.
Kids aged 3-10? Around 18-20 inches. Room for their expanding knowledge – and heads.
Teens and average adults should fit comfortably in a 20-22 inch beanie. Not too loose, not too tight – just right.
Got a big brain? Some adults may prefer 22-24 inches. More room for all those genius ideas.
Remember to crochet a little swatch beforehand to check your gauge. Because, hey, even a superhero needs the right tools and measurements.
Step-By-Step Video Tutorial
Ready to dive into the magical world of crochet video tutorials? Here’s how you can level up your beanie-making game with a click.
First, find a reliable tutorial. YouTube and crafting websites are your best buds here. Look for videos with high ratings and plenty of views – it’s like reading Yelp reviews but for yarn enthusiasts.
Next, gather your materials. Trust us, you don’t want to be mid-stitch and realize you’ve run out of your favorite yarn. Double-check for hooks, yarn, and maybe even some snazzy stitch markers.
Make sure you’re in a comfy, well-lit spot. Nobody’s got time for squinting at tiny stitches in the dark. Plus, it’s easier to show off your work when your living room doesn’t resemble a cave.
Pause, rewind, and re-watch sections as needed. Tutorials are like Netflix – you control the playback. If a part seems tricky, take your time. Rome wasn’t crocheted in a day.
Finally, don’t be afraid to improvise a little. Your beanie, your rules. The video is a guide, not a crochet dictator. Add your flair, and soon you’ll have a beanie that’s as unique as you are!
How to Modify This Simple Hat Pattern
Adding personal flair or simply adjusting for size, here’s how you can play around with the basics:
Change the yarn. Thicker yarn equals faster beanie-making, but beware: too chunky, and you might end up with a hat fit for a giant!
Switch up your stitches. Try alternating rows with different textures. Single crochet, double crochet, mix ’em up! It adds intrigue and keeps things fresh.
Adjust the circumference. Add or reduce stitches in the foundation row (or starting chain) to fit that noggin perfectly. Custom fit instead of “one size fits most.”
Add some color. Stripe it up! Change colors every few rows or go wild with variegated yarn for a psychedelic feel.
Throw in some extras. Pom-poms, earflaps, maybe even a little crocheted flower. The sky’s the limit—except we’re talking beanies, so maybe keep it hat-sized.
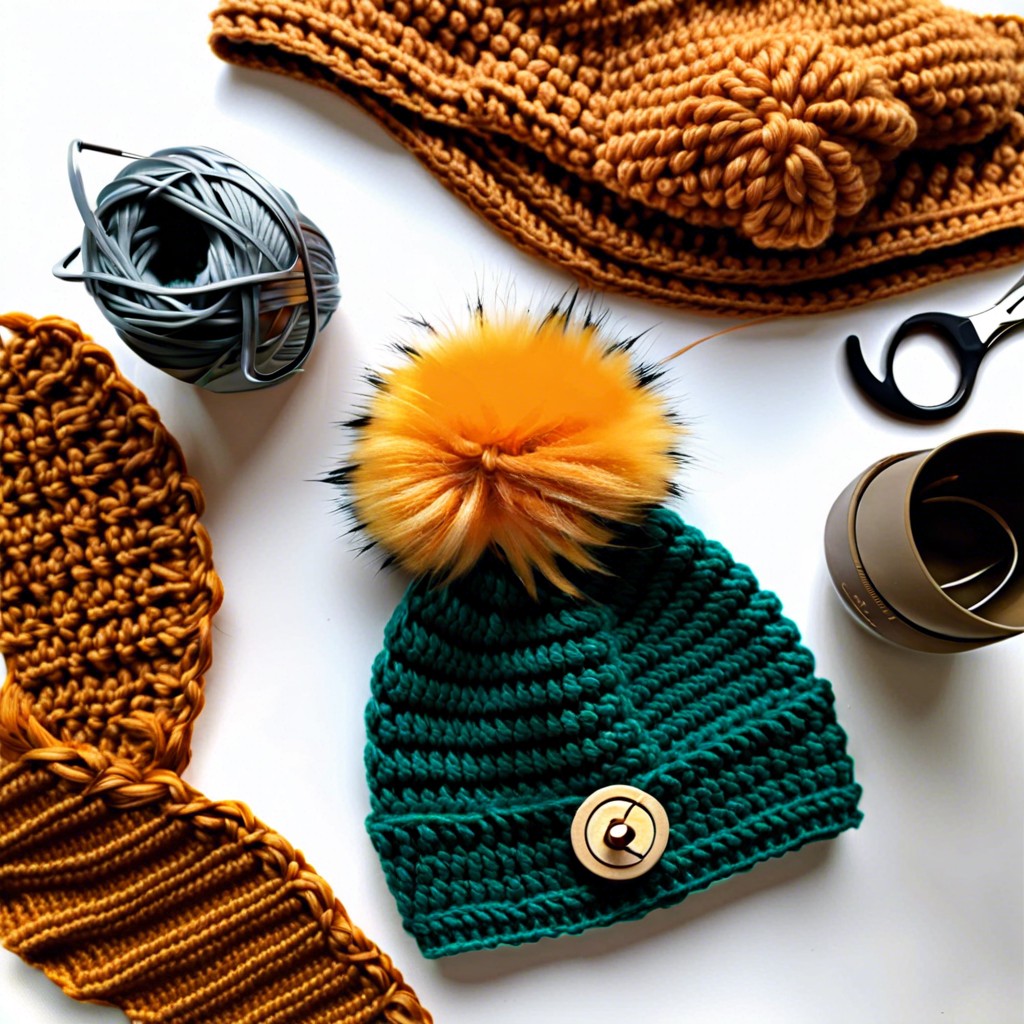
Best Yarn for Chunky Beanies
When it comes to chunky beanies, yarn choice is as crucial as choosing the right size of your morning coffee.
First, opt for a super bulky or chunky yarn labeled as #6 or #7. These thick yarns speed up the process and provide a warm, cozy feel.
Acrylic yarns are fantastic for beginners. They’re affordable, machine-washable, and come in a bazillion colors.
If you’re diving into the luxury pool, consider wool or alpaca blends. They’re warmer and softer but can put a slight dent in your pocket.
Also, consider the yarn’s texture. Smooth yarns slide easily on your hook, while fuzzy ones might make you feel like you’re crocheting with a cloud—both delightful in their own way.
Lastly, check the yardage. Ensure you have enough yarn in your skein to avoid a sudden, mid-project yarn famine.
Mix and match these factors, and you’ll have a beanie that’s not just chunky but also chunky with charm.
Related Posts
 Easy Crochet Gnome Pattern Free: Transform Yarn into Whimsical Friends
 Crochet Star Blanket: A Stellar DIY Guide
 How to Crochet Slippers for Beginners Step by Step with Pictures: Cozy Feet Awaits
 Adjustable Ring Crochet: Master the Magic Circle
 How to Crochet Without a Hook: Hands-On Creativity