This how-to guide provides step-by-step instructions for crafting a cozy crochet beanie.
Key takeaways:
- The right yarn and tools are essential for a crochet beanie.
- Use a hat size chart to ensure a proper fit.
- Pay attention to pattern notes for important tips and tricks.
- Choose between a magic circle or alternative method to start your beanie.
- Get creative with variations in stitch patterns, color, and finishing touches.
Materials Needed
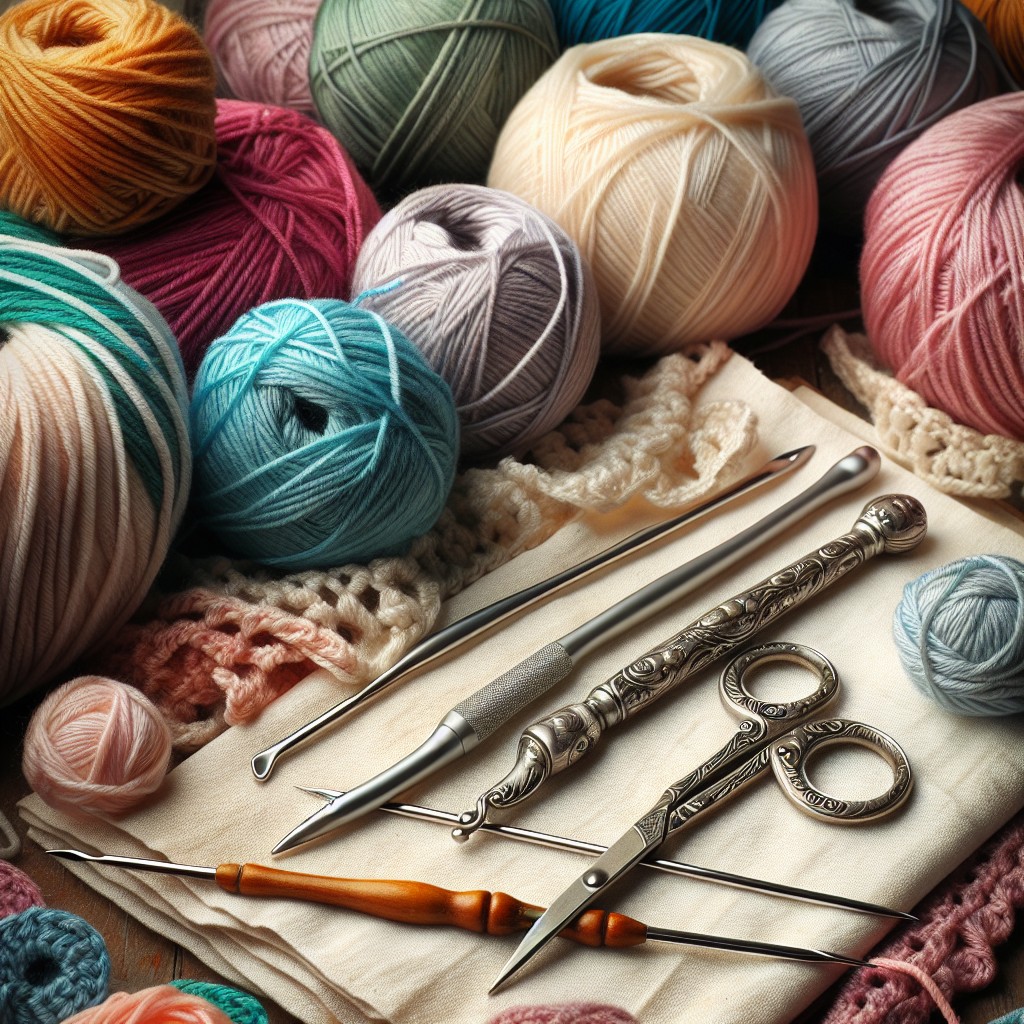
Selecting the right yarn is like picking the perfect spice for your favorite dish – it makes all the difference. Opt for a worsted weight yarn for a classic beanie texture. Acrylic yarns are great for easy-care hats, while wool or wool blends offer warmth and a touch of luxury. For hooks, a size H (5.00 mm) crochet hook strikes the right balance for most worsted yarns, but always check your yarn label for recommendations.
To stitch your beanie into existence, you’ll also need a yarn needle for weaving in ends – those pesky loose threads won’t tuck themselves in! And of course, let’s not forget a pair of scissors. Keeping a stitch marker handy can save you from the headache of losing your place in the round. Lastly, consider embellishments. Who doesn’t love options? Think about adding a pompom on top or buttons for a dash of character. Now, gather your tools and let the yarn spinning begin!
Crochet Hat Size Chart
Having the right fit is like finding the glass slipper—it just clicks. A crochet hat size chart aligns your hook and yarn to the head you’re adorning. It acts as a roadmap for your stitches, guiding you through the terrain of newborn noggins to adult crowns. Keep in mind, crochet stretches, so sizes are approximations to start with.
For a snug beanie, measure the head circumference and aim for an inch or two less for your hat size. The length from crown to brim varies by style — a hipster might prefer theirs skimming the eyebrows, while others like a fold-up brim for extra warmth.
Newborn hats typically circle 13 to 14 inches, with a cozy 5 to 6 inches from top to bottom. As heads grow, so do the numbers: toddlers fit into a range of 16 to 18 inches, while the average adult head measures around 22 inches. Remember, yarn type and stitch tension affect the outcome; a zesty zigzag in chunky yarn demands more room than a whisper of single crochet in a delicate thread.
Pattern Notes
Before you dive in hook-first, there are a few key pointers to keep in mind. Gauge, for starters, is your golden ticket to a beanie that actually fits. Take the time to work up a sample swatch to check your stitch size matches with the pattern. If things look wonky, switching hook sizes could be the fix you need.
Next, understand the abbreviations as they’re the shorthand of the crochet universe. They’ll save you space and sanity, abbreviating common actions like single crochet (sc) and slip stitch (sl st). A quick glance over a standard crochet abbreviation chart should do the trick.
Keep in mind, the pattern will often offer stitch count at the end of rounds or rows. This number can be your compass, ensuring you haven’t added or lost stitches along the way—crucial for maintaining that snug, cozy fit.
Turning chains can be sneaky characters, sometimes counted as a stitch and other times not. Pay attention to what your pattern says, as this affects where you place your first stitch of the next round.
Lastly, some patterns might suggest specific brands or types of yarn. While yarn substitutions are fair game, remember that texture and thickness vary and can alter the finished product. If you’re going rogue with yarn choice, aim for a similar weight to keep your beanie from becoming a bucket or a pincushion.
Starting the Beanie – Magic Circle or Alternative
Kicking things off, let’s grasp the magic circle, a nifty little trick that gives your beanie a snug start. Imagine it as the superhero entrance for your hat, leaping into action without any pesky holes. If the magic circle seems like a tough cookie, fear not. A simple alternative is to chain two and work the initial round of stitches into the first chain. This method, while not as sleek, is friendly to beginners or those who just want to get the ball rolling without too much fuss.
For clarity, the magic circle allows you to pull the yarn tail to close the circle tightly, ensuring a cozy fit right from the get-go. But if the magic circle feels like a tough knit to crack, the chain method stands by, ready to catch those stitches with open arms. Remember, the goal is to lay a solid foundation for your beanie, with or without the magic. Keep your stitches consistent in tension to avoid a wonky start. Let’s dive in, hooks at the ready, and set the stage for a beanie that’s going to look as snug as a bug in a rug.
Crochet Hat Pattern Variations
The joy of crocheting a beanie lies in the endless swirl of possibilities one can stitch into their creation. With a simple tweak of the hook, a splash of color, or a new stitch, a basic beanie transforms into a tapestry of personal expression.
Stitch patterns can dramatically alter the texture and look: experimenting with single or double crochets for a clean, classic style, or incorporating cables and bobbles for a 3D effect that pops with personality. Bobble stitch beanies, for instance, add a playful touch.
Stripes or ombré effects inject life through color, achieved by changing yarn shades at chosen intervals. Introducing a complementary or contrasting color can highlight design features or add a bit of zest to a solid background.
For those that relish a subtle challenge, altering the reduction rate can create a more slouchy or fitted outcome. Slow your reductions for a laid-back, slouchy cap, or maintain a steady pace for a snug fit.
Adjustments for functionality, such as adding a brim or earflaps, cater to the wearer’s needs. A ribbed brim offers elasticity and comfort, securing the beanie just so. Earflaps provide extra warmth, with the option to adorn them with tassels or pompoms for flair or a dash of whimsy.
Beanie finishes can be a cherry on top—consider a delicate picot edging for a touch of elegance or attach a faux fur pompom for a modern, chic statement.
These variations serve as a roadmap to fashioning a beanie that goes beyond mere warmth, into the land of individual style and practical Artistry. Remember, each variation should maintain the beanie’s overall harmony and purpose, balancing creativity with cohesiveness.
Related Posts
 Easy Crochet Gnome Pattern Free: Transform Yarn into Whimsical Friends
 Crochet Star Blanket: A Stellar DIY Guide
 How to Crochet Slippers for Beginners Step by Step with Pictures: Cozy Feet Awaits
 Adjustable Ring Crochet: Master the Magic Circle
 How to Crochet Without a Hook: Hands-On Creativity