Discover the wonderful world of crochet beanies as we explore various types, patterns, and styles perfect for all ages and occasions in this engaging blog.
Are you looking for a stylish and cozy accessory to keep your head warm during the colder months? Look no further than crochet beanies! These versatile hats come in a variety of styles, from classic to trendy, and can be customized to fit any personal taste. In this article, we’ll explore the different types of crochet beanies available, including their unique characteristics and how to make them.
Whether you’re an experienced crocheter or just starting out, there’s sure to be a beanie design that catches your eye. So grab your hook and let’s get started!
Basic Crochet Beanie Pattern
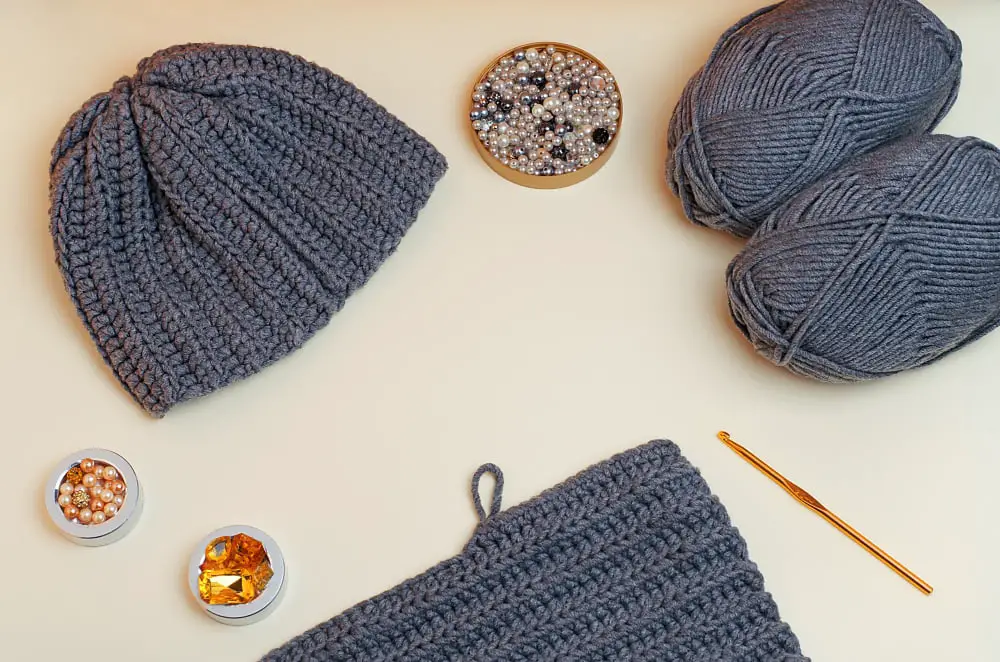
This simple pattern can be customized in many ways, making it perfect for crocheters of all skill levels.
To get started with this pattern, you will need to choose your yarn and hook size. Worsted weight yarn and a 5mm or H/8 hook are good choices for most beanies.
Begin by creating a slip knot on your hook and chaining the desired number of stitches (usually around 4-6 inches). Join the last chain stitch to the first one with a slip stitch, being careful not to twist your work.
Next, start working in rounds using single crochet stitches until you reach the desired length of your hat. You can add stripes or other embellishments as you go along if desired.
Once you have reached the top of your hat, decrease stitches evenly across each round until only one stitch remains. Cut off excess yarn leaving enough tail end so that it can be woven into remaining loops at top center.
Single Crochet Cap
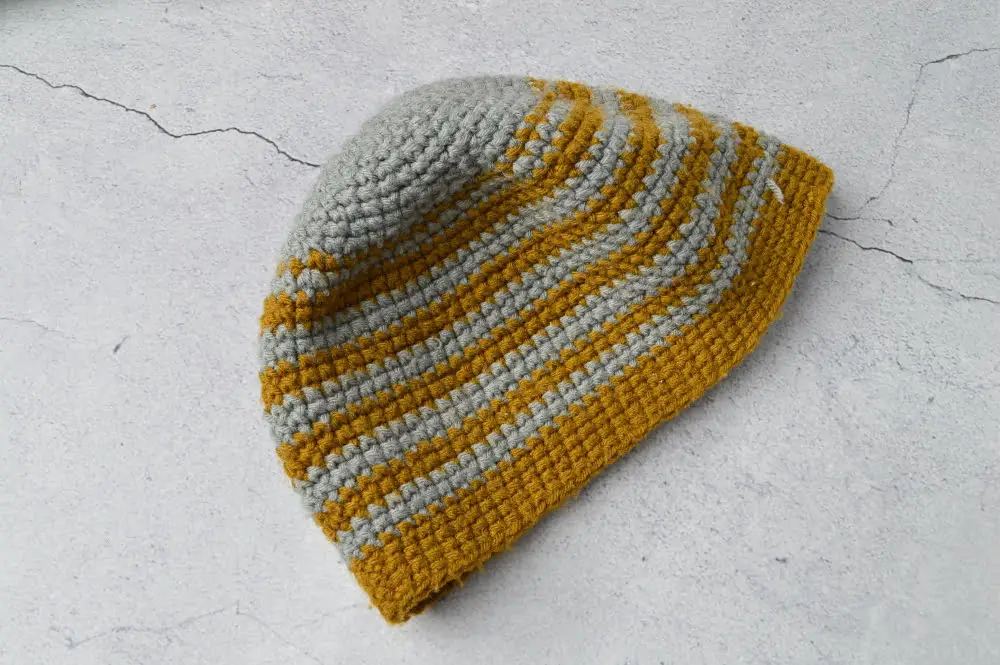
This beanie style features a simple stitch pattern and can be customized with different colors or embellishments to make it your own. To create this hat, you’ll need to know how to chain stitch, single crochet, and slip stitch.
To start the project, begin by creating a foundation chain of stitches that fits around your head comfortably. Then work in rounds of single crochets until the hat reaches the desired length.
One great thing about this pattern is its versatility – you can easily adjust it for different sizes or add stripes or other details as desired. Plus, since it uses just one type of stitch throughout (the single crochet), even novice crocheters will find success with this project.
Slouchy Beanie Style
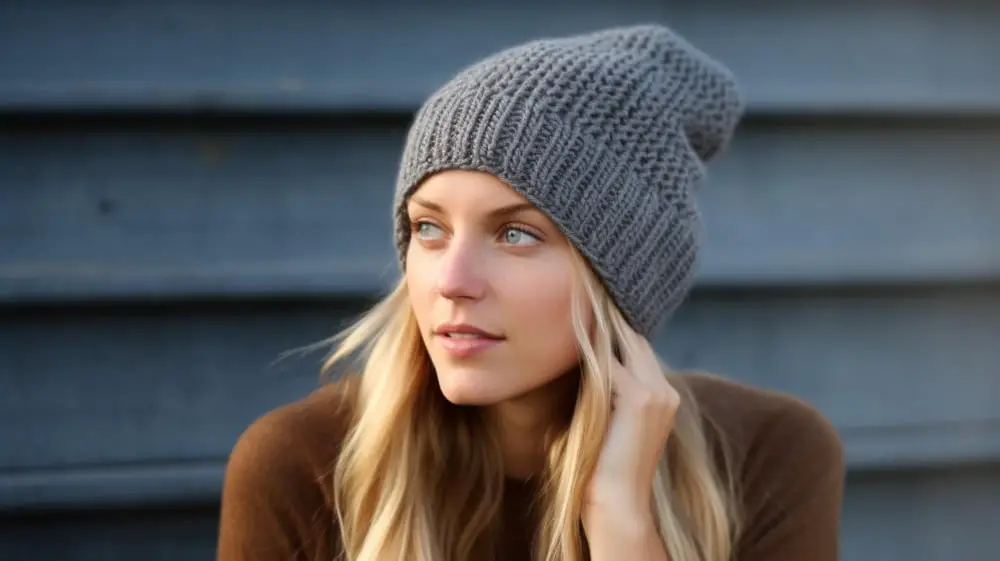
This type of crochet beanie has a looser fit and typically features extra length at the top that can be folded over or left to hang down in a stylish way.
To make this style of hat, start with your basic crochet beanie pattern but add additional rows to create more length. You can also experiment with different stitch patterns such as ribbing or textured stitches to give your slouchy hat some added interest.
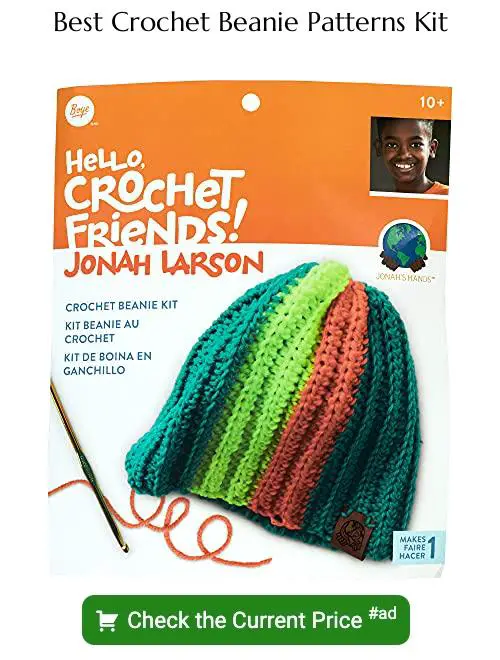
One popular variation on the slouchy beanie is the “messy bun” version which features an opening at the top where you can pull your hair through while still keeping warm during colder weather.
Whether you prefer classic styles or trendy designs, there’s sure to be a crochet beanie pattern that suits your needs.
Ribbed Crochet Beanies
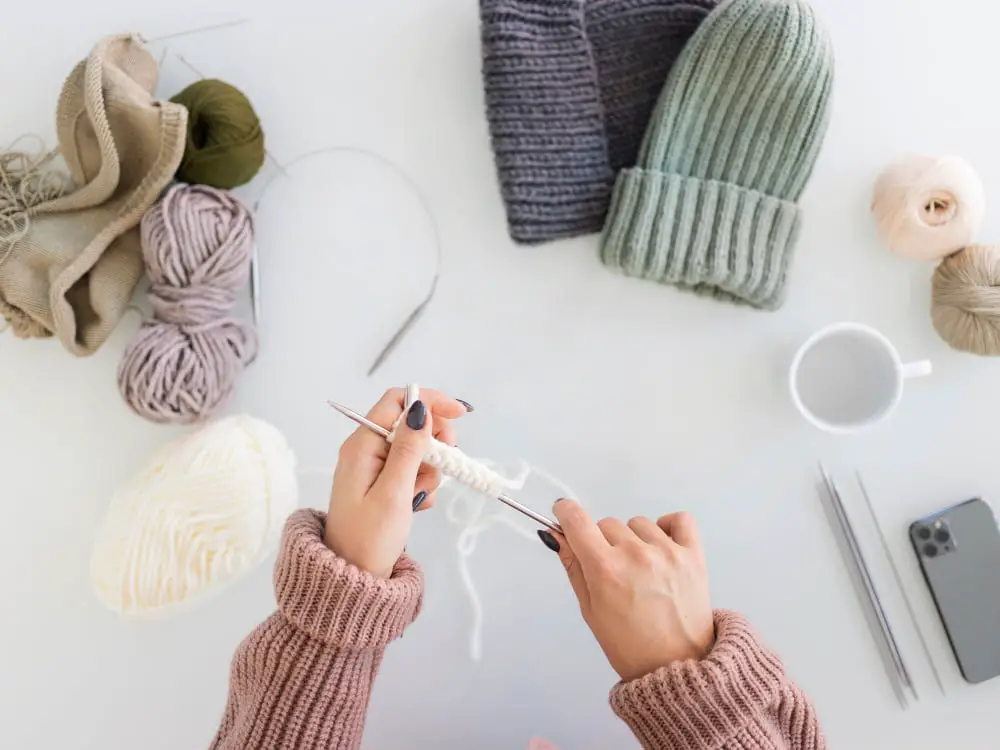
They’re perfect for keeping your head warm and snug during the colder months, and they look great with any outfit. The ribbed texture adds an extra layer of warmth to the beanie, making it ideal for those chilly winter days.
To make a ribbed crochet beanie, you’ll need to know how to work in both single crochet (sc) and front post double crochet (fpdc). The fpdc stitch creates raised ridges on the surface of your work that give it its characteristic ribbing effect.
One popular pattern is the 1×1 Rib Stitch Beanie which alternates between one sc stitch followed by one fpdc stitch throughout each round. This creates a tight-knit fabric with plenty of stretch so that it fits comfortably over your head without feeling too tight or constricting.
Another option is using bulky yarns like Lion Brand Wool-Ease Thick & Quick or Bernat Softee Chunky Yarn which will create larger ribs giving more texture than finer weight yarns like worsted weight acrylic yarns such as Red Heart Super Saver Yarn or Caron Simply Soft Yarn.
Cable Stitch Beanies
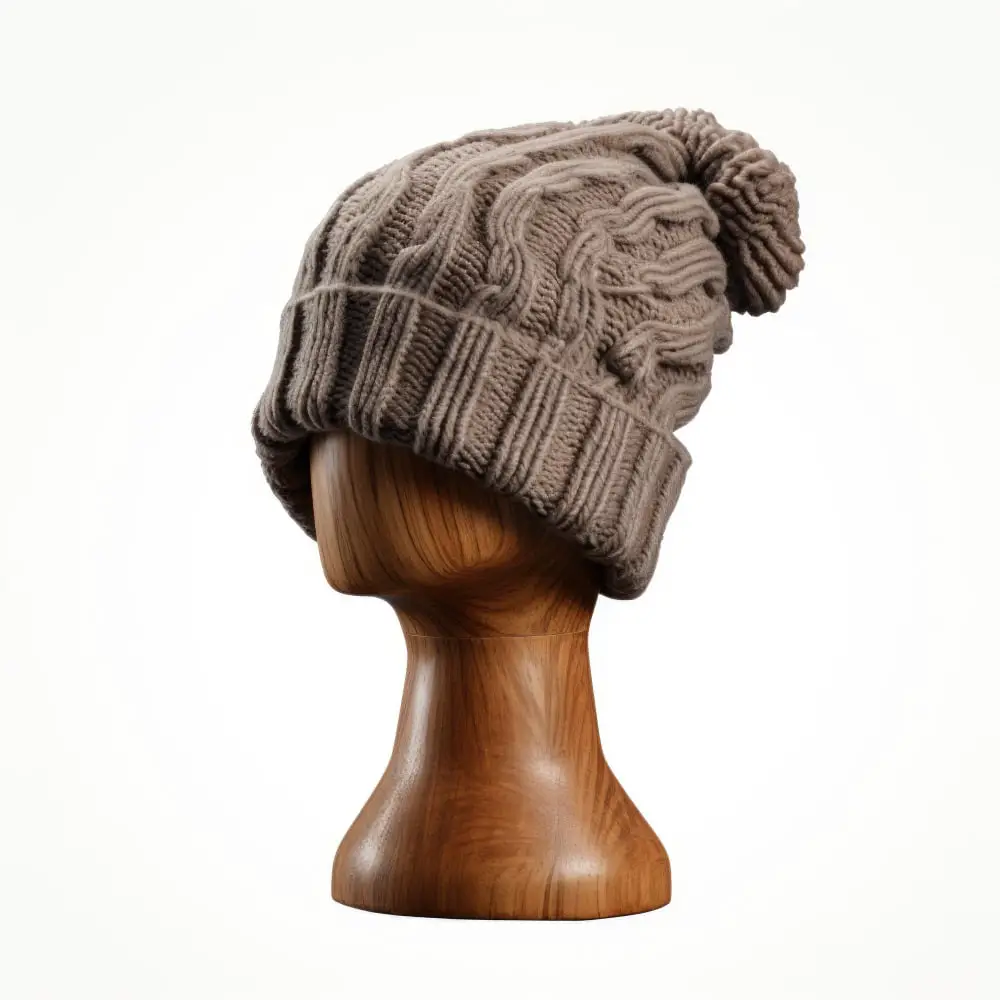
The intricate design of the cable stitch creates a beautiful texture and adds depth to any beanie. This type of crochet beanie is perfect for those who want to add some sophistication and elegance to their winter wardrobe.
To create this pattern, you will need intermediate-level crochet skills as it involves working with front post double crochets (FPDC) and back post double crochets (BPDC). However, once you get the hang of it, creating these beanies can become addictive!
There are many variations in cable stitch patterns that can be used in making beanies such as braided cables or twisted cables. You can also experiment with different colors or yarn weights for added interest.
Watson Waffle Crochet Hat
This design creates a textured and cozy hat perfect for colder weather. The Watson Waffle Crochet Hat can be made in various colors, making it easy to match with any outfit or personal style.
To make the Watson Waffle Crochet Hat, you will need to know how to crochet in the round and have experience working with front post double crochet stitches. The pattern typically calls for worsted weight yarn and an H/8 (5mm) hook.
This hat is not only stylish but also functional as it provides warmth while still allowing your head to breathe comfortably due to its openwork texture. Whether you’re running errands on chilly days or hitting the slopes, this versatile hat will keep you warm without sacrificing fashion.
Textured Beanies
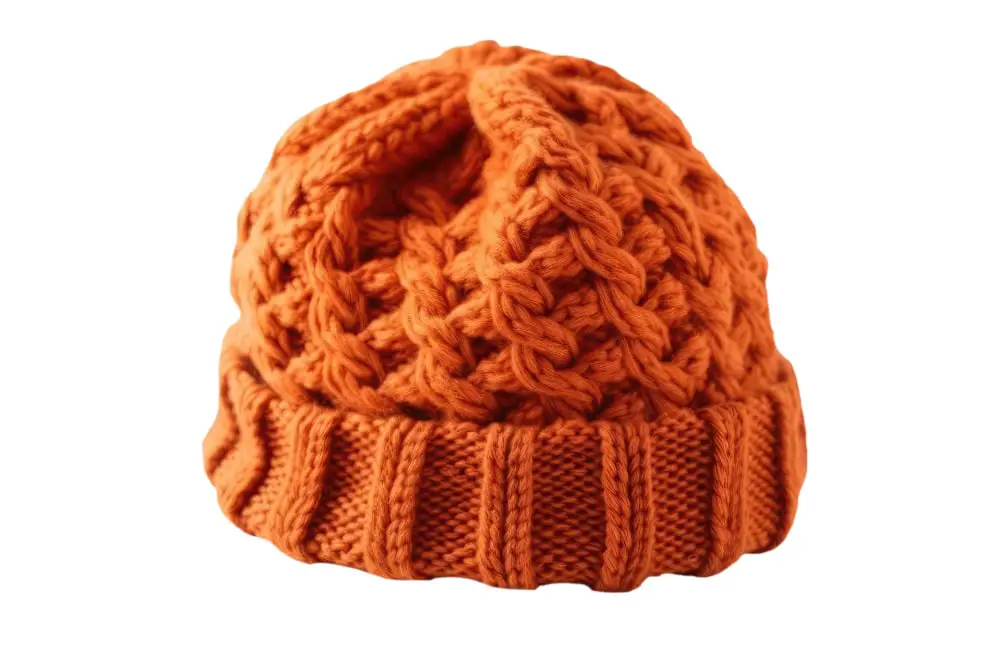
These hats feature unique stitch patterns that add depth and dimension to your finished product. Some popular options include popcorn stitches, cables, bobbles, and shells.
One of the great things about textured beanies is that they can be customized in so many ways. You can choose different colors or yarn weights to create a completely unique look.
Plus, these hats are perfect for showcasing more complex crochet techniques if you’re up for a challenge.
When it comes to selecting a pattern for your textured beanie project there’s no shortage of options available online or in books dedicated solely on this topic! Whether you prefer classic designs or something more modern and trendy – there’s sure to be an option out there that fits your style perfectly.
Granny Square Beanies
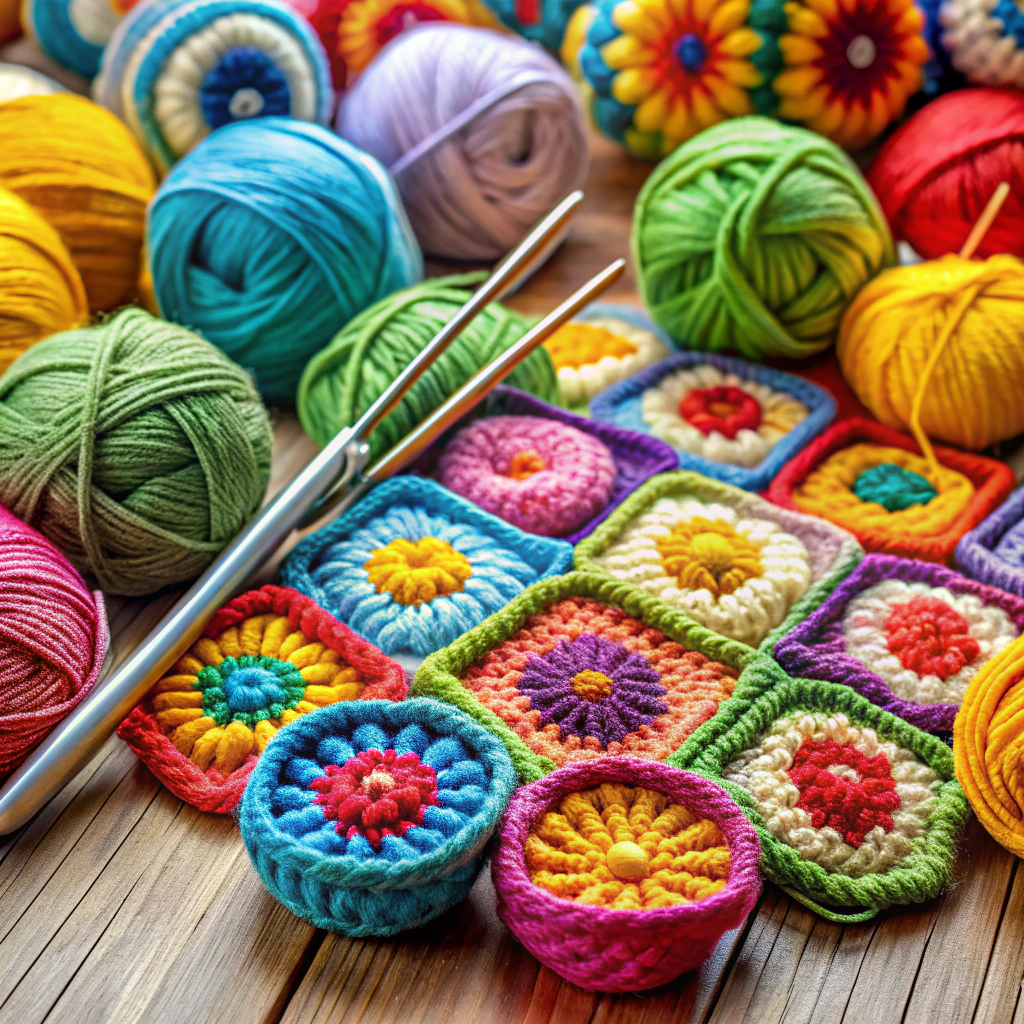
These beanies feature the iconic granny square pattern, which is made up of clusters of double crochets separated by chain stitches. The result is a beautiful and intricate design that looks great in any color combination.
To make a Granny Square Beanie, you’ll need to start by making several granny squares using your chosen yarn colors. Once you have enough squares, sew them together to form the body of the beanie.
Then add on your desired brim or edging and finish off with a pom-pom or tassel if desired.
One great thing about Granny Square Beanies is their versatility – they can be made in any size from baby to adult and can be customized with different colors and embellishments for each individual wearer’s style preferences.
Puff Stitch Beanies
This stitch creates a raised, bumpy effect that adds visual interest and warmth to the beanie. The puff stitch is created by working multiple stitches into one space, then pulling them all through at once to create a “puff.” This technique can be used in various ways throughout the hat pattern, creating different effects depending on how it’s applied.
One way of using this stitch is by alternating rows of single crochet with rows of puff stitches. This creates an interesting contrast between smooth and textured sections that make your beanie stand out from other designs.
Another option is incorporating the puff stitch as part of an overall pattern or design element within your hat. For example, you could use it as part of a flower motif or incorporate it into stripes for added dimensionality.
When making Puff Stitch Beanies, choosing the right yarn can also make all the difference in achieving desired results. Bulky weight yarns work well with this type of stitching because they help emphasize its texture while keeping you warm during colder months.
Spiral Crochet Beanies
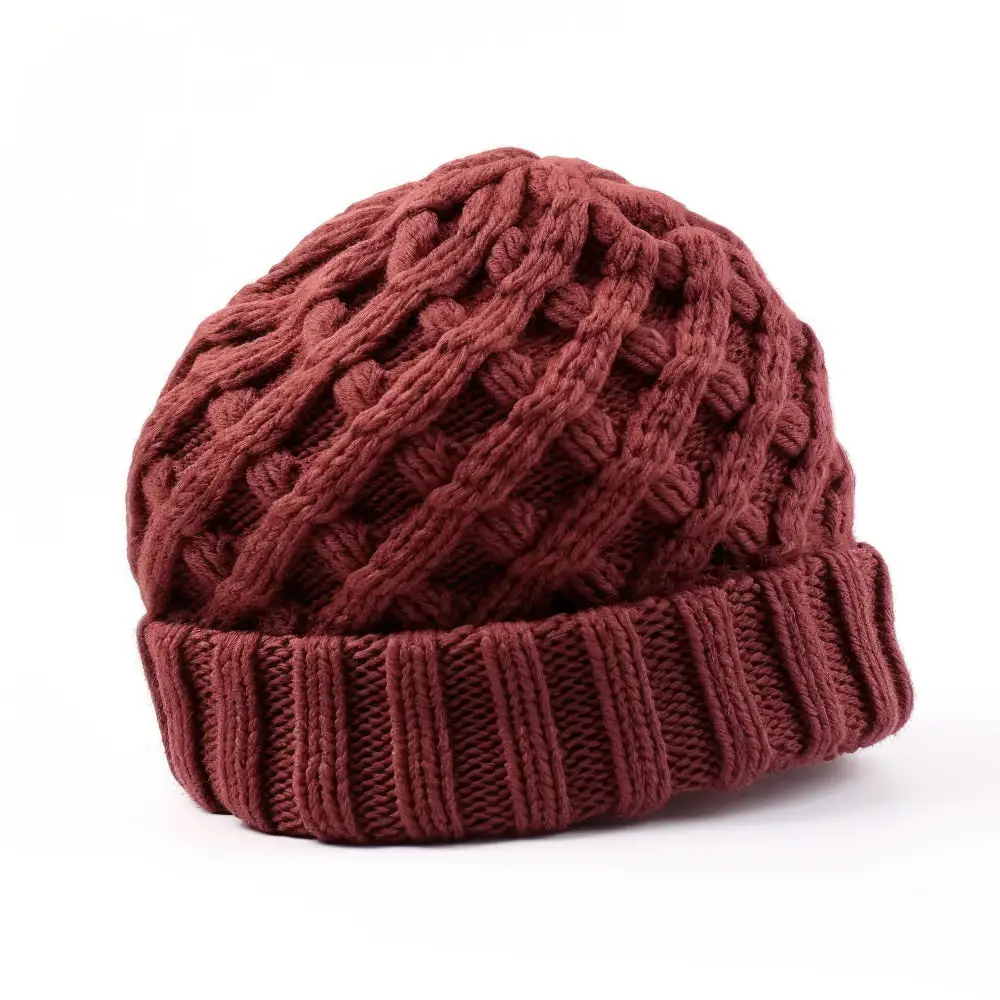
These beanies are made by crocheting in the round, creating a spiral pattern that wraps around the hat from top to bottom. The result is a visually striking design that can be customized with different colors and stitch patterns.
To make a Spiral Crochet Beanie, start by choosing your yarn and hook size. Then, create an adjustable ring or magic circle as your starting point for crocheting in the round.
From there, work single crochet stitches into each stitch of the previous row until you reach your desired length.
One of the benefits of making Spiral Crochet Beanies is their versatility – they can be made with any weight yarn or color combination you choose! You could even experiment with adding stripes or other decorative elements like pom-poms or tassels.
Spiral Crochet Beanies offer endless possibilities for customization while still being easy enough for beginners to tackle.
Messy Bun Beanies
These beanies feature a hole at the top for your ponytail or bun to stick out of, making them both practical and stylish.
To make a Messy Bun Beanie, you can start with any basic beanie pattern and simply add the opening at the top. There are also specific patterns available that are designed specifically for this style of hat.
One popular design is the “Ponytail Hat” which features an adjustable elastic band that allows you to customize how much space there is for your hair. Another option is using buttons on either side of the opening so that it can be closed when not in use.
Messy Bun Beanies come in all sorts of styles from simple ribbed designs to more intricate cable knit patterns. They’re perfect for outdoor activities like hiking or skiing where you need warmth but don’t want your hair getting in your face.
Beret-style Beanies
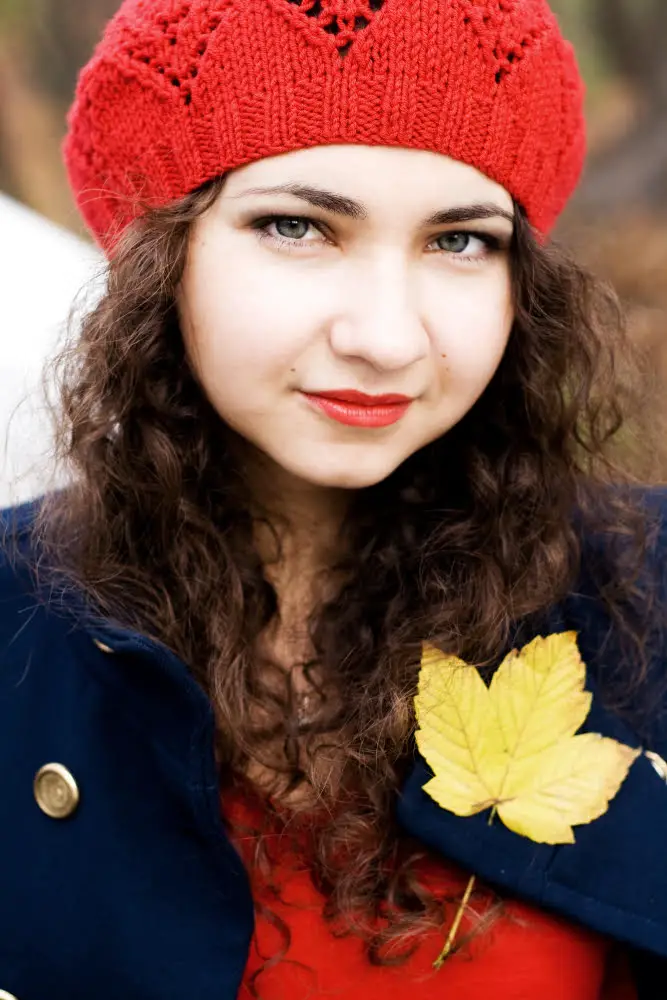
This type of crochet hat features a slouchy design that sits loosely on top of your head, with a flat crown and no brim. Berets are often associated with French fashion, but they have become increasingly popular in recent years as an alternative to traditional beanies.
To make your own beret-style beanie, start by crocheting in the round using double crochet stitches until you reach the desired size. Then decrease stitches gradually towards the center to create a flat crown shape.
One great thing about this style is that it can easily transition from day to night wear depending on how it’s styled. Pair it with jeans and sneakers during the day or dress it up with heels and statement jewelry at night.
Earflap Beanies
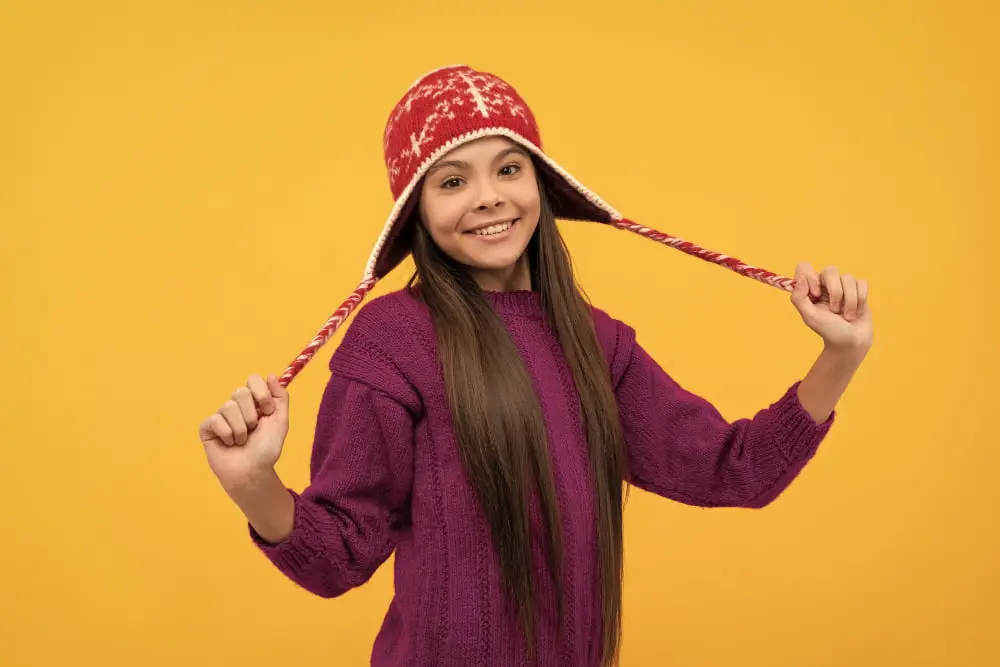
These hats feature flaps that cover the ears and can be tied or buttoned under the chin for added warmth. Earflap beanies come in various styles, from classic to trendy, and can be customized with different colors and patterns.
To make an earflap beanie, you’ll need to start with a basic crochet beanie pattern. Once you’ve completed the body of your hat, it’s time to add on the ear flaps.
You can either create them separately and sew them onto your hat or work them directly into your pattern.
One popular style is a braided ear flap design where three strands of yarn are braided together at each end of each flap before being secured in place by tying knots at both ends. Another option is adding tassels or pom-poms on top of each flap for extra flair.
Brimmed Beanies
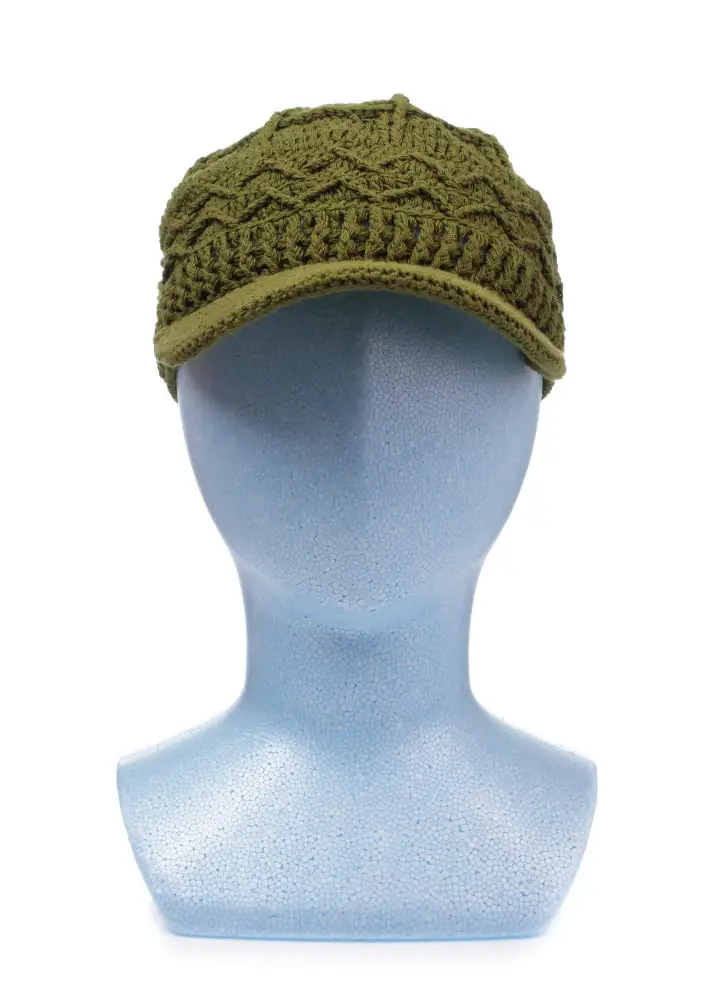
These hats feature a brim or visor at the front, which can be made in various sizes and shapes to suit your preference. The brim adds an extra layer of coverage for your face and eyes, making it perfect for outdoor activities like hiking or fishing.
To make a Brimmed Beanie, you’ll need to start with a basic crochet beanie pattern and then add on the brim section. There are many different ways to create this type of hat depending on how wide you want your brim to be or what shape you prefer.
One popular method is using single crochet stitches worked in rows around the edge of your hat until it reaches desired length before folding up into position as per design instructions. Another option is creating an extended double crochet stitch (also known as “long dc”) that creates height without adding width so that when folded over onto itself forms its own sturdy bill/visor-like structure.
Bead-stitched Beanies
This style involves adding beads to your crochet work as you go along, creating a beautiful texture that’s perfect for winter accessories.
To create this look, start by choosing your yarn and beads. You’ll want to use smaller-sized beads so they don’t overwhelm the design of the hat.
Once you have everything ready, begin crocheting your beanie using any stitch pattern of your choice.
As you work each stitch in each row, slide a bead onto the working yarn before completing it. The result is an intricate pattern of stitches with subtle pops of color from the added beads.
Bead-stitched beanies are perfect for those who love to add extra details and embellishments to their projects while still keeping them functional and warm during colder months.
Lace Crochet Beanies
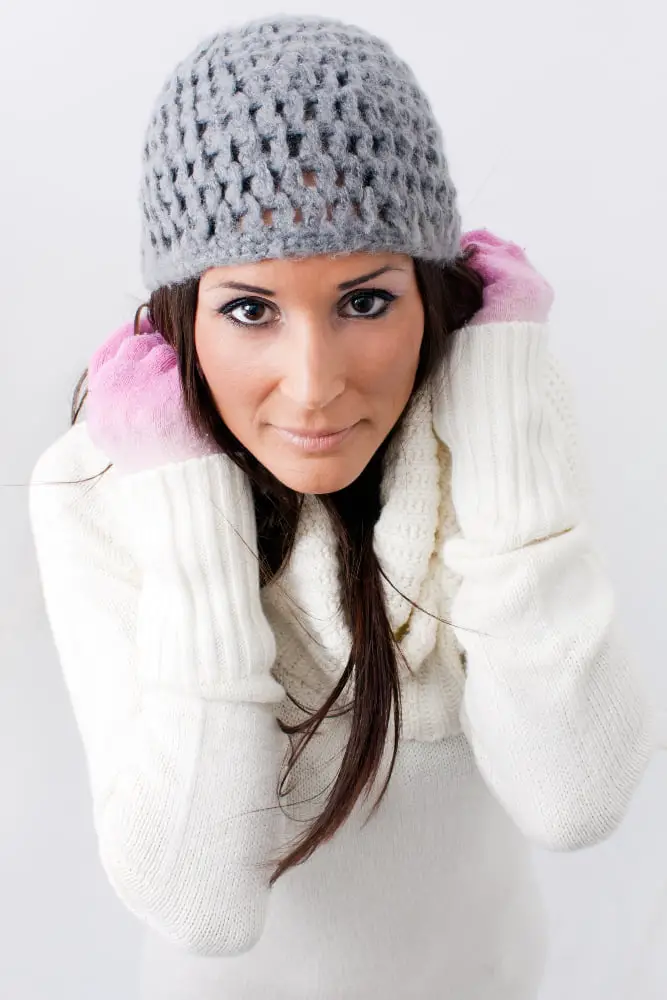
These beanies feature intricate lace patterns that create an airy, lightweight texture perfect for mild winter days or indoor wear. The openwork design also allows the scalp to breathe, making it ideal for people with sensitive skin.
To make a Lace Crochet Beanie, you’ll need fine yarn and small crochet hooks ranging from 2mm-3mm in size. You can choose from various lace stitch patterns such as the shell stitch or pineapple stitch depending on your preference.
One popular pattern is the “Lacy Shells Hat,” which features alternating rows of shells and V-stitches that create an elegant scalloped edge around the brim of the hat. Another favorite is “The Lacy Beanie,” which uses puff stitches combined with double crochets to form lacy clusters throughout its body.
When wearing Lace Crochet Beanies, consider pairing them with outfits that complement their delicate nature such as flowy dresses or blouses made from light fabrics like chiffon or silk. They’re also great accessories when attending formal events like weddings where you want something stylish yet comfortable enough to wear all day long.
Bobble Stitch Beanies
This stitch creates small, raised bobbles that give the beanie a unique look and feel. To create this stitch, you’ll need to know how to work double crochets (DC) and front post double crochets (FPDC).
The bobble is made by working several DCs into the same stitch, then pulling up a loop in each of those stitches before completing them all together.
One popular pattern for Bobble Stitch Beanies is the “Pom Pom Bobbles” design. This beanie features rows of alternating colors with clusters of bobbles throughout.
It’s perfect for adding some color and whimsy to your winter wardrobe.
Another great option is the “Cable & Bobbles Beanie”. This pattern combines two classic crochet techniques – cables and bobbles – for an eye-catching design that’s sure to turn heads.
The cable stitches create vertical lines down the sides of the hat while clusters of bobbles add dimension.
Tunisian Crochet Beanies
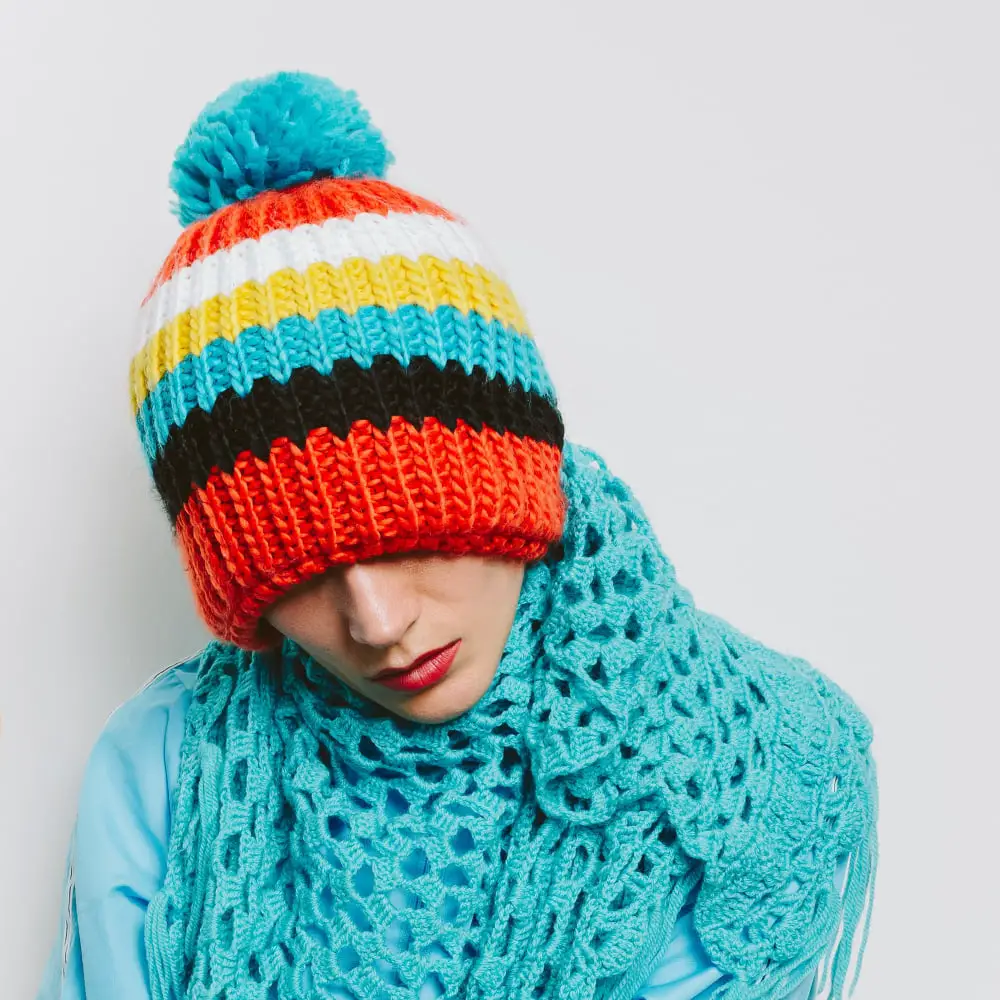
It creates a dense, textured fabric that’s perfect for warm winter accessories like beanies. Tunisian crochet beanies are worked in the round using a long hook with an extended cable, allowing you to pick up multiple stitches at once.
One popular Tunisian stitch pattern for beanies is the honeycomb stitch, which creates a beautiful texture reminiscent of actual honeycombs. Another option is the simple stitch or knit stitch, which produces smooth and even rows.
To make your own Tunisian crochet beanie, start by choosing your yarn and hook size based on how tight or loose you want your stitches to be. Then follow any basic hat pattern but use tunisian simple stich instead of single crochets (sc).
You can also experiment with different colors and patterns to create unique designs.
Filet Crochet Beanies
This style of crocheting creates a delicate lacy pattern using only two stitches: chain stitch and double crochet. The result is an intricate design that looks like it was made by hand with love.
One of the best things about filet crochet beanies is their versatility. They can be worn as part of a casual outfit or dressed up for more formal occasions, making them ideal for any season or event.
To make your own filet crochet beanie, start by choosing your yarn color and weight. Then select your favorite pattern from one of many available online resources or create one yourself! Once you have all the materials ready to go, follow these simple steps:
- Start with a foundation chain in multiples of 3.
- Work double crochets into every other chain stitch.
- Chain 1 between each set of double crochets.
- Repeat until desired length is reached.
Once you’ve completed this basic pattern, experiment with different variations such as adding stripes or changing colors to create unique designs that reflect your personal style!
FAQ
What crochet stitch is best for beanies?
The best crochet stitch for beanies is the Crochet Ribbing Stitch, which involves making the half double crochet (hdc) through the back loop only to create a stretchy ribbing perfect for hats.
Is it faster to crochet or knit a beanie?
Answer: Crocheting a beanie is generally faster than knitting one due to larger stitches and quicker pattern progression.
What are the most popular crochet beanie patterns for beginners?
The most popular crochet beanie patterns for beginners include single crochet beanie, double crochet beanie, and half double crochet beanie.
How do you measure the perfect fit for a crochet beanie?
To measure the perfect fit for a crochet beanie, measure the circumference of the wearer’s head and adjust the hat’s size accordingly.
What are some recommended yarn types and hook sizes for creating crochet beanies?
Recommended yarn types and hook sizes for creating crochet beanies include worsted weight yarn (4) with a 5.0mm to 5.5mm hook, and bulky weight yarn (5) with a 6.0mm to 7.0mm hook.
