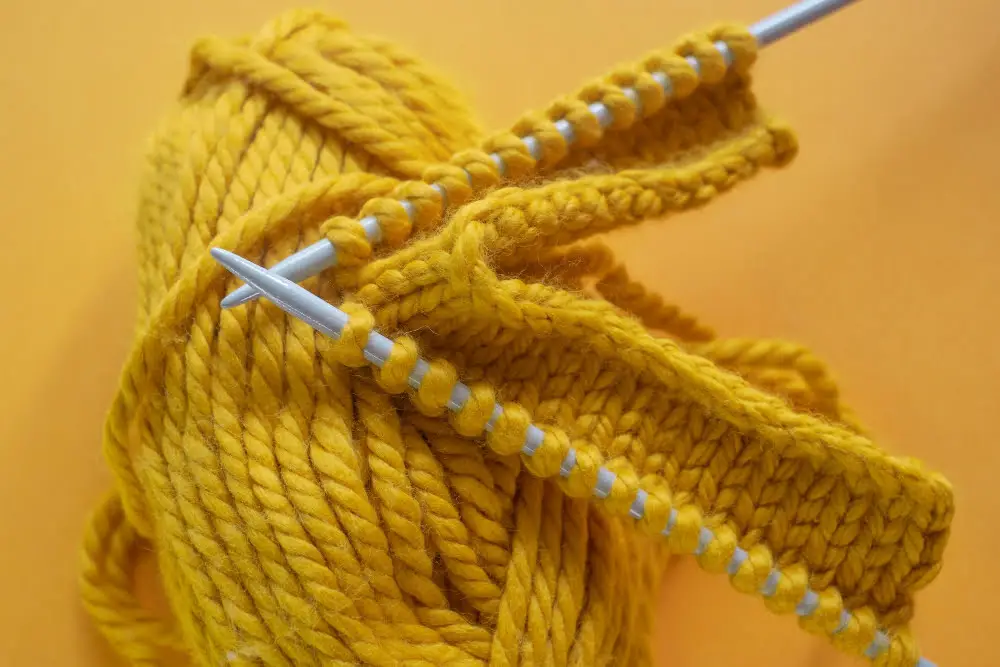
This post guides you through the process of adding new yarn to your knitting project smoothly and efficiently.
Adding yarn when knitting is a necessary skill for any knitter, especially when working on larger projects or when a ball of yarn ends. The process is simple and seamless, ensuring your work remains neat and consistent.
This article will cover detailed steps on how to add yarn when knitting, including various methods like the Russian Join, Magic Knot, and Spit Splicing. It will also provide tips on how to choose the best method based on the type of yarn you are using.
By the end, you’ll be well-equipped to add yarn like a pro, keeping your knitting projects flawless and uninterrupted.
Key takeaways:
- Hold both strands and knit together for a few stitches.
- Use the Russian Join for invisible and secure joins.
- The Magic Knot creates secure and strong joints.
- The Twist and Weave method is great for colorwork.
- Practice and choose the best method for your project.
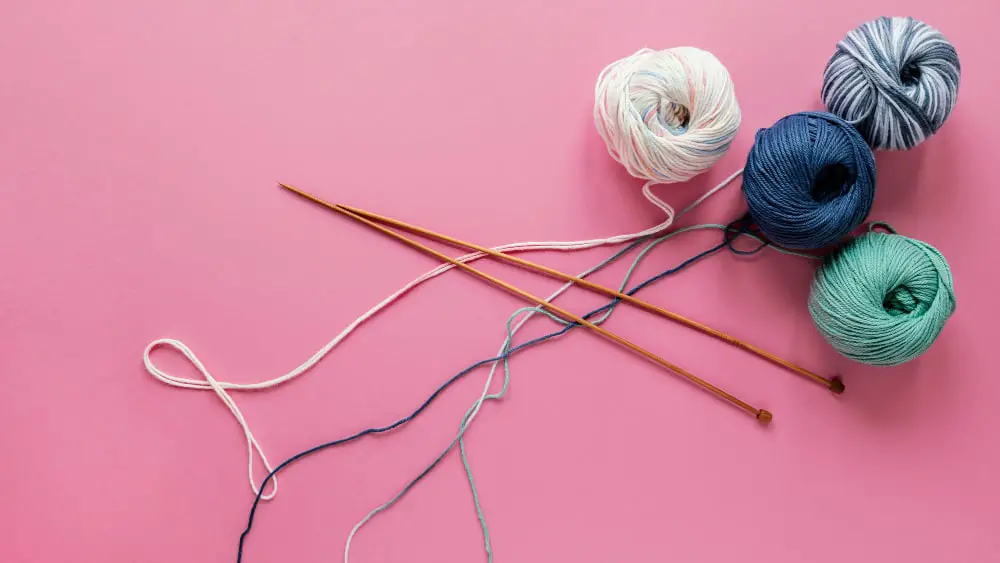
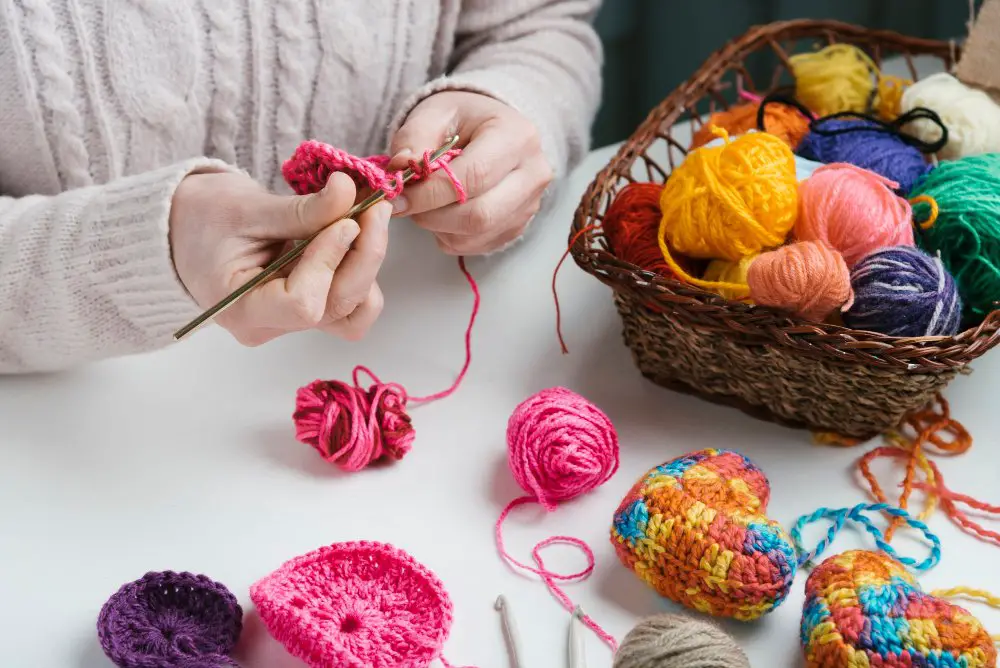
Materials Needed to Add New Yarn When Knitting
To seamlessly add yarn when knitting, arm yourself with the right materials. Foremost, you’ll need a fresh ball or skein of yarn. Opt for the same thickness and color as your current yarn for a flawless addition. In the case of wanting a different hue, but not a noticeable texture contrast, ensure your additional yarn has a similar weight.
Your knitting needles – circular or straight – are already in use. You’ll also require a pair of sharp scissors, essential for clean and precise cuts while joining the new yarn. Should you be planning to join the new yarn using the Russian join technique, a yarn needle becomes critical.
For some joining methods, like the spit splice or wet join, you’ll require a bit of water. Others, such as the magic knot, might necessitate a lighter to singe the yarn ends.
Lastly, incorporating yarn also demands a clean and clear working space. This aids in easy handling and arrangement of the yarns, making your knitting hassle-free.
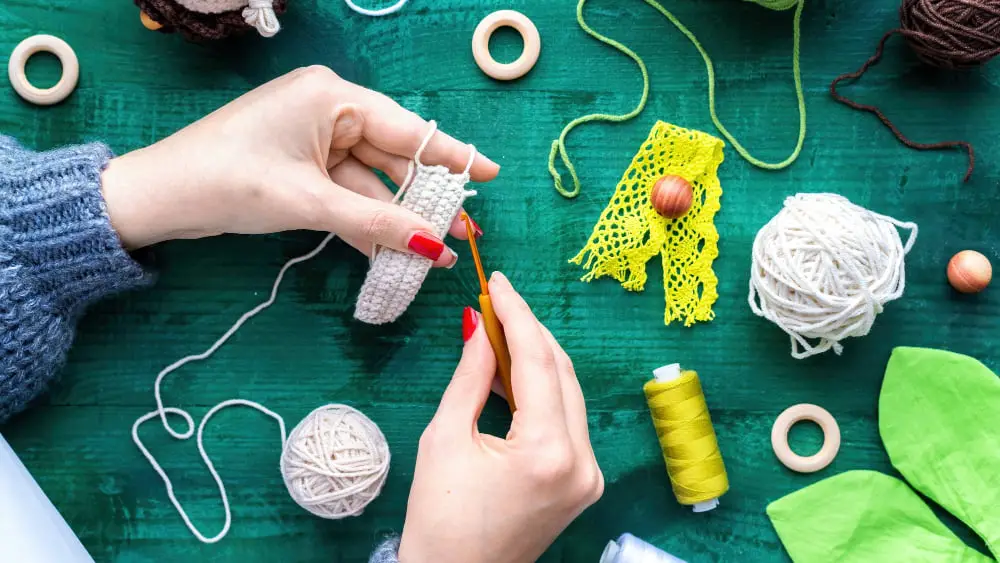
Essential Tools for Adding Yarn in Knitting
Having the right set of tools greatly simplifies the process of adding yarn while knitting.
A pair of trusty knitting needles makes the foundation of your toolkit. Needle size and type play a significant role in the end result, so it’s important to choose them based on the pattern requirements.
The second critical tool is a pair of embroidery scissors. Sharp and precise, these scissors assist in cutting the old yarn and trimming the ends of the new yarn.
Yarn itself is another key component. To maintain consistency in the end product, ensure the new yarn is of the same weight, texture, and color as the original yarn.
Tapestry needles come handy when weaving in ends. Their large eye and blunt tip help insert yarn smoothly without splitting it.
Lastly, a stitch marker may be useful when managing multiple balls of yarn. A stitch marker aids in marking the spot where the new yarn begins, making it easier to keep track of your work.
Following the proper knitting technique and using the right tools can make the process of adding yarn less daunting and more enjoyable.
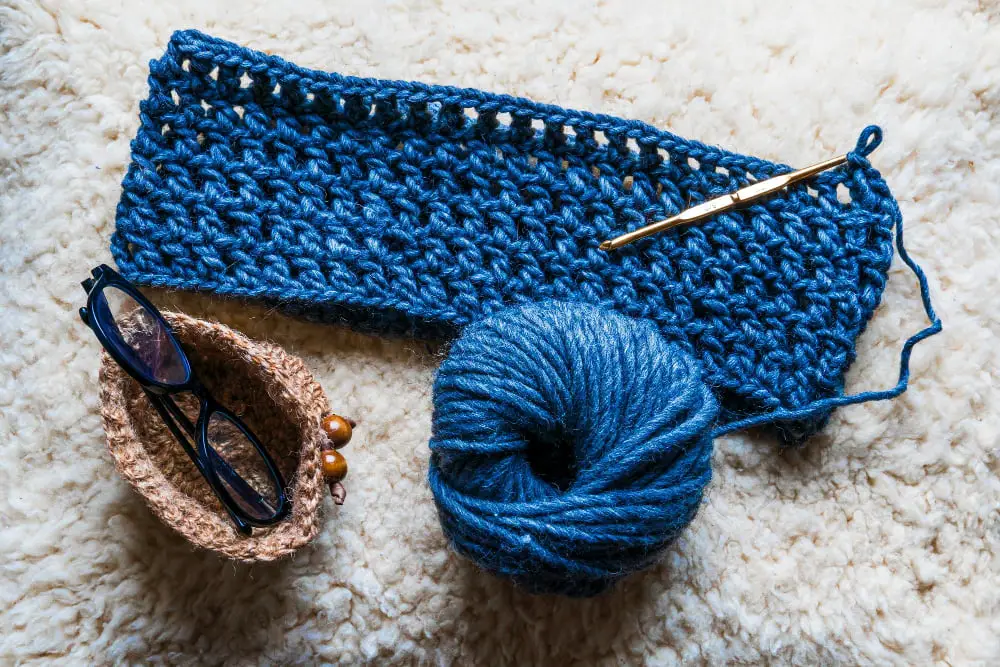
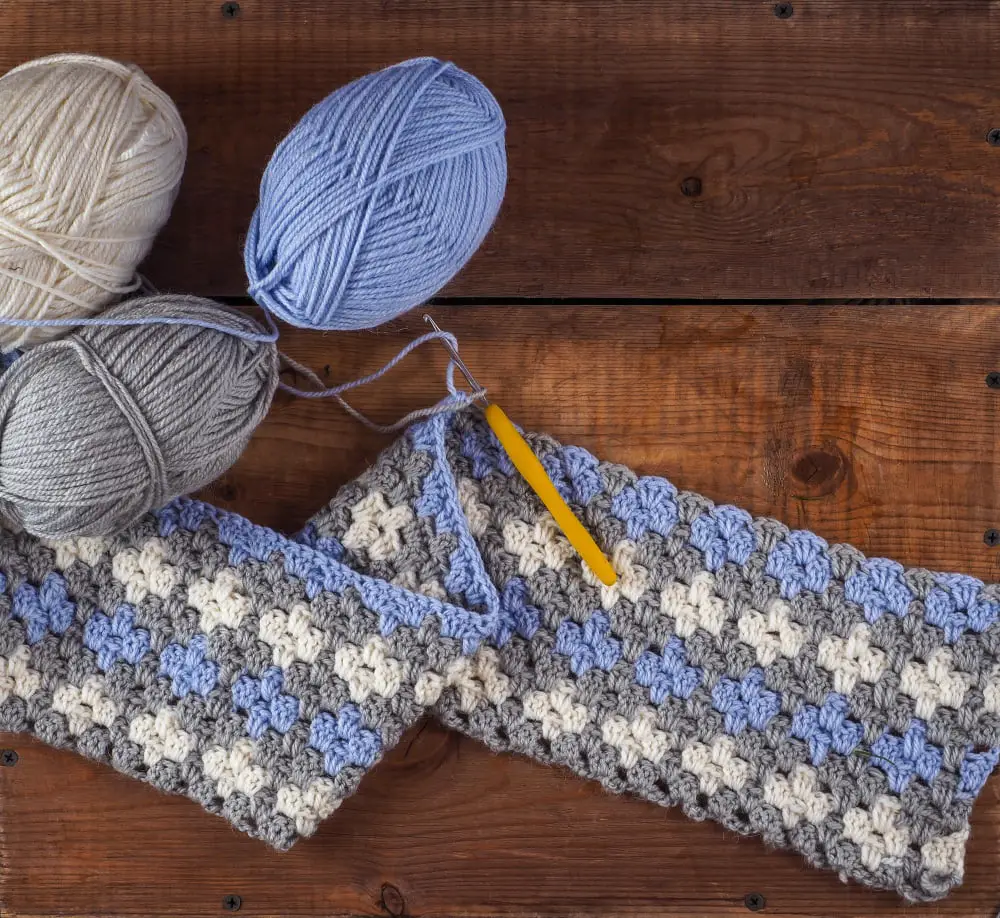
Different Techniques to Join New Yarn in Knitting
When planning to incorporate a new skein or add a different color to your knitting project, knowing how to proficiently join new yarn is beneficial. There are numerous methods available depending on your preference, materials, and the overall design of your pattern.
Overlap Join involves holding the new yarn alongside the working yarn, knitting them together for a few stitches, which creates a secure and quick join. As it doubles the yarn thickness briefly, you’d want to use this technique preferably on the wrong side of your project.
Twist and Weave is a method that doesn’t require knotting or doubling up your yarn and is great for carrying yarn up the side of your work when working with multiple colors. You twist your old yarn around the new one to continue knitting and later weave in the ends.
Russian Join eliminates loose ends and doesn’t add bulk. Using a yarn needle, you thread the end of each yarn through its own strand, creating a loop, one loop is passed through another, and then both ends are pulled to secure the join.
Magic Knot is incredibly secure and useful for projects that require robust joints. You intertwine the old and new yarn, loop them onto their strand, and then pull to create individual knots. Then, draw together by pulling the yarns and cut the close ends.
Back Join allows you to avoid weaving ends and is best used with a same-color yarn. You wrap the new yarn on the needle along with the old one, knit a stitch, then drop the old yarn and continue knitting with the new one.
Understand each technique’s specificity, their pros and cons, choose the one that fits your project the most and performs it skillfully. This will ensure your knitting stays consistent, beautiful, and strong, no matter how many times you need to join new yarn.
Method: Overlap Join (knit Double)
Begin with holding two strands of yarn together – one from your old ball and one from the new ball. This ensures a seamless transition between the two.
When you start knitting, ensure you grab both strands as if they were a single yarn. Treat these as a single unit for about 3-5 stitches. After this, drop the old yarn, just continue to knit with the new strand.
It is important to check that you’ve dropped the yarn on the side that will be the inside of your project to maintain a clean outer appearance.
The double stitched section will be slightly thicker, but it becomes hardly noticeable within the overall project.
One of the advantages of the Overlap Join method is its simplicity and it prevents the ends from unwinding or poking out in finished items.
Method: Twist and Weave
Begin by holding your old and new yarns parallel to each other. Ensure there’s about a five-inch overlap with both yarn strands. The first step, as you start your next stitch, is to knit with both the old and new yarn.
Now, you’ll want to drop the old yarn and proceed to knit with the new yarn only. This leaves out the old yarn at the back of your work. The old yarn should be carried along the edge of your work as you continue to knit.
Bear in mind that on subsequent rows or rounds where the old yarn is, there will be double stitches. Always treat these double stitches as one when knitting or purling.
One twist and weave trick is to occasionally catch the old yarn at the back of the work to secure it further. This involves simply wrapping the old yarn around the new yarn.
Always remember to trim the excess yarn after a few rows or rounds, leaving a short tail. This ensures that your project stays neat and doesn’t get tangled. Knowing the twist and weave method can add to your knitting prowess, making the process of adding new yarn more seamless.
Method: Russian Join
One of the most seamless techniques to add new yarn is the Russian Join. This particular method creates an invisible join, leaving no tails to weave in later.
To achieve this, start by threading the tail of the old yarn onto a yarn needle; pierce the yarn back through itself, forming a loop. Next, thread the new yarn through this loop and repeat the same process: pierce it back through itself, but this time ensure it is snug against the loop of the old yarn. Gently pull both ends of the yarn to adjust the knot. Lastly, knit normally, treating both yarns as one on the first few stitches.
The Russian Join is particularly useful when working with non-felting yarn or when knitting a project where stray ends might be noticeable. The result is a smooth and sturdy knitting project, with fewer loose ends to tidy up at the completion.
Method: Magic Knot/Fisherman’s Knot
Both ends of the yarn are made into a double knot while making sure each knot is snug against the other. For further security, both ends of the knots are trimmed nearly to the knot, but be certain to not cut the actual knot. The advantages of implementing this technique are the strength and security it provides, avoiding any unplanned un-knotting of the yarn.
To utilize the Magic Knot/Fisherman’s Knot:
- Start by laying the two ends of the yarn parallel to each other, pointing in opposite directions.
- Make a loop with one yarn end over the other piece, similar to a simple knot. Slide this knot towards the end of the other yarn.
- Repeat the same with the second piece of yarn over the first one. Both knots should now be touching, forming the magic knot.
- Lastly, pull both yarns ends in opposite directions to tighten the knots together and trim the excess.
This technique enables seamless knitting without loose ends poking through the project. With practice, knotting becomes quick and automatic, leaving more time for actual knitting. Practice on scrap yarn first to gain confidence. This method works well with yarns of similar thickness.
Method: Back Join
To begin the Back Join method, ensure you have two yarns – old and new. The knitting should be at the beginning of a row or round where new yarn is needed.
First, lay the new yarn over the old yarn in a tail-to-tail fashion. This creates potentially loose ends on either side that are about 4 inches long.
Next, intertwine these two yarns, wrapping around each other. The aim is to have them locked together, but not knotted.
Then, knit the first stitch using both the old and new yarns held together. This might be slightly thicker than usual, but that’s perfectly fine.
Lastly, drop the old yarn and continue knitting with the new one. The first stitch might be a bit loose, but it can be adjusted later for even tension.
When the knitting project progresses, weave in the ends. This method is fuss-free and often leaves no discernible bump in the knitting, making it ideal for most knitting projects. Additionally, it’s great for colorwork since you can time it to start at the beginning of a row or round.
Understanding the ‘Drop and Join’ Method

The ‘Drop and Join’ method is considered one of the simplest ways to add new yarn to your knitting work.
Begin with knitting the last stitch of the old ball of yarn. Then, pick up the new ball of yarn, leaving a tail of around 4-6 inches. Proceed to knit the next stitch with the new yarn. Make sure to hold the old and new yarn tails together at the back of your work to guarantee that your stitches don’t loosen.
Keep in mind, it’s crucial to not trim the tails too early. They should instead be woven in after a few more rows have been knitted. This technique provides a seamless transition between the old and new yarn.
This method can also be applied when changing colors in your knitting project. Just remember to always carry the yarn at the back of your work to prevent unwanted loops or gaps from appearing on the right side of your project.
It’s important to note that this method works best with similar types of yarn, as differences in texture or thickness could create noticeable transitions in your piece.
Using the ‘United Join’ Method in Knitting

Start by laying the ends of the two yarns parallel to each other. Make sure to have a decent length overlapping, typically a few inches will suffice.
Proceed by working your stitches as you would typically do, but keep both the old and new yarn together.
This essentially means you are knitting two strands at once. Continue to do this for several stitches.
Once you’ve completed a few stitches, you can drop the old yarn and carry on knitting with the new one.
Always double-check to ensure that the tension of your first few double knitted stitches matches the rest of your project, to maintain a seamless transition.
Afterwards, return to the inside of your project. Here, you can trim away any excess yarn from where the old and new were laid together, ensuring you don’t cut those newly knit double stitches.
This method offers a secure, strong, and nearly invisible join, making it a great choice for projects requiring frequent yarn changes.
Remember to finish this yarn adding method by knitting a couple of rows or rounds before adjusting the stitches created with the two yarns, to prevent weakening the union.
How to Execute a Spit Splice/wet Join in Knitting
First, unravel a few inches of both ends of the yarns, if they are plied (twisted strands). For single ply yarns, this step isn’t necessary.
Next, lay the yarn ends over each other. The overlap should be a few inches long, where the un-raveled strands of the two pieces of yarn mix.
Now comes the part where it earns the name – the splicing. You’re going to slightly wet the overlapped yarn ends with your tongue or a wet sponge.
Start rolling the yarn ends between your palms, applying gentle pressure. The friction and the moisture combine to felt the wool fibers together. Keep rolling until the yarn ends are securely fused, and the joint is smooth.
Finally, before continuing your knitting, make sure the joined section is dry. This prevents any discomfort from knitting with damp yarn and ensures the splice has set.
Remember, this technique mainly works for yarns made of animal fibers like wool or alpaca. Synthetic fibers won’t felt together because of their non-absorbent nature. Likewise, plant-based fibers like cotton or linen aren’t suitable for a wet join.
Guide to ‘weave in and Twist’ Process in Knitting
Begin by threading your tapestry needle with the new yarn. Align it along the wrong side of your work, tracing the path of the existing yarn. Weave the needle in and out of your stitches, ideally over several stitches in one row and then up into the next row. Repeat these steps for about an inch.
Then, twist the new yarn and the old yarn around each other once creating a secure connection. Resume knitting but make sure to knit with a double thickness of the old yarn and new yarn for several stitches.
Afterward, drop the old yarn and continue knitting with the new yarn.
The important part of this process is to secure the yarn ends to prevent holes or loose stitches. You’ll also need to neatly trim any protruding ends after weaving, but not so close that it might unravel.
This “weave in and twist” technique is particularly useful in colorwork knitting where the join will not be noticeable. It allows for the smoothest transition between two different yarns.
Explaining the Process of Join in a New Ball of Yarn
To execute this process meticulously, first, ensure that a few final inches of the old yarn and a similar length of the new yarn are ready for joining.
When there are two stitches left to work with the old yarn, begin the new stitch with the old yarn but stop halfway. This is exactly before you slide the old stitch off the left needle.
Now, take the new yarn strand and loop it over the right needle exactly like you would if you were regularly knitting. Pull it through to complete the stitch. You’re essentially combining two processes in one here—finishing the old stitch and beginning a new one.
With the new yarn now on your right needle, leave a reasonable tail (a few inches should suffice) to weave in later. Continue your work with the new yarn. But remember, during the first few stitches, ensure they’re pulled snugly to avoid any loose links.
Finally, it’s time to tie up the loose ends. Literally! Tie a simple knot with the yarn tails. Use the weaving method to hide these yarn tails for a neat finish. It’s also a good idea to weave back and forth a few times to secure the ends properly.
Instructions for Alternating Stitches When Adding New Yarn
Begin by holding your knitting needle with the stitches in your left hand, and the new yarn in your right hand.
When you reach the last stitch you want to knit with the old yarn, leave it hanging in the front of your work.
Next, take the new yarn and, leaving a tail, knit the next stitch with it. Continue knitting with the new yarn as if you were simply continuing with the old.
To blend the colors or textures of your old and new yarn, you’ll alternate between the two every couple stitches.
Remember to always pick up the new yarn strand from under the old one. This will prevent holes from forming at the intersection of the old and new yarn.
Last**l**y, secure the ends of your old and new yarn by weaving them into your work, making sure not to pull too tight or leave too loose, as it can distort your stitches.
Continue with your work, repeating these steps each time you need to add new yarn. With practice, you’ll do this seamlessly and your work will have a consistent appearance, regardless of how many times you’ve added new yarn.
FAQ
How do you add a new ball of yarn in the middle of a row?
To add a new ball of yarn in the middle of a row, knit the first stitch on a right-side row using both the old and new yarn, then drop the old skien and continue knitting with the new skien only.
What are the different methods for joining a new yarn in knitting?
The different methods for joining a new yarn in knitting include the Russian join, the spit splice, the braided join, the magic knot, and simply knitting with both the old and new yarn simultaneously.
How can you prevent loose stitches when adding new yarn in knitting?
To prevent loose stitches when adding new yarn in knitting, ensure that you hold the new yarn tightly along with the old one during the first few stitches to maintain even tension.
How can you hide yarn ends when adding new yarn to a knitting project?
To hide yarn ends when adding new yarn to a knitting project, weave the ends into the back side of the stitches using a tapestry needle.


