Discovering the end of a yarn skein can be simplified by following these straightforward methods.

Finding the end of a yarn skein can sometimes feel like a treasure hunt, especially with certain types of yarn balls. But don’t worry, there are a few simple techniques to help you locate the end without causing a tangled mess.
Whether it’s a center-pull ball, a skein, or a hank, this guide will provide you with clear, step-by-step instructions to find the yarn end efficiently.
So, get ready to unravel the mystery of finding the end of your yarn, and let’s dive into the details.
Key takeaways:
- Pull skein yarns have an external and internal end.
- External end is easier to find, internal end is located within.
- Avoid common mistakes like haphazard grabbing or pulling out chunks of yarn.
- Hold the skein properly and handle it gently to prevent tangling.
- Use techniques like the butterfly method and proper storage to keep yarn ends visible.
Understanding Pull Skein Yarn Ends
Pull skein yarn ends come with an internal and external end, designed for efficient use right from the start.
The external end, often found tucked into one edge of the skein, is ideal for small projects or for knitters who prefer not to deal with the skein rolling around as they work.
Conversely, the internal end is located within the skein’s center. This end can be extracted with a bit of careful exploration inside the skein’s middle. While slightly trickier to locate, it allows the skein to remain stationary during use, making it a fantastic choice for larger projects or mobile knitting.
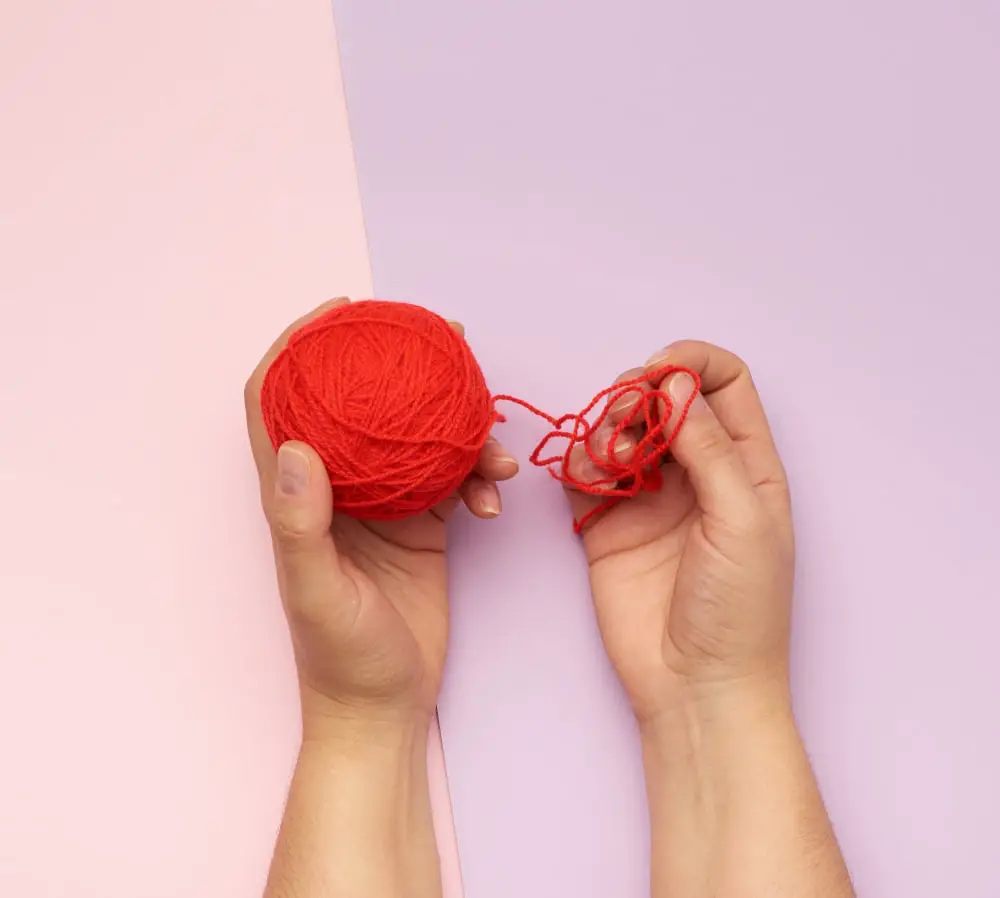
When attempting to find the internal end, resist the urge to delve too deep. Gently probe the skein’s center, and you should feel the looser end inside. A common practice is to gently pull out a small tuft of yarn – the yarn end is often intertwined with it.
Remember to handle the skein gently to avoid tangling the yarn within. Patience and soft handling are key to keeping your yarn manageable and ready-to-use for your project.
Examining Different Techniques for End of Yarn Identification
There are primarily two ways to identify the end of the yarn in a pull skein. You may locate the end on the outside or on the inside of the yarn skein.
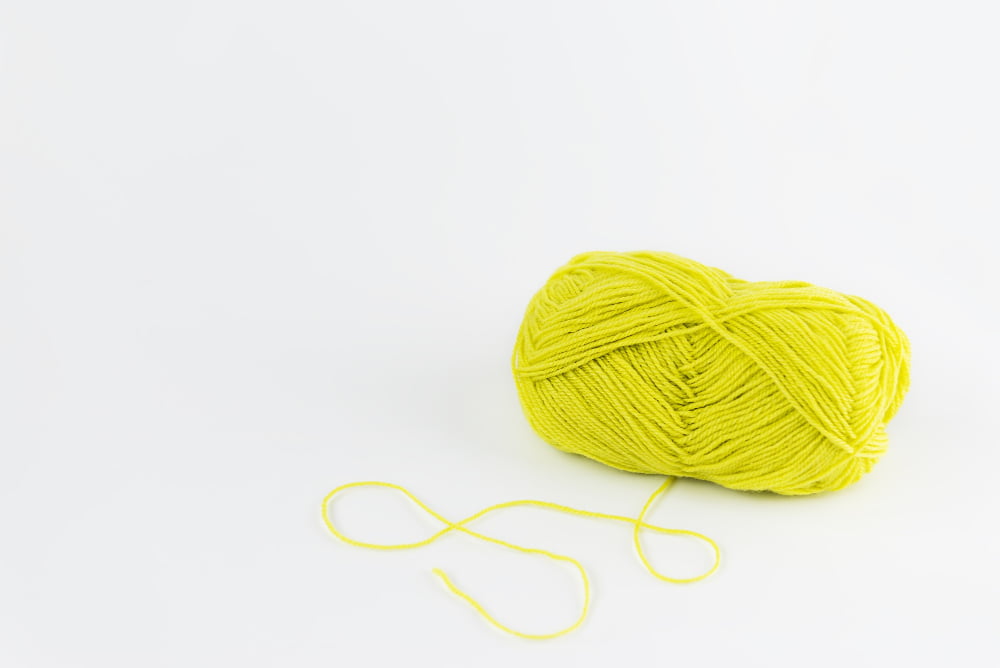
The end that rests on the outside of the skein is typically easier to locate. It may often be found by gently unwrapping the yarn from the outside, where usually a small piece of yarn is adhered to the label that holds the skein together. Just pull lightly, and the end will come loose. It’s an excellent choice if you’re using the yarn for a quick project and don’t mind some possible tangling.
In contrast, the end inside the skein might take a little more time to find but comes with advantages, mainly the yarn unravelling easily and smoothly as you work on your project. To identify the inside end, reach your fingers into each end of the skein, feeling for the loose bundle of yarn that’s often tucked into the center. Once found, pull out this bundle and search for the end.
Regardless of the technique you choose, remember to handle the yarn gently throughout the process to prevent unnecessary tangling or knotting.
Common Mistakes in Locating Yarn Ends and How to Avoid Them
While locating the end of the yarn seems like a straightforward task, many crafters get it wrong due to a handful of common mistakes. However, understanding these pitfalls can help avoid undue frustration and knotted yarn.
One common error is haphazardly grabbing the first strand of yarn visible from the outside. This often leaves you with a second tail that requires detangling later. Instead, gently tug at a few visible strands until you find the one that yields easily – this is usually your loose end.
Reaching directly into the center of a skein and pulling out a big chunk of yarn to find the end is another frequent blunder. This results in a rushed, messy lump known as “yarn barf” which can cause tangles and knots. An optimal approach is to insert your thumb and index finger into both ends of the skein, probing gently for the loose strand.
Ignoring the yarn weight and type while searching for ends is another oversight. For bulky or unusually textured yarn, the end might be towards the outside, while for a thin, smooth yarn, it might be hidden inside the skein.
Finally, not placing the skein properly before starting the search can result in cumbersome exploration. Stabilizing the skein in your lap or on a flat surface gives you a free hand to efficiently locate the end.
By avoiding these common mistakes, you can enjoy a smoother crafting experience and save valuable time. Remember, patience is the ultimate key when handling yarn.
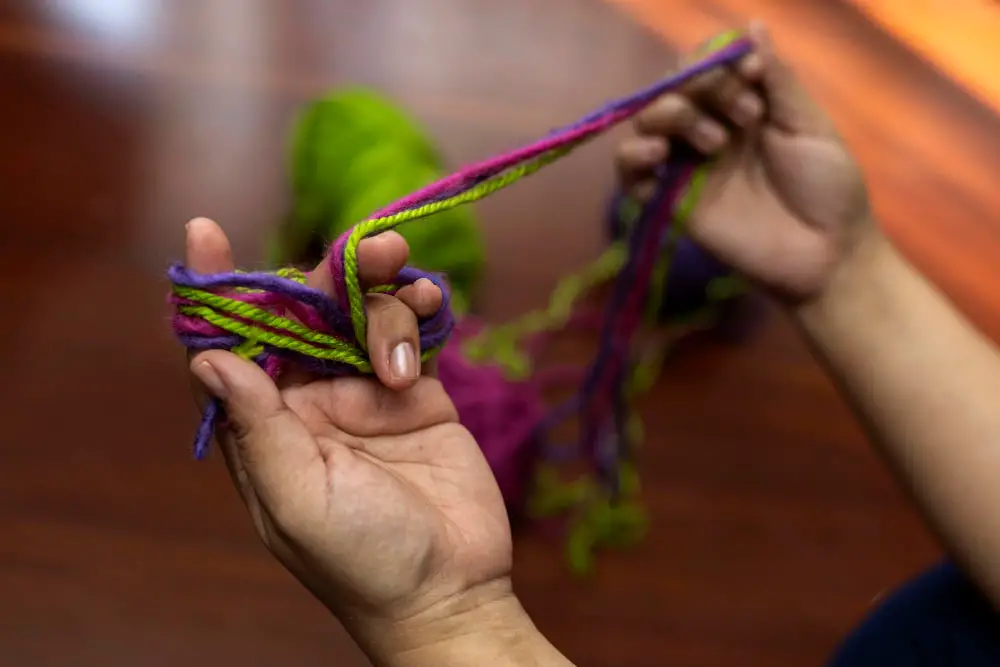
Essential Handling Techniques for Yarn Ends
Begin by lightly curling your fingers, forming a gentle grip around the yarn skein. Aim to hold it in a position that allows easy rotation without causing unnecessary tension or knotting.
Next, examine the skein carefully for any visible ends. The outer end is often tucked into the skein, and the center pull end may be slightly protruding from the skein’s middle. Gently pull on these ends to test their ease of movement.
If the center-pull end is not readily visible, try inserting your fingers into the skein’s middle. Feel for the loosest area and gently tug at the yarn; this is usually the center pull end. However, avoid robust tugs as this may result in knots or tangles.
Lastly, always return the unused yarn end into the skein after each crafting session. This prevents it from getting tangled or lost and makes it easier to locate the next time.
Remember, the key to navigating yarn ends is gentle handling to prevent any tangling, and maintaining regular observation to keep the ends visible and easily accessible for your next project.
Practical Tips for Keeping Yarn Ends Visible
To ensure that your yarn ends remain visible, take a moment to fasten your end after you finish your work. This simple action can prevent unraveling and help maintain a visible end.
One popular method is the butterfly technique, where you wind the yarn around your fingers to create a ‘butterfly’ or ‘bow’ shape, thus enabling you to easily locate the yarn’s end.
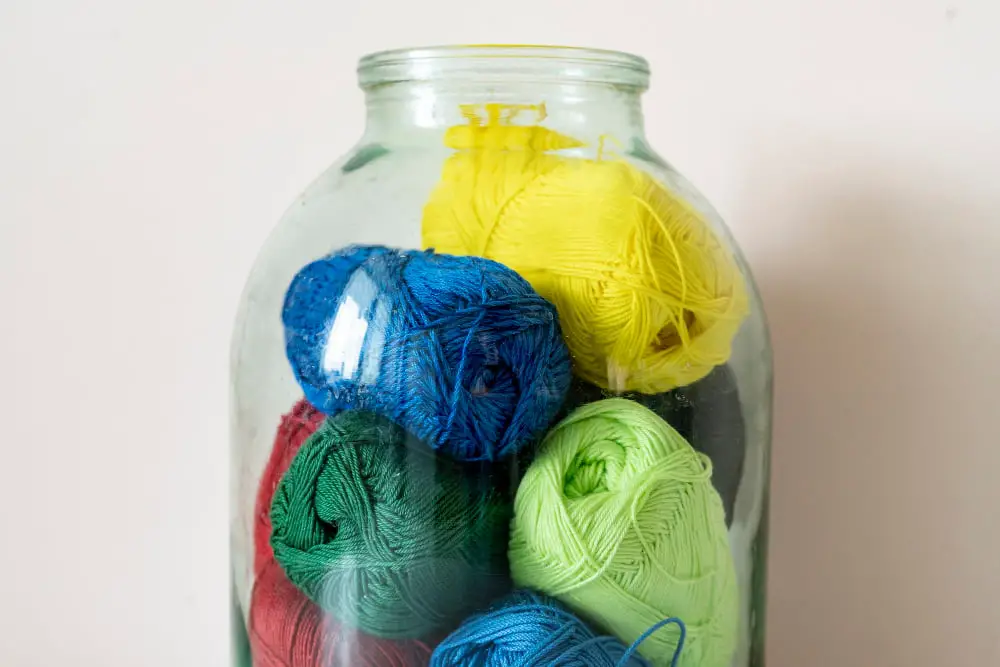
Storing your yarn properly is another vital aspect of keeping yarn ends visible. Make sure to avoid squishing the yarn, as this can make the ends recede into the skein. Instead, store the yarn loosely, especially when dealing with pull skein yarns.
Preventing the yarn from getting knotted can also help maintain a visible end. Knots often hide the yarn ends, making it difficult to find them later. Therefore, always untangle your yarn as soon as you notice any knots.
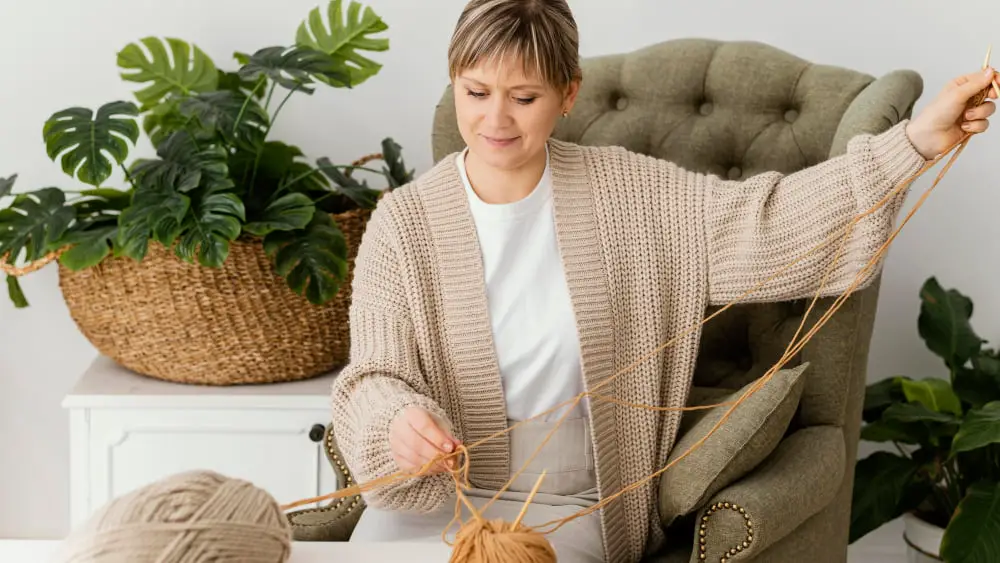
Lastly, if you’re dealing with a hank of yarn, consider using a swift and a ball winder to wind it into a cake. This will keep the yarn end visible and make it easier for you to start your project.
Remember that dealing with yarn ends can be tricky, but with consistent practice, you can master these techniques and ensure your yarn ends remain visible, making your crafting experience much more pleasant.
The Importance of Proper Yarn End Management
Proper management of yarn ends contributes to an efficient and enjoyable crafting experience. Managing yarn ends correctly reduces the risk of knots and tangles that can interrupt your workflow. It helps preserve yarn strength and quality by minimizing unnecessary stretching or tight pulling.
One key idea is to always keep the ends visible. When storing yarn, make sure the end peeks out, so it can be easily found in your next session.
Another idea is to learn the difference between the inner and outer end of the yarn. The inner end often leads to a smoother pull, reducing resistance while crocheting or knitting.
Moreover, when joining a new skein, weave in the old end before you start using the new yarn. This technique not only secures the yarn end but also provides a cleaner appearance to your craft.
Lastly, be mindful of tension. A proper hold on the yarn end ensures an even stitch and avoids undue strain on both the yarn and your hands.
Remember, the better care you give your yarn, the better your final product will be. Good yarn end management is a skill every knitter or crocheter should master.
Effective Methods to Find the Yarn End in a New Skein
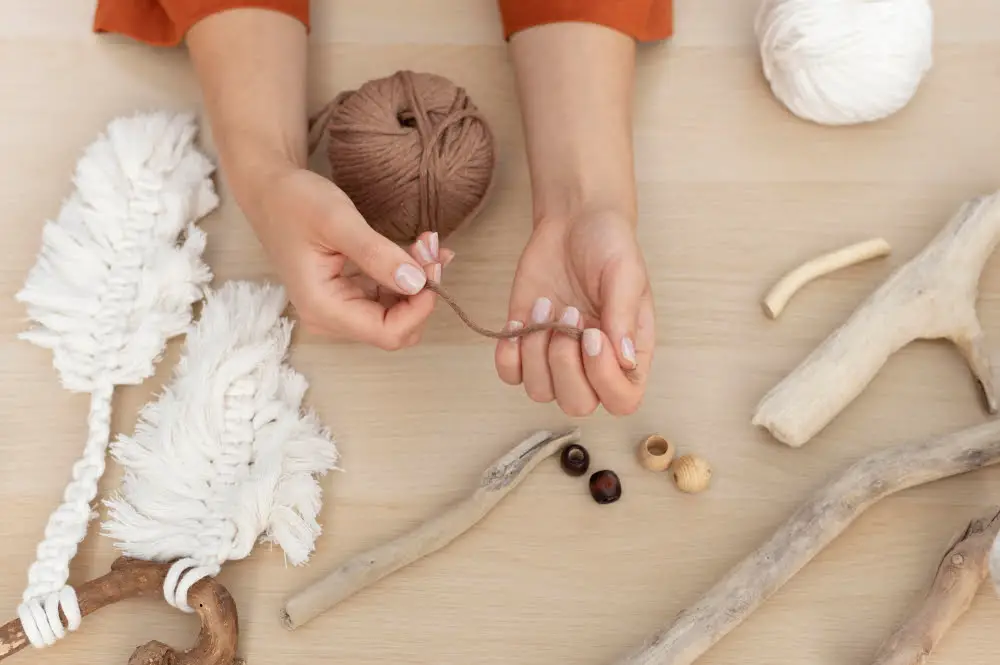
Often, the easiest way to locate the end in a new skein of yarn is by exploring through the outer layers. Gently unwind these layers, and the free end should present itself.
If the yarn is a center-pull skein, the end is generally tucked into the skein’s middle. Here’s how to uncover it:
- Lightly squeeze the skein from both ends. This loosens the yarn in the center.
- Insert your fingers into the ends of the skein, and feel for the loose end.
- Once you’ve found it, carefully pull it out. Ensure not to disturb the yarn arrangement to avoid tangling.
In case of a hank of yarn, it’s slightly different:
- Uncoil the hank and look for the tied areas. These are slipknots securing the yarn.
- Gently unfasten these slipknots and isolate the individual wraps of yarn.
- From here, you can unravel the yarn and find the free end.
Remember, each skein of yarn is different, and the above methods require a gentle touch to avoid tangles and knots.
FAQ
Which end of the skein of yarn to pull?
When pulling yarn from a skein, pull approximately six inches of yarn from the left end under the label, then move to the right end of the skein to pull the other end, to avoid tangling.
How to avoid knots when pulling yarn from the center of a skein?
To avoid knots when pulling yarn from the center of a skein, gently pull out a small cluster of yarn from the middle, called the yarn end, and gradually untangle it as you work on your project.
What are the benefits of pulling yarn from the outside versus the inside of a skein?
Pulling yarn from the outside of a skein prevents the skein from rolling around, while pulling from the inside keeps the skein stalbe but has a higher risk of yarn tangling.
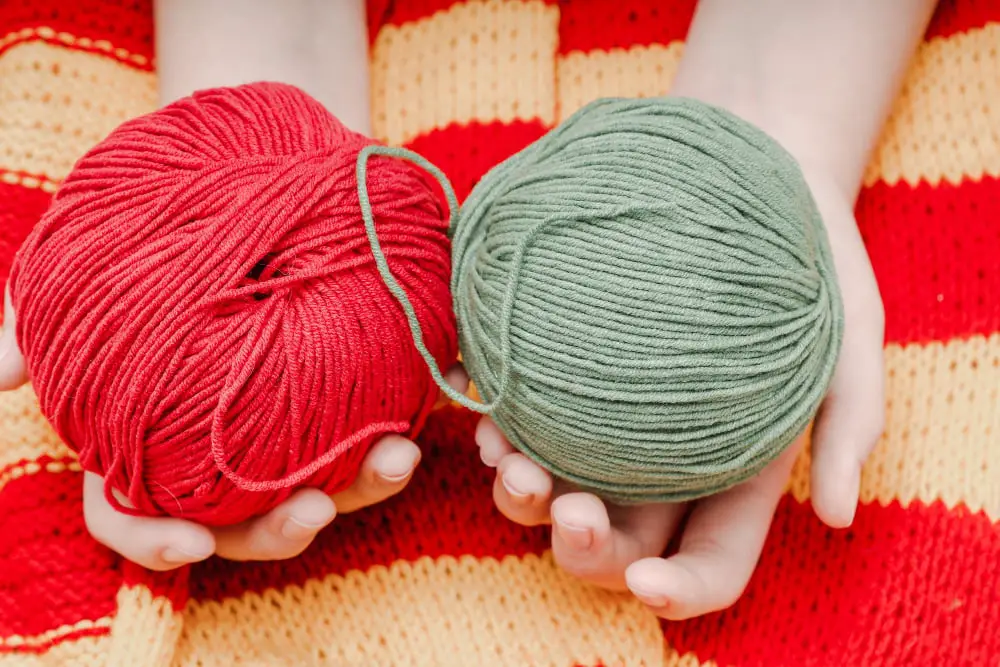
How to determine the quality of a skein by analyzing its exterior?
To determine the quality of a skein by analyzing its exterior, examine the consistency of its thickness, the tightness of its twist, and the smoothness or lack of fluff in its fibers.


