Discover the straightforward process of blocking acrylic yarn to help your crocheted or knitted projects maintain their shape and look their best.
Blocking acrylic yarn can be a game-changer for your knitting or crocheting projects, helping to give them a professional finish. This process involves setting your completed piece into the desired shape and allowing it to dry.
Unlike natural fibers, acrylic is a synthetic material, so it requires a slightly different method – the steam blocking technique. This method uses the heat from steam to relax the fibers and set them in place.
In this article, you’ll discover a step-by-step guide on how to steam block your acrylic yarn projects, from the materials you need to the precautions to take. With this knowledge, you’ll be able to enhance the look of your acrylic yarn crafts easily and safely.
Key takeaways:
- Blocking Process: Wet, steam, and spray blocking are methods used.
- Effect of Blocking on Acrylic: Even though acrylic has elasticity, blocking can still impact the final appearance.
- Principle of Heat: Steam blocking involves heat, but be cautious not to damage the acrylic.
- No Reversible Effect: Blocking acrylic yarn is a permanent process.
- Blocking Techniques: Wet blocking, steam blocking, washer/dryer methods, spray blocking, and using a hair dryer can be used.
Understanding Blocking and Its Effects On Acrylic Yarn
Blocking is a technique used in fiber crafts to set the final shape of a piece. When dealing with acrylic yarn, the process is slightly altered as the synthetic nature of acrylic responds differently to moisture and heat than natural fibers.
Here are the key ideas to understand when blocking acrylic yarn:
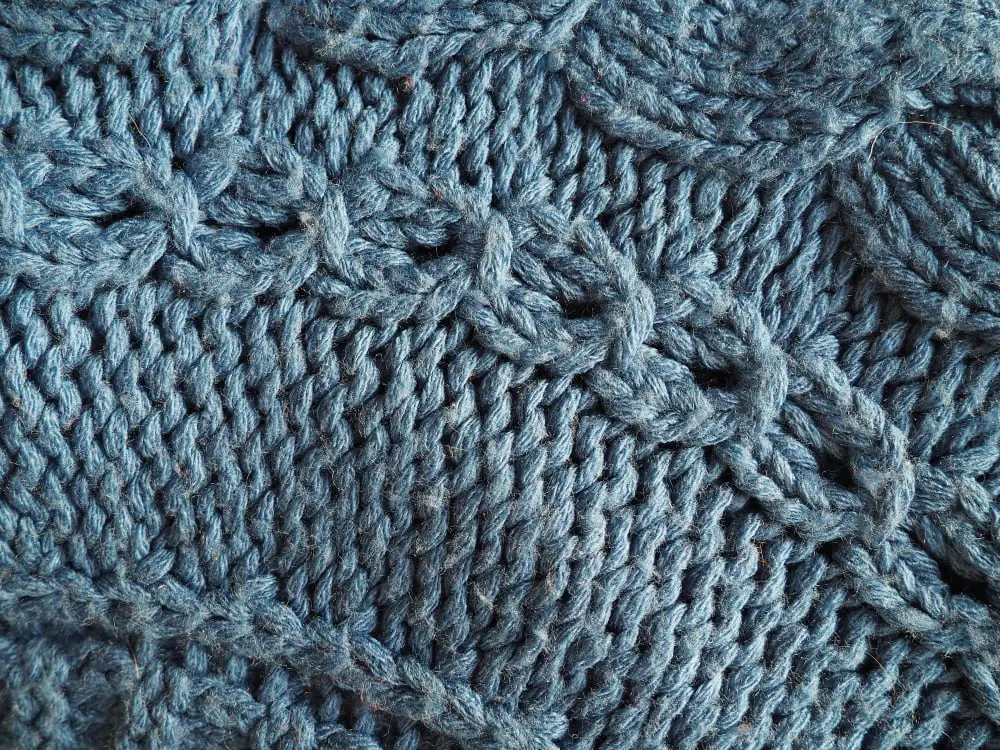
- Blocking Process: It generally involves wetting your finished piece, manipulating it into its final shape, and allowing it to dry undisturbed. This process is effective in setting stitch textures, aligning edges, and correcting irregularities in shape.
- Effect of Blocking on Acrylic: Acrylic yarn, being synthetic, has a certain degree of elasticity. While this elasticity seemingly limits the potential for significant shape alterations, blocking still can and does impact the piece’s final appearance.
- The Principle of Heat: A unique factor when blocking acrylic is the use of heat, most often from a steam iron. Be cautious as overheating can damage acrylic, resulting in a ‘killed’ fiber with a permanently flattened texture.
- No Reversible Effect: Remember that blocking an acrylic yarn project is a permanent process. Once the shape is set, it cannot be undone.
- Blocking Techniques: Several methods can be used to block acrylic yarn, including wet blocking, washer/dryer methods, steam blocking, spray blocking, and using a hairdryer.
Given these key points, it should be known that blocking helps to present your crocheting or knitting work at its very best. Even acrylic yarn, with its distinct properties, can benefit from blocking.
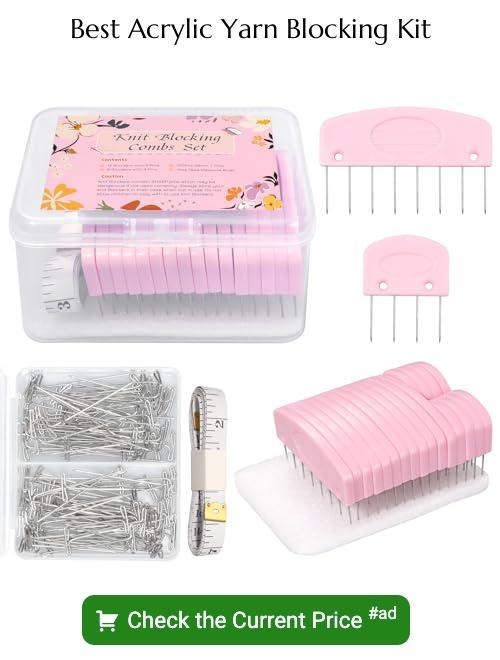
Gathering Essential Blocking Materials: Foam Mats, Pins, and Steam Iron
Starting with foam mats, they provide a surface to pin your pieces to and come in interlocking squares for easy storage. Ensure that the mats are made of a material that can withstand heat if you’ll be steam blocking.
Secondly, having a supply of rust-proof pins is crucial. Stainless steel T-pins are often recommended as they hold the yarn securely during the blocking process. Straight pins can also be used, particularly for detailed or intricate work.
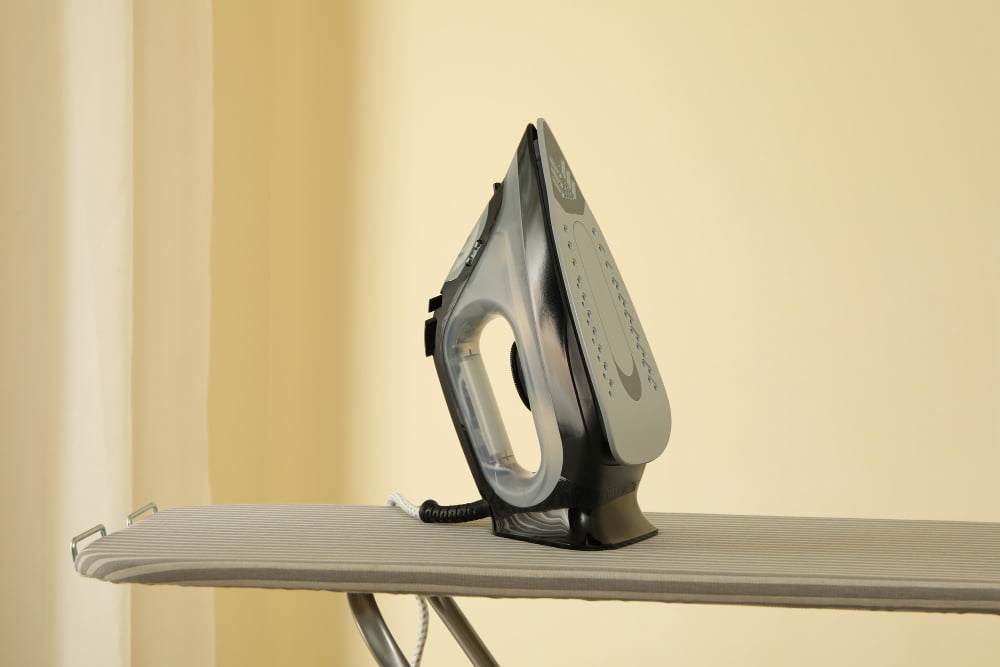
The final essential tool to gather is a steam iron. This will be used to gently heat and relax the fibers of the acrylic yarn. Ensure your iron has a good steam function but be careful to avoid direct contact between the iron and your workpiece. If your iron doesn’t have a steam function, a garment steamer can be used as an alternative.
In sum, foam mats, pins and a steam iron are the foundations of your blocking toolkit. Remember to choose tools that suit your specific project and read all manufacturer’s instructions for proper use.
Utilizing a Blocking Board or Foam

A blocking board or foam mat serves as the foundation for your blocking activity. Choose a material that can securely hold your pins and is marked with a grid for accurate measuring. For crafters on a budget, interlocking foam mats used for children’s playrooms prove a fantastic alternative.
Arrange your crocheted or knitted piece on the board or foam. If blocking a specific shape, use your pattern schematic as a guide. Depending on the piece, you may need to gently stretch it to achieve the desired dimensions.
Insert rust-proof pins along the edges of your project. T-pins are preferable for their stability. Make sure to use enough to hold the item securely in shape, but avoid distorting the stitch pattern.
Lastly, protect your work area. Blocking acrylic yarn involves heat and moisture, which can damage some surfaces. Consider placing a plastic tablecloth or sheet under your blocking board.
Be mindful not to leave your item on the blocking board for an extended period, as this might result in an over-stretched project. Once the piece has completely cooled and dried, carefully remove the pins.
The Importance of a Tape Measure in Blocking
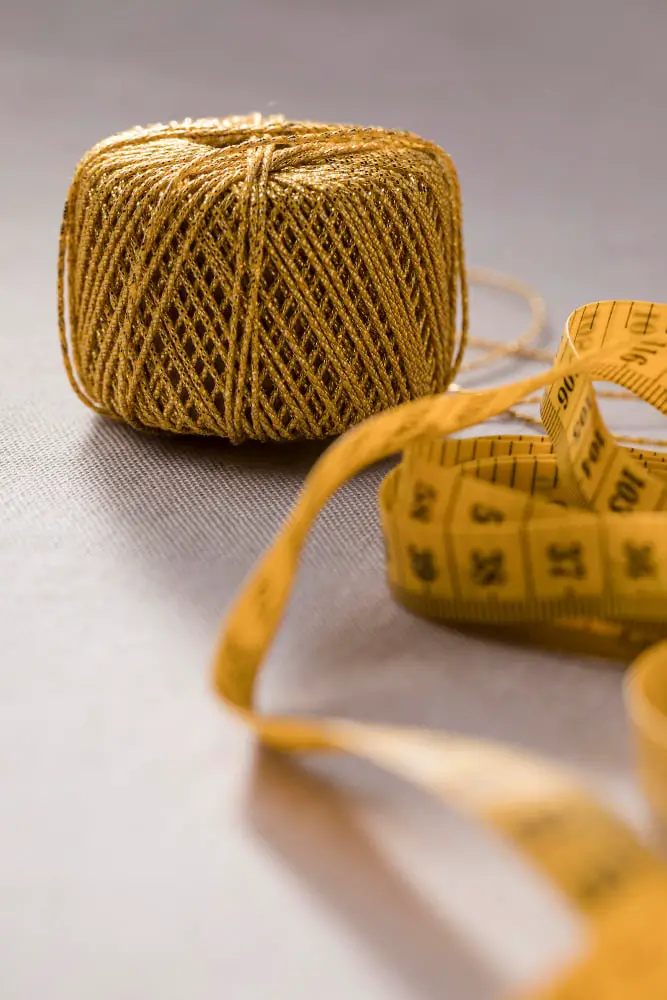
A tape measure is a crucial tool in the blocking process. Ensuring accurate measurements guarantees that your project aligns with your initial dimensions and fits as intended. The tape measure works in three key areas.
Firstly, it helps to attain the correct project size before starting the crochet or knitting process. By determining the right width and length of the yarn piece, all patterns and stitches will line up perfectly.
Secondly, you’ll apply these measurements during the blocking process itself. Applying pins along the sides of the foam mat, use your tape measure to ensure that your project is stretching to the correct dimensions. This ensures adherence to the desired shape and size as per the pattern design.
Lastly, after the blocking process, a tape measure serves as the final verification tool. Checking the finished project’s dimensions ensures it has maintained the desired size and form during blocking.
Remember, consistency and accuracy in measurement are the keys to ensuring your acrylic yarn project turns out as planned. Thus, always keep a tape measure at hand. It helps in maintaining proper dimensions from start to finish, ensuring your final product matches your initial vision.
The Role of Additional Materials in Blocking Acrylic Yarn

Aside from the main materials like foam mats, pins, a steam iron, or a blocking board, there are also additional materials that can enhance the blocking process for acrylic yarn.
Wool wash or a mild detergent is an essential item which is used in wet blocking method. It gently cleans the yarn and aids the blocking process by allowing the fibers to relax.
Plastic wrap can be used to cover the iron when using the steam method. This prevents direct contact of the steam iron with the acrylic yarn, avoiding potential damage.
A towel or cloth is necessary when using both the wet blocking and steam methods. It acts as a barrier between the iron and the yarn to protect the yarn from high temperatures.
Blocking wires can keep the edges of your project straight during blocking. These are especially useful for projects with large, straight edges like scarves or shawls.
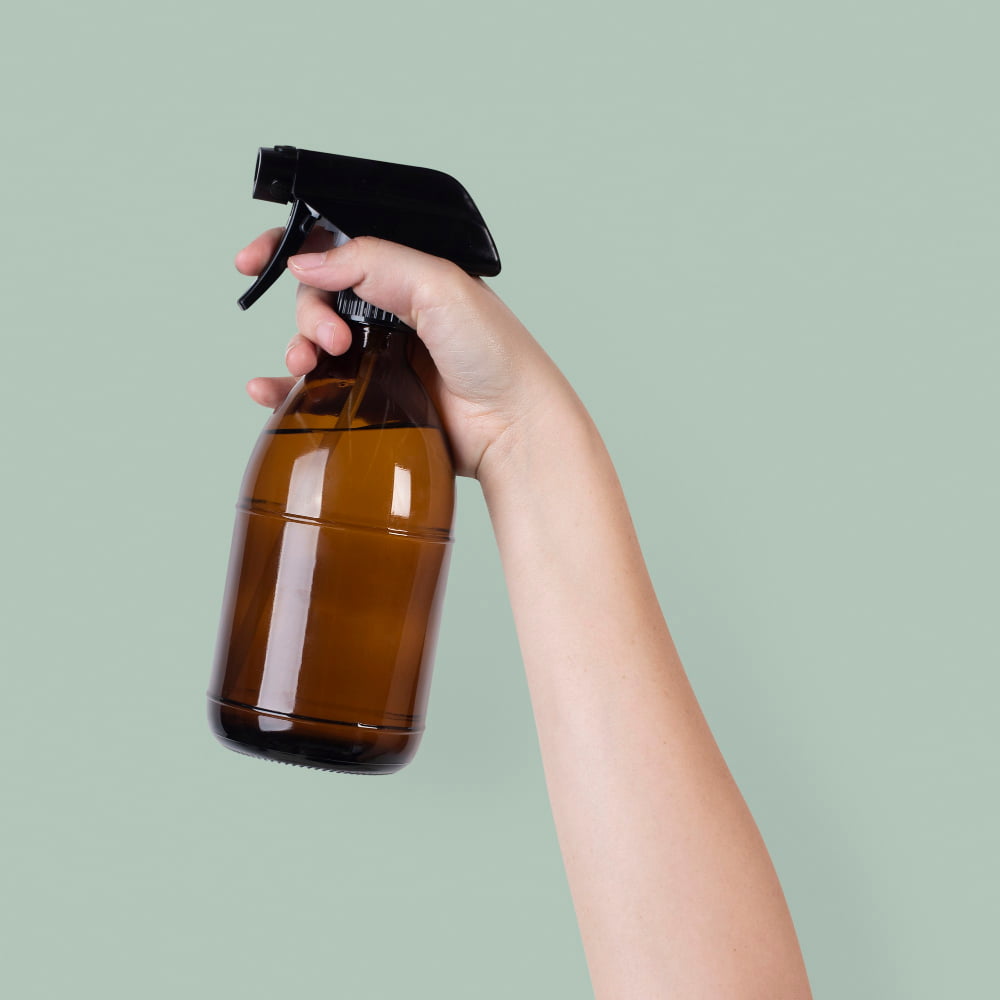
A spray bottle filled with water is handy for wet blocking and spray blocking, where lightly misting the project is required to dampen the yarn.
Rust proof pins can help hold the project in place during blocking, keeping the edges straight and the project to the desired dimensions.
Lastly, a clean, flat surface is necessary where the pinned project can sit undisturbed until it dries fully. A spare bed, a table, or clean spot on the carpet can work.
Utilizing these additional materials can ensure a higher level of precision and protection during the blocking process. They assist in achieving the desired shape, size, and drape of the acrylic yarn project.
Exploring Washer and Dryer Method for Yarn Blocking
This method is convenient and easy to employ. Firstly, locate a washer with a gentle cycle and a dryer with a low heat setting. These machines serve as vital tools in this method.
The second step involves washing the crocheted or knitted item. Please use cold water and detergent that won’t harm your yarn. Your yarn’s packaging should have detailed instructions regarding this.
After washing, position your item in the dryer, ensuring it lies flat. This is crucial to prevent the yarn from tangling or being overstretched. Set the dryer to a low heat to avoid any damage to the yarn.
Lastly, you need to monitor your item. Some recommend leaving it in the dryer for about 15-20 minutes, but keep a careful eye on it to ensure it doesn’t overheat or shrink. Once the blocking process is complete, let the item air-dry for the remaining time.
Remember, this method is best for acrylics that can tolerate a machine wash and dry. Always check the yarn’s label for washing and drying instructions to avoid any potential damage.
An Overview of Steam Blocking
Steam blocking is a process that relies primarily on the application of heat to mould the fabric’s shape. For acrylic yarn, it is the most recommended method, as wet blocking may not yield the desired results. The process involves the following key steps:
Prepare the knitted or crocheted piece by thoroughly wetting it and laying it out on a blocking mat. The piece should be arranged into the desired shape.
Fire up the steam iron but make sure to disable any auto steam settings.
Hover the iron a few centimeters above the fabric, uniformly steaming all sections. Remember, the iron must never touch the acrylic yarn directly.
Secure the edges of the piece using rust-proof pins, maintaining the shape while it dries.
Allow the piece to dry completely. Post-drying, remove the pins and store or use the piece accordingly.
A significant caveat for this method is that forcing the iron on acrylic yarn may scorch or melt it, leading to irreversible damage. Hence, steam blocking must be conducted with caution and patience.
Looking Into Spray Blocking
Spray blocking is an effective approach to reshape your crocheted or knitted items, particularly those crafted from acrylic yarn. In this process, a mist sprayer, typically a simple spray bottle, is used to dampen your project without completely soaking it, allowing for a gentle yet efficient re-shaping of stitched pieces.
Here are the necessary steps and guidelines to conduct spray blocking:
- Before blocking, ensure your completed project is clean, free of any dirt or stains.
- Lay out your crochet or knit piece on a blocking board or any waterproof surface.
- Start to pin your work to the desired shape and size, using rust-proof blocking pins.
- Fill your spray bottle with water. It’s advisable to use room temperature water to prevent shock to the yarn.
- Evenly mist the entire surface area of your piece. Make sure it is damp but not drenched.
- While letting your project dry, ensure it is laid out flat in a well-ventilated space, away from direct sunlight to prevent fading.
- Leave the pinned piece to dry completely. This can take from a couple of hours to a day, depending on the project size and the environmental conditions.
- Once dry, unpin your piece gently. It should now retain the shape and size you desired.
Remember that while spray blocking is gentle on yarn, it’s critical to handle your project carefully to maintain its structure and ensure longevity.
Blocking Acrylic Yarn With a Hair Dryer: A Comprehensive Guide
To block acrylic yarn with a hair dryer, gather your materials first: blocking board or foam mats, T-pins, and of course, your hair dryer.
Start by shaping your knitted or crocheted piece on the blocking board, pinning it into your desired form. Make sure to align edges straight and keep measurements accurate.
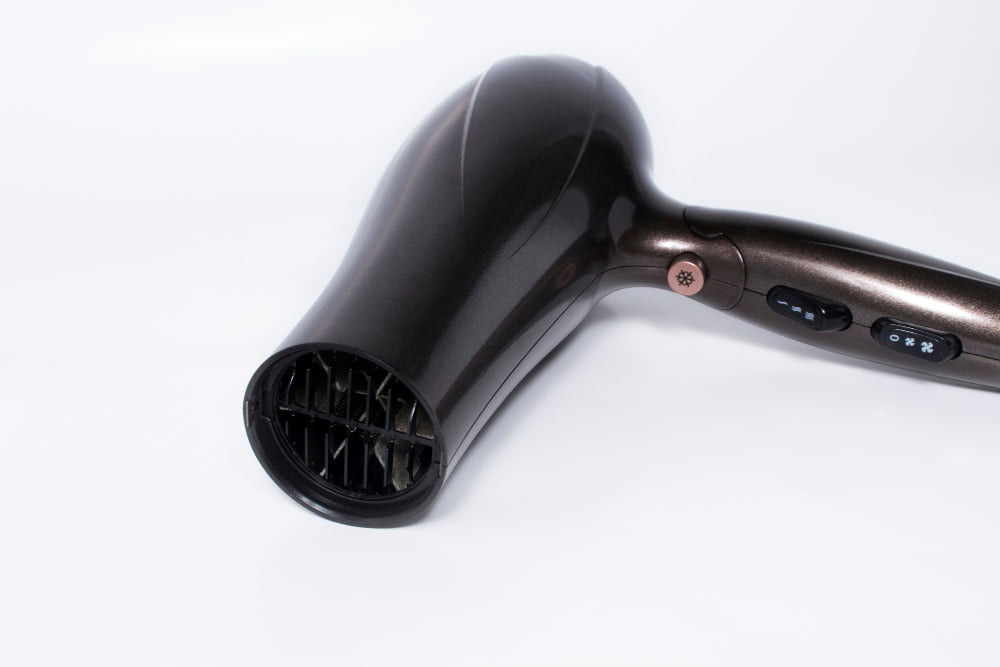
With your hair dryer set on ‘hot’, go over the fabric gently, systematically ensuring all areas are exposed. Hold the dryer approximately 30 cm away from your work to prevent overheating and keep moving it around, for even distribution of heat.
Switch the setting of your hairdryer to ‘cold’ and again evenly cover the whole piece. The cold setting helps to set the acrylic fibers.
Leave your work pinned in place to cool and fully set for a couple of hours or overnight in a dry environment.
Remember, although convenient, you should only resort to this method if you are unable to lay your work flat to dry or if you do not have access to a steam iron. Always be careful not to bring the dryer too close to the acrylic yarn to prevent melting.
The hair dryer method is one of several ways to block acrylic yarn, providing you with a quick and effective way to shape your creative yarn projects.
The Effectiveness of Blocking On Acrylic Yarn
Blocking is a critical step when working with acrylic yarn, and it serves numerous purposes:
Note the transformation of the material. After blocking, your yarn project can exhibit improved shape and fit. It makes the knitted or crocheted item conform to your desired dimensions more accurately.
Approach it as a stitch fixer. Blocking works effectively to even out stitch patterns you find inconsistent or wonky. It can make feather and fan stitches lay flat or allow lace patterns to show more prominently.
Utilize it to relax the yarn. Especially crucial for acrylic, blocking helps the yarn relax. It releases the tension and gives it a softer, plusher feel, enhancing its wearability and comfort.
Use blocking to create binding between stitches. Blocking also helps the stitches to bond together, resulting in a firmer, more cohesive fabric.
Just remember to always test block a small swatch of your yarn before blocking the whole project. This way, you can gauge how your specific yarn might react.
Addressing the Query: Can 100% Acrylic Yarn Be Blocked?
Yes, 100% acrylic yarn can certainly be blocked, but it’s important to remember it doesn’t react the same way natural fibers do.
Here are the key points to understand:
- Unlike wool, acrylic is a man-made fiber; thus, it’s resistant to water absorption. This makes wet blocking ineffective with 100% acrylic yarn.
- Steam blocking is ideal for acrylic yarn. It utilizes heat to relax the material, allowing it to take the desired shape.
- Be extra cautious when steam blocking. Overexposure to heat can cause the yarn to “kill,” losing its texture and loft.
- Blocking 100% acrylic yarn could leave it with a crisp and classy finish that remains in shape after many uses and washes.
- Pick an inconspicuous part of your piece to test how your yarn responds to steam blocking before proceeding with the whole item. This way, you avoid damaging all your work in case the blocking method is not suitable.
- Using a steam iron or a garment steamer can be an efficient way to block acrylic yarn. However, remember not to press the iron directly onto the crocheted piece; always keep a cloth between them.
Make sure to take into account these pointers to successfully block your acrylic yarn projects without causing harm to your hard-earned work.
Deciding If Ends Should Be Woven in Before Blocking Acrylic Yarn
Deciding when to weave in ends while working with acrylic yarn can be a critical factor in the blocking process. In general, there are a few practical considerations:
Blocking first then weaving in ends allows you to adjust the garment’s shape and size before setting the yarn’s positioning permanently. This could be beneficial in the case of a more complex pattern or a sneaky size inconsistency.
Weaving in the ends before blocking is often beneficial for simple shapes and patterns. It allows for a neat finish and can save time, especially if you’re blocking pieces individually before joining them together.
While possible, cutting ends before blocking isn’t usually recommended. Leaving some additional length allows for more flexibility during blocking. Once you’re content with the shape and dimension of your piece, you can trim the ends without risking any surprises.
Remember, the decision ultimately depends on the intricacies of your project. Assessing these aspects can help ensure a neat and professional finish to your crochet or knitting piece.
FAQ
How do you block acrylic yarn?
To block acrylic yarn, you should pin the item to specific measurements on a foam mat using T-pins or knit blockers, then hover a steam iron a few inches from the project and let it rest overnight.
Is it worth blocking acrylic yarn?
Despite prevalent misconceptions, blocking acrylic yarn is typically unnecessary as this method is predominantly used to stabilize finished pieces made from natural fibers.
Can you block acrylic yarn with a hair dryer?
Yes, acrylic yarn can be effectively blocked using a hair dryer, as the heat helps shape the work quickly without damaging the material.
Does steam blocking soften acrylic yarn?
Yes, steam blocking can effectively soften acrylic yarn.
What tools are needed for blocking acrylic yarn effectively?
To effectively block acrylic yarn, you need T-pins, blocking mats, a steamer or a steam iron, and a spray bottle filled with water.
How does blocking impact the final look of acrylic yarn projects?
Blocking can significantly improve the final look of acrylic yarn projects by aligning fibers for consistent shape, smoothing out irregularities, and enhancing stitch definition.
Are there any precautions to take while steam blocking acrylic yarn?
Yes, be careful not to touch the steam iron to the acrylic yarn directly as it can melt.


