Master the art of carrying yarn in crochet because it can significantly streamline your crafting process, making your projects look cleaner and more professional.
Carrying yarn in crochet is a technique that allows you to seamlessly change colors or work with multiple strands of yarn without having to cut and rejoin the yarn. This method not only keeps your work neat but also saves you time in weaving in loose ends.
It involves working your stitches over the yarn you’re carrying, effectively hiding it within your crochet fabric. Whether you’re working in rows or rounds, or with single or double crochet stitches, the process remains essentially the same.
In this article, you’ll find a comprehensive guide on how to carry yarn in crochet, covering all the small details that make a big difference in your final product.
Key takeaways:
- Choose the proper materials for yarn carry crochet.
- Prepare your workspace and practice carrying yarn before starting.
- Follow detailed instructions for carrying yarn in crochet.
- Master techniques for joining colors and switching colors.
- Manage multiple yarn colors with intertwining, bobbins, and tension control.
Materials Required for Yarn Carry Crochet
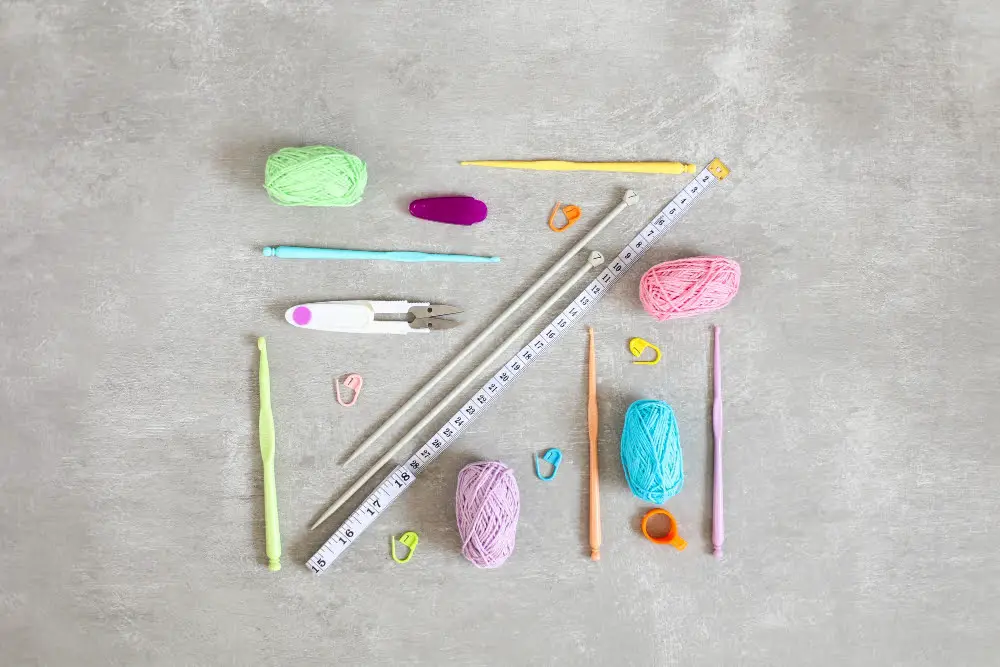
To begin your yarn carry crochet journey, you’ll need the following essentials:
- Crochet Hook: Select the size based on the yarn weight or the pattern requirements. A general guideline is a 5mm hook for medium weight yarn.
- Yarn: A high-quality yarn in two or more colors, depending on the design chosen. Medium weight yarn is easy to work with for beginners.
- Scissors: These will be used for trimming excess yarn.
- Yarn Needle: This tool is handy for weaving in yarn ends once the project is completed.
- Stitch Markers: These are particularly useful when working intricate patterns that require meticulous counting.
Remember, the quality of your materials can greatly affect the finished product. Therefore, investing in good supplies from the start is key.
Preparation and Setup for Yarn Carry in Crochet
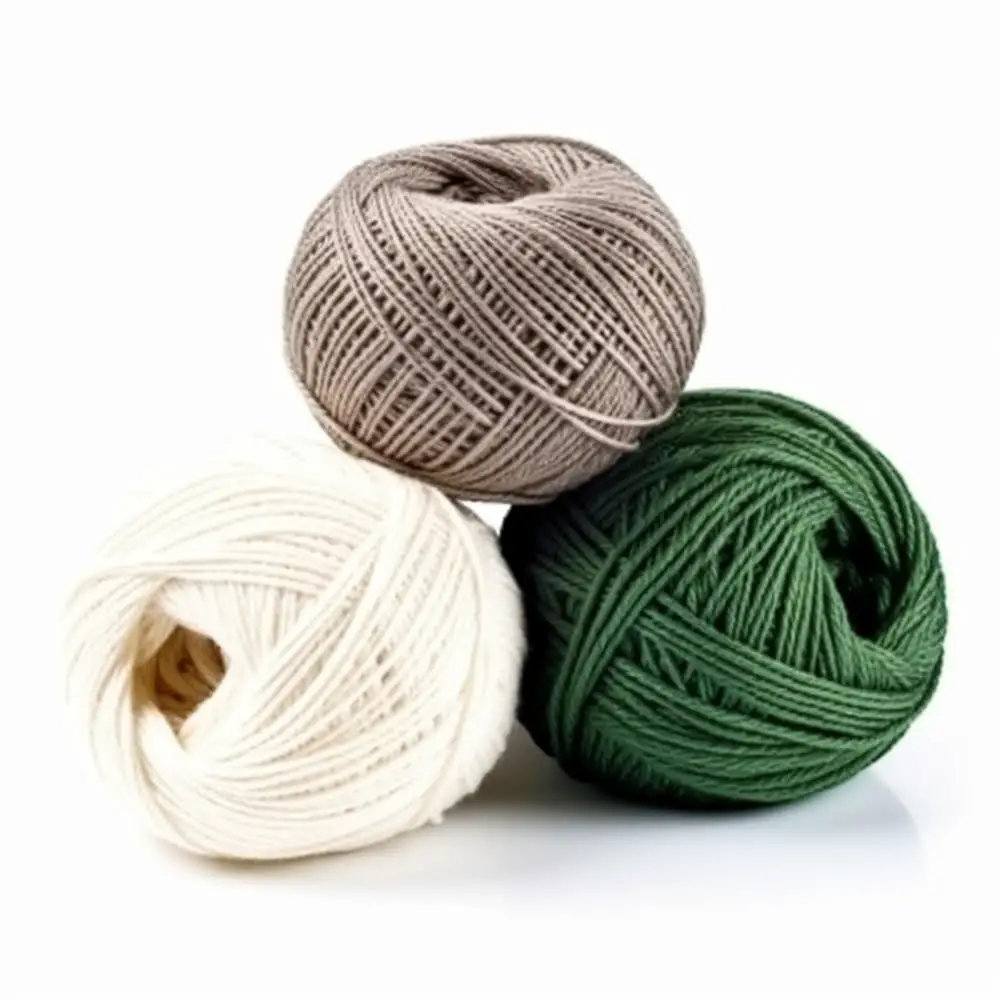
Start by choosing two or more colors of yarn that compliment each other. To make the transition seamlessly, it’s essential to have at your disposal crochet hooks that match the weight of your selected yarn.
Afterward, set up your workspace. Keep your balls of yarn neat and untangled. It can help to use separate yarn bowls or containers for each color to avoid any mix-up during the crocheting process.
Before launching into the pattern, take time to practice the fundamentals of carrying yarn. Try working on simple stitch patterns that require color changes. This initial effort lays the groundwork for a smoother crocheting experience and a neater final product.
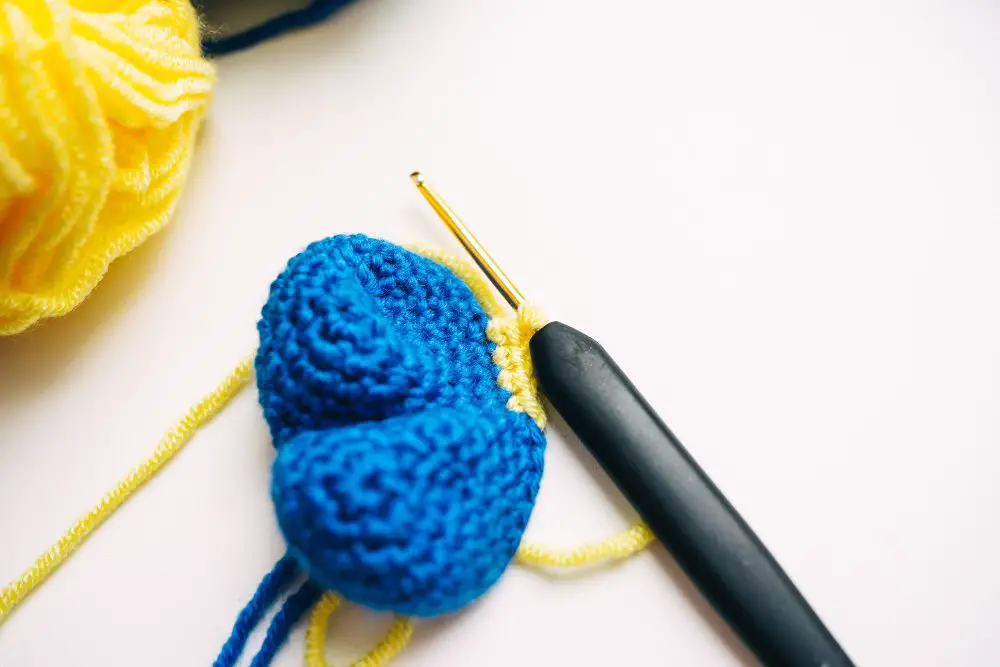
A handy tip before you start: always carry your yarn on the wrong side of your work while crocheting to keep the front of your pattern neat and free of carried yarn color peeks. You’ll implement this each time you switch colors.
In terms of the pattern, it’s beneficial to understand its structure. This will give you a clear picture of where and when color changes should occur, creating a roadmap to guide you in carrying your yarn.
Detailed Instructions On How to Carry Yarn in Crochet
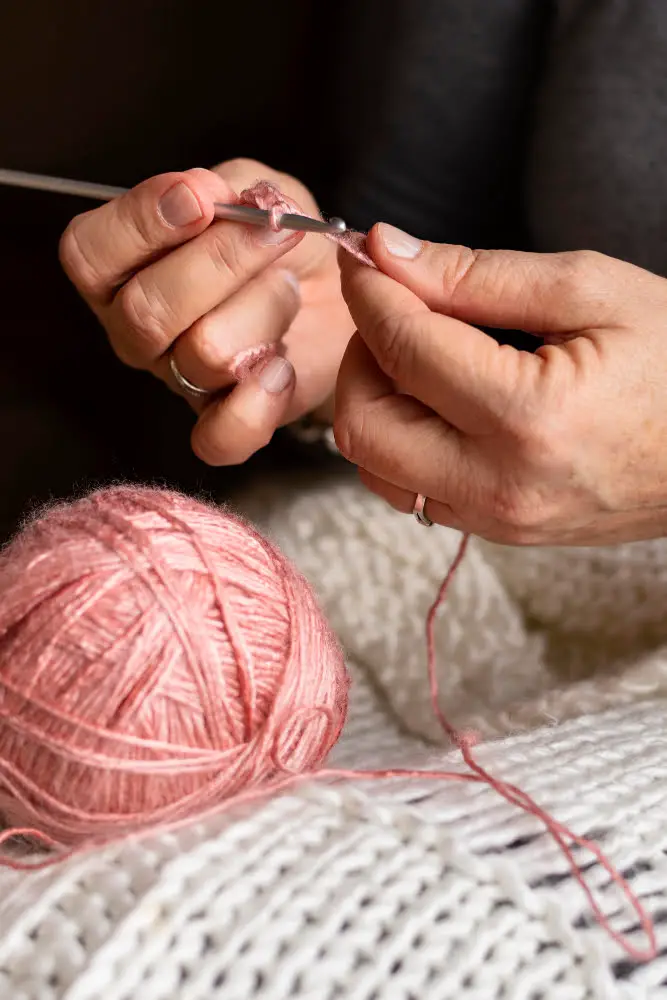
The process of carrying yarn in crochet, also known as ‘floating’ yarn, is a technique employed when working with multiple colors in a project. Essentially, rather than cutting the yarn each time a color change is needed, the yarn is carried along the wrong side of the work.
Here are the instructions to follow:
- Begin with the initial color, and crochet until you reach the point where a color change is necessary.
- At the point of switching, yarn over with the new color, but do not cut the yarn of the first color.
- On the wrong side of your project, the unworked yarn should run parallel to the stitches. Continue working into the stitches as per instructions, taking care not to catch the yarn being carried.
- When the color needs to be switched again, drop the working yarn, and pick up the yarn that was previously carried.
Remember that tension in your stitches is key to ensure the carried yarn does not peep through on the right side. Keep the yarn relaxed but not too loose. It’s an art as much as a craft, and like any good artwork, patience, meticulousness, and practice are essential.
Techniques for Joining a Second Color in Yarn Carry Crochet
When integrating an additional hue into your work, make sure that both yarn colors are attached from the start. Start crocheting with the first color till you reach a point where the second color is needed. At this juncture, start using the new color to create the last yarn over of the previous stitch. By doing this, the second yarn color is prepared to be worked when it’s due, yielding a smooth and professional-looking color transition.
While working the secondary color’s stitches, ensure that the first color is carried along by crocheting over it, keeping the first yarn color lined up and hidden beneath the new stitches. Once you’re ready to switch back to the original color, establish it with the last yarn over from the most recent stitch with a secondary color.
Always remember to maintain an optimal tension while working multiple yarn colors. Over-tightening can cause bunching and warping, whereas letting it too loose may lead to sagging stitches and visible carried yarn. Work towards achieving a balanced tension to have an even and aesthetically pleasing result.
Methods for Switching Colors During Yarn Carry Crochet
To change colors in a crochet project, start by crocheting the last stitch of the current color until only two loops remain on the hook. Then, grab the new color strand, leaving a 6-inch tail, and loop it over the hook. Draw this new loop through the existing two loops and then tighten the old color, anchoring the new color.
From this point, there are two techniques one can follow:
- 1. Drop and Pick-up: This involves dropping the previous color and picking it up again when it’s needed. Be careful not to pull too tight when resuming with the carried color, to avoid puckering.
- 2. Twist Over: This involves twisting the new yarn color over the old one before making the next stitch as it locks in the carried yarn and prevents sagging strands at the back of your piece.
Remember to carry the unused color along the top of the stitches being worked into; this way, it gets encapsulated by the new color stitches. Practice will lead to an even tension and seamless color transitions!
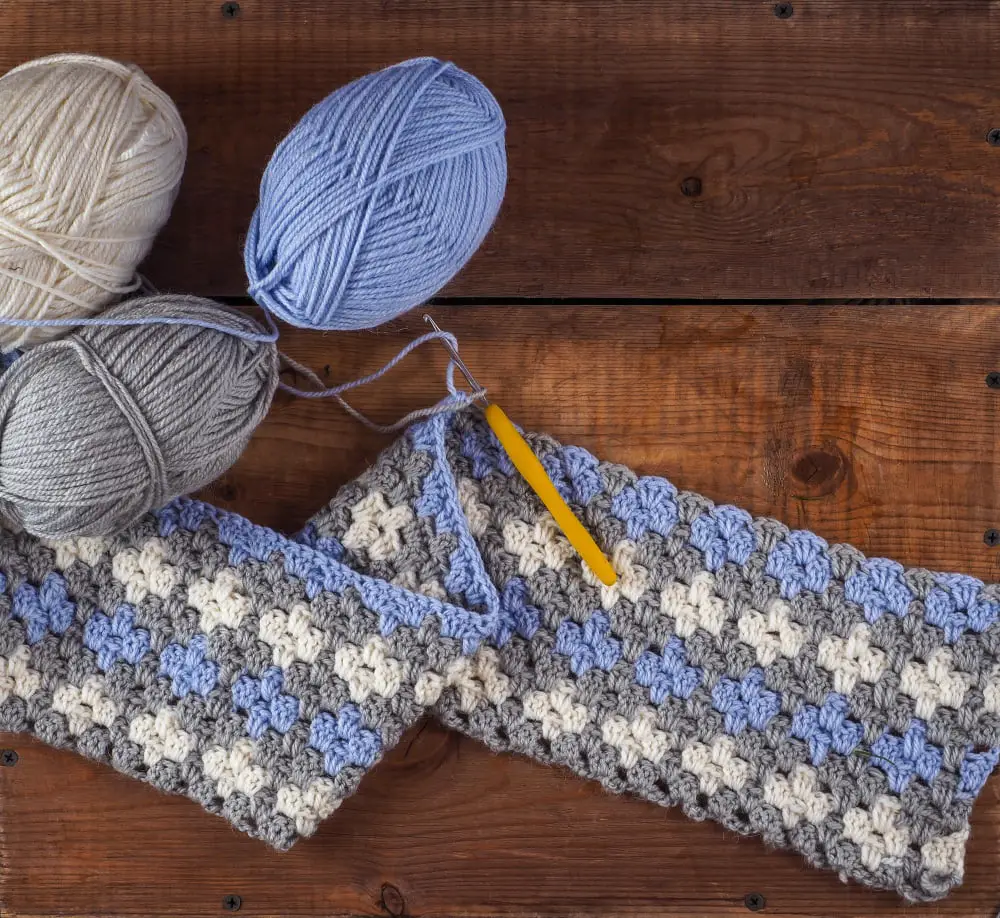
Managing Multiple Yarn Colors in a Crochet Project
Dealing with multiple colors in one crochet project cannot only be complex but also intriguing. The following points depict the art of juggling two or more hue strands.
1. Intertwining Yarns: This technique is excellent for preventing the strands from tangling. Rotate the yarn balls periodically to keep them separate.
2. Bobbins or Butterfly Clips Usage: These tools are perfect for managing various colored yarns. Wind each yarn around a different bobbin or butterfly clip.
3. Floating or Dangling Yarn: When working with large designs, simply allow the yarn of inactive colors to float behind your active stitches until needed again.
4. Proper Tension: Ensure the yarns have an equal pull to facilitate smooth crocheting. Uneven tension can disrupt the pattern.
5. Frogging Care: If you’ve made a mistake and need to pull out a section, do so with care. Unravel one color at a time to prevent a chaotic yarn mess.
6. Storage During Breaks: Each time you pause your work, place the project in a storage bag. This will minimize tangling and maintain organization.
Remember, each crochet project offers fresh challenges and discoveries. Dress it up in a riot of colors, and watch your creation come alive beneath your hands.
Adding a Border and Mastering Finishing Techniques for Yarn Carry Crochet
To polish off your yarn carry crochet piece, adding a border is an option. Here’s your step-by-step guide:
1. Choose a complementing color for an appealing visual contrast to your primary yarn colors.
2. Begin at any place on your work and attach the border yarn using a slip stitch.
3. Moving along the edge of your piece, create a series of single crochet stitches. This forms a sturdy and subtle border.
4. Should you desire a thicker border, consider adding a second round of stitches. Vary the stitch for visual interest – perhaps a round of double crochet.
In terms of mastering finishing techniques, proper weaving of loose ends is essential to sustain the integrity of your project and maintain a clean aesthetic. Following are some points:
1. Cut your yarn, leaving a 6-inch tail. Pull this tail through the loop on your hook. This creates a knot securing your last stitch.
2. Thread this tail onto a yarn needle and weave it back and forth through the stitches on the wrong side of your work. Be sure to weave in multiple directions for added security.
3. Trim any leftover yarn close to your work, careful not to cut your stitches.
Remember, practice makes perfect. The more you crochet, the more adept you become at spotting where and how to best weave in these ends.
FAQ
How do you carry yarn when changing colors in crochet?
When changing colors in crochet, carry the yarn by bringing up the discontinued color as if you were going to crochet with it, and then simply catching the strand, locking it in as you proceed with your work.
What common mistakes should be avoided while changing yarn colors in crochet?
To avoid common mistakes when changing yarn colors in crochet, ensure not to cut the yarn too soon, select the right spot for color transition, and avoid crocheting with loose ends, as this can distort the pattern’s appearance.
How can you weave in yarn ends securely in crochet projects?
To securely weave in yarn ends in crochet projects, use a yarn needle to thread the tail, pass it one direction through your stitches, then back in the opposite direction, making sure you’re sewing through yarn, not gaps, for steady grip.
What techniques can help in preventing yarn tangling during color changes in crochet?
Using bobbin holders or yarn bowls can help prevent yarn tangling during color changes in crochet.
Related Posts
 Easy Crochet Gnome Pattern Free: Transform Yarn into Whimsical Friends
 Crochet Star Blanket: A Stellar DIY Guide
 How to Crochet Slippers for Beginners Step by Step with Pictures: Cozy Feet Awaits
 Adjustable Ring Crochet: Master the Magic Circle
 How to Crochet Without a Hook: Hands-On Creativity