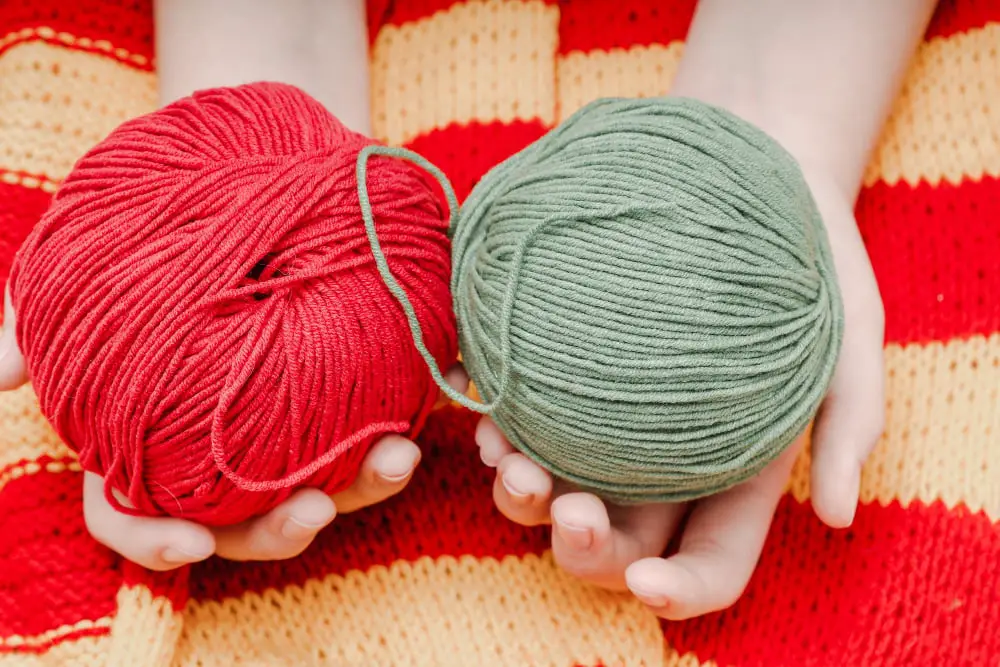
Mastering how to connect two balls of yarn seamlessly is essential for any knitter or crocheter because it ensures your projects maintain a consistent pattern and texture.
Connecting two balls of yarn is an essential skill in knitting and crocheting. This article offers a detailed guide on how to seamlessly join your yarn, whether you’re in the middle of a project or starting anew.
From the Russian join to the magic knot, you’ll learn various techniques, each with step-by-step instructions and clear illustrations.
This guide also includes tips on choosing the best method for different types of yarn.
So, whether you’re a beginner or an experienced crafter, you’ll find a technique that suits your needs perfectly.
Key takeaways:
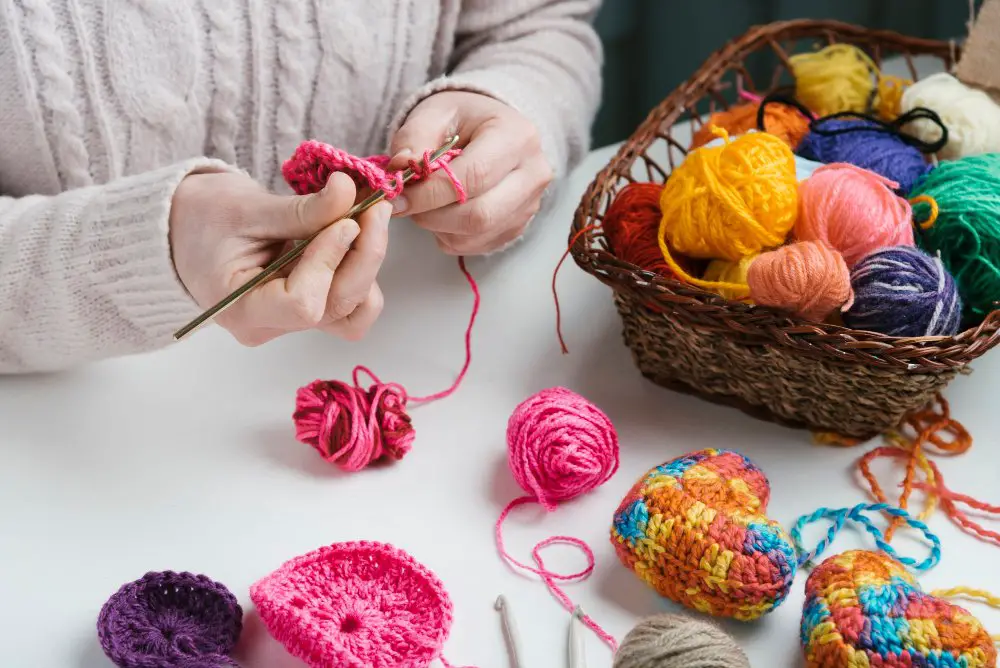
- Use the right tools for joining yarn: scissors, needle, crochet hook.
- Different joining techniques: magic knot, Russian join, slip stitch.
- Choose the same weight and color yarn for a seamless join.
- Weave in ends to ensure a clean and finished look.
- Secure your joins with a gentle tug, but avoid excessive force.
Materials Needed to Join Yarn
For a successful yarn joining process, ensure the availability of these items:
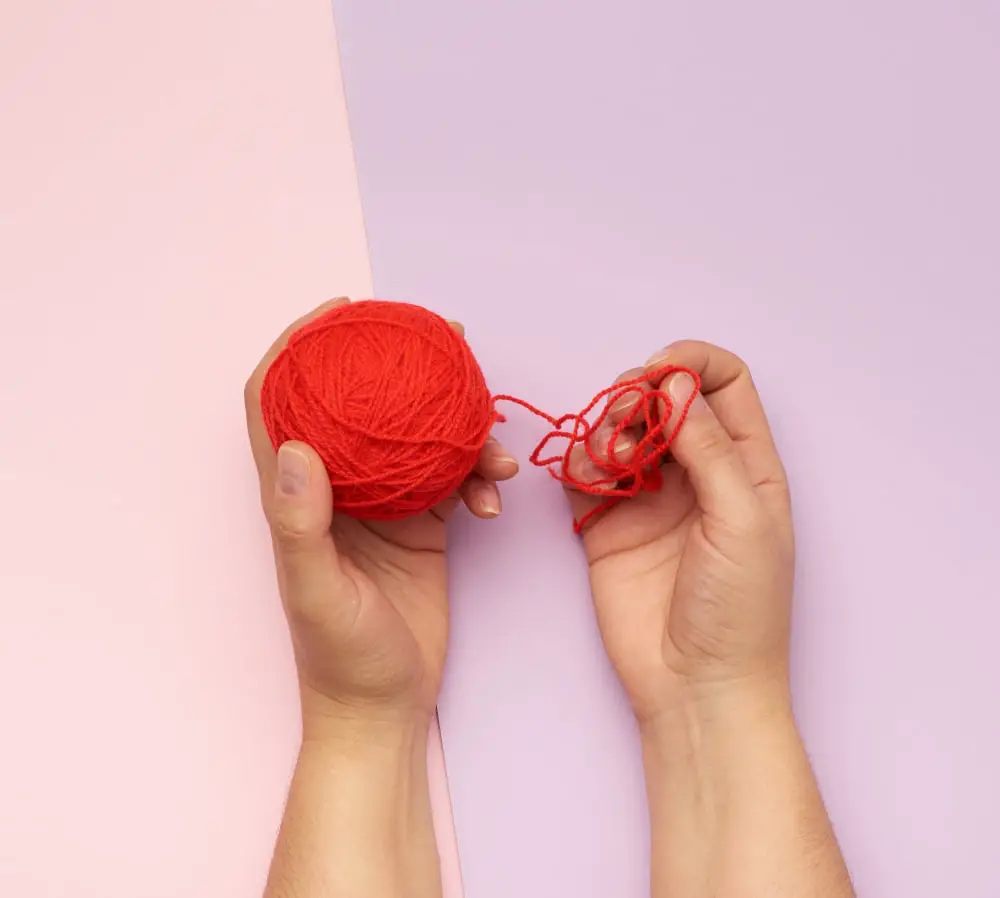
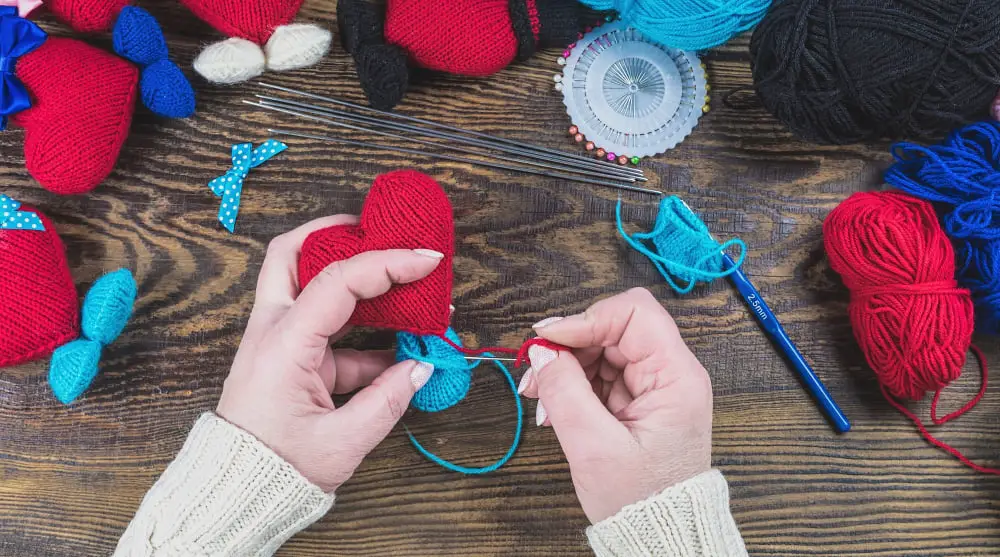
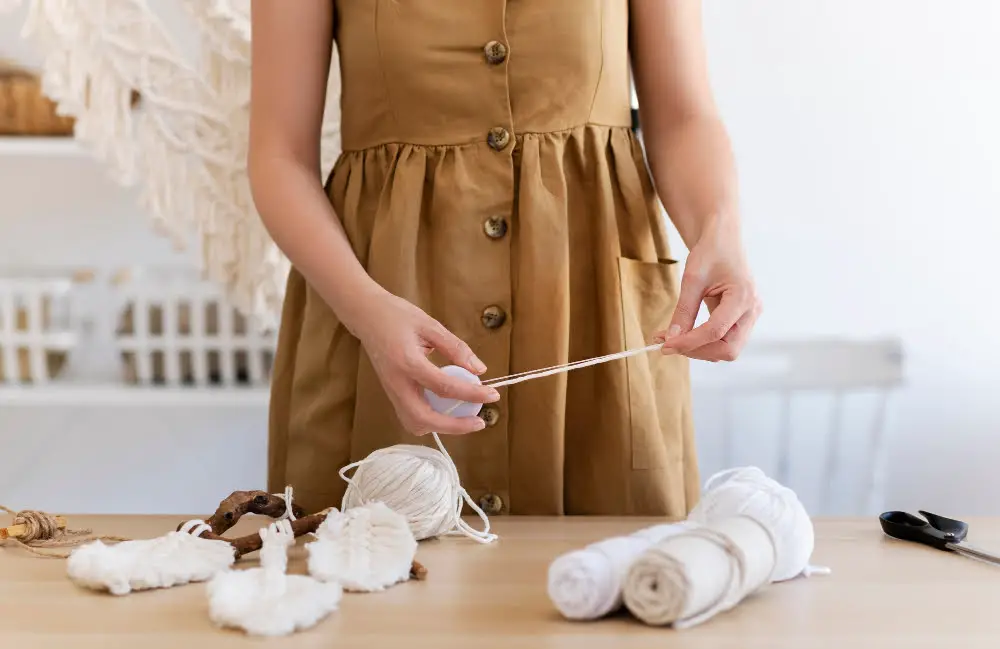
- Two balls of yarn: It’s imperative to choose yarns that are the same weight and closely match in color. Differences in texture and weight can cause inconsistent stitches and hinder the overall look of the finished product.
- A pair of scissors: A sharp pair plays a key role in creating neat and precise cuts. Avoid using dull or damaged scissors as they can possibly fray your yarn.
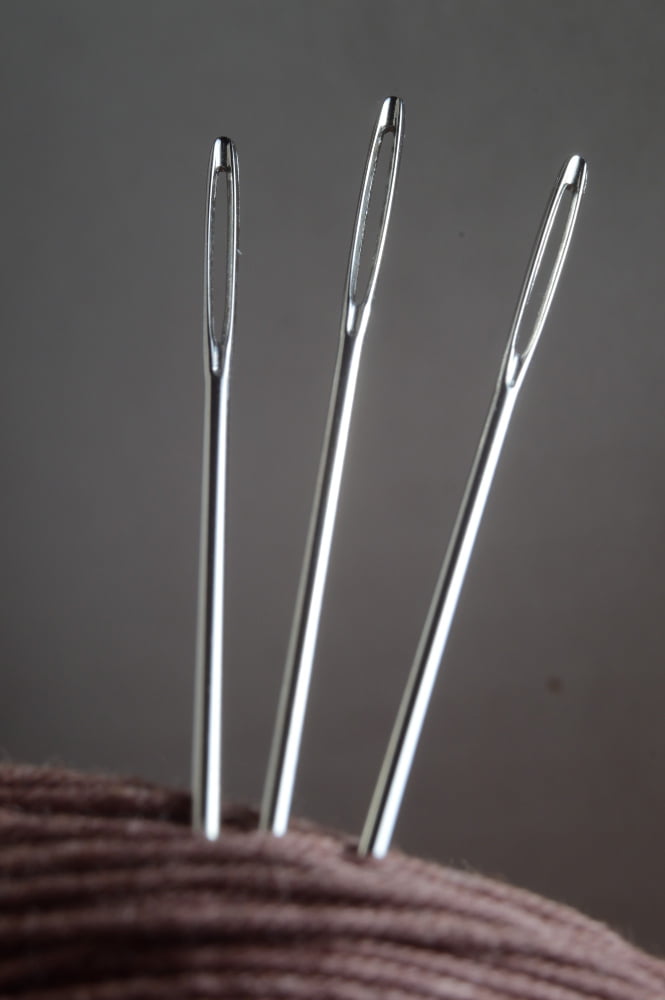
- A large-eyed needle: This tool aids in weaving the ends conveniently. Small-eyed needles tend to be less user-friendly as threading becomes a little challenging.
- A crochet hook: This is ideal for pulling the yarn through the stitches. Hook size should align with the yarn weight.
- The Pattern: Keep the pattern close at hand. It provides guidance about how to join the yarn based on the specific design requirements.
Each tool plays a unique role in securing the join, thus, creating a beautiful and durable final product. Remember, correctly choosing and using these materials is a vital part of the yarn joining process.
Tools Needed for Yarn Joining
Having the right tools on hand can greatly simplify the process. In most cases, a crochet hook or a pair of knitting needles will do the trick. The size of the hook or needles should match the thickness of your yarn. It’s also helpful to have a pair of sharp scissors for cutting the yarn, especially when implementing the magic knot or spit-splice method. A tapestry needle is another useful tool, particularly for weaving in ends after the join.
Some methods, like the felting join, may require additional materials such as a bowl of hot water or a damp towel. Remember that the type of yarn you are working with may also influence your choice of tools. For example, using a metal needle with wool yarn is recommended for the felting join, as the texture and heat conductivity of metal can assist the felting process.
Step-by-step Guide On Creating a Slip Knot for Yarn Joining
First, you’ll need a loop. Hold the end of the yarn strand and create a loop. Make sure there is at least a 3-inch tail. Put the long end on top, creating a pretzel-like shape.
Next, fold the top part of the pretzel down into the hole. When you pull it out the other side, it should take the shape of loop. This new loop is your key to the slip knot.
Now, hold onto the tail and the working yarn. Gently pull. Be cautious not to pull too hard to avoid tangling or knotting. As you do so, the loop in the middle will start to shrink until it’s tight. And voila! You’ve just created a slip knot.
Remember: a slip knot is meant to be adjustable. You should be able to expand and shrink the loop by tugging at either end of the yarn. Tweak it until you can comfortably fit a crochet or knitting needle through your loop.
Once you’ve mastered this simple process, you’ll be ready to connect your two balls of yarn together. And while it may seem intimidating at first, with practice you’ll become a pro at slip knots in no time.
Instructional Guide On How to Make a Magic Knot in Knitting for an Invisible Join
A magic knot provides an invisible join without creating a bulge in your final piece. Being fast and secure, it’s an excellent choice for maintaining consistent yarn tension and color sequence when knitting.
1. Align the ends of the two balls of yarn together.
2. Make a knot in the first yarn around the second, leaving a small tail.
3. Knot the second yarn around the first, also leaving a small tail.
4. Pull both knots towards each other until they meet.
5. Closely trim the tail ends, leaving a very neat join.
Practicing this technique will simplify combining balls of yarn and yield clean results in your knitting projects. Remember, perfection comes with practice!
Recommendations On Alternate Stitches in Yarn Joining
You’ll find that even simple stitches can yield a strong yarn join. The square knot, similar to the magic knot, is an effective and secure option; just ensure it is knotted tightly to avoid unraveling. The Russian join, while a bit more intricate, eliminates the need for weaving in ends, as it creates an interwoven join.
For crocheters, the slip stitch join is a solid choice. You start by creating a slipknot on the new yarn ball, then draw it through the last active loop of your old yarn, tightening carefully. It effectively merges the two yarns together in stitching.
Another excellent choice is the fisherman’s knot. Though a tad complex, this knot is exceptionally sturdy, making it an ideal choice when working on projects that will endure a lot of wear and tear.
Remember, the stitch you choose largely depends on the type of yarn you’re working with and the kind of project you’re creating. Some yarns respond better to different types of joins, and other times the best choice depends on the desired look and feel of the final piece. Experiment with these stitches to find what works best for your craft.
Elaboration On the Use of Method 1: Drop and Join for Connecting Yarn
The Drop and Join method of connecting yarn involves letting go of the old yarn and picking up the new one. This technique is simple yet effective, making it a popular choice particularly when working on stripes or larger items. It’s best used when you’re at the edge of your work, as you can comfortably tuck in loose ends once the project is completed.
Here’s a step-by-step guide on how to practice the Drop and Join method:
- 1. When you’re at the end of a row and have a little bit of the first ball of yarn left, knit or crochet up to the last few stitches.
- 2. Drop the yarn from the first ball.
- 3. Start the new row with the yarn from the second ball. Do not tie the ends!
- 4. Leave a tail of at least six inches from both balls of yarn. You will use these tails to weave in the ends once you’ve finished your work.
- 5. Continue your pattern as if nothing changed, and you’ll see that the two yarns are now connected.
Remember, this technique works well when you make the change at the edge of the work, so plan the placement of your color or yarn changes appropriately.
Explanation of Method 2: A United Join for Using Two Balls of Yarn
The United Join, also known as the Russian Join, excels in the art of merging two balls of yarn without knots or loose tails. An ideal choice for color-changing or adding length, this method ensures a smooth, seamless blend from one yarn strand to the next.
To begin, the tail of the first yarn and the beginning of the second yarn are woven together with needles, creating two interlooping strands. Ensuring the interlooped point is kept secure, each strand’s tip is then threaded onto a yarn needle.
Next, the needle heads are passed through the body of the corresponding yarn, creating a loop on both ends. Now, pull both ends gently until there’s a tight fitting, nearly invisible join, forming a united thread ready to be included in your crafting.
In terms of project application, it’s worth noting this method performs exceptionally well in nearly all types of yarn, but excels particularly in plied and spun types due to their natural structure and grip. Plus, the United Join is washing machine and dryer safe, adding value to your project’s longevity.
Techniques On How to Weave in the Ends After Joining Yarn
Weaving in the ends of yarn after joining is an integral part of ensuring a clean, finished look to your knitting or crochet project.
1. Choose the correct needle: Opt for a blunt-ended darning needle for this task. The rounded tip prevents the separation of individual yarn strands, ensuring a smooth weave.
2. Direction matters: Begin by threading the loose end of yarn through your darning needle. Move in one direction first – left to right or right to left, it doesn’t matter. Pass the needle through a couple of adjacent stitches, pulling the yarn through but not all the way.
3. Flip the direction: Now, reverse the direction, passing the needle and yarn back through the stitches you just threaded through and a few more. This back-and-forth movement provides extra security.
4. Camouflage: Aim to weave the yarn along the row, trying to follow the path of the knitted or crocheted stitches to camouflage the woven-in end.
5. Snip correctly: After weaving in for a couple of inches, you can then snip the remainder off close to your work. Don’t cut too close to the last woven stitch to prevent the yarn from popping out with any stretch.
These techniques ensure that the joined ends remain secure and hidden, contributing to a finished project that’s as aesthetic as it is durable. Over time and with continued practice, you’ll find that this process becomes almost second nature.
Detailed Guide On How to Tie a Magic Knot in Knitting
Let’s dive into the steps you’ll take to tie your magic knot.
1. Begin by placing the ends of your two strands of yarn parallel to each other.
2. On one strand, create a loop. Let the end of the yarn fall over the top of the loop to create an “X”.
3. Bring the end of the same strand under the parallel strand and through the loop. Pull this end until your knot is tight.
4. With the other strand, you’ll repeat these steps.
5. Tighten both knots. Then, carefully pull the two strands apart. If executed correctly, the knots should move towards each other and lock in place.
6. For a truly seamless finish, snip off the excess yarn close to the magic knot. This magic knot holds securely, giving confidence that your knitting will maintain its integrity over time.
Remember, practice makes perfect! Initially, you may find yourself re-tying the magic knot a few times to get the hang of it. That’s perfectly normal, so don’t feel disheartened.
Clear Instructions for Safely Securing Yarn Joins
To securely fasten your knots, apply a gentle tug on both yarn ends after creating the knot. This measure enhances the strength of your join and secures the yarn from accidental unraveling or slip-offs during handling.
However, force needs to be applied sparingly. Excessive tugging may distort stitches or create unwanted tension, pulling the project out of shape. Besides, it could lead to breaking or fraying of yarn, particularly when working with delicate fibers.
For knots like the magic knot or weaver’s knot, it is essential to confirm that each part of the knot is properly tightened before trimming the ends. Cut the yarn close to the knot but leave enough strands to weave in afterward.
Lastly, consider the nature of your yarn. For instance, slippery yarns such as silk or bamboo may require extra secure knots compared to more grabby fibers like wool. Adjusting your techniques to match the yarn type keeps your piece pristine and maintains structural integrity.
FAQ
What techniques can be used to join a new ball of yarn in knitting?
A new ball of yarn can be joined in knitting through techniques such as the Russian join, spit splicing, using a knot, or simply starting the new yarn at the beginning of a new row.
Are there different methods of joining yarn in crocheting versus knitting?
Yes, methods of joining yarn can differ between crocheting and knitting, including but not limited to the Russian join and magic knot for both, but knitting also utilizes the spit splice, and crocheting often prefers the knotless join method.
How can you prevent knots or tangles when adding a new ball of yarn to your project?
To prevent knots or tangles when adding a new ball of yarn to your project, make sure to join the new yarn at the start of a new row or stitch, keeping both the old and new yarn taut.


