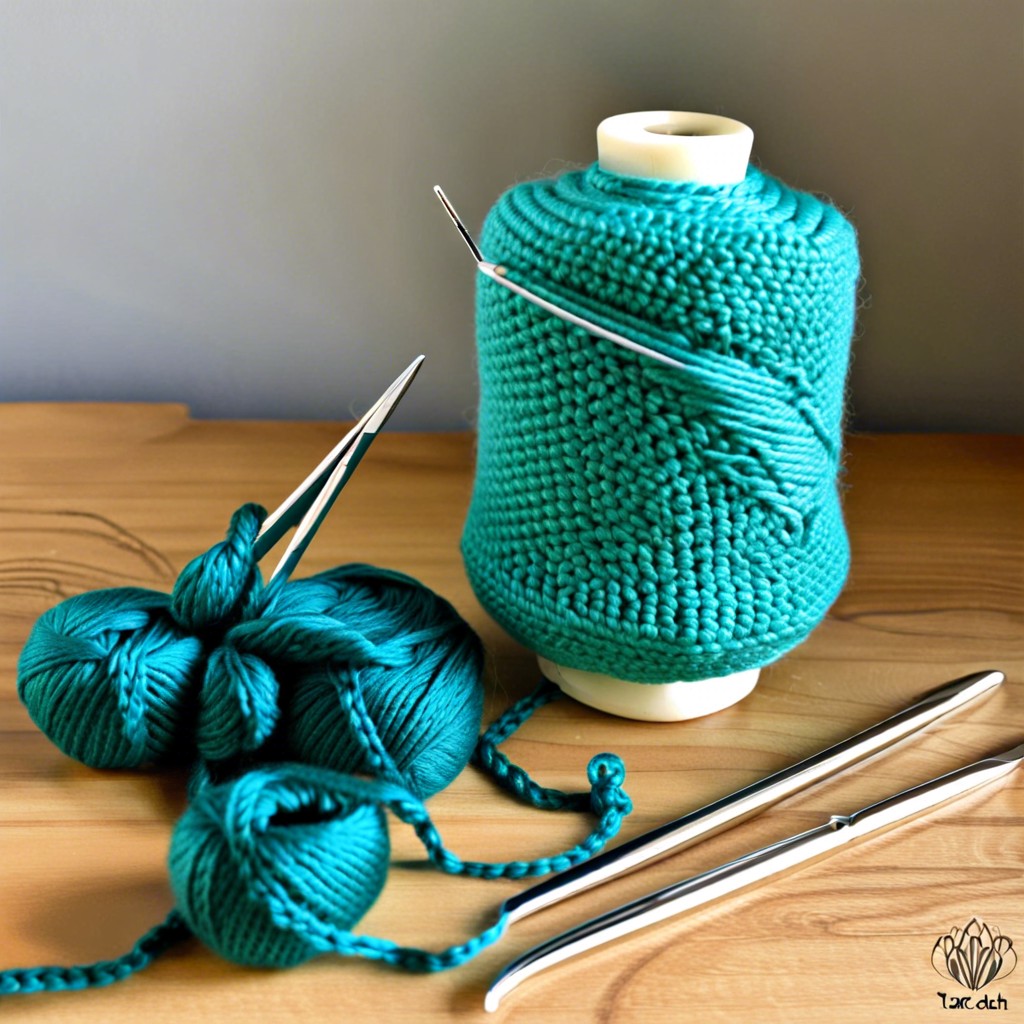
Learn simple steps to seamlessly attach yarn in your crochet projects without missing a stitch.
Key takeaways:
- Finish the last yarn over of a stitch with the new yarn.
- Use the Magic Knot for seamless yarn transitions.
- Try the Russian Join with a yarn needle for a strong join without knots.
- Use the Felted Join for wool yarns to magically fuse the ends together.
- Crochet away without worrying about pesky ends with these techniques.
Join Yarn With the Last Yarn Over of a Stitch

With this method, you simply finish the last yarn over of your current stitch with the new yarn. Here’s how:
- Work up to the last yarn over of your stitch.
- Drop the old yarn, grab the new yarn.
- Complete the stitch with the new yarn.
This technique is super smooth and hardly noticeable. Make sure to leave a tail of both the old and new yarn so you can weave them in securely later. For added strength, give both yarn tails a gentle tug to snug them up. This is like the superhero cape of yarn joins—quick, effective, and ready to save the day!
The Magic Knot
Enter the Magic Knot – the sorcery behind seamless yarn transitions!
- To make this knot:
- Imagine tying shoelaces – easy enough, right? Now, you’re halfway to mastering the Magic Knot.
- First, lay both yarns parallel to each other, kind of like they’re best friends taking a stroll.
- Take the tail end of Yarn A, loop it around Yarn B, and tie a simple knot. Just like a handshake.
- Now, repeat the process with Yarn B: tail end, wrap, knot. Super easy.
- Okay, here’s the secret sauce:
- Pull on the working ends (the parts that are still attached to your skeins). Those knots will slide together, like they’re on a blind date and sparks are flying.
- Tug firmly until the knots pop and snuggle cozily against each other.
Snip off any excess tails close to the knots. Voilà! Your yarns are now linked in matrimonial bliss, with barely a bump to show for it.
The Russian Join
For this technique, a yarn needle becomes your best buddy. First, thread each yarn end into a needle. Now, take one needle and weave it back through its own yarn for about 2-3 inches, creating a little tunnel. Do the same with the other yarn end.
Next, slide the needles off and pull the yarn through the tunnels. This interweaves the yarns nicely together, creating a strong join without knots. Snip off any excess, and you’re ready to roll!
It’s seamless and rather magical. Almost like yarn wizardry. Wave your crochet wand, and Voilà! The yarns are joined, and your project looks flawless without any bulk or loose ends. Bliss.
The Felted Join
Ah, the Felted Join. Sounds fancy, right? It’s actually quite simple and perfect for wool yarns. With this method, you’ll feel like you’re performing a bit of yarn magic.
- Here’s the lowdown:
- Pick Wool: This method works best with 100% wool or mostly wool yarns.
- Fray Away: Carefully fray the ends of both yarns for about an inch.
- Moisten Up: Slightly wet the frayed ends. Don’t worry, we’re not drowning them—just a little damp.
- Rub-a-Dub-Dub: Rub the frayed ends together vigorously between your palms. This friction cause the fibers to magically fuse together.
There you have it! Now you’re ready to crochet away without worrying about those pesky ends ever again. Wool has never looked so seamless.
Related Stories
- How to Hide Yarn Ends in Knitting: Easy Techniques and Tips for Perfect Finish
- How to Connect Two Balls of Yarn: Seamless Joining Techniques Guide
- How to Add Yarn When Knitting: An Easy Step by Step Guide
- How to Change Yarn When Knitting: Simple Guide for Craft Lovers
- How to Change Color Yarn in Knitting: An Easy Guide for Improved Projects
