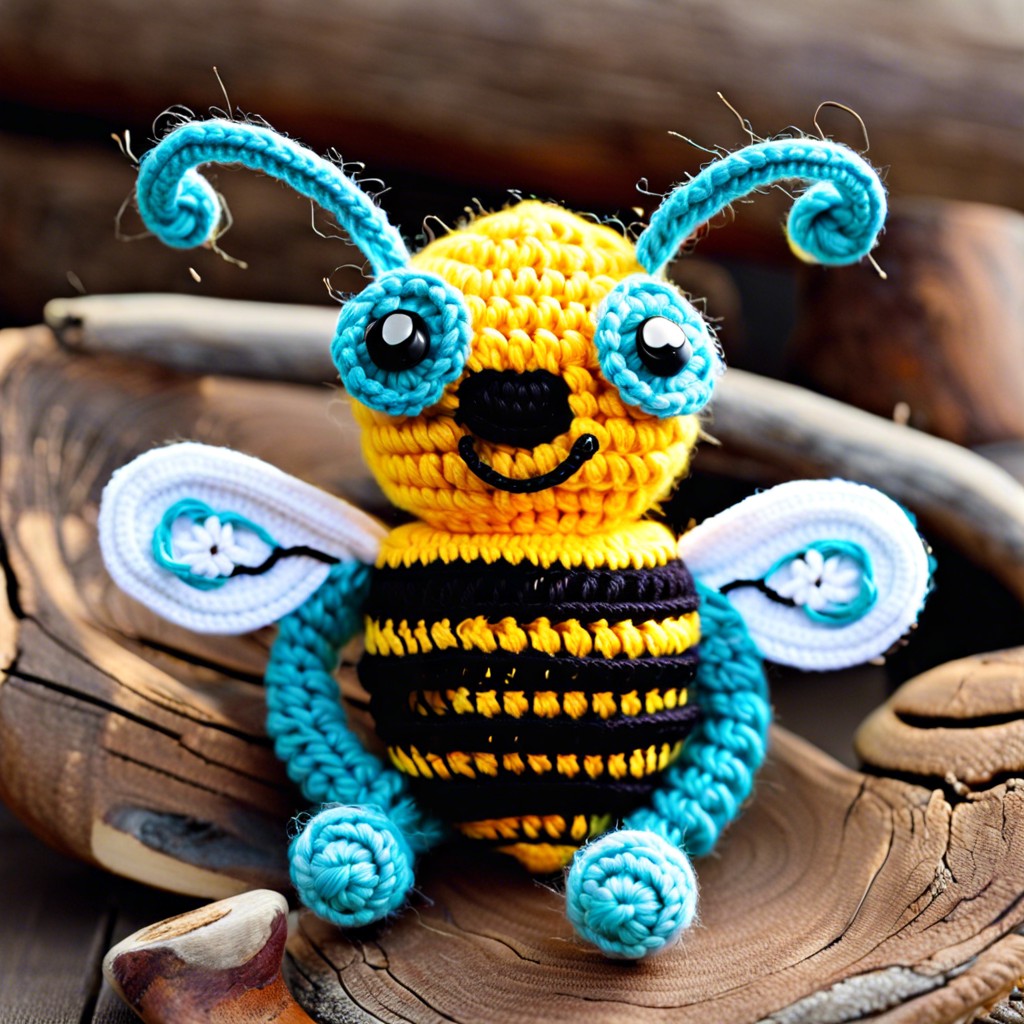
Learn how to crochet a bee with easy-to-follow steps and have a buzz-worthy addition to your collection.
Ready to buzz into the wonderful world of crochet? Crafting your very own adorable little bee can be remarkably fun and satisfying, especially with the right guidance. Using cozy, medium-weight yarn in cheerful yellow, bold black, and crisp white, along with a trusty G or H hook, you’ll have this little critter buzzing into your life in no time. From the perfect stuffing to those darling safety eyes, you’re covered with all the essential tips right here. If you’re itching to get your hands busy with this delightful project, this guide is the honey to your crochet hive!
Key takeaways:
- Use soft, medium weight yarn in yellow, black, and white.
- Crochet hook size G or H works well for medium weight yarns.
- Stuff the bee with polyester fiberfill for a plush look.
- Use safety eyes or embroider eyes with black yarn.
- Weave in ends securely and reinforce connections when necessary.
Materials

You’re going to need some yarn, of course. Opt for a soft, medium weight yarn in yellow, black, and white. Think bumblebee chic!
A crochet hook is another must-have. For most medium weight yarns, a size G (4.0 mm) or H (5.0 mm) crochet hook works beautifully.
Polyester stuffing or fiberfill is essential for giving your bee a nice, plump look. Let’s make sure our bee has that huggable factor.
Grab a pair of safety eyes for that adorable, wide-eyed look. Alternatively, you can embroider the eyes using a bit of black yarn if you want that extra handmade flair.
A yarn needle will come in handy for weaving in those pesky ends and sewing the parts together. It’s like the magic wand of yarn crafts.
Don’t forget scissors for snipping. Those yarn tails won’t trim themselves!
Finally, have a stitch marker or some scrap yarn on hand to keep track of your rounds. You don’t want an accidental mutant bee buzzing around.
Tools
You’ll need a trusty crochet hook, typically size G/4mm for those tight stitches. Remember, size does matter (at least in this case).
Stitch markers are your best friends here. They keep your place so you don’t end up with a bee-zarre shape.
Embroidery needles are key for sewing all the pieces together. Don’t poke yourself. This isn’t a hazard class.
Finally, grab some stuffing. Not for the Thanksgiving turkey—think polyester fiberfill to give your bee a plush, huggable body.
Body
Start by crocheting a magic ring with 6 single crochets. This will form the bee’s belly button—sort of.
Increase evenly to make a flat circle for the base. Then, work your way up, adding rounds without increases for height.
Change colors for those iconic stripes—black and yellow alternating. Think classic bumblebee chic.
Don’t forget to stuff the body with fiberfill before you close it up. You don’t want your bee looking deflated!
Finally, decrease gradually to close the top, and voilà! You’ve got the body of your bee.
Wings
Grab your white yarn and your smallest hook, it’s wing-making time. Let’s give our bee the ability to fly—or at least look the part.
First, start with a magic ring. It’s not actual magic, but it does the trick.
Inside that ring, crochet six single crochets. Tighten the ring like you’re closing a bag of chips you don’t want to share.
Now, for the next round, work two single crochets into each stitch around. You’ll end up with 12 stitches, which is perfect because we are perfectionists.
Slip stitch to close the round. Done!
Make two of these wings. They need a buddy—you wouldn’t want to fly solo, would you?
Remember, bees’ wings are delicate. Don’t over-stuff or they’ll look like balloons at a bee party. Keep it simple, just like folding laundry.
Putting the Pieces Together
Start with your bee’s body. Place the wings symmetrically on either side to give it that adorable, balanced look. You don’t want a lopsided bee—unless it’s auditioning for a circus act.
Next, use a yarn needle to attach the wings securely to the body. Make sure they are firmly in place; you don’t want your bee taking an unexpected nosedive!
Once the wings are on, weave in any loose ends. This helps keep everything neat and prevents your bee from looking like it’s having a bad hair day.
Double-check all your connections. Give the wings a gentle tug; they should not detach. If they do, go back and reinforce your stitches.
