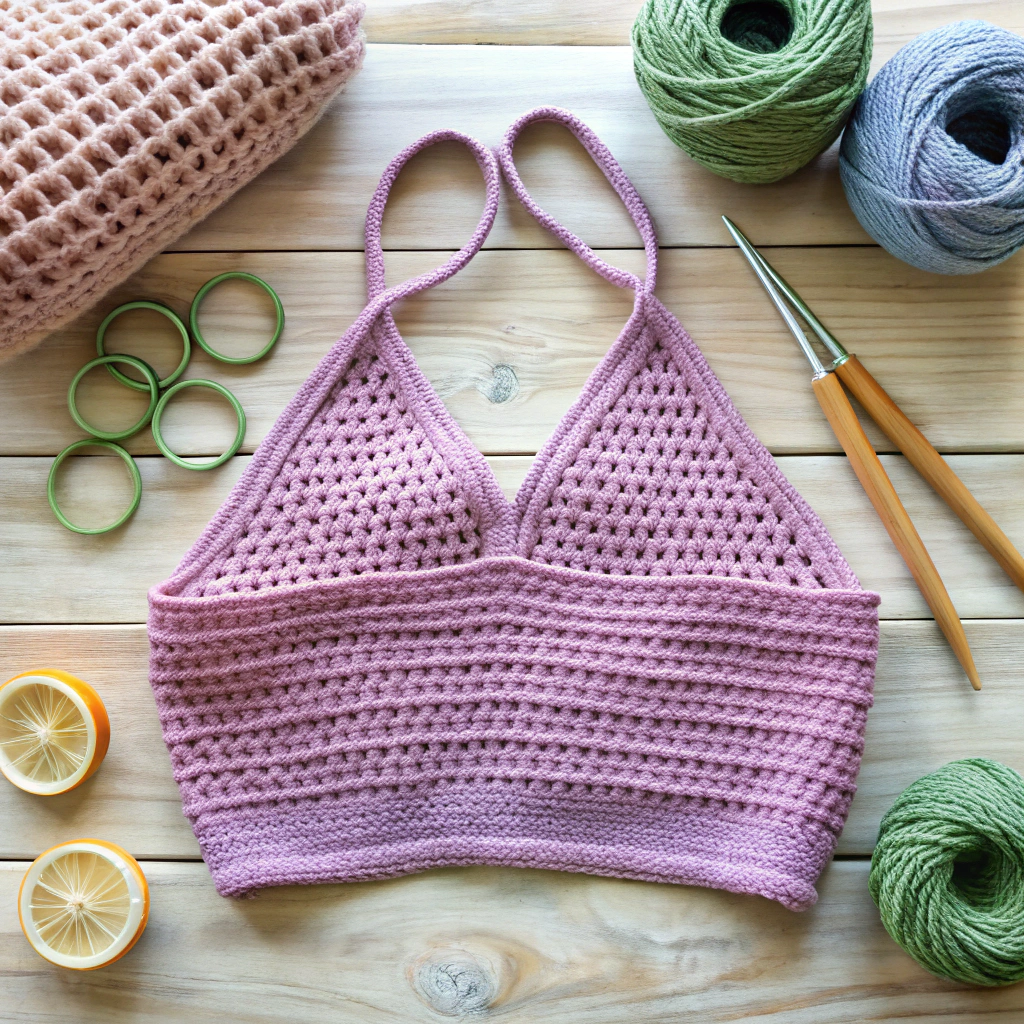
Learn how to crochet a stylish top with this step-by-step guide.
Key takeaways:
- Select lightweight yarn and a matching crochet hook.
- Master the chain stitch, single crochet, double crochet, and slip stitch.
- Crack the code of crochet patterns and understand repeats and symbols.
- Choose the type of top and follow pattern instructions.
- Seam pieces together using the mattress stitch, add borders, and finish with weaving in ends.
Materials Needed

For your crochet top, select lightweight yarn for breathability and comfort. Cotton or a cotton blend is ideal for its softness and durability. Choose a crochet hook that matches the yarn weight; a size chart on the yarn label can guide you.
Additionally, have a pair of scissors and a yarn needle on hand for finishing edges and weaving in ends. Consider the color of your yarn too—solid colors highlight stitch details well, while variegated yarns add a playful twist.
Before starting, ensure you have enough yarn to complete the project to avoid dye lot issues. Gathering your materials first streamlines the process, letting the fun part begin sooner.
Basic Crochet Stitches Required
To start, mastering a few foundational stitches is crucial for creating your crochet top. Firstly, get comfortable with the chain stitch (ch), which forms the backbone of your work. Next, the single crochet (sc) is essential for building fabric density and crafting the main sections of the top. You’ll also use the double crochet (dc) for quicker coverage and adding a bit of texture. Additionally, the slip stitch (sl st) helps in joining rounds and finishing edges neatly.
Smooth progress in these stitches will not only speed up your crocheting but also ensure even, professional-looking results. Remember, uniformity in your tension is key to making sure your stitches look consistent. Practice these stitches on a sample swatch to gauge your tension before you begin the actual project.
Reading Crochet Patterns
Crochet patterns can look like a secret code at first, but once you crack it, following them becomes a breeze. They use abbreviations for stitch types and techniques. For instance, “sc” means single crochet, and “dc” stands for double crochet.
Details about gauge, recommended yarn, and hook size are typically listed at the beginning. This ensures your top matches the intended size and shape. Always make a test swatch to confirm your gauge matches the pattern.
Patterns are structured sequentially. They often begin at the bottom or the top, guiding you row by row or round by round. Symbols and diagrams may also appear, providing visual cues to assist your understanding of the design.
Look out for repeats, noted by asterisks (*) or brackets []. These save space and clarify the parts of the pattern that you need to repeat multiple times.
Understanding these basics will help you follow any crochet pattern with confidence. Keep these tips in hand, and you’ll find that each pattern becomes easier to navigate.
Working the Body of the Top
Start by choosing the type of top you want to make, whether it’s a crop top, tank top, or short-sleeved tee. This decision will influence the overall design and pattern complexity.
Measure your bust size to determine how many stitches to begin with. It’s crucial to make a gauge swatch first to match the pattern specifications for size and tension. This step saves any “Oh no!” moments later on after hours of work.
For the pattern, begin at the bottom hem of the top and work upward. Most crochet tops are worked in the round, creating a seamless side. However, some patterns may require panels that you’ll seam together later. This is typically outlined in the pattern instructions.
As you work upward, increase or decrease stitches according to the pattern to shape the top accordingly, around the waist, bust, and armholes. These increases or decreases are often subtly worked into the pattern to maintain the aesthetic.
Lastly, regularly try on the piece if possible, or measure against your body or a similar piece of clothing to ensure the fit is shaping up as intended. Adjustments are much easier made on the go than after the piece is finished.
Assembly and Finishing Touches
After crocheting all parts of your top, it’s time to put them together. Start by laying the front and back pieces side by side on a flat surface. Ensure the right sides are facing inward so the seams will be on the inside when worn. Carefully align the edges and use stitch markers to hold them in place.
Begin at the bottom hem and use a yarn needle and the same yarn used for crocheting to seam the sides together using a mattress stitch. This stitch will make the seams almost invisible and keep the edges flat, maintaining the natural flow of the crochet pattern.
Once the sides are sewn, turn your attention to the shoulders. Attach them in the same manner, ensuring they’re aligned perfectly to prevent a lopsided fit.
Lastly, consider adding a border or edging around the neckline and armholes for a polished look. Crochet a simple single crochet border, or opt for a more decorative picot or scallop edge. This not only secures the edges but also adds a neat, finished appearance to your garment.
Now, all that’s left is weaving in any loose ends using your yarn needle, and voila, your handmade crochet top is ready to make its debut!


