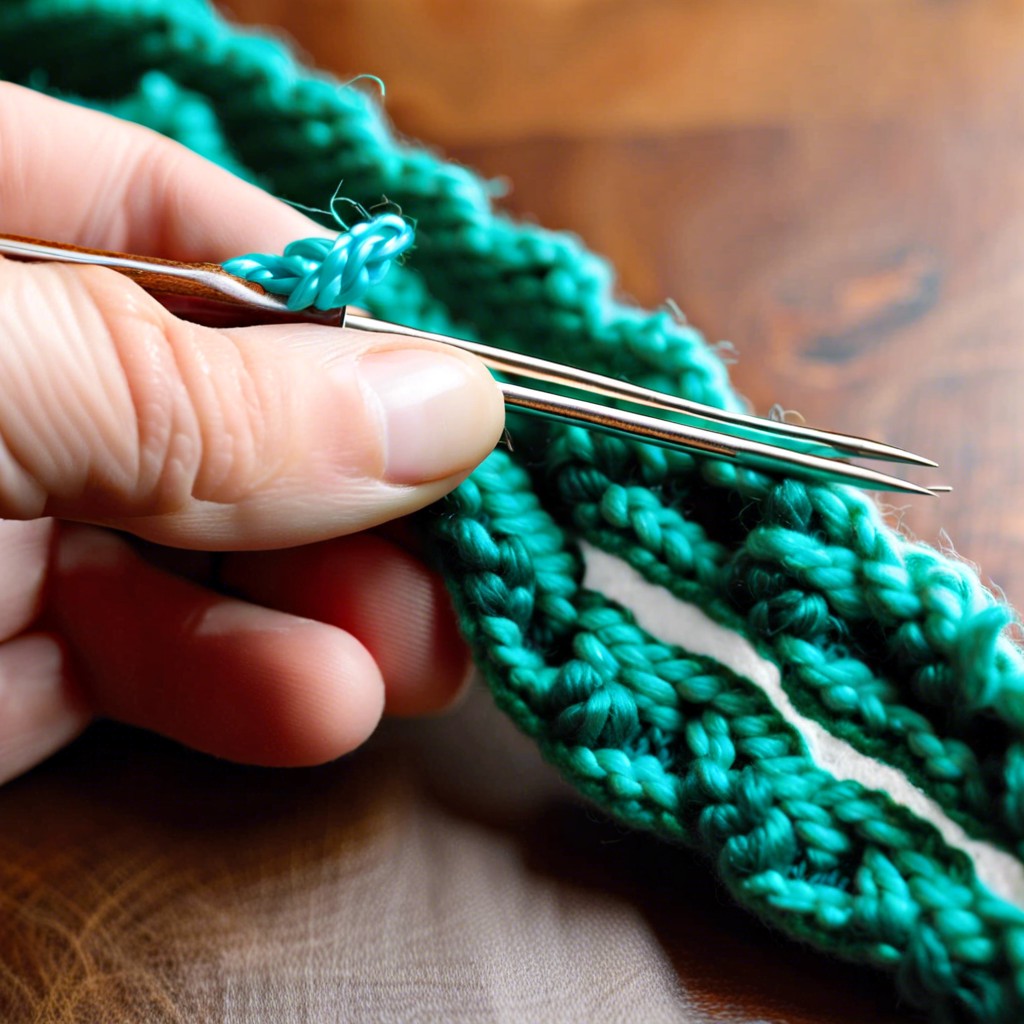
Learn how to seamlessly join yarn in crochet projects with these effective techniques.
Key takeaways:
- Joining yarn is essential for a professional finish.
- Different methods suit different yarns and projects.
- Prepare yarn ends by trimming and securing them.
- Join yarn with the last yarn over for a seamless transition.
- The Russian Join eliminates bulky knots for a smooth fabric.
Overview of Yarn Joining Techniques

Joining yarn is a critical skill in crochet that ensures your project looks polished and professional. Whether you’re adding a new color or simply attaching a new skein, there are numerous techniques to choose from, each suitable for different types of yarn and project styles.
One popular method is joining yarn with the last yarn over of a stitch. This technique is virtually invisible and perfect for projects where color changes need to blend seamlessly.
Another reliable technique is the Russian Join, which involves threading yarn ends together. It creates a strong, secure join without any bulky knots, ideal for items where a smooth, uniform texture is critical.
Mastering different yarn joining methods allows for flexibility in your projects and can help avoid unnecessary waste of yarn. Each technique has its advantages, making it important to choose the right one based on the needs of your project.
Preparing Yarn Ends for Joining
Before you start joining new yarn, giving a little attention to the yarn ends can make your task smoother. Trim any frayed or fuzzy ends with scissors to ensure they are clean and even. This reduces bulk and avoids bumpy stitches in your crochet project.
If you’re using a fiber that tends to fray, such as cotton or silk, consider lightly wetting the ends or using a dab of fray check. This preparation keeps the yarn sturdy and helps maintain the integrity of your stitches as you work.
Length is also key. Leave enough yarn at each end (at least six inches) to allow for easy weaving into the fabric later. This prevents your work from unravelling and secures the yarn effectively within your crochet piece.
Join Yarn With the Last Yarn Over of a Stitch: Instructions
To execute this technique effectively, start crocheting with your old yarn until you reach the stitch before the color change. When you get to the final yarn over required to complete this stitch, stop. Grab the end of the new yarn, fold it over the hook, and pull it through the loops on the hook to complete the stitch. Continue crocheting with the new yarn. This method creates a smooth transition that is almost invisible, keeping your fabric neat without any bulky knots. Remember to leave a short tail of both the old and new yarn for weaving in ends later, ensuring your work remains secure and tidy.
The Russian Join: Instructions
Begin by threading a needle with one end of your yarn. Make sure the tail is long enough, about 6 inches, for easy handling. Insert the needle back into the core of the yarn you’re using, toward the direction from which it came. Glide the needle along inside the yarn for about an inch or so. Pull the needle through slowly, ensuring the yarn doesn’t bunch up, and gently tug on both ends to secure the loop you just created.
Next, take the end of the new yarn and repeat the process. Thread it through the needle, and insert the needle into this new yarn’s core, moving parallel to the end you’ve just worked on. Again, push the needle through for about an inch, pull it through, and adjust to tidy the join.
What’s great about the Russian join is that it eliminates bulky knots in your crochet projects, keeping the fabric smooth and even. This method is particularly beneficial for projects that require washing, as it holds up better than other join types. Once complete, snip any excess yarn, and you’re ready to continue crocheting with a new yarn seamlessly integrated.
Tips for Seamless Transitions in Crochet Fabric
For smooth transitions when joining new yarn, consider these practical tips:
Choose a joining method that suits the yarn texture and project type. For example, a Russian join works brilliantly for plush yarns in tightly crocheted projects, minimizing bulk.
Mind the tension. Keep your stitches consistent near the join to avoid unwanted tightness or looseness that can disrupt the look and feel of your project.
Use matching yarn when possible. If your original yarn runs out, replacing it with a very similar yarn can help maintain the uniformity of the fabric.
Hide tails wisely. Weave ends into the stitches of the same color to camouflage them better, keeping your work neat.
Practice makes perfect. Experiment with different methods on small swatches to find what best fits your style and projects before committing to a method on larger pieces.
Related Stories
- How to Join Yarn in Crocheting: Simple Steps and Tips for Beginners
- How to Switch Yarn Crochet: Simple Steps for Color Changes
- How to Join Yarn Crochet: Essential Steps for Perfect Patterns
- How to Join New Yarn in Crochet: Stress-Free Techniques
- How to Connect Yarn When Crocheting: Step-by-Step Guide for Beginners
