Unraveling yarn is a process that requires patience and technique, which this article will guide you through to ensure smooth and tangle-free results.
Unraveling yarn may seem like a daunting task, but with the right techniques, it can be a breeze. This article will guide you through the process step by step, ensuring that you can smoothly unravel your yarn without causing any damage or creating a tangled mess.
Whether you’re dealing with a fresh skein or repurposing yarn from an old project, this guide covers it all. Keep reading to learn the best methods, handy tips, and useful tools to make unraveling yarn an easy task.
Key takeaways:
- Use a swift, ball winder, and crochet hook for easy unraveling.
- Consider material composition, weight, texture, and structure of the yarn.
- Understand the construct of skeins and hanks of yarn.
- Properly identify the ends of the yarn to simplify unraveling.
- Follow a stepwise procedure and take prevention measures to avoid tangling.
Identifying the Necessary Tools for Unraveling Yarn
To successfully dismantle yarn, certain tools are vital:
A swift, for those working with hanks, provides an easier unwrapping process. Swifts hold the hank under tension, allowing for a smoother unraveling.
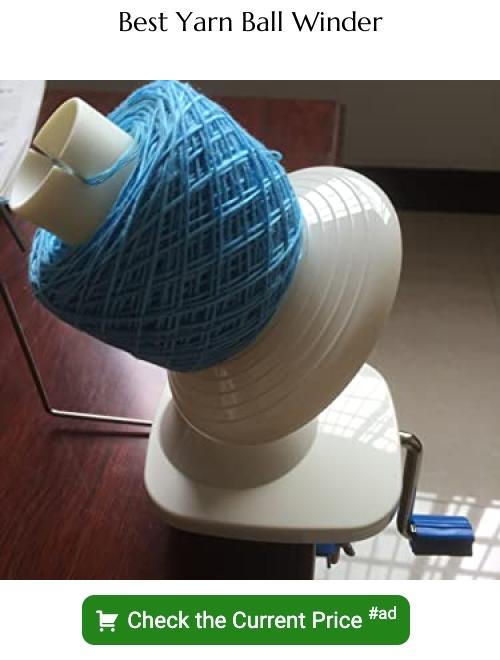
A ball winder is not necessary, but highly recommended. It efficiently converts loose yarn into neat balls without any tangling or knotting.
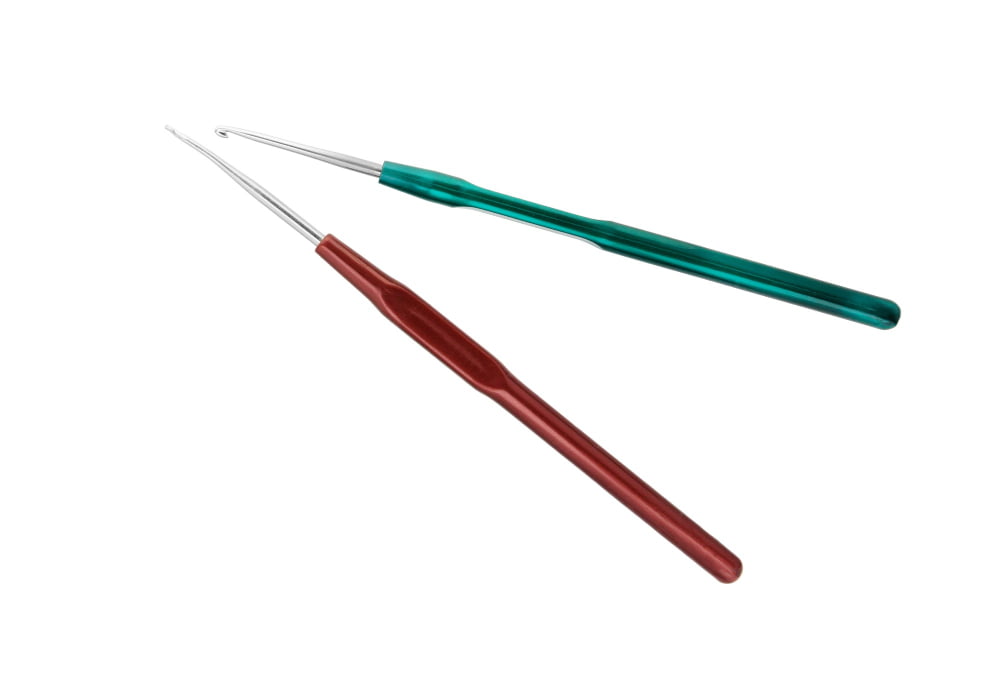
A crochet hook also serves as a useful tool particularly for any possible knotting situations. Its hook end helps disentangle knots without causing damage to the yarn.
While not technically a tool, a clean, flat surface area is essential. This could be a tabletop or even a clean floor. This surface ensures the yarn avoids dirt while providing ample space for the unraveling process.
Remember, unraveled yarn can tangle quickly, so working in a clear, open area minimizes this risk. Also, always have a pair of sharp scissors nearby for any unforeseen cuts needed during the unraveling process.
These tools, combined with a little patience and strategy, ensure a smooth yarn unravelling process.
Choosing the Correct Yarn for Unraveling
Not all yarns unravel in the same way. In choosing the appropriate yarn for unraveling, these factors ought to be considered:
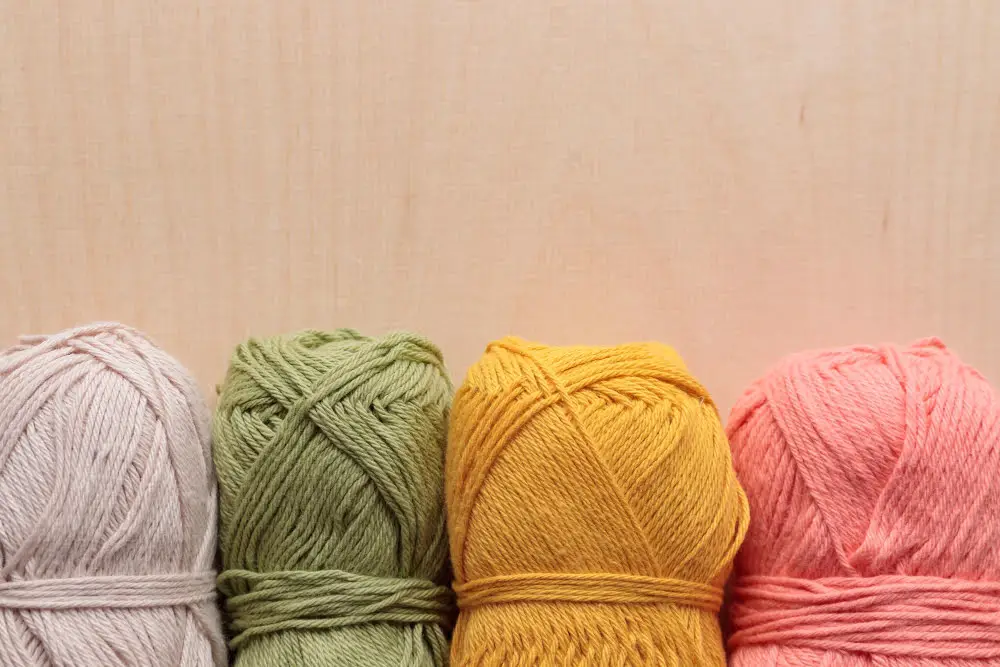
Material Composition: Pure wool yarns and cotton yarns usually unravel easily. Synthetic yarns, particularly those that are nylon or acrylic, often resist unraveling.
Yarn Weight: Thin yarns tend to be more challenging to unravel compared to thick yarns, due to the risk of tangling and knotting.
Yarn Texture: Smooth, non-fuzzy yarns are usually more straightforward to unravel compared to yarns with a halo effect or fuzziness that can tangle and knot.
Yarn Structure: Yarns that are tightly spun are less likely to fray or split during the unraveling process.
In this process, a controlled and careful approach is vital, especially when dealing with yarns that display the characteristics mentioned.
Understand the Construct of a Skein or Hank of Yarn
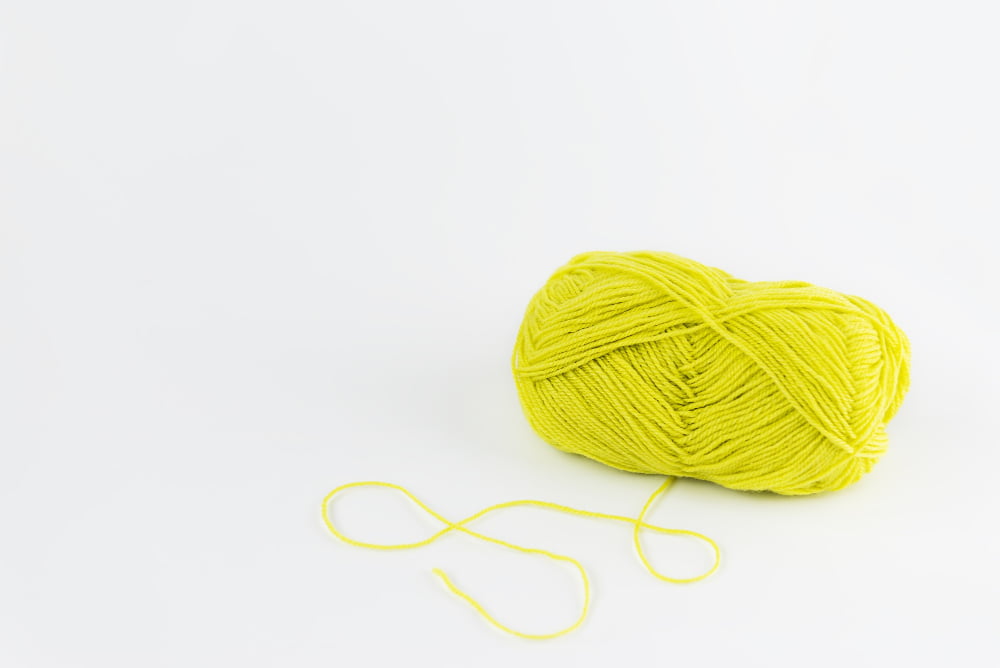
A skein of yarn is a popular packaging form, often resembling an oblong shape. Unlike a ball, it’s not meant to be unraveled from its current form but instead requires re-winding into a ball or cake for easier use. Key points to understand about this type of construct include:
- The exterior layer of yarn is usually loose and easy to remove, making the beginning of the unraveling process straightforward.
- The yarn is not wound in a single continuous direction, meaning it can twist upon itself if not handled properly.
- Locating the inside end can be tricky. It is often tucked into one end of the skein. Once located, pulling gently on this internal thread will start to unravel the yarn from the center outwards.
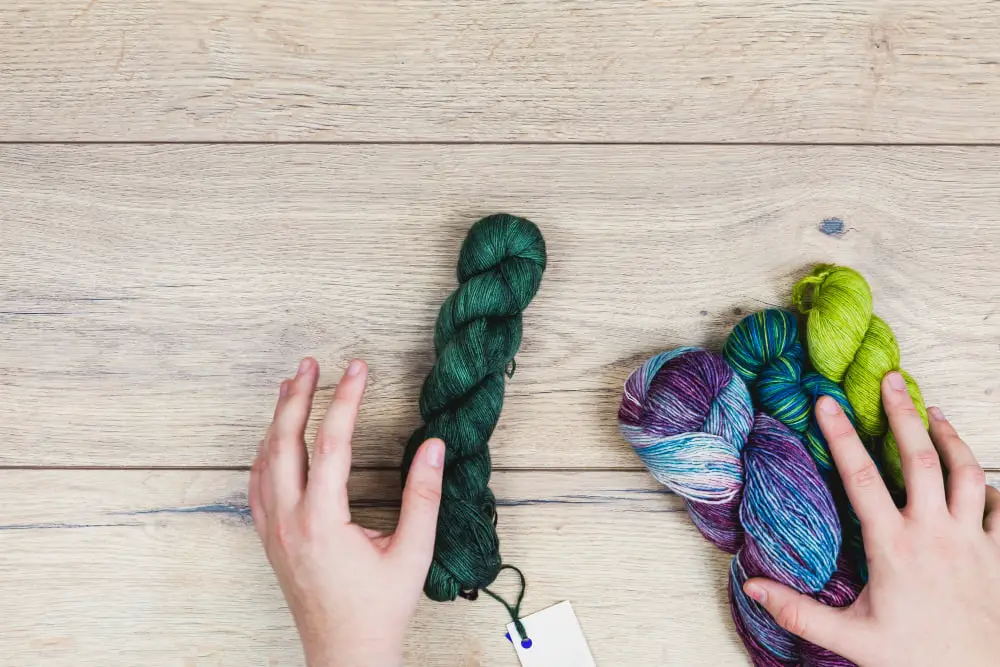
A hank of yarn, on the other hand, is a large loop of yarn that’s been twisted into a bundle. Some specific features of a hank include:
- Before use, a hank must be unraveled and then wound into a ball to prevent tangling.
- To begin, you must first untwist it and place it on a yarn swift (a tool used to hold yarn while it’s wound). If you don’t have a swift, using the back of a chair or someone else’s hands can serve as a substitute.
- Once properly placed, find the end, which is often tucked underneath a label or one of the yarn loops, then carefully cut any ties binding the yarn together.
- After the ties are removed, the winding process can begin. Always wind the yarn with even tension to ensure a manageable ball.
Properly Identifying the Ends to Simplify Unraveling
Identifying the ends of a yarn skein or hank is crucial in ensuring a smooth unraveling process. This process is typically made easier by yarn producers, who generally leave one end dangling on the outside of the skein, and tuck the other inside.
Start by looking for the loose end on the outside. This should be easy to find as it’s often left loose or wrapped around the skein. Take care not to pull it yet, as this could create unwanted tangles.
Next, locate the interior end. This may require slightly pulling apart the strands at the top of the skein to reveal the hidden end. You’ll likely find it tucked deep inside rather than being closely accessible. Remember, not all skeins will have an interior end, and in these instances, you’d only use the exterior end.
Deciding which end to use will depend on your preference. The exterior end is usually simplest for beginners, while the interior end often provides a steady pull but may require some extra patience to avoid tangles at the beginning.
Invest some time in locating both the ends of the skein before you start your craft. This can help you bypass potential knots, ensuring a smooth and efficient knitting or crocheting session.
Stepwise Procedure to Unravel Yarn

Begin by locating the yarn end. Often found on the outside, it could also be tucked within the skein or hank. Using this strand, start pulling gently to avoid the yarn from getting tangled.
Proceed with unwinding the yarn, ensuring you have a steady grip to maintain tautness. Keep a watchful eye for potential knots or tangles, rectifying them immediately.
In the case of hanks, they are typically twisted; it’s recommended to untwist and lay flat. Identifying the knot that holds the loops together is a key step followed by carefully cutting it. Once done, locate the yarn ends.
To maintain a clear workspace and avoid a tangled mess, spread your yarn out on a table or clean floor. As you unravel, redraw the yarn back unto itself in an orderly pile on your workspace.
While you’re unraveling, use your free hand to smooth out any kinks or twists in the yarn.
Remember to unravel at a moderate pace. Rushing may lead to knots and tangles, which could potentially damage the yarn and hinder the quality of your end product.
It’s beneficial to convert the unravelled yarn immediately into a ball or onto a yarn winder. This development creates a manageable yarn supply that can be easily used for your next knitting or crocheting project.
By following these steps, you can accurately unravel yarn while ensuring it remains in an optimal state for use.
Guidance On Unraveling Yarn to Avoid Tangling

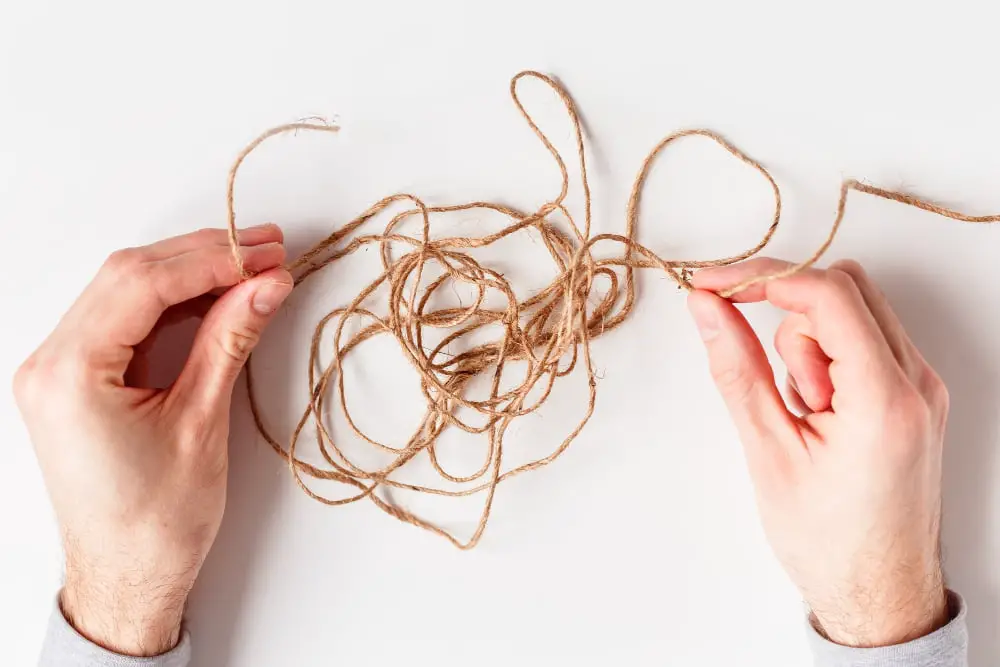
When unraveling yarn, slow and steady wins the race – pulling too aggressively or rapidly may increase the chance of tangling. Make sure your hands and the immediate surrounding area are free of objects that could catch the yarn.
It’s also beneficial to intermittently check for knots or twists that can silently creep in the unraveling yarn; swift action can prevent these minor blips from becoming significant snarls.
If knots do appear, resist the urge to pull too hard. Instead, try gently teasing the knot apart using your fingers, or a knitting needle if needed.
For easier unraveling, consider a yarn bowl or swift. These tools can maintain tension and aid in a smoother unwinding process, keeping your yarn in check.
As your yarn unravels, wind it into a loose ball; this not only maintains order but also prevents the yarn from tension-related damage that can affect its elasticity and drape. Maintain consistency in winding to prevent tangling in future.
Finally, avoid doing this task in a high-traffic area or during travel. The more stable and quiet your environment, the less likely disruptions will lead to tangles or knots. Your yarn deserves your undivided attention in this process.
Remember, patience is key. Don’t rush the unraveling process, as it can determine the final outcome of your yarn and the project you endeavor next.
Starting a Ball With Unraveled Yarn
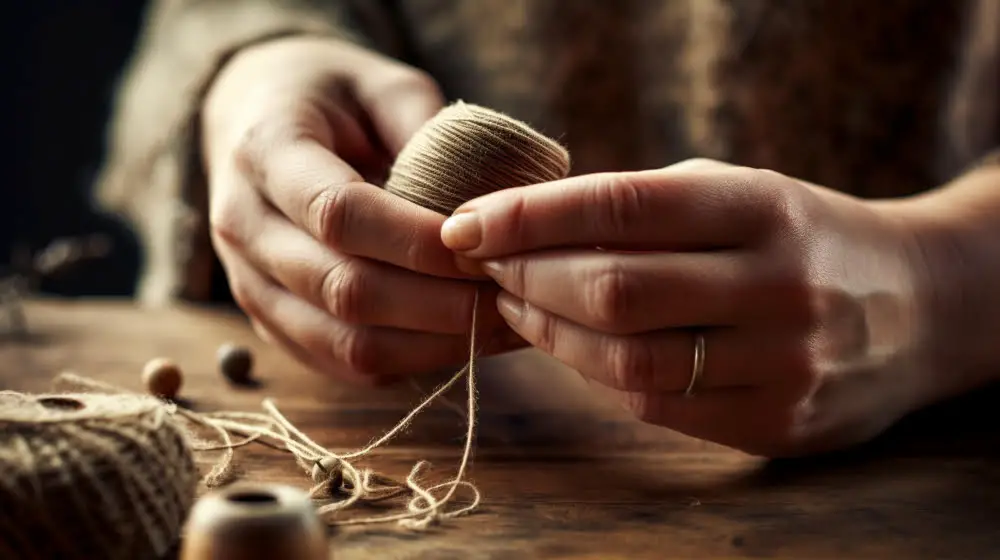
Starting the yarn ball begins with a small loop around your fingers. Hold this loop securely; it is the core of your new yarn ball. Slowly wind the yarn around this loop, turning the cluster slightly after each wrap. Be careful to keep the yarn uniformly tight to ensure it doesn’t untangle or loop back on itself.
When you’ve established the base, begin to wrap the yarn around different angles. This strategy prevents the ball from becoming too oblong or misshapen, resulting in a more compact and manageable shape.
The main goal of creating a yarn ball is to smoothly pull the yarn from it later, so make sure to not bury the end used for winding the ball. This end should always be accessible for when you’re ready to work on your project.
Getting the hang of starting a yarn ball can take some practice, but it is a critical step in ensuring a smooth and tangle-free yarn crafting experience.
Prevention Measures Against Knots During Unraveling
To fend off knots as you unravel, plan the process. Begin by identifying a tension-friendly space for the skein or hank, allowing the yarn to flow freely. Smooth surfaces or upright apparatus such as a yarn swift can facilitate this.
Avoid pulling the yarn too abruptly or too hard – a gentle, consistent tension is key. Tug firmly yet lightly to keep the yarn threads harmonious, reducing the likelihood of knotting.
Use your fingers to periodically steer the yarn, remaining attentive to any bumps or snags. If a potential knot appears, pause to rectify the issue rather than force the yarn through.
Despite your best efforts, knots may still happen. Patience in such scenarios is crucial. Instead of pulling more, isolate the knot, find its crux, and slowly pry the strands apart. This way, the integrity of the yarn stays preserved for future use.
Mindfully storing the yarn after unraveling also prevents knots. Ensure each ball is securely wound and stored away from active, playful pets.
Avoid letting yarn pile up in a heap, this could set a stage for a tangle disaster. Unraveled yarn should either be in hand or stored in a secure ball.
Lastly, do not push yourself to unravel all the yarn in one sitting. Break your sessions into manageable segments to uphold quality and minimize the risk of knots. Taking planned breaks allows you to approach each unraveling phase with a fresh, focused mindset.
Strategically Laying Your Yarn for a Smooth Unraveling Process
Start by finding a suitable flat surface, like a table or floor, where you can lay your yarn. Ensure that the space is clean and free from any potential snags or obstructions.
Spread out your yarn starting from one end to the other. This will allow you to see the entire length and identify any knots or tangling areas.
Lay the yarn in a zigzag pattern, rather than a straight line, this can help minimize tangling.
Avoid bunching or folding the yarn on top of itself, as this can lead to additional tangles.
If the yarn is long, it may be helpful to separate it into sections. These can be unraveled individually, making the process more manageable.
It can be useful to use an object, like a book or an empty jar, to help keep the yarn in place and prevent it from rolling or tangling during the process.
Watch out for any changes in the yarn texture or thickness. Sudden changes can be an indication of a knot or another issue that should be handled carefully to avoid damaging the yarn.
Tend to any knots or tangles as you come across them. This will prevent them from becoming larger issues as you continue to unravel.
Remember, the main goal is to keep the yarn neat and smooth. This will make the unraveling process easier, and also ensure that your yarn is in good condition for future use.
Converting an Unraveled Hank or Skein Into a Manageable Ball of Yarn
Begin by grasping the yarn end in your palm, leave a small tail hanging. Wrap the yarn around your fingers several times in loose loops. Next, slowly remove your fingers and continue wrapping yarn around this small bundle that forms – shift the direction occasionally to start shaping a ball.
Maintain a consistent tension throughout wrapping, to avoid tightness that might stretch the yarn.
In case of loose ends sticking out, wrap around them to incorporate them into the ball. When reaching the end of the yarn, tuck it into the ball loops. Avoid wrapping too tightly as this might cause tension in the yarn and therefore, affect the gauge of your knitting or crocheting project.
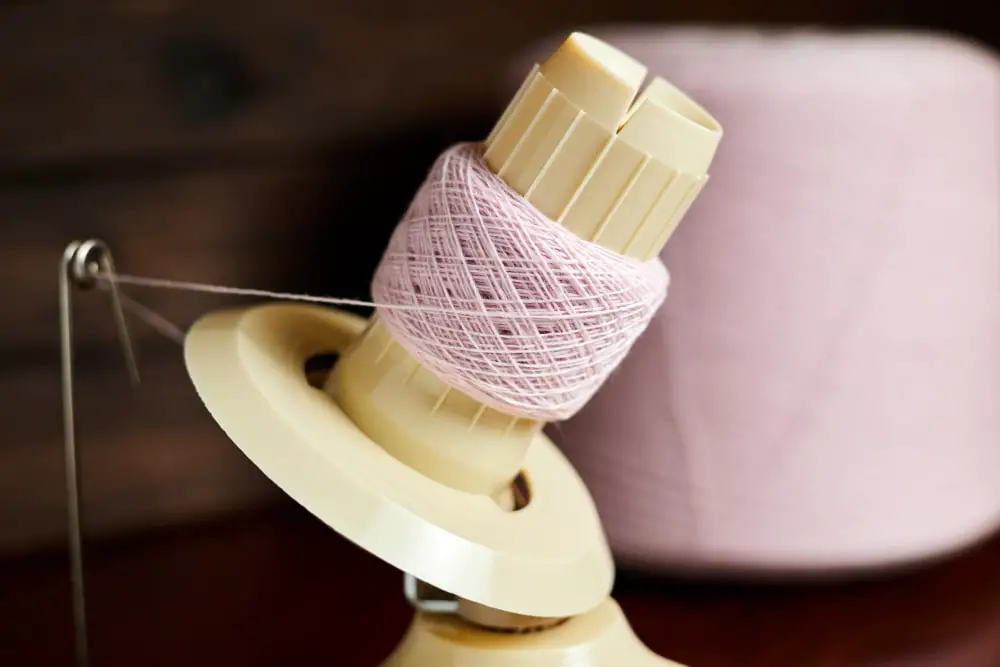
A yarn ball winder can be a handy tool for this process, especially for larger hanks or skeins. The tool perfectly winds the yarn, providing a yarn cake, ready for use. This device not only simplifies the balling process but also ensures an even tension and easy storage without tangling concerns.
Always remember to store your yarn balls in a clean, dry place away from direct sunlight for maintaining the yarn quality.
FAQ
How do you unwind a skein without tangling?
To prevent tangling when unwinding a skein, un-twist the hank into its circular shape and carefully position it over the back of a chair, which ensures consistent unwinding and helps avoid tangles as it is wound into a ball.
What tools can be used effectively to unravel a ball of yarn?
A swift and ball winder are efficient tools for unraveling a ball of yarn.
How to maintain the quality of yarn while unraveling it?
To maintain the quality of yarn while unraveling it, carefully unwind without tugging, and rewind loosely on a yarn ball winder or manually around a book or your hand.
Can different types of yarns be unraveled the same way?
No, different types of yarns require different techniques for unraveling due to their unique textures and structures.


