In this article, you’ll discover effective strategies to untangle your yarn without causing damage or wasting time.

Untangling yarn can be a daunting task, but with the right approach, it can be accomplished seamlessly. This article will guide you through the process step by step, providing helpful tips and tricks to make the task less overwhelming.
From identifying the type of knot, using simple household items to assist in the process, to the best ways to store your yarn to prevent future tangles, every detail is covered. Stick around for a comprehensive solution to your tangled yarn problem.
Key takeaways:
- Analyze the severity and feasibility of untangling the yarn.
- Identify both ends of the tangled yarn to start untangling.
- Spread out the yarn on a flat surface and work on smaller sections at a time.
- Use knitting needles or crochet hooks to gently pull apart knots.
- Keep the yarn skein loose and consider using a yarn bowl for future prevention.
Evaluating the Severity and Feasibility of Untangling the Yarn
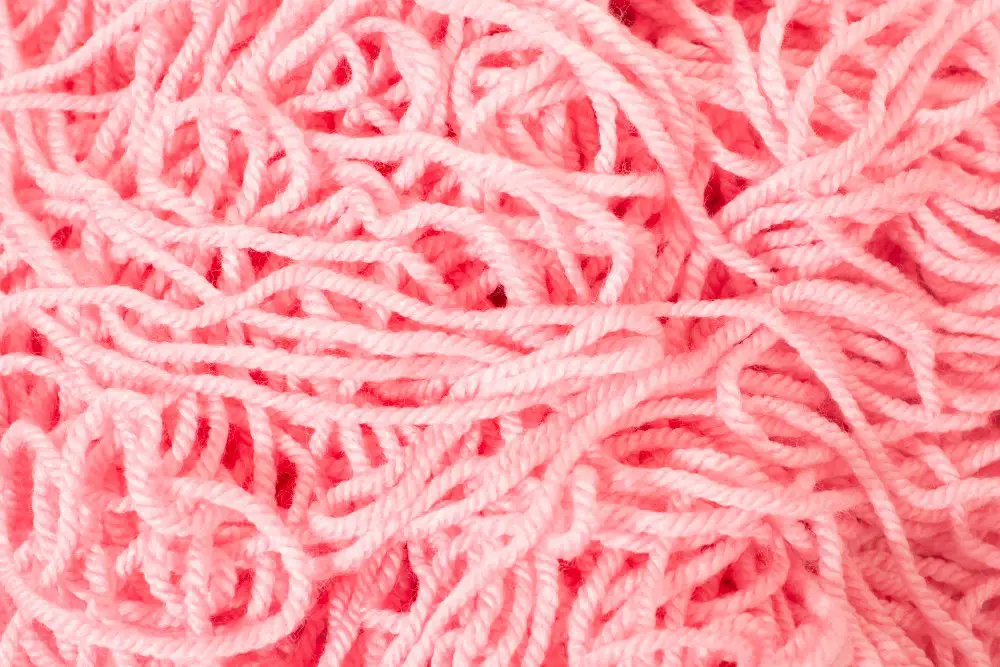
Begin with a close inspection of the tangled yarn. This step is essential as it helps to give an understanding of the complexity of the problem at hand. There are three primary focal points:
- Knot hotspots: Look for places that have multiple knots close together. These areas tend to be the most stubborn and may require specific strategies compared to separate, singular knots.
- Yarn texture: The quality of the yarn has a significant bearing on the ease of untangling. Softer, smoother yarns are often less challenging to detangle than rough, stiffer types.
- Yarn weight: Heavier yarns may bear more weight, causing snags and knots to tighten. Lighter ones may remain looser and easier to undo.
By carefully analyzing the mess, one can gauge the investment in time and effort it might take to fully untangle the yarn. Remember, patience is the key, as aggressive tugging could lead to fraying and potential damage to the fibers, thereby worsening the situation.
Identifying Both Ends of the Tangled Yarn
Identifying both ends of the yarn mass is a crucial step towards resolving this textile tangle. Establishing where your yarn begins and concludes can simplify the process drastically.
Firstly, locate the outer end, which typically sits loose near the surface of the tangle. It’s usually where the yarn unravels from, making it a key point to start the untangling process.
Afterward, you’ll need to find the inner end, typically found tucked in the center of the skein or ball of yarn.
Upon their identification, ideally, one should begin detangling from the outer end, moving inward. This directional process can significantly reduce tension in the yarn and further prevent exacerbating the issue.
Remember, patience is critical during this step. Hasty pulling or tugging at loose ends can tighten existing knots or create new ones, thus complicating the detangling process. Instead, gentle and gradual unraveling will preserve the quality and integrity of the yarn, keeping it primed for your next crafting project.
Approaching the Detangling Process Gently Using a Flat Surface

Spread out the yarn carefully on a flat, clean surface such as a table or a floor. Having a broad view of the tangled mess will aid you in understanding the intricacies and the paths the yarn takes.
Start by isolating the yarn knots and tangles. Examine the knots and specific areas of difficulty closely before proceeding to pull them apart. This will give you an idea of where to start and how to approach the problem.
Take one section of yarn at a time, isolating it from the rest of the bundle. Work on smaller patches rather than trying to untangle the whole bulk in one go. This will make the process manageable and less overwhelming.
Fingers are your best tools. Gently massage the portions of yarn that are beginning to stick together. Be cautious and patient, pulling yarn strands apart softly.
Try to keep the yarn as flat as possible during this exercise. Any additional twists or loops might further complicate the tangle.
Remember, rushing or using force can cause the yarn to felt or pill, ruining its quality. Loom over the strands, not tugging or jerking, but steadily making your way through the labyrinth that the yarn presents. It might take some time, but gentleness is key to untangled, ready-to-use yarn.
Employing Tools Like Knitting Needles or a Crochet Hook for Assistance in Detangling
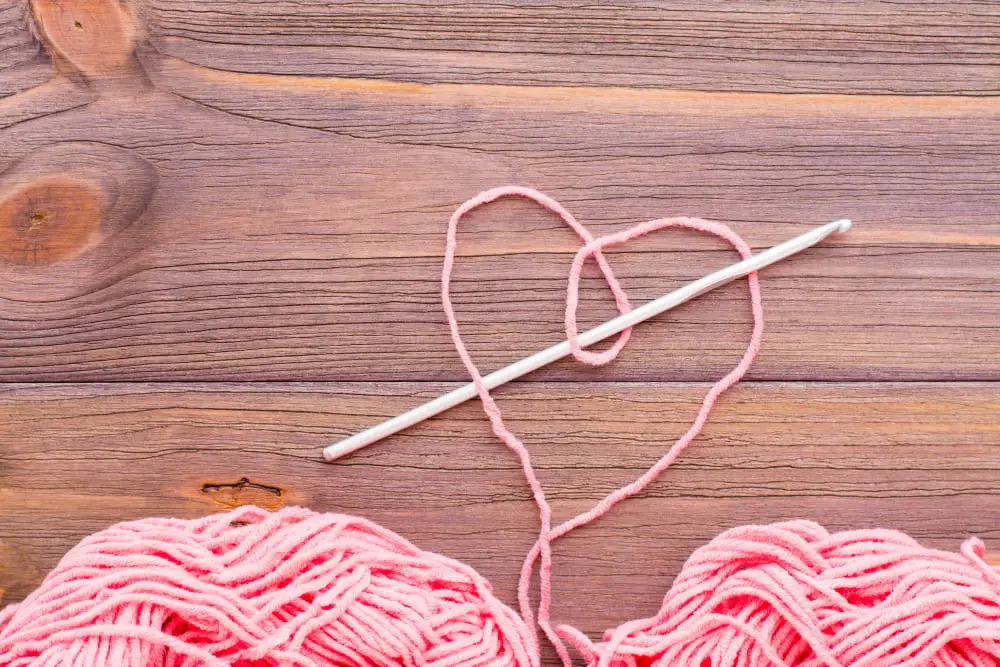
Knitting needles or crochet hooks can be very useful when it comes to disentangling your yarn. Their thin, pointed ends make it easier to get in-between tightly-bound tangles and gently pull them apart.
Multiple crochet hooks can be employed for particularly stubborn knots— slide one hook into the knot from one side, and another from the opposite side. This allows for applying even pressure on the knot from both directions, thus releasing the tension and disentangling the yarn without causing any damage.
Remember, patience is the key when using these tools for detangling. A hasty approach might lead to ripping or damaging the yarn. Be gentle as you work your way into the knots in a careful, calculated manner.
For severe tangles, you might consider using knitting needles or crochet hooks alongside another method such as using a tapestry needle or unwrapping the yarn on a chair.
Using these tools could also be beneficial once the majority of the major tangles are unraveled, to properly align the yarn and prevent future knots.
These tools are not only great for rescuing tangled yarn, but also for preventing knots in the first place. When you are done crocheting or knitting, simply loop the yarn around the hook or needle and it will help to keep it from becoming a tangled mess.
Utilizing a Chair for Wrapping and Simultaneous Detangling of Yarn
Once you’ve identified both ends of the yarn, choose a stationary object like a chair as a supportive tool. Begin wrapping your yarn loosely around the back of the chair. This not only prevents further tangling, but also helps you manage the yarn with ease.
In the event a knot appears while wrapping,
- Stop wrapping and pay attention to the knot at hand.
- Gently manipulate the knot moving the section of the string that appears to be the loosest.
- Remember to keep a gentle tension on the sections that are not in use.
- If needed, use your knitting needle or crochet hook to help untangle the knot.
In the case that the knot is overly complicated, don’t force it. You might opt to cut the yarn and retie it – losing a bit of length is better than risking damage to the entire skein. Continue the above procedure until your entire yarn is smoothly wrapped around the chair.
This method will require patience, but with some time and careful attention, it will help you successfully achieve an untangled, ready to use yarn.
Resorting to a Tapestry Needle for Stubborn, Complex Knots
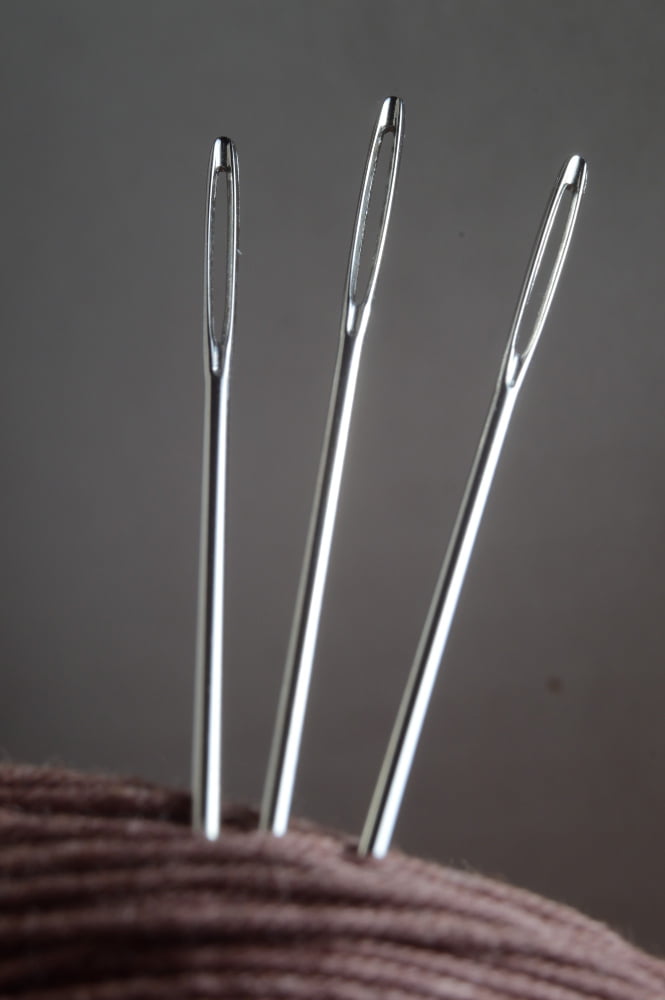
In handling stubborn, complex knots, a Tapestry Needle can come in handy due to its large eye and blunt point.
Here are some steps to follow:
- Choose a Tapestry Needle that is not too large to cause damage, but not too small that it doesn’t hold an effect on the knot.
- Thread the needle with the end of the yarn closest to the knot, and draw it gently through the center of the complex knot several times.
- Apply slight force by pushing the needle against the knot. This action could help loosen the knot, making it easier to unravel.
- Tug gently on each strand encircling the knot with the needle to help loosen the fibers, being careful not to pull too hard to avoid breaking the yarn.
- Keep reinserting and drawing the needle through the knot until it becomes loose enough to unravel by hand.
Implementing this method can provide an effective resolution for stubborn knots. Always remember, patience is key, and forceful actions can lead to yarn damage.
Ensuring the Yarn Skein Remains Loose During the Process to Prevent Further Tangling
Maintaining the looseness of the yarn skein prevents further tangling by reducing the possibility of tight knots being formed as you untangle. This process works best when gentle, unwavering patience is exercised.
- First, ascertain that the tangled skein of yarn isn’t tightly coiled or twisted. A compact tangle will only intensify the knotting as you proceed.
- Any tight spots found should be loosened up gently. Do not pull or snatch at the yarn; this could lead to breakage or tighter knots. Instead, use the fingers to softly tease the knot, allowing the threads to steadily untwist and unknot.
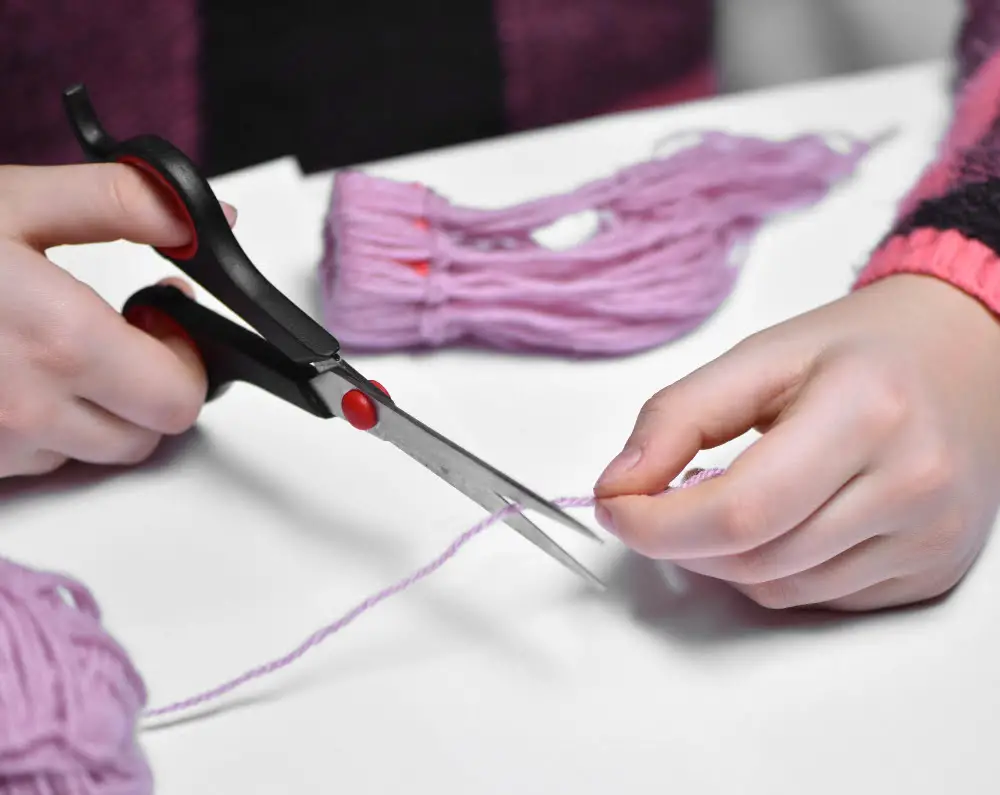
- If the tangle persists, it’s wise to cut the yarn at that spot, untangle, and then tie the strands back together. Knot the yarn with a clean join so it doesn’t come undone during future use.
- As you progressively untangle the knot, effortlessly roll the free yarn into a loose ball. This loose ball will serve as a handy holder that would not promote any additional tangles as you go.
This process might be time-consuming but is likely to safeguard the yarn from snapping or forming irremovable tangles.
Implementing a Yarn Bowl As a Future Preventive Measure Against Yarn Tangling
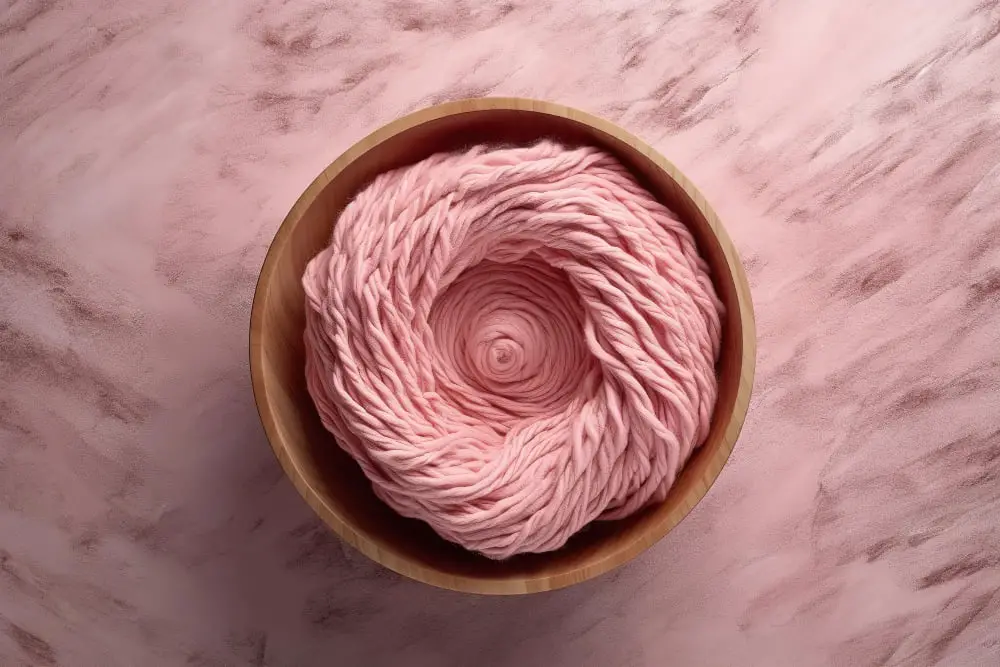
A yarn bowl can be a game-changer in preventing yarn tangling when executed effectively. To implement this:
- Find a suitable yarn bowl, one that fits the size of the yarn you’re using. The yarn thickness and the diameter of the hole in the bowl should align.
- Place your yarn in the bowl, ensuring it’s not squeezed or too tight.
- Thread the end of the yarn through the spiral or hole of the bowl, allowing the yarn to feed out as you work.
- Set the yarn bowl on a surface within easy reach, ideally to your side, so the yarn can freely unroll.
- When crafting, pull the yarn gradually. The yarn should unravel from the outside, rotating within the bowl.
- Each time you finish using the yarn, ensure to place it back in the yarn bowl again.
This practice can transform your crafting experience, keeping yarn neat and ready for use whenever needed.
FAQ
Is there a trick to untangling yarn?
Untangling yarn can be made simpler by winding it around the back of a kitchen chair in a large loop, using the chair posts or rungs as a guide.
Can I cut tangled yarn?
Cutting tangled yarn is not advisable as it does not undo knots or loops, but rather leaves you with a still-tangled, now cut piece of yarn.
Why does my yarn get tangled?
Your yarn may get tangled due to factors such as its quality, the method in which it’s pulled, its wind tightness, the complexity of your project, and your skill level in knitting, with multi-colored projects adding to the difficulty.
What are some effective tools that can assist in untangling yarn?
Yarn swifts and ball winders are effective tools that can assist in untangling yarn.
How does keeping yarn in a ball prevent it from getting tangled?
Keeping yarn in a ball prevents it from getting tangled by ensuring the yarn is wound in an organized manner, allowing it to be released smoothly without crossing and bunching up.
How can I detangle a skein of yarn without losing its shape?
Unravel the skein gradually by finding the loose end and gently pulling it, while smoothing out any knots or tangles that occur, to maintain the skein’s shape.


