Crafting a yarn tail has never been easier because this article contains a simplified, step-by-step process to help both beginners and experienced crafters create an irresistible yarn tail.
Creating a yarn tail can be a fun and rewarding project, perfect for costumes, crafts, or just for a unique accessory. The process involves selecting the right kind of yarn, cutting it to the desired length, and then brushing and straightening the strands to create a fluffy, realistic tail.
It’s a simple task once you know the steps, and this article will guide you through each one in detail. From choosing the best yarn for your tail, to the final touches that make it look truly lifelike, every aspect of making a yarn tail is covered here.
Whether you’re a novice crafter or an experienced yarn artist, this guide has all the information you need to successfully create a yarn tail.
Key takeaways:
- Select the right materials for your yarn tail.
- Braid the tail base tightly for support.
- Attach fur tufts evenly along the braid.
- Brush the tail to create a fluffy appearance.
- Finish by trimming and refining the tail’s appearance.
Gathering Supplies for Yarn Tail
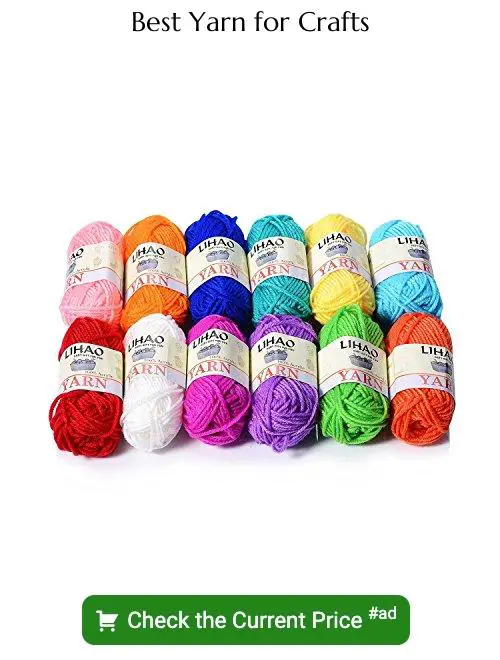
To begin crafting your yarn tail, several key items are required. First and foremost, yarn, in desired colors, must be secured. Guessing the quantity may lead to color discrepancies due to dye lot variations, hence, purchasing more than perceived necessary is advisable.
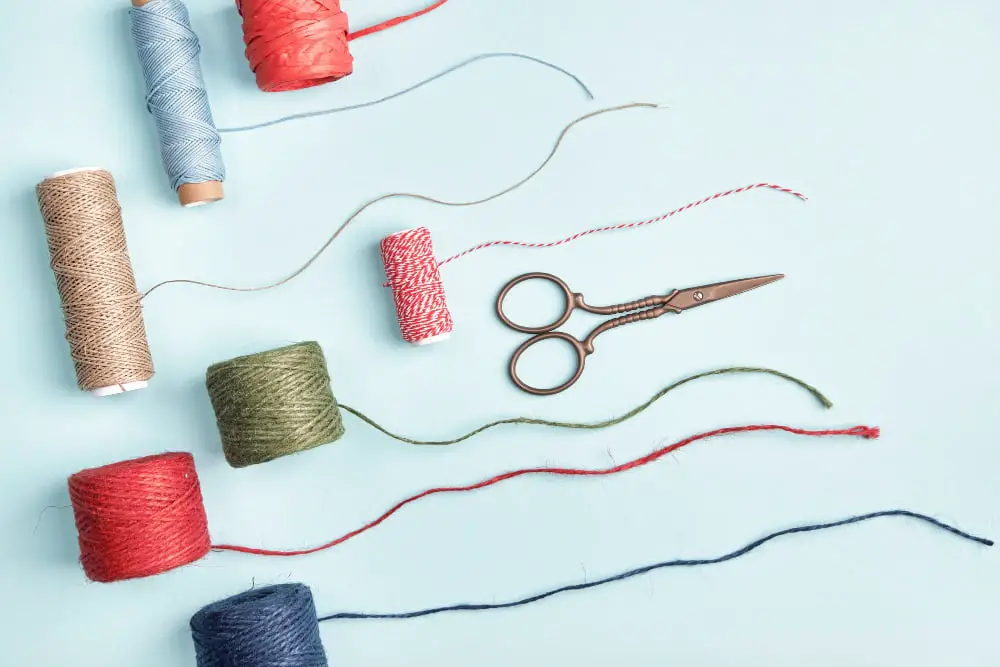
A suitable base is also vital, a sturdy cord or thin rope would suffice. For the process of creating fur tufts, a pet slicker brush is beneficial. Additionally, a pair of sharp craft scissors ensures precise cuts. A hot glue gun serves well to attach fur to the base while a comb helps in detangling the yarn post-brushing.
Prior to commencing, organize your workspace to ensure smooth progression.
Braiding the Tail Base for Yarn Tail
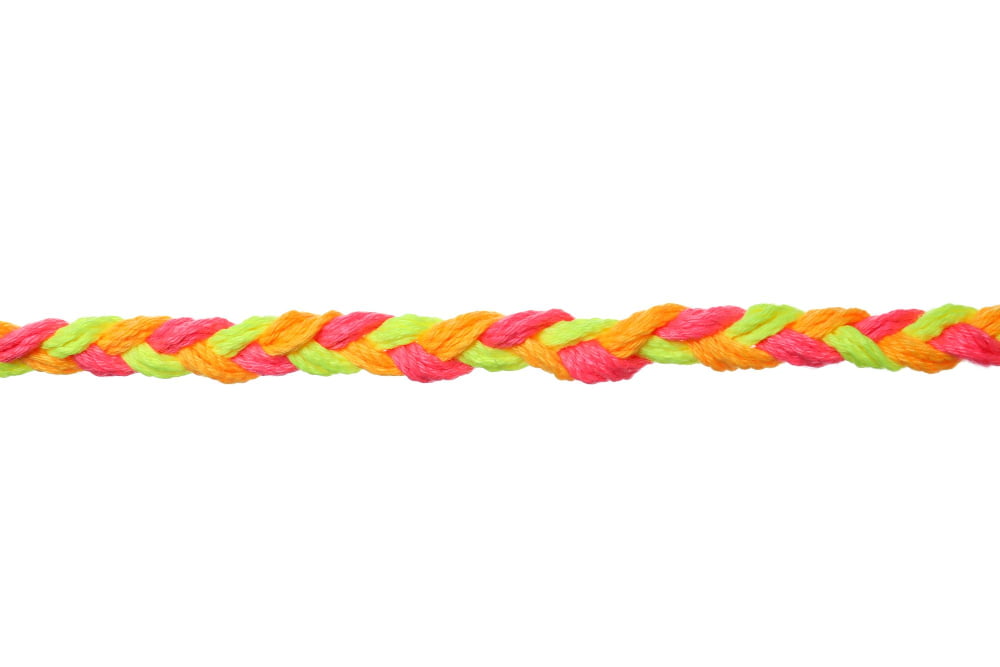
To begin, gather three strands of yarn slightly longer than the desired length of your tail. Secure them at the top using a knot or a similar method. Braid these strands together, ensuring each segment is tight and uniform. This will serve as the basic structure for your yarn tail, providing support for the fur tufts you will add later.
Remember, the thicker the braid, the denser your tail will be – consider this when choosing the thickness of your yarn. If you’re looking for a fluffier tail, opt for thicker yarn strands.
Once you have the desired length, secure the braid with another knot or a piece of tape. Doing so will prevent your braid from unraveling while you add the fur tufts.
Creating Fur Tufts On Yarn Tail
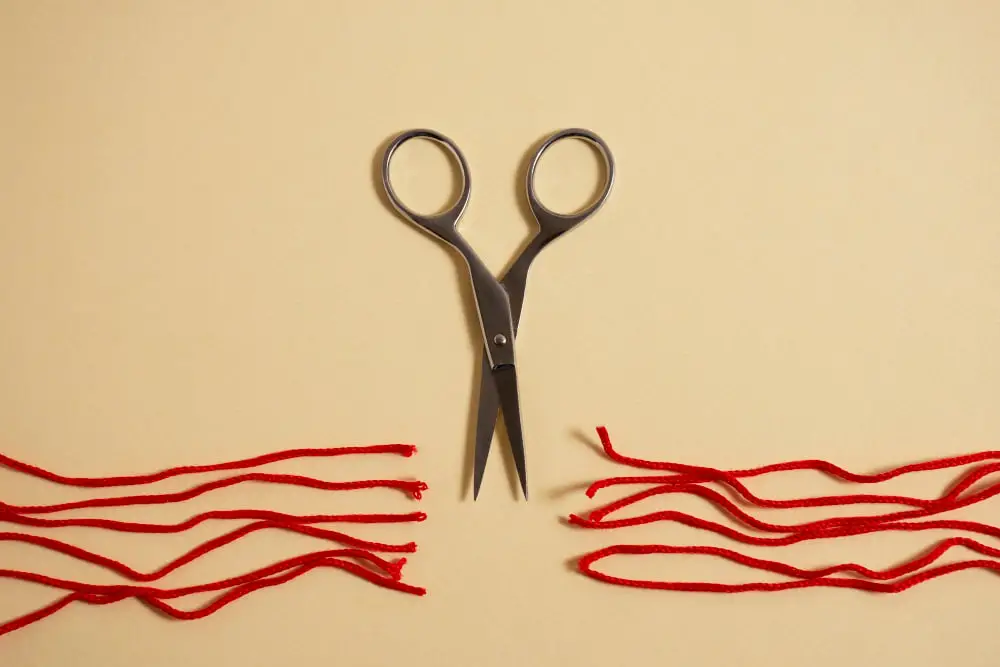
First, select a strand of yarn in the color you prefer. Cut it into lengths as long as the intended tail, leave a little extra to account for any potential mistakes and trimming. Collect several strands together to create a firm tuft. Ensure the strands are of even length at the end.
For attaching the tuft to the tail base, find the center of the braid and slide your crochet hook under a stitch. Fold your yarn bundle in half, hook it into the center, and draw it back under the stitch. With your fingers, reach through the loop formed by the doubled-over yarn and pull the loose ends through it, creating a knot.
Continue this step along the braid, ensuring to cover any exposed braid. Leave some spaces empty on the braid where you intend to attach different colored yarns to form patterns. It is easier to add tufts later than to remove them once secured, so keep your design in mind as you work. Remember, patience is key as this process can be time-consuming.
Once you’ve finished attaching your tufts, it’s time to move on to brushing to give the tail its fluffiness. This is achieved using a dog or cat slicker brush. Be gentle as too much pressure can break the yarn and destroy the fluffy effect. After brushing, trim the yarn to your preferred size for a smooth, even look.
Brushing Technique for Yarn Tail
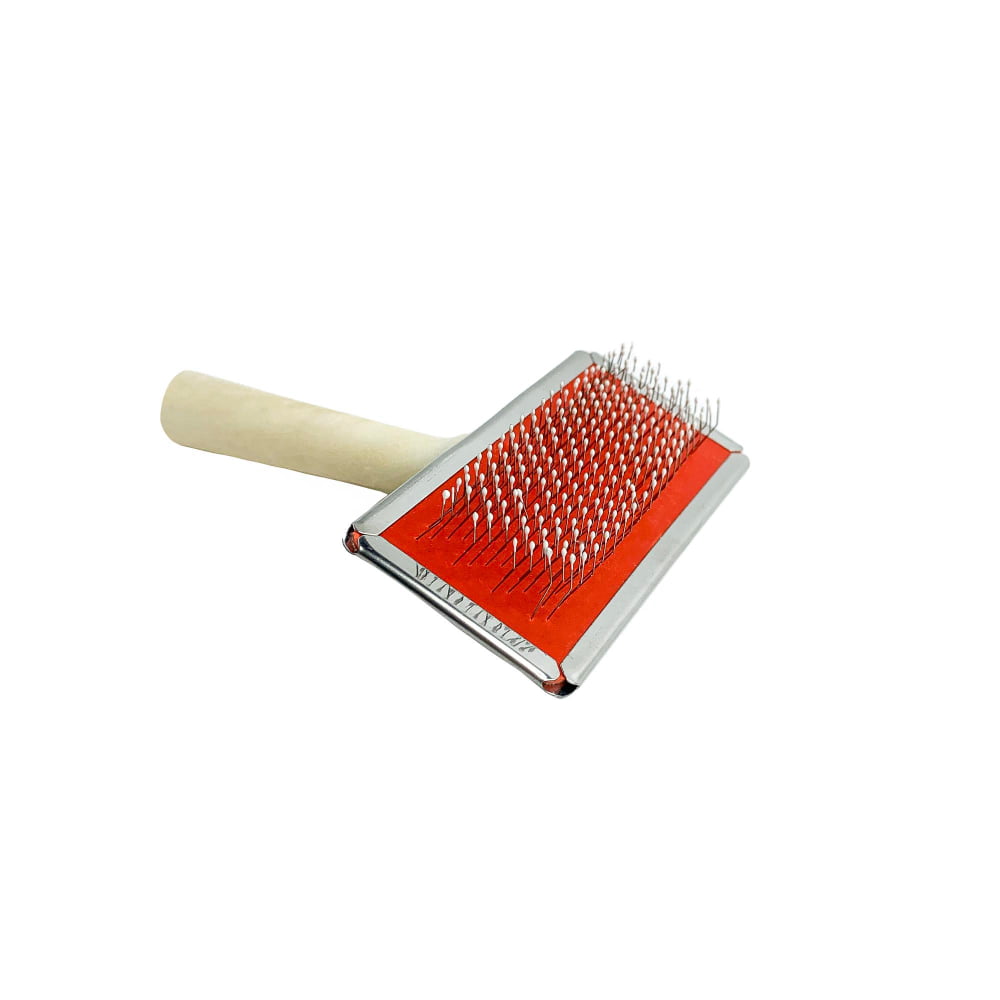
Once your tufts are firmly attached to the yarn braid, you’ll want to brush through them to create a fluffy appearance. For best results, use a sturdy pet brush with metal tines. Start at the bottom of the tail, gently working your way up to detangle and fluff the yarn fibres. Take care not to pull too hard to avoid loosening the tufts. Brushing not only gives the tail a more realistic look but also helps reveal any thin spots that may need additional yarn. This step can be time-consuming but is key to achieving an impressive, well-made yarn tail.
How to Attach the Tip to Yarn Tail
Having previously set up the braided base of your tail, you’re now ready to affix the tip. Choose a piece of yarn that matches your desired tip color. This tip yarn should be approximately twice the length of the tail incorporating the extra inches for the tip length.
Now, loop this yarn through the bottom link of your braid. Ensure both ends of the yarn are even in length once looped.
The attaching process involves tightly tying this tip yarn to the braid. Orientation is crucial at this stage; tie the tip yarn so that the knot rests underneath the braid. This knot serves as a stable base upon which the remaining fur tufts will be tied.
Keep adding fur tufts to cover the knot completely, ensuring they’re shorter for a natural graduated effect towards the tip of the tail. Ultimately, the trick lies in achieving the well-blended, seamless visual effect where the main fur and the tip meet.
Techniques for Adding Main Fur to Yarn Tail
Incorporating the main fur can make the difference between a shaggy, unkempt tail and a sleek, professional one. Start by cutting yarn pieces of similar length. Remember, it’s easier to trim the tail shorter later than to add length.
After cutting, attach them to the tail base following a pattern to create an eye-pleasing effect. Attach one end of the yarn piece to a braided base thread, utilizing the larks head knot technique. Make sure to keep the knot tight for a secure attachment. The direction or angle of attachment can vary for different texture effects.
For a more natural look, attach the yarn pieces in layers. Always start from the bottom, moving upwards to the top of the tail.
Finishing Touches for Yarn Tail
Once the main fur is securely attached to the tail base, it’s time to concentrate on refining the appearance of your yarn tail. This process includes brushing and trimming the fur to achieve a more natural and appealing look.
Here’s what you need to do:
- 1. Begin by lightly brushing the yarn using a pet brush to untangle any knots and create a more fluffy appearance.
- 2. With a sharp pair of scissors, start trimming the yarn to create an even and tapered end that resembles a real tail. It may be beneficial to have a reference image to strike the right balance.
- 3. Intermingle the colors, if using more than one, to make your tail look more realistic.
Remember not to rush this process; taking your time here will lead to better end results. With care and patience, you’ll have a beautifully finished yarn tail showcasing your skill and creativity.
FAQ
What are the essential tools and materials needed to craft a yarn tail?
The essential tools and materials needed to craft a yarn tail are a fine-toothed comb, scissors, a latch hook, and sufficient amount of yarn.
What are the step-by-step instructions for creating a beginner-friendly yarn tail?
To create a beginner-friendly yarn tail, one must prepare the materials, cut long strands of yarn, group and braid these strands together, trim uniformly to shape the tail, and attach it to a secure base like a keychain or metal clip.
How can one maintain and clean a yarn tail to ensure its longevity?
To ensure the longevity of a yarn tail, one should gently hand wash it in cold water using a mild detergent, squeeze out any excess moisture without twisting, and then allow it to air dry.


