Crafting a plant hanger with yarn can create unique, eye-catching decor for your indoor plants, a practice you’ll love because it’s both environmentally friendly and a great way to express your creativity.
Creating a plant hanger using yarn is a fun and rewarding craft project that combines the beauty of nature with the charm of handmade decor. This article will guide you through the entire process, from choosing the right type of yarn, to crafting knots and loops that will securely hold your plant. Whether you’re a seasoned yarn crafter or a beginner, you’ll find the step-by-step instructions helpful and easy to follow. By the end of this guide, you’ll have all the information needed to create a beautiful, durable plant hanger that adds a personal touch to your space.
So, let’s dive in and start crafting your unique piece of decor.
Key takeaways:
- Choosing the right yarn: consider weight, texture, color, and material.
- Learn basic macrame knots: square knot, half hitch, lark’s head knot.
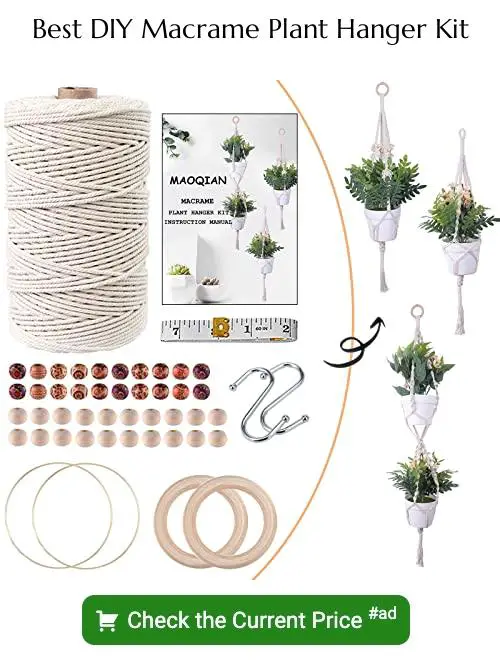
- Materials needed: yarn, pot, optional beads, sturdy hook.
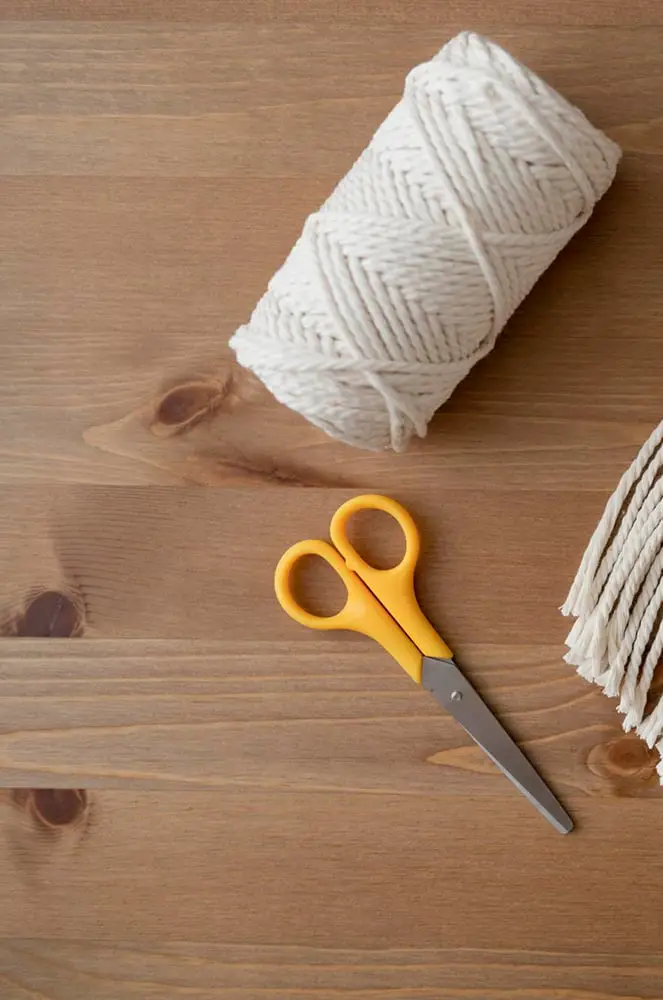
- Tools required: scissors, crochet hook, measuring tape, comb.
- Step-by-step instructions: cutting yarn, creating knots, finishing touches.
Choosing the Right Yarn for Your Plant Hanger
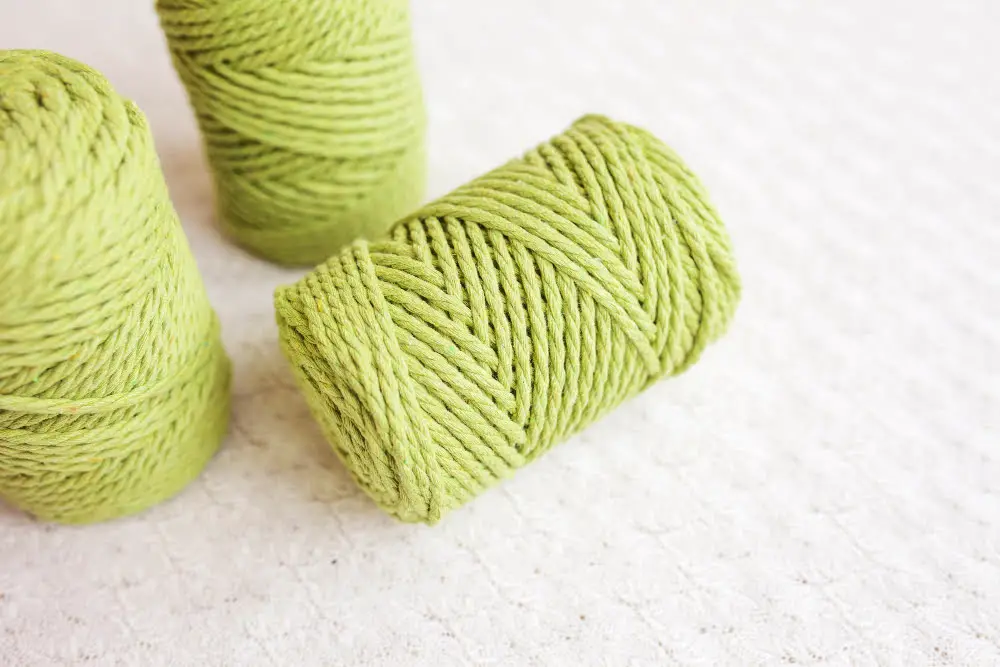
The material of the yarn greatly influences the durability and appearance of the hanger. Consider factors such as weight, texture, and color.
1. Weight: For well-supported plants, opt for a medium to heavy weight yarn. Lightweight yarn might not offer as much support, especially for heavy pots.
2. Texture: Thick, coarse, or twisted yarns create more friction and give better grip in knots, increasing your hanger’s stability. Smooth, silky types can be slippery and might not hold knots as well.
3. Colors and Patterns: Solid, multicolored, or textured yarn can all be used to suit your decorative needs. Neutral colors like black, white, and greys will blend with most interiors, while bright, vibrant colors can be a brilliant accent piece.
4. Material: Synthetic materials like acrylic and nylon are durable, resistant to sun and moisture, making them suitable for outdoor use. Natural materials like cotton or wool are softer and more flexible but typically best for indoor use since they may not withstand weather and sunlight as well.
Consider these points before you make your final choice. Make sure your yarn selection is aligned with your preferences for aesthetics and functionality.
Knowing Your Basic Macrame Knots
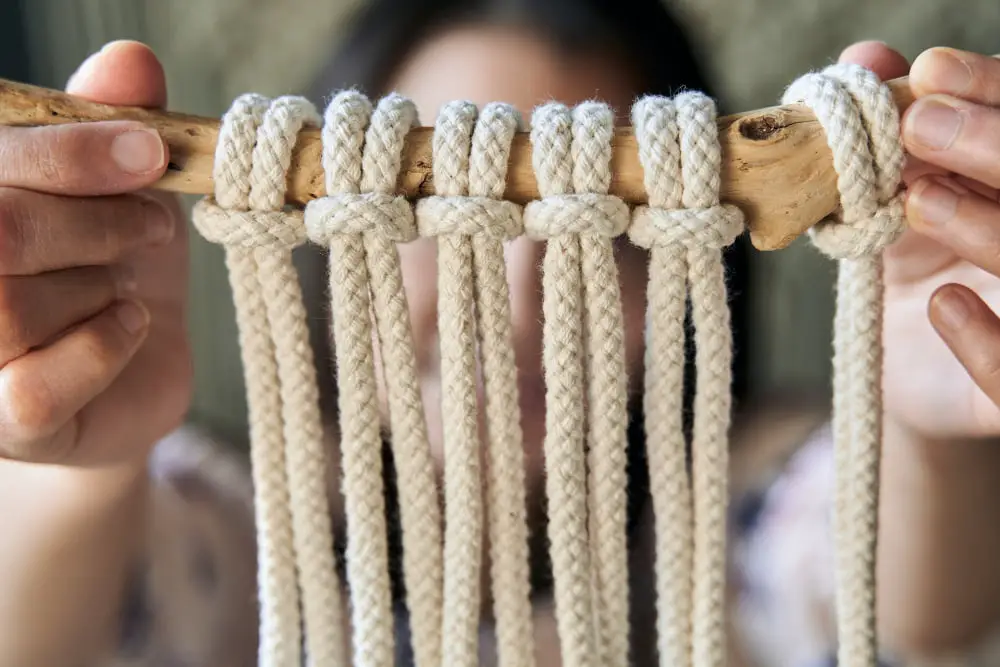
Macrame, although traditionally done with rope or cord, works beautifully with yarn, adding a softness and flexibility ideal for plant hangers. Common knots deployed in this craft include the square knot, the half hitch, and the lark’s head knot.
1. Square Knot: This knot is created by crossing one side over and under the other, then repeating from the opposite side. This creates a distinctive, square shape.
2. Half Hitch: This simple loop is made by passing the yarn over itself and pulling it tight. This knot is often used to create curved designs.
3. Lark’s Head Knot: Frequently the first knot in any macrame project, this knot is formed by folding your yarn in half, putting the loop through a hole and pulling the ends through the loop.
Grasping these fundamental knots is crucial to creating intricate and sturdy yarn plant hangers. Each knot provides its own unique aesthetic, contributing to a range of possible designs for your handcrafted plant hanger.
Moving on to knowing your materials, be sure you’re selecting the best type of yarn for your plant hanger project.
Materials Needed for a Yarn Plant Hanger
To start, a ball of cotton or synthetic yarn is a must. You want something sturdy enough to hold the weight of your plant and resistant to humidity. The thickness of the yarn will depend on the size and weight of the pot you plan on hanging; thicker yarn works best for heavier pots.
A medium to large sized pot is ideal for this project.
In terms of color, consider where the hanger will be placed and what other colors are present in the room. You may also want to match or contrast with the color of your pot.
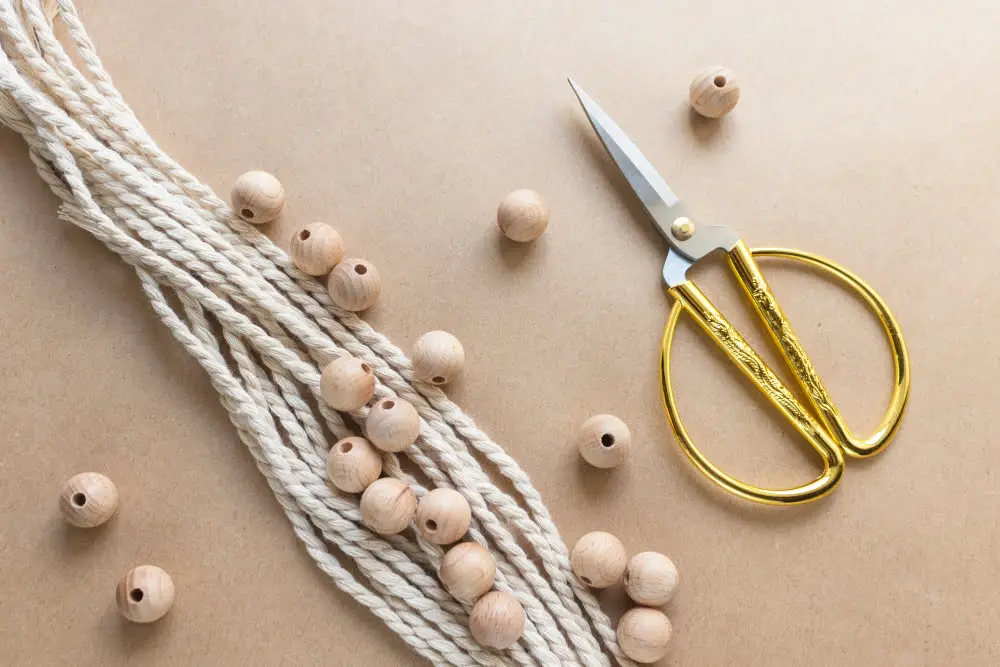
Moreover, wooden beads are optional; they can add an interesting design element to your plant hanger. Choose beads with holes big enough to thread your yarn through. The quantity will depend on your design plan.
Lastly, ensure you have a sturdy, heavy duty hook from which to hang your completed hanger. Choose something designed to bear weight and that can be securely mounted. Make sure it’s also aesthetically pleasing as it will be a visible part of your finished project.
Tools Required for Crafting a Yarn Plant Hanger
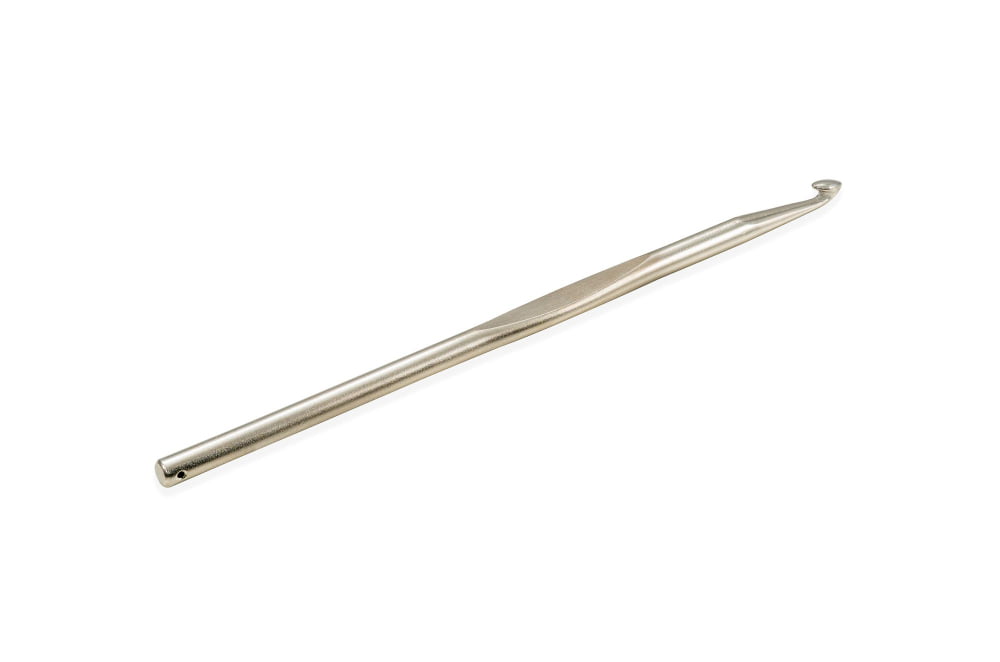
To embark on this creative journey, a set of fundamental tools are needed. Firstly, a pair of sharp scissors is indispensable for cutting yarn. A standard size crochet hook can be of great use, serving not only to untangle knots, but also weave in ends or add additional elements. Measuring tape aids in ensuring the yarn lengths are accurate, creating a balanced hanger. Optionally, a comb can be used to brush out fringes, granting smooth terminations. Remember, higher quality tools can make the process easier and results more professional, but shouldn’t impede beginners from trying their hand with easier-to-handle equipment.
Step By Step Instructions for Making a Yarn Plant Hanger
1. Begin by cutting eight strands of yarn, each measuring around 16 feet. This length allows for a variety of knotting techniques.
2. Fold the strand bundle in half to find the middle. This fold forms a loop that’s critical for hanging your plant later.
3. Use the larks head knot to secure the loop securely. Start by folding the yarn in half, and then push the folded end through your ring. Once done, pull the ends of the yarn through the loop.
4. Now that we have the loop and strands attached to the ring, it’s time to start with the knotting process. Starting approx. 4 inches from the ring, group the strands into pairs, and knot each pair using a simple overhand knot.
5. As we move further down, the square knot becomes important to create a net-like structure for holding the plant pot. Cross the left strand over the two middle strands and under the right strand. Then bring the right strand under the two middle strands and up through the loop on the left. To complete the square knot, repeat this process, starting on the right side.
6. Continue creating net-like structures, shifting the formation for each row of knots, until you have enough space to hold your particular pot size.
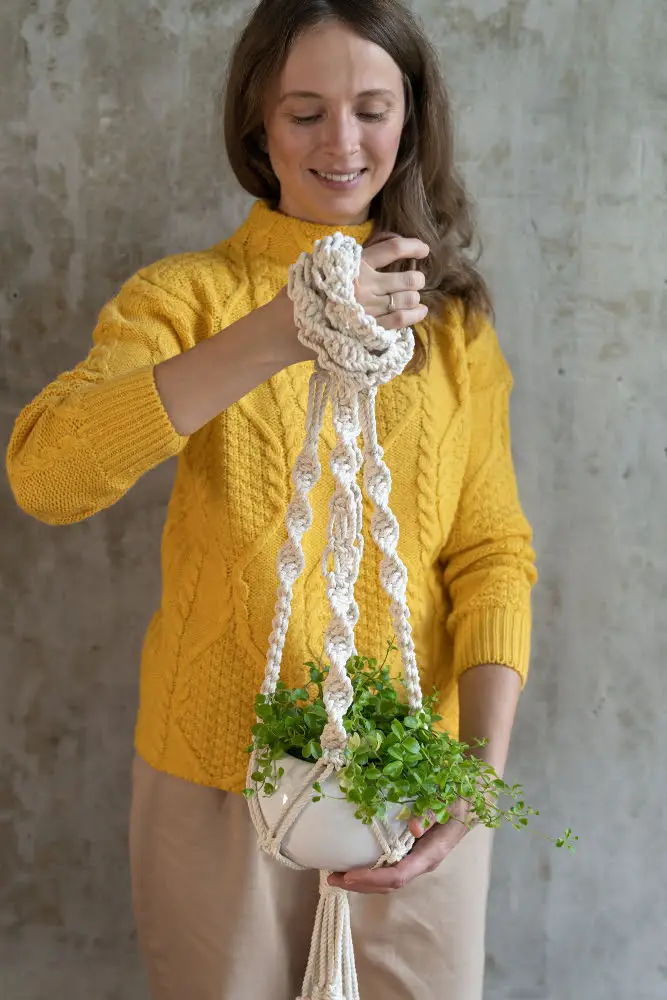
7. To finish the hanger, gather all the yarn strands, and create one large knot, leaving a lengthy tassel below.
Remember – practicing will help to perfect your knots and within no time, you will be making these plant hangers with ease. Above all, have fun during the process! You’re not only creating a plant hanger, but a piece of art.
Finishing Touches to Your Yarn Plant Hanger
Once the main body of the hanger is complete, the final steps to ensure a stylish and durable finish include trimming the excess yarn, ensuring any knots are tightened and secure, and checking the overall balance of the hanger.
1. Trim Excess Yarn: For an elegant look, trim any long, excess yarn. This not only gives your creation a polished finish but prevents any unravelling.
2. Tighten Knots: Double-check all knots. A loose knot can lead to an unfortunate spill. Remember that different yarns have different elasticity, so secure the knots accordingly.
3. Balance and Equality: Ensure all arms of the hanger are equally balanced. The hanger should hold the pot centrally, providing stability.
Enhance your hanger by adding beads or tassels. For a vibrant dash of color, consider threading colored beads onto the yarn. Tassels, on the other hand, can provide a whimsical alterative. This excellent finishing touch not only looks great, but also adds weight to your hanger, offering extra durability.
Remember, it’s these finishing touches that make every handcrafted yarn plant hanger a unique piece of art.
How To Hang Your Yarn Plant Hanger Safely
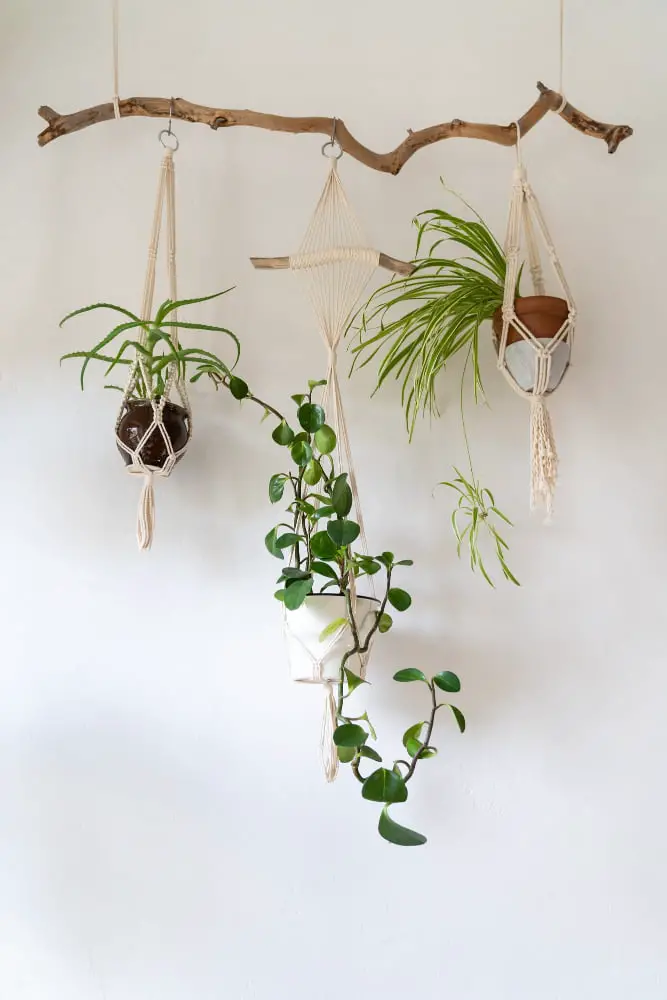
Ensuring the security of your fresh, handcrafted hanger transcends the aesthetics alone. Let’s address the practical considerations:
1. Select a strong support: The hook you choose to hang your plant hanger should be durable, ideally iron or stainless steel.
2. Properly Attach the Hook: It’s recommended to screw the hook tightly into a wall stud or ceiling joist for maximum hold.
3. Check Hanger Strength: Before placing the plant into the hanger, tug gently on the hanger to test its strength.
4. Evaluate the Plant Weight: Ensure the plant’s weight is evenly balanced in the hanger and doesn’t exceed the yarn’s capacity or tug on one side more than the other.
5. Consider Location: To avoid accidents and to ensure your plant thrives, place it away from high traffic areas and consider its light requirements.
By adhering to these aspects, you can safely enjoy your botanical masterpiece for many seasons.
FAQ
How do you make a quick plant hanger?
To create a quick plant hanger, situate the knot at the center of an upside-down pot, separate the strands into four groups of two, fix the strands temporarily using sticky tape, and tie a small knot in each group slightly beyond the base edge.
What is the best yarn for plant hangers?
The best yarn for plant hangers is cotton due to its durability, with notable options including cotton blend yarns and Lion Brand’s For the Home cording yarn which is a cotton/polyester blend.
What types of knots are most effective for creating a plant hanger?
The Square Knot and the Josephine Knot are the most effective for creating a plant hanger.
What steps are necessary to prepare the yarn for a plant hanger project?
To prepare yarn for a plant hanger project, select the desired yarn type, color, and thickness, determine the required amount based on the project’s specifications, and cut it into the necessary lengths.
How can you add decorative touches to a basic yarn plant hanger?
To add decorative touches to a basic yarn plant hanger, you can include features such as beaded embellishments, dye the yarn in bright colors or design and incorporate intricate knot patterns.


