Discover the captivating world of yarn bracelets as we explore various types, techniques, and patterns perfect for all skill levels.
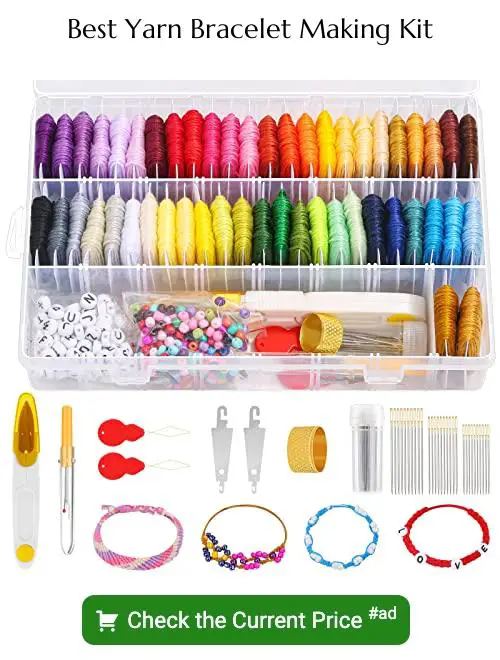
Are you a fan of yarn crafts and looking for a new project? Why not try making a yarn bracelet? Not only are they easy to make, but they also make great accessories to add some color and texture to your outfit. With so many types of yarn available, the possibilities for creating unique bracelets are endless.
In this article, we’ll explore some popular types of yarn bracelets that you can try making yourself. Whether you’re a beginner or an experienced crafter, there’s sure to be something here that will inspire your next project.
So grab your crochet hook or knitting needles and let’s get started!
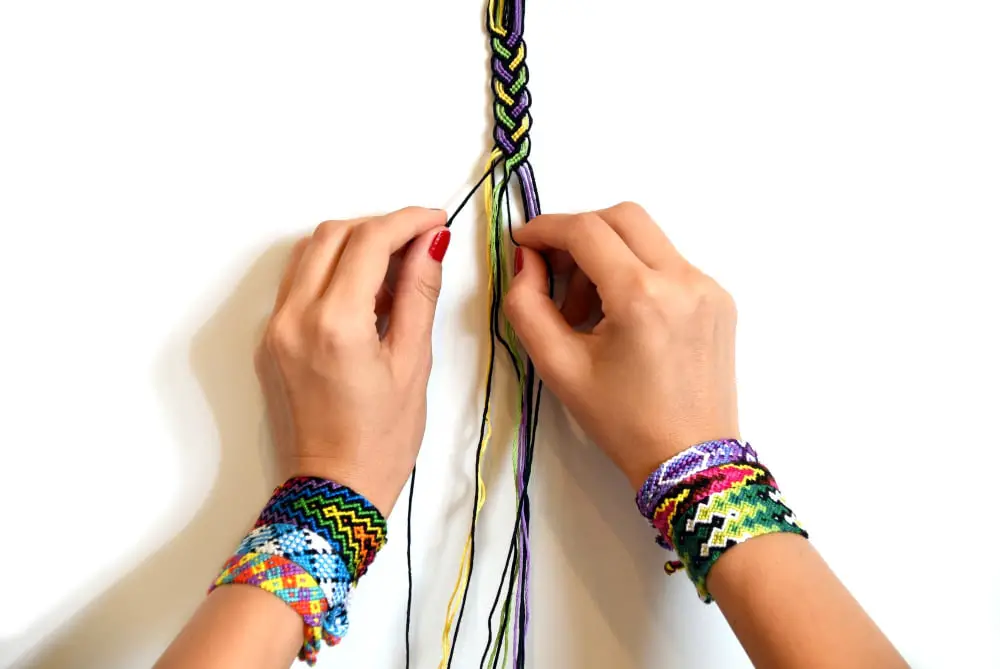
Friendship Bracelets
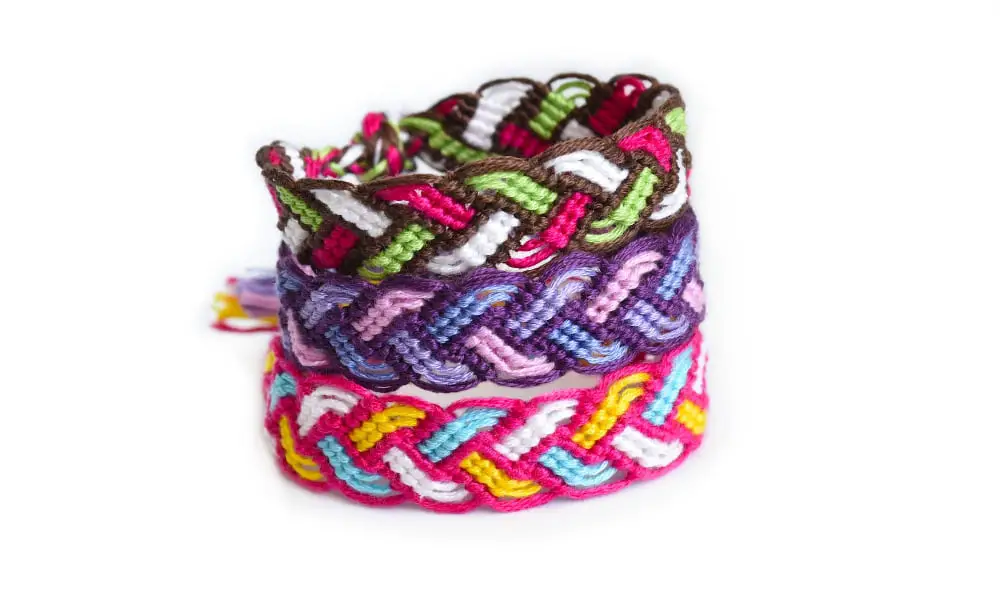
These bracelets are typically made using embroidery floss or cotton thread and feature intricate knotting patterns that create colorful designs.
The history of friendship bracelets can be traced back to Central and South America, where they were originally used as a symbol of friendship between two people. Today, these bracelets have become a popular craft project for kids and adults alike.
To make your own friendship bracelet, you’ll need some basic supplies like embroidery floss or cotton thread in various colors, scissors, tape or safety pins to hold the bracelet in place while you work on it.
There are many different types of knots used in making friendship bracelets such as the forward knot (also known as the half-hitch), backward knot (reverse half-hitch), double forward knot (double half-hitch) among others which can be combined to create unique patterns like chevron pattern etcetera.
Kumihimo Bracelets
The word “kumihimo” means “gathered threads,” and this technique involves braiding multiple strands of thread or yarn together to create intricate patterns. Kumihimo bracelets can be made using a variety of materials, including silk, cotton, nylon, and even metallic threads.
To make a kumihimo bracelet, you’ll need a kumihimo disk or plate with slots for holding the strands in place as you braid them together. You’ll also need several lengths of thread or yarn cut to the same length and tied together at one end.
Once your materials are ready, it’s time to start braiding! By moving the strands around the disk in different patterns and directions while keeping tension on each strand throughout the process, you can create beautiful designs like chevrons or spirals.
One great thing about kumihimo bracelets is that they’re highly customizable – by changing up your color choices or experimenting with different types of fibers (like adding beads), you can make each piece truly unique!.
Macramé Bracelets
This technique involves tying knots in a specific pattern to create beautiful and unique pieces. Macramé bracelets can be made with various types of yarn, including cotton, hemp, or nylon cord.
One popular macramé bracelet design is the “square knot” pattern. To make this style of bracelet, you will need two strands of yarn and follow these steps:
- Take the left strand over the right strand.
- Bring the left strand under both strands.
- Pull it through the loop created by both strands on your right side.
- Tighten up by pulling both ends gently.
Repeat these steps until you reach your desired length for your macrame square knot bracelet.
Another popular design is called “half-hitch spiral.” This technique creates an interesting spiral effect that looks great when using different colors or textures in one piece.
To make this style:.
- Take two cords together and fold them in half
- Make sure they are even at their midpoint
- Place them around something sturdy like a clipboard or tapestry needle
- Start making half hitch knots around each cord until it reaches its desired length
Woven Bracelets
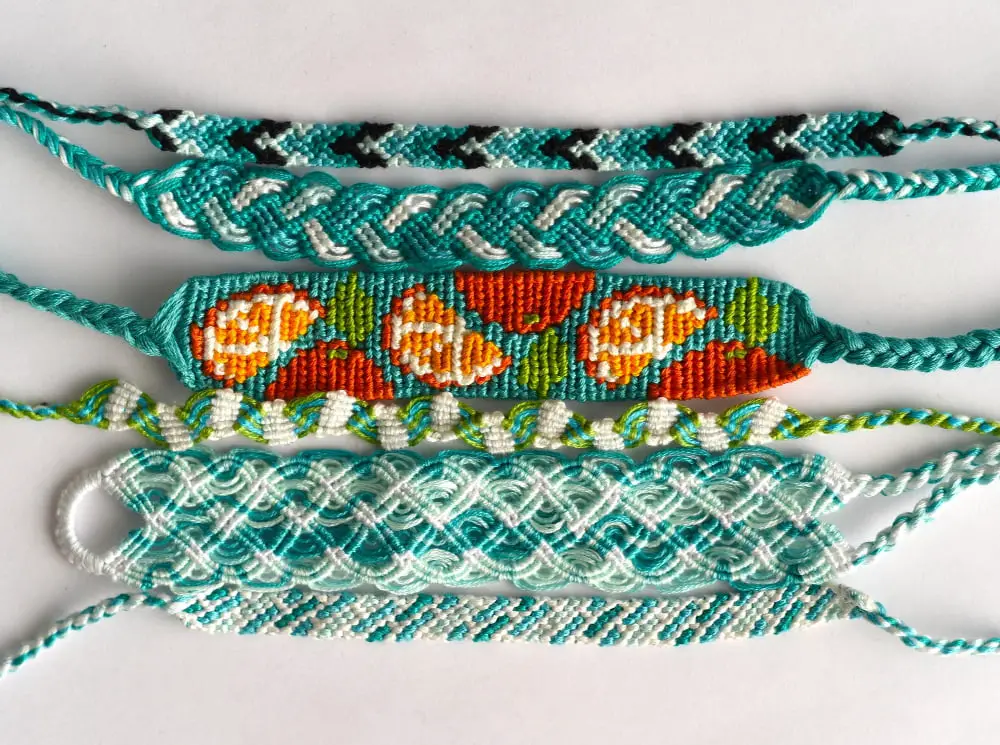
These bracelets are created by interlacing threads or fibers over and under each other to form a pattern. One of the most common types of woven bracelets is the tapestry bracelet, which features intricate designs and patterns.
To make a woven bracelet, you will need to choose your desired thread material and color scheme. You can use embroidery floss, cotton thread, or even thin strips of fabric for this project.
Once you have selected your materials, it’s time to start weaving! There are many different techniques for creating woven bracelets such as loom weaving or finger-weaving methods like kumihimo braiding.
One popular technique is called “friendship-bracelet” style where threads are knotted together in an alternating pattern until they form a braid-like design. This method creates beautiful geometric shapes that look great on any wrist!
Another technique involves using cardboard looms with notches cut into them so that the warp (vertical) threads can be held taut while weft (horizontal) threads weave through them in an over-under-over-under fashion until complete.
Braided Yarn Bracelets
They’re simple to make, yet they can be customized in countless ways by using different colors, textures, and patterns of yarn. Braiding is an easy technique that even beginners can master quickly.
To make a braided yarn bracelet, you’ll need three strands of your chosen yarn or thread material. You can use all the same color or mix it up with different shades to create a unique look.
Start by knotting the three strands together at one end and securing them onto something sturdy like a clipboard or table edge so you have room to braid without tangling the threads.
Next, begin braiding your strands together tightly until you reach your desired length (usually about 6-8 inches). Once finished with braiding tie another knot at the other end of your bracelet before trimming off any excess thread material.
You may also choose to add beads between each strand as you braid for added texture and interest. This will give it more depth than just plain old string!
Crochet Yarn Bracelets
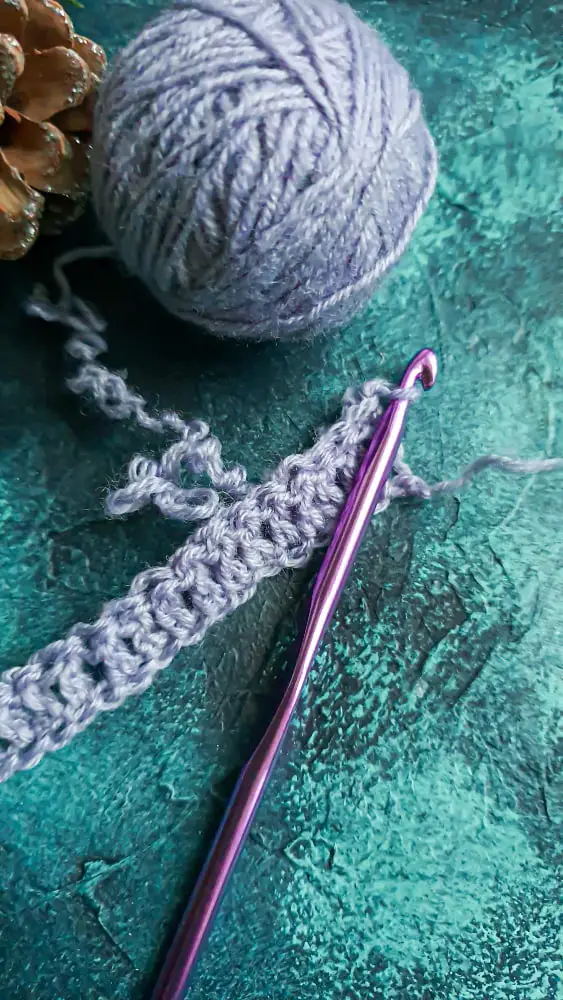
With just a few basic stitches, you can make beautiful bracelets that are perfect for adding some color and texture to your wrist. One of the great things about crochet is that it’s easy to customize your bracelet by changing up the colors or adding beads or other embellishments.
To get started with crocheting a yarn bracelet, you’ll need some basic supplies like yarn, a crochet hook, scissors, and possibly beads if you want to add them in. There are many different patterns available online that range from simple single-crochet designs to more complex lacework styles.
One popular pattern is called “the chain stitch” which involves creating chains using only one type of stitch. This creates an elegant yet straightforward design suitable for any occasion.
Another fun pattern is called “the granny square,” which uses multiple colors and stitches in each round creating an intricate geometric design on your wrist!.
Knitted Yarn Bracelets
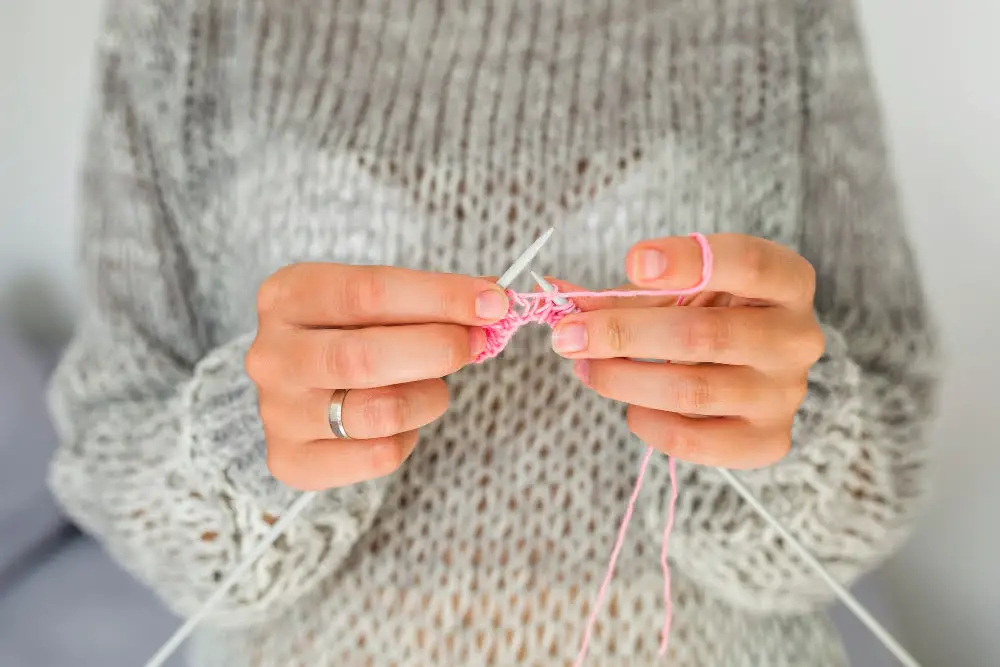
They can be made in various styles, from simple garter stitch bracelets to more intricate cable or lace patterns. Knitting is an excellent technique for creating stretchy and comfortable bracelets that fit snugly around your wrist.
To make a knitted yarn bracelet, you’ll need knitting needles, yarn of your choice, scissors, and a tapestry needle. You can use any type of yarn for this project; however, it’s best to choose one that is soft and lightweight so that the bracelet doesn’t feel too heavy on your wrist.
There are many different patterns available online for knitted yarn bracelets ranging from beginner-friendly designs like seed stitch or ribbing patterned bands up through complex cabled designs with multiple strands of colorwork involved! Once you’ve chosen the pattern you want to follow (or created one yourself), cast on stitches according to instructions provided by the designer.
Once completed knitting all rows as per instructions given in the pattern guidebook then bind off stitches at end row using tapestry needle leaving enough tail length which will help us attach both ends together forming our desired shape bracelet!.
Loom Yarn Bracelets
Using a loom, you can create intricate patterns and designs with ease. Looms come in different sizes, shapes, and materials such as plastic or wood.
To start making your own loom yarn bracelets, you will need some basic supplies like the loom itself, yarn in various colors of your choice (preferably cotton), scissors to cut the thread after each row is completed on the loom board.
One great thing about using a loom for creating bracelets is that it allows you to experiment with different patterns without having to worry too much about mistakes. You can easily undo any rows that don’t turn out quite right or adjust them as needed until they look just how you want them.
Some popular types of patterns used when making Loom Yarn Bracelets include Chevron Pattern which creates an arrow-like design; Diamond Pattern which forms diamond shapes across the bracelet; Zig Zag pattern which creates diagonal lines across it among others.
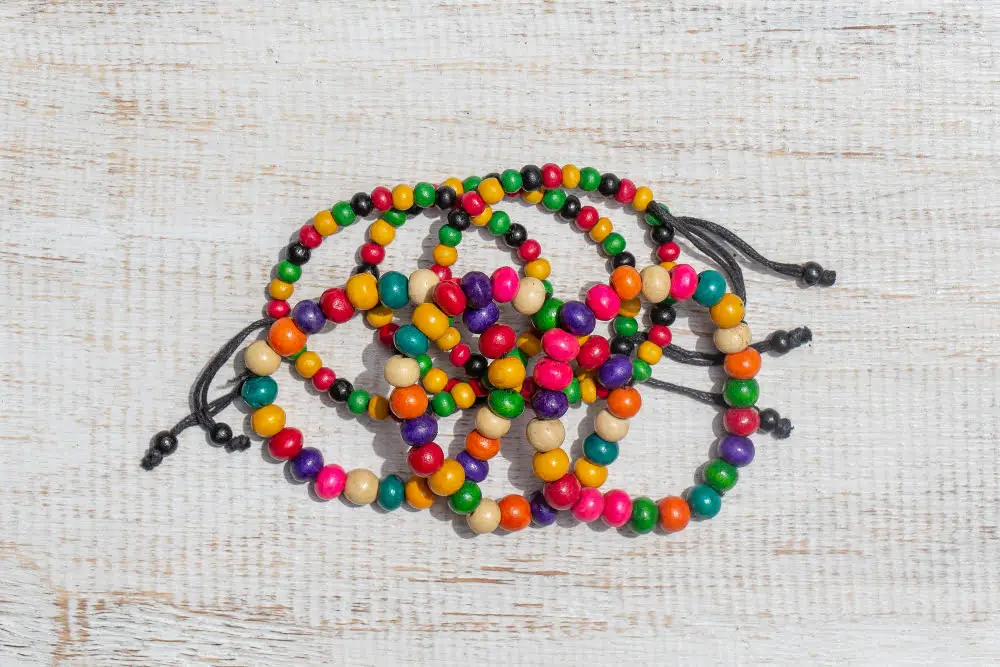
Beaded Yarn Bracelets
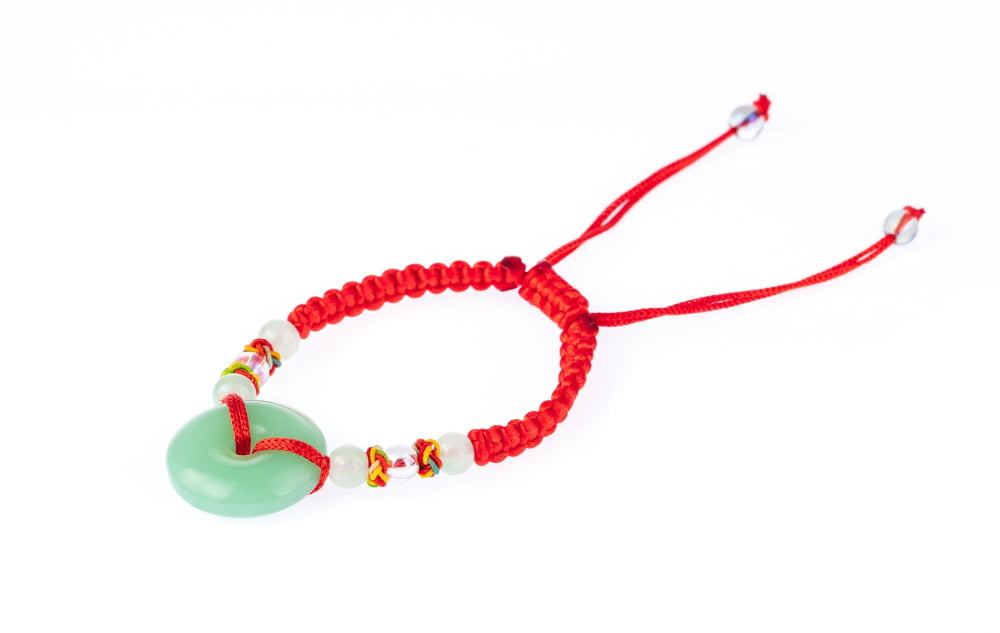
These bracelets can be made using various types of beads, including glass, plastic, wood or metal. You can choose from a wide range of colors and sizes to create unique patterns and designs.
To make beaded yarn bracelets, you will need some basic supplies such as beads (of course!), thread or cord for stringing the beads together, scissors for cutting the thread/cord to size and a needle if necessary.
One technique used in making these bracelets is called “bead weaving”. This involves threading small seed beads onto thin wire or nylon thread in specific patterns before attaching them to the main body of your bracelet.
Another technique is simply stringing larger bead shapes onto thicker cords with knots between each bead.
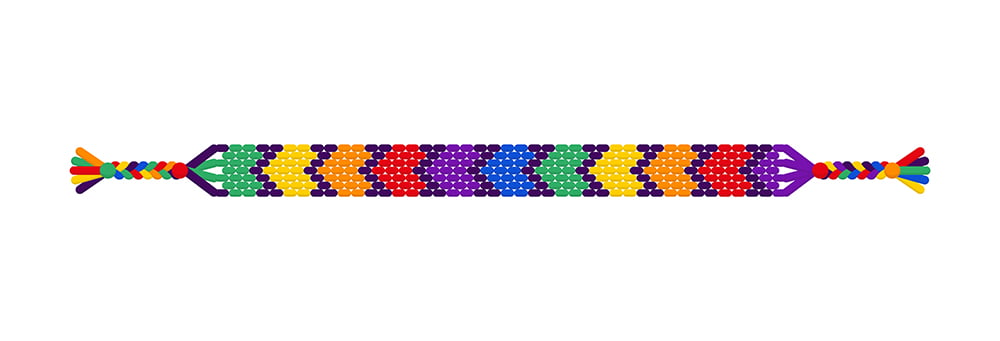
Chevron Pattern
This pattern features a zigzag or V-shaped design that creates an eye-catching effect. Chevron patterns can be made using different colors and sizes of yarn to create unique designs.
To make a chevron bracelet, you will need to know how to do basic knots such as the forward knot and backward knot. You will also need at least two colors of yarn and some patience as this pattern requires several rows before the chevron shape becomes visible.
One popular way to make a chevron bracelet is by using embroidery floss or thin cotton thread for smaller bracelets with intricate details. For larger bracelets, thicker types of yarn like worsted weight or bulky weight are ideal.
Chevron patterns can be customized by changing up the color scheme or adding beads for extra flair.
Ladder Stitch
It creates a unique ladder-like pattern that adds texture and interest to your bracelet. To make this stitch, you will need two different colors of yarn or thread.
To start, tie one end of each color together in a knot and tape it down to your work surface. Then take the first color (let’s say blue) and wrap it around your index finger twice, leaving about 4 inches at the end.
Next, take the second color (let’s say green) and place it over the top of both loops created by blue. Bring green under both loops then up through its own loop on top.
Pull tight so that there are no gaps between stitches but not too tight as to distort them either! Repeat these steps until you reach desired length for bracelet or until all strands have been used up!
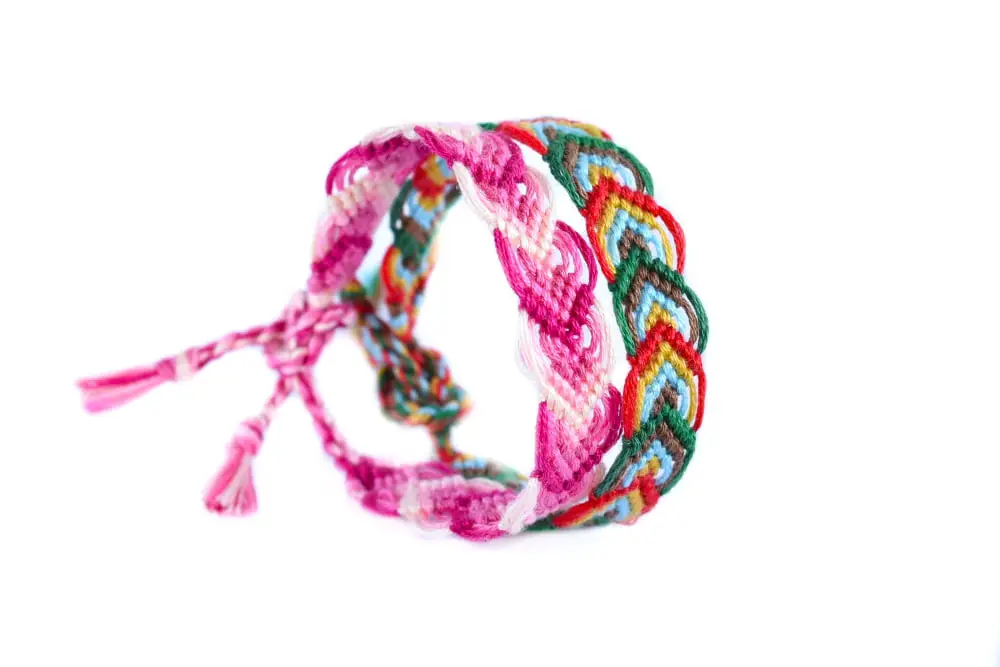
Braided Pattern
This classic design involves weaving three or more strands of yarn together to create a sturdy and stylish bracelet. Braiding can be done in many different ways, including using a simple three-strand braid or experimenting with more complex techniques like four-strand braids, fishtail braids, and rope twists.
To make a basic three-strand braid bracelet, start by cutting three equal lengths of your chosen yarn color(s). Tie them together at one end with an overhand knot and secure it to something stationary like a table leg or clipboard.
Then begin crossing the right strand over the middle strand so that it becomes the new middle strand. Next cross the left strand over what is now in its place as you continue this process until you reach your desired length.
Once finished tying off both ends securely with knots (or adding clasps), trim any excess threads for neatness.
Diagonal Pattern

This pattern involves creating diagonal lines across the bracelet using different colors or shades of yarn. It’s perfect for those who want to experiment with color combinations and create unique designs.
To make a diagonal pattern, you’ll need at least two colors of yarn and basic knotting skills. Start by tying one end of your base string onto something sturdy like a clipboard or tape it down on your work surface so that it doesn’t move around while you’re working.
Next, take your second color and tie it onto the base string about an inch away from where you started. Then, bring this new strand diagonally over the first strand and under the next one in line before bringing it back up through both strands above where they cross each other.
Repeat this process until you reach the desired length for your bracelet, alternating between colors as needed to create an even distribution throughout its length.
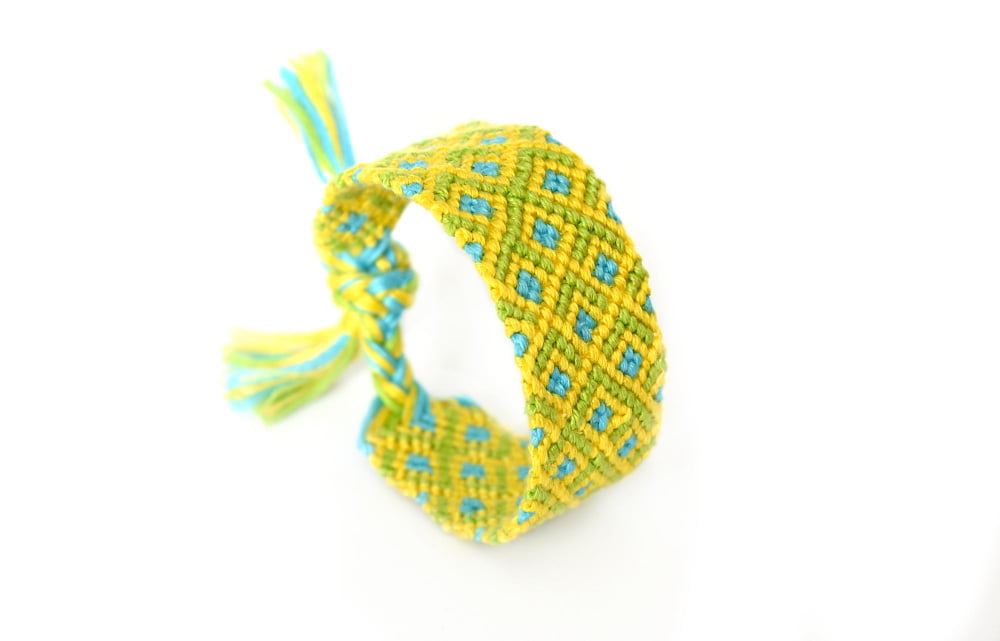
Diamond Pattern
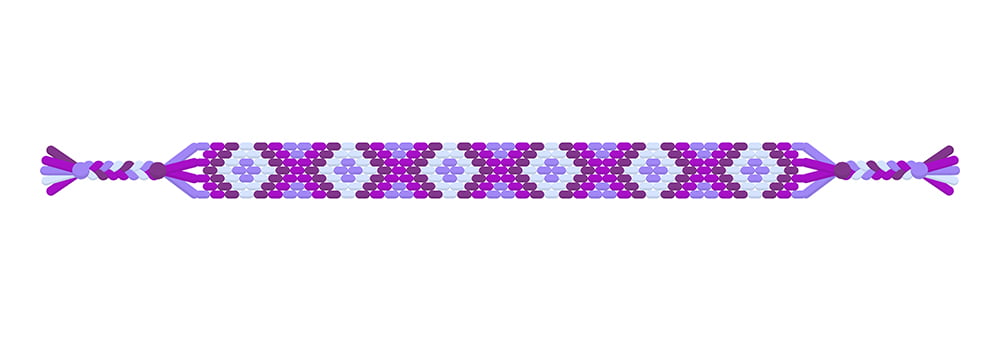
This pattern involves creating a series of diamond shapes using different colors or shades of yarn. To make this bracelet, you’ll need to know how to create the basic knots used in most friendship bracelets.
To start, choose two contrasting colors of embroidery floss or thin yarn. Cut four strands each measuring about 24 inches long (or longer if you prefer).
Fold them in half and tie an overhand knot at the top, leaving a loop for attaching your work surface.
Arrange your threads so that they alternate color A-B-A-B from left to right (or vice versa). Take the first thread on the left side (A) and make forward knots over all other threads until it reaches the center position between A and B threads on its right side.
Repeat this process with thread B but making backward knots instead until it reaches its center position between A’s on its left side. Continue alternating these steps with both sets of strings until you reach your desired length.
Finish off by tying another knot at each end before trimming excess string away from both ends.
Button Pattern
This pattern involves braiding or weaving the yarn around the button to create a unique bracelet. The best part about this pattern is that you can use any type of button, from small to large, depending on your preference.
To make a Button Pattern bracelet, start by selecting your favorite color of yarn and choosing one or more buttons for decoration. Then braid or weave the yarn around each button until you have reached your desired length.
This pattern is perfect for beginners who are just starting out with making their own bracelets as it requires minimal supplies and skills. You can also experiment with different colors and types of buttons to create various designs.
Heart Pattern
This pattern can be created using various techniques such as crochet, knitting or braiding. The most common way to make a heart pattern bracelet is by using embroidery floss and the friendship bracelet technique.
To create this design, you will need two colors of embroidery floss and some basic knotting skills. Start by cutting four strands of each color to your desired length (usually around 12 inches).
Then tie all eight strands together in a knot at one end and secure it with tape or a clipboard.
Next, separate the threads into two groups of four (one group per color) and start tying knots over each other until you reach the middle point where both colors meet. Here’s where you’ll start creating your hearts: take one strand from each side that are next to each other in their respective groups; tie them together with an “upside-down” forward knot so that they form an inverted V-shape – this will be half of your first heart! Repeat on the opposite side with another pair until both halves meet at their points.
Continue alternating between these steps until you’ve reached your desired length then finish off with another simple knot before trimming any excess thread.
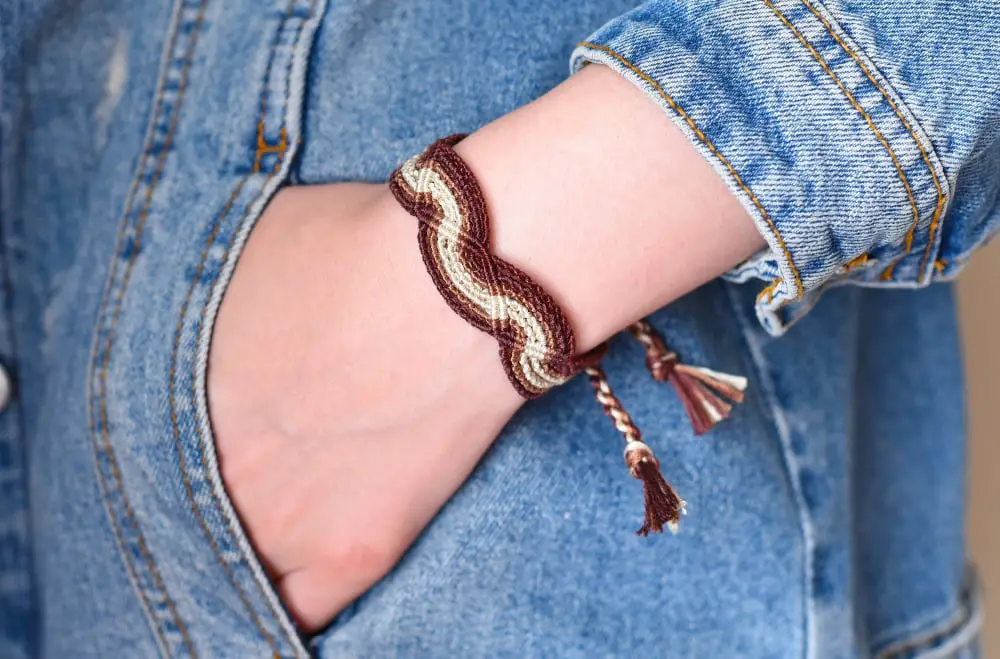
Wave Pattern
This pattern creates a wavy effect that looks great in any color combination. To make this bracelet, you’ll need to know how to do the forward knot and backward knot.
Start by cutting four strands of yarn in different colors or shades of the same color. Tie them together at one end with an overhand knot and tape it down to your work surface.
Separate the strands into two groups of two each, making sure that each group has one strand from each color. Take the leftmost strand from one group and tie a forward knot around both strands on its right side (the middle two).
Then take the rightmost strand from that same group and tie a backward knot around both strands on its left side (the other middle two).
Repeat this process with the other group until you reach your desired length or until there’s only about an inch of loose threads remaining.
Finish off your bracelet by tying all four ends together with another overhand knot, trimming any excess thread if necessary.
Neon Pattern
The neon pattern is perfect for those who love bright, bold colors. This pattern can be created using any type of yarn, but neon-colored yarn will give the best results.
To create the neon pattern, you’ll need to use a basic knotting technique called the forward knot. Start by cutting several strands of different colored neon yarns that are twice as long as you want your finished bracelet to be.
Fold each strand in half and tie them onto a clipboard or safety pin at one end.
Next, separate out two strands from each color group and tie them together with a forward knot in the center of all strands so that they form an “X” shape over other threads (you can find tutorials on how-to videos). Repeat this process until you reach your desired length.
Once completed, remove it from its anchor point carefully without unraveling it; then trim off any excess thread ends before tying both ends together with another set of knots or clasps if preferred.
Beaded Pattern
You can use beads to create intricate designs or simple accents on your bracelet. To make a beaded pattern, you will need some basic supplies such as beads, thread or cord, and a needle if necessary.
One way to incorporate beads into your yarn bracelet is by using the peyote stitch technique. This involves weaving the thread back and forth through each bead in a specific pattern until you have created the desired design.
Another option is to simply string beads onto your yarn before beginning your braiding or knotting technique. This works well with thicker cords like macramé cord or embroidery floss.
When choosing which type of bead to use for your project, consider factors such as size, color scheme and shape that complement both the chosen type of yarn used in making it as well as any other accessories that may be worn alongside it.
FAQ
What are those yarn bracelets called?
Friendship bracelets are a type of macrame and are yarn bracelets formed by a series of knots that create a woven pattern.
What is the best yarn for bracelet?
The best yarn for a bracelet is embroidery floss, which is a smooth, 6-stranded cotton string available in a wide variety of colors and commonly found in brands such as DMC, Anchor, and J&P Coats.
What are the different types of adjustable string bracelets?
Different types of adjustable string bracelets include those with a slider or bolo clasp, sliding knot, or an extension chain, commonly found in string, cord, rope, beaded, crystal, chain, and tennis bracelets.
What are the most popular yarn bracelet patterns and techniques?
The most popular yarn bracelet patterns and techniques include macramé, friendship bracelets, finger knitting, crochet, and braiding.
How can I make a yarn bracelet at home with simple tools?
To make a yarn bracelet at home with simple tools, select your desired yarn colors, cut equal-length strands, tie them together at one end, create a pattern by knotting the strands, and secure the other end with a knot.
What is the significance of yarn bracelets in various cultures?
In various cultures, yarn bracelets hold significance as symbols of friendship, protection, and spiritual connections.


