Because crafting unique, hand-spun yarn will elevate your knitting or crocheting game, learning how to make a spinning wheel for yarn is an invaluable skill.

Diving straight into the world of yarn crafts, one of the most fascinating tools you might consider creating is your very own spinning wheel. This article will guide you through the process of making a spinning wheel for yarn, providing you with a comprehensive step-by-step guide.
Whether you’re a seasoned yarn crafter or a beginner, this guide will ensure you have all the information you need to build a functioning, efficient spinning wheel. From materials and tools required, to detailed instructions and helpful tips, we’ve got you covered.
Let’s spin a yarn about spinning wheels!
Key takeaways:
- Gather the right materials for your homemade spinning wheel.
- Understand the uses of flyers, bobbins, and whorls.
- Follow step-by-step instructions to assemble your DIY spinning wheel.
- Learn how to operate the drive and brakes of your spinning wheel.
- Use proper techniques for starting the spinning process and maintain your spinning wheel regularly.
Materials Needed for a Homemade Spinning Wheel
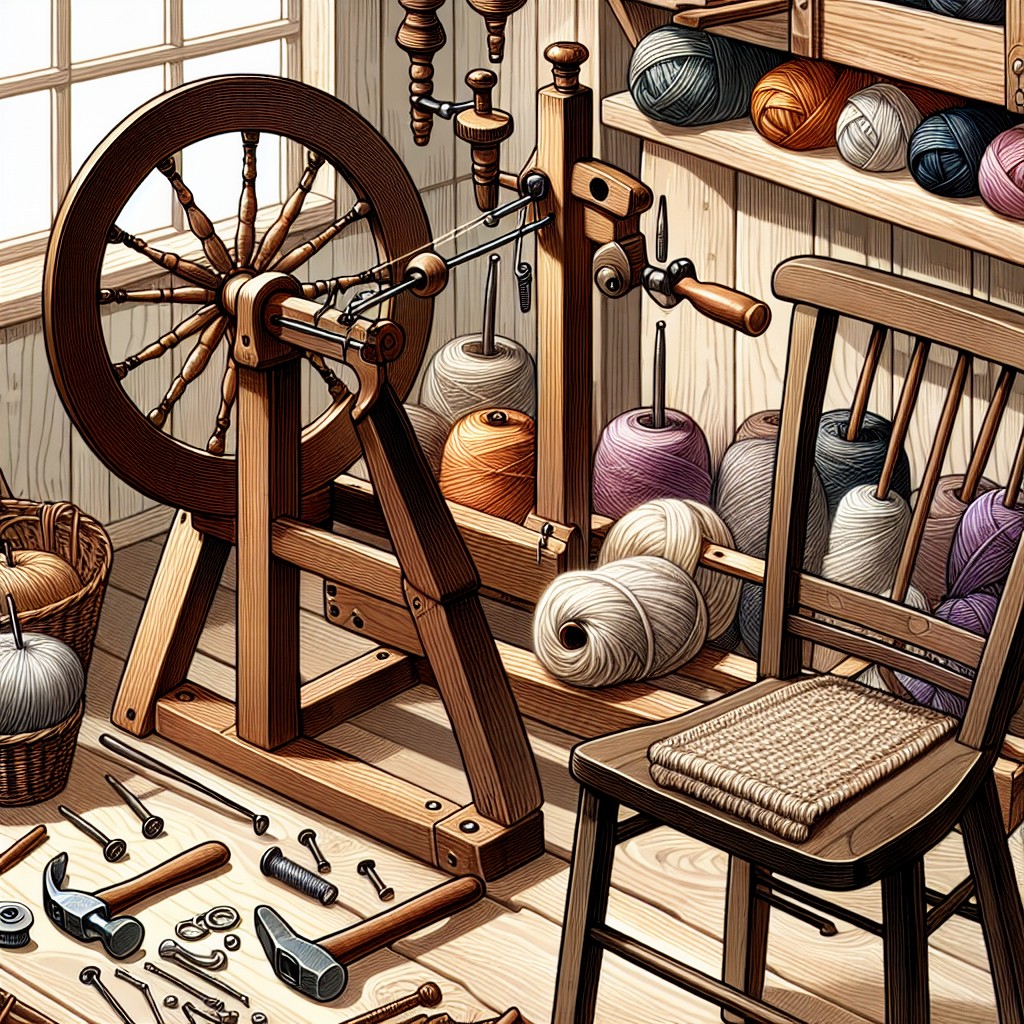
To initiate your spinning wheel project, it’s vital to gather the right materials. Start with a wheel; bicycle or old-time spinning wheels work perfectly. Additionally, you would need a main shaft—an old broom handle should suffice. For bearings, to allow the wheel to turn freely, a pair of metal brackets is ideal. You will also require a drive band, which could be a piece of string or a loop of elastic.
Next, focus on the flyer assembly which includes the flyer, bobbin, and whorl. These can be handmade or purchased.
The structure of the wheel itself can be fashioned from a sturdy piece of wood. Consider hardwood such as oak or maple for durability. For the footman, which connects the drive wheel to the treadle, a piece of wood or metal rod is necessary. Lastly, a pedal/treadle is integral for functionality, this can be any flat piece of wood.
Bear in mind, this list is not exhaustive and you may require tools and additional small parts depending on the specific design you are following.
Understanding the Uses of Flyers, Bobbins and Whorls
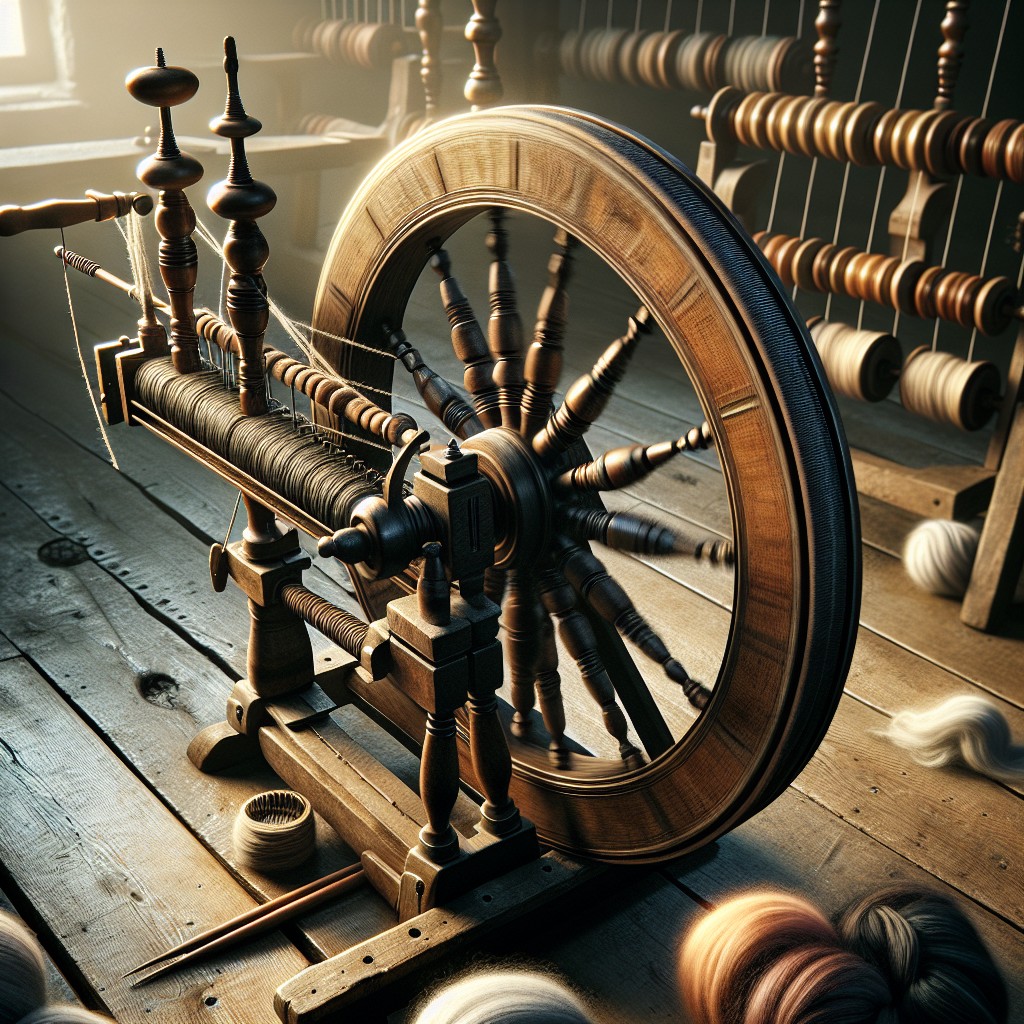
The flyer, often located at the top of the spinning wheel, is the workhorse which twists the unspun fiber into yarn. With the help of a U-shaped bracket called the maiden, the flyer also controls where the newly formed yarn is wound onto the bobbin.
Next, let’s demystify bobbins. They are the round pieces that fit on the flyer, serving as a storage unit for your newly created yarn. Traditionally, they’re interchanged to accommodate varying yarn quantities.
Finally, whorls play a crucial role in determining the spinning speed of the wheel. Smaller-sized whorls increase the speed resulting in finer yarn, while larger ones contribute to a slower revolution and produce thicker yarn. As you grow in your spinning adventure, experimenting with different whorl sizes can be an enjoyable way to control the thickness and texture of your handspun yarn.
Steps On How to Assemble Your DIY Spinning Wheel
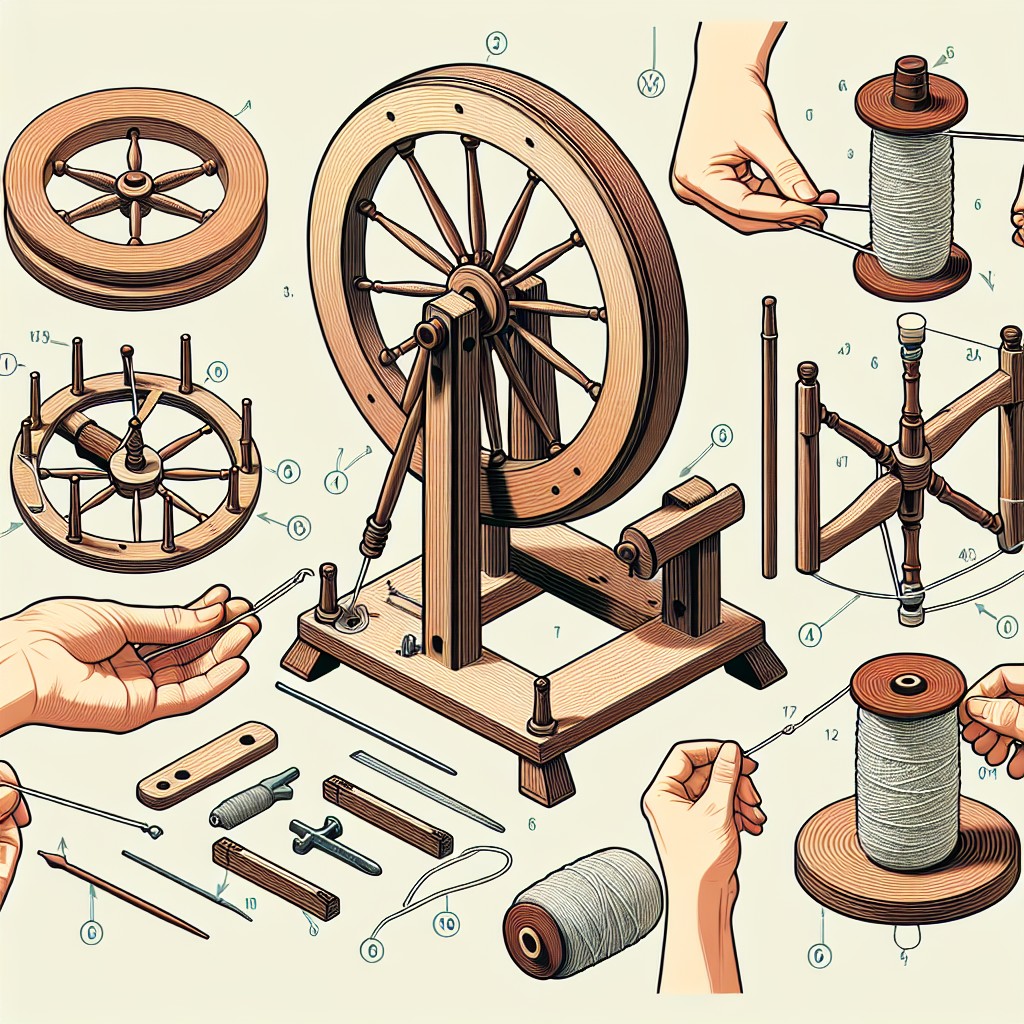
Begin with the wheel assembly, which is the heart of your spinning device. Tie the cord through the wheel hole and attach it to the crank. Ensure there is enough swing in the wheel when you turn the crank and test out the tension of the cord.
Next, create the spindle assembly. Affix your whorl and flyer together, making sure they align properly, as any imbalance can affect the spun yarn’s quality. Then, secure your bobbin in the middle, allowing it to spin freely within the flyer.
Now, connect your treadle to the wheel assembly using a link and lever. Make sure the pedal movement corresponds accurately with the wheel’s rotation.
Afterward, install the maiden, which holds the spindle assembly, onto the frame. It should be adequately sturdy and in the right position relative to the wheel to allow the smooth flow of yarn.
Finally, thread a drive belt—usually crafted from string or leather—around the wheel and whorl. Try turning the wheel and notice how the bobbin spins with it; this interaction is what twists and winds yarn. If the drive belt slips or the bobbin doesn’t spin as planned, adjust till you attain the desired tension.
By understanding each part’s role in the process, you can ensure a well-constructed spinning wheel that functions properly.
How to Operate the Drive and Brakes of Spinning Wheel
Think of the drive as the engine of your spinning wheel. It is controlled by the foot pedal, with faster pedaling resulting in a quicker spinning wheel. The tighter the drive belt, the faster the flyer rotates. Practicing with different rates of pedal speed will help you determine the optimal spinning speed for your desired yarn.
Next, we have the brake mechanism, also known as the Scotch tension or Irish tension, depending on the type of wheel used. It’s a control element that manages how quickly the yarn is drawn onto the bobbin. By adjusting the brake, you can control the yarn’s twist and thickness. A tighter brake will twist the yarn more quickly, consequently pulling it onto the bobbin sooner. Loosening the brake allows more time for spinning, creating a thinner, more tightly spun yarn.
Remember, mastering these controls requires patience and practice. Feel free to adjust and experientially learn how each modification changes your yarn’s final appearance and texture. Aim for consistency and enjoy the process!
Techniques for Starting the Spinning Process
To get started, place the fiber of your choice into your dominant hand. Let the wheel draw it in slowly and gently. Soon, you will notice the wheel starting to twist your fiber into yarn.
Some key points to remember:
- Keep a light touch: It’s important not to hold the fiber too tightly. Allow it to flow smoothly and naturally into the wheel.
- Regularity is key: Aim to keep your treadling at a regular speed. Constant adjustments can make your yarn inconsistent in thickness.
- Drafting methods: There are different drafting techniques that can affect the texture of your spun yarn. The short-draw method creates smoother yarns, while long-draw produces softer, loftier yarns.
- Adjust as needed: If you find the wheel drawing in fiber too fast, or not fast enough, simply adjust the tension on your wheel.
These points provide a fundamental grasp of starting the spinning process, allowing you to create beautiful, homemade yarn in no time.
Maintaining and Troubleshooting Your DIY Spinning Wheel
Keeping the wheel in perfect working order prolongs its lifespan, hence regular maintenance is key. Gently clean the parts, ensuring no fibers are stuck in the bobbin or flyer. Regular oiling of the flyer bearing and bobbin helps reduce wear and tear, ensuring smooth sailing during your spinning sessions.
Troubleshooting starts with identifying a problem. If the wheel isn’t spinning smoothly, check for loose parts and ensure they are tightened. When the flywheel wobbles, verify if it’s correctly aligned with the bearings. If the yarn isn’t winding onto the bobbin properly, adjust the drive band’s tension. Always consult the wheel’s guide or professional tutors when issues persist.
Remember, consistency in maintenance is the secret to an ever-lasting spinning tool.
How to Regularly Care for Your DIY Spinning Wheel
Regular maintenance of your spinning wheel is crucial to ensure its smooth functioning. Dust particles and fiber residues can accumulate over time, affecting spin quality. To counter this, use a soft brush or cloth to gently clean the bobbin and flyer routinely.
The moving parts of your spinning wheel, such as the axle and wheel, require lubrication for smooth operation. Regular application of a few drops of oil will reduce friction and prevent premature wear. However, avoid over-lubrication as it may result in yarn contamination.
Also, be alert to any changes in sound or spinning movement as they might indicate a loosened or worn-out part. Check the tensioning system and drive band routinely, tightening or replacing them as needed.
Lastly, if your spinning wheel is made of wood, avoid storing it in high humidity or temperature environments to prevent warping. Opt for a natural finish such as beeswax instead of varnish—it preserves the wood’s natural beauty and protects from moisture. Regularly applying a small amount of beeswax can help keep the wood in good condition longer.
Rotating these simple steps into your spinning routine can prolong the life of your DIY spinning wheel and ensure consistent yarn quality.
FAQ
Can you make a spinning wheel for yarn?
Yes, you can make a spinning wheel for yarn using simple materials such as a piece of clothing elastic that is tied tightly around the wheel and stretched over the bobbin whorls.
Can you make your own spinning wheel?
Yes, it’s possible to construct your own spinning wheel by utilizing materials such as a foam board to create the base of the wheel, crafting a cover to lay over it, installing a flapper in the center, and testing to ensure its functionality.
Can you make yarn without a spinning wheel?
Yes, making yarn without a spinning wheel is possible and can be done using a less expensive and portable hand-spinning spindle.
What are the essential components needed to construct a homemade spinning wheel for yarn?
The essential components to construct a homemade spinning wheel for yarn include a wheel, pedal, spindle, base, threadle, mother-of-all, flyer, and catch hooks.
What alternatives are available for those who wish to spin yarn without a spinning wheel?
Alternatives to spinning yarn without a spinning wheel include the use of drop spindles, supported spindles, and hand spindles, which are portable and affordable options.
How time-consuming is the process of making a do-it-yourself spinning wheel for yarn crafting?
Creating a do-it-yourself spinning wheel for yarn crafting can be time-consuming, typically requiring around 40-80 hours depending on one’s proficiency with woodworking tools and complexity of the design.


