Explore the unique satisfaction in creating your own perfectly spun yarn because hand spinning allows absolute control over texture and thickness, an art that is both exhilarating and fulfilling.
Key takeaways:
- Choose the right materials: spindle, fiber, hand carders, scissors, yarn winder.
- Pre-draft the fiber for smoother spinning.
- Attach a leader to start your yarn.
- Join fiber to leader with a secure twist.
- Wind on the yarn to maintain twist and prevent tangling.
Materials
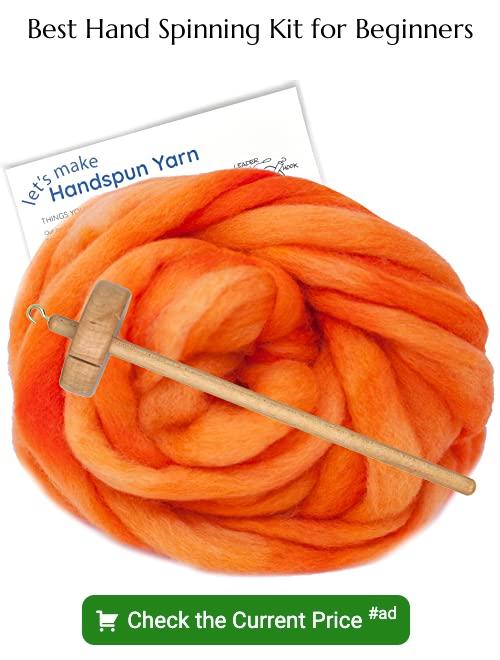
To embark on hand spinning your own yarn, you’ll need a few essential materials. A spindle or spinning wheel is the primary tool you’ll use to twist fiber into yarn. For those just starting, a simple top whorl drop spindle is affordable and portable. Eventually, you may graduate to a spinning wheel, which is faster but comes with a steeper learning curve and higher investment.
In addition to the spindle or wheel, fiber is the core material. Wool is the most commonly used and beginner-friendly due to its forgiving nature and abundance. Make sure to select a wool with a good amount of crimp, which makes it easier to spin. Merino and Corriedale are excellent choices for novices.
Prepare yourself with a pair of hand carders or a drum carder if you’re processing raw wool. These tools help to align fibers and remove debris, making the wool easier to spin. If you prefer to skip this step, consider purchasing pre-carded roving or sliver, which is ready to spin.
Lastly, have a small pair of scissors or snips on hand for cutting the yarn, and a yarn winder or niddy noddy to wind your spun yarn into a skein. These tools will enhance your spinning process, making it smoother and more enjoyable.
Pre-draft
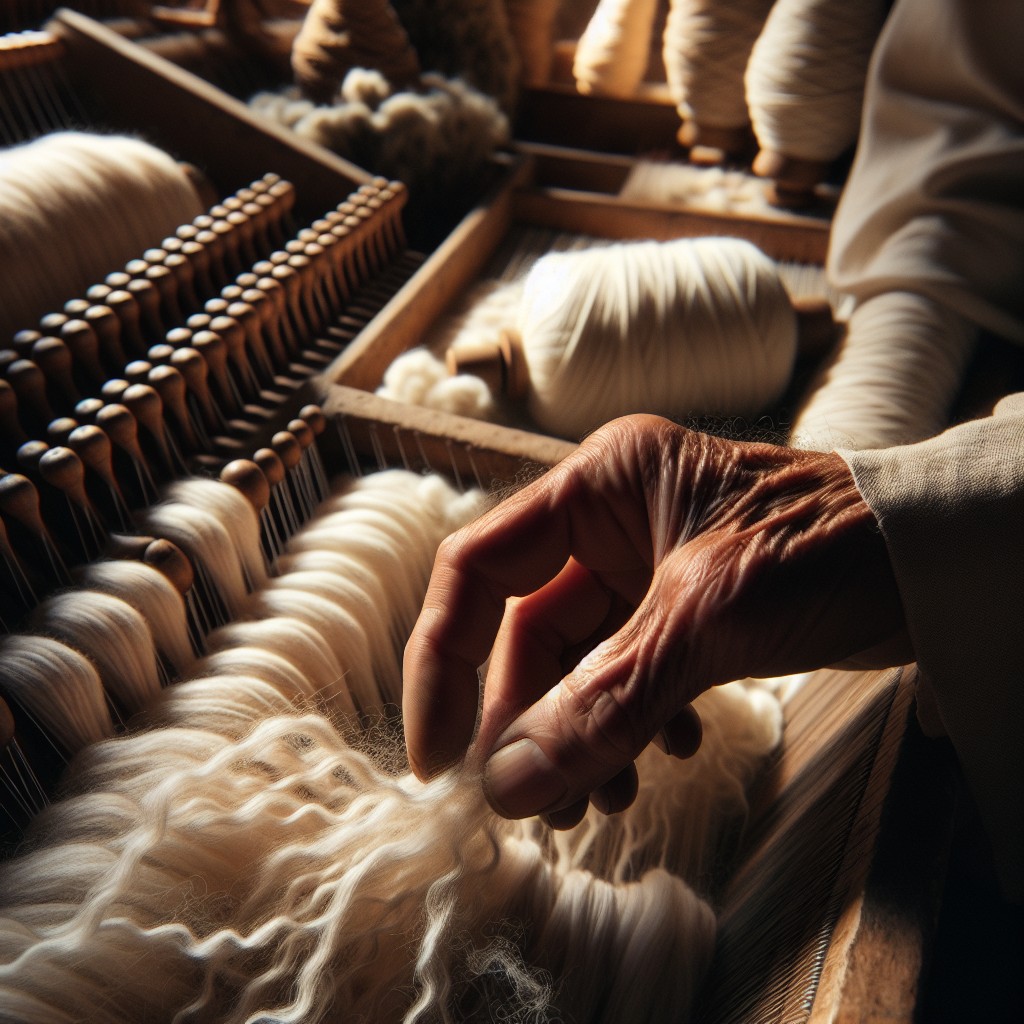
Before you begin spinning, preparing your fiber through pre-drafting significantly eases the process. This involves gently pulling apart the fibers to elongate and thin out the roving or top. Aim to create a consistent width, which will translate to an even yarn thickness. Pre-drafting also helps to remove any tangles and aligns the fibers, making them easier to twist together.
This step is vital, as it gives you more control over the twist and allows for a smoother spinning experience, especially for those just starting out. Remember, while pre-drafting, avoid overpulling; you don’t want to break the fibers. Just a gentle tease is sufficient to get them ready for spinning.
Attach a Leader
To successfully attach a leader, begin with a sturdy piece of yarn approximately 24 inches in length. This will serve as a foundation for starting your hand-spun yarn.
Secure one end to the spindle’s hook or top, ensuring it’s tied tightly to prevent slipping during spinning. Twist the leader yarn as you would the fiber, creating a cohesive structure that allows for easy attachment of the actual fiber.
Wind the leader around the spindle’s shaft, using the notch if available, to keep it in place. Leave a tail long enough to hold onto, or to later blend with the fiber you’ll be spinning.
This method provides a seamless transition from the pre-drafted fiber to the spinning process, allowing for an uninterrupted flow and better control as you start creating your yarn.
Join Fiber to Leader
To successfully join fiber to your leader, begin by teasing out a small amount of fiber so that it’s thin and wispy. You will want the fibers to be slightly overlapped with the twisted yarn of your leader to ensure a secure connection. With a gentle pinch, hold the fiber against the leader.
Initiate twisting the spindle, which will in turn twist the leader, allowing the twist to travel up into the fibers. Keep a consistent tension with your fingers to regulate the twist, ensuring it’s neither too tight nor too loose, allowing the fibers to interlock naturally.
As the fiber catches and the twist secures the two together, slowly release your pinch, allowing the twist to move up the drafted fiber. This transition should be smooth to prevent any thick or thin spots from forming in your yarn.
Continue to feed more fiber into the twist, using your fingers as a guide to maintain evenness. The goal is to create a uniform yarn both in thickness and twist. Practice will refine your technique for a seamless join every time.
Wind On
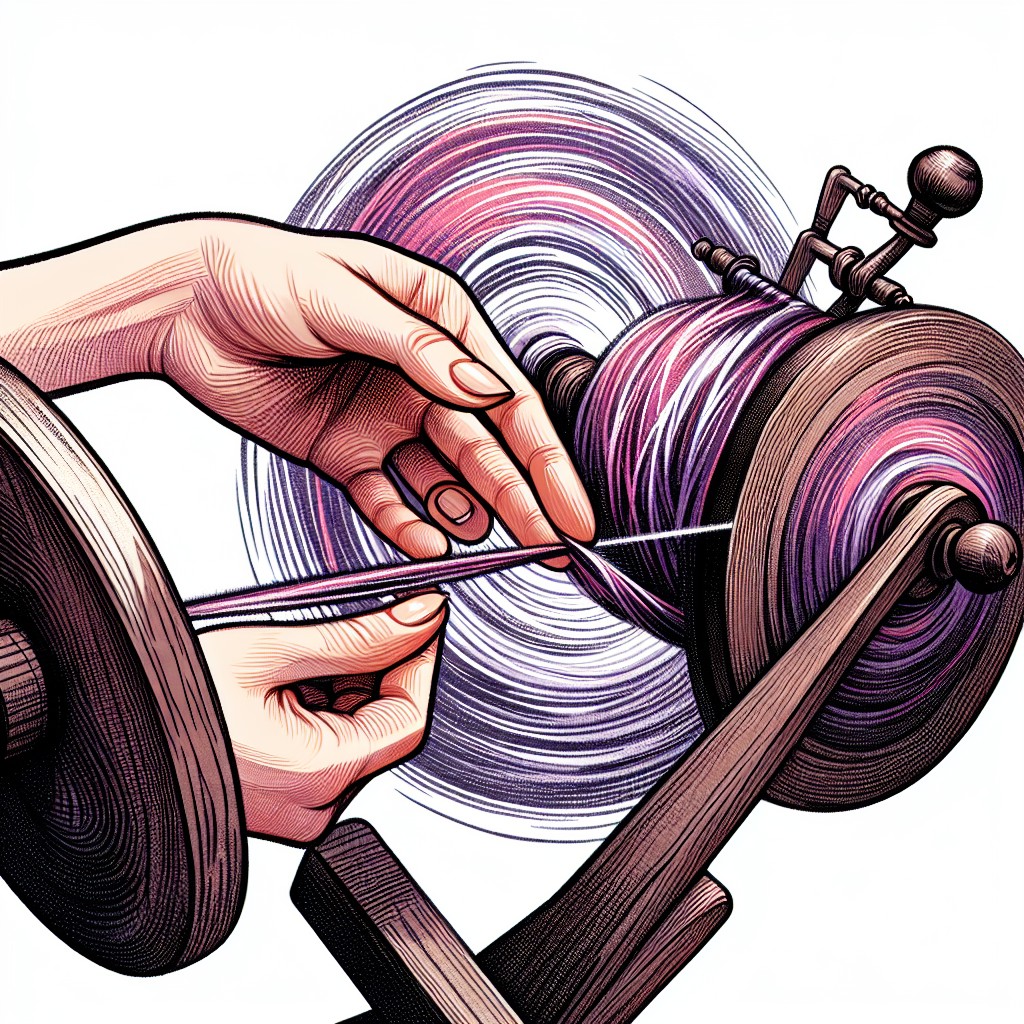
Once you’ve drafted out a length of yarn, it’s time to secure this new yarn onto the spindle or bobbin. This crucial part of the spinning process maintains the yarn’s twist and prevents it from tangling. Here’s how to do it:
1. Ease Up: Relax any twist between your hand and the spindle by letting go of the fiber supply.
2. Hook It: Guide the yarn over the spindle’s hook or through the orifice and flyer on a wheel.
3. Wind Away: Use your spindle hand to wind the yarn around the shaft in a clockwise direction, forming neat, even layers.
4. Keep Tension: Maintain a gentle tension to avoid over-twisting or slack as you wind the yarn.
5. Secure the End: Leave enough loose yarn outside the hook or orifice to continue drafting and spinning for your next section.
By carefully winding the yarn, you ensure a steady crafting process and a nicely wound ball of handspun yarn ready for your next project.
Add More Fiber
Once the initial fibers are securely attached to the leader and you have started spinning, you’ll need to continuously add fiber to keep the yarn growing. To seamlessly integrate more fiber, gently pull a small amount from your fiber supply and allow it to feather out. Lay this feathered end over the twisted fibers you’ve already spun.
Ensure you maintain a consistent thickness as you join the new fibers. This is achieved by drafting, which means pulling and thinning your fiber to the desired thickness before it twists. The twist will travel up the thinned-out fibers and lock them into place.
To manage the tension, use your forward hand to control the amount of fiber entering the twist. Your back hand can pinch and inch, a technique where you pinch the fiber to stop the twist, then inch your fingers back to draft more fiber before releasing the pinch to let the twist travel up. This rhythmic motion allows you to produce yarn with a consistent size and strength.
Remember, the process should be fluid. If you notice a slub (a thick spot) or a thin area, you can correct it by letting less or more fiber into the twist. Practice will improve your proficiency, leading to a more uniform yarn.
Drop Spindles for Beginners
Selecting the appropriate drop spindle can have a significant impact on your initial spinning experience. For beginners, a medium-weight spindle, typically ranging from 1.0 to 1.4 ounces (28 to 40 grams), offers a balance of control and momentum.
The top-whorl spindle, with the whorl or weight positioned at the top, is commonly recommended for new spinners due to its stability and ease of learning. It’s also portable, making it convenient to practice spinning anywhere.
When starting, focus on mastering the park-and-draft method. This technique involves spinning the spindle, parking it between your knees to keep it still, and then drafting the fibers slowly to allow for even yarn creation without the added complexity of managing spindle rotation at the same moment.
Always ensure that the fibers you’re working with are pre-drafted, meaning they’ve been gently pulled apart to ensure smoothness and consistency in thickness. This will not only ease the spinning process but also result in a more uniform yarn.
Practice is key to developing proficiency with a drop spindle. Begin with short sessions, and avoid overloading yourself with too much information or technique adjustments at once. With time, muscle memory will kick in, and spinning will become a more intuitive and enjoyable craft.
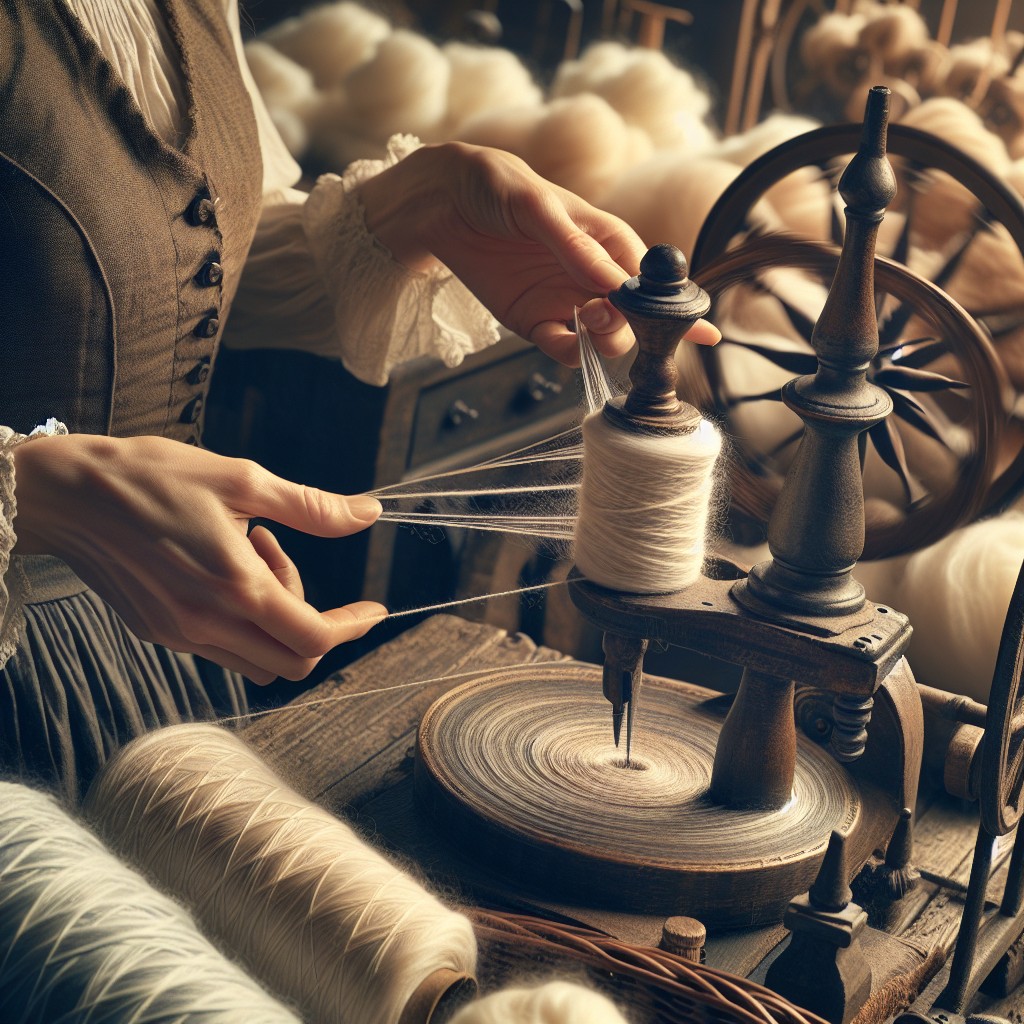
Spinning Wheels for Beginners
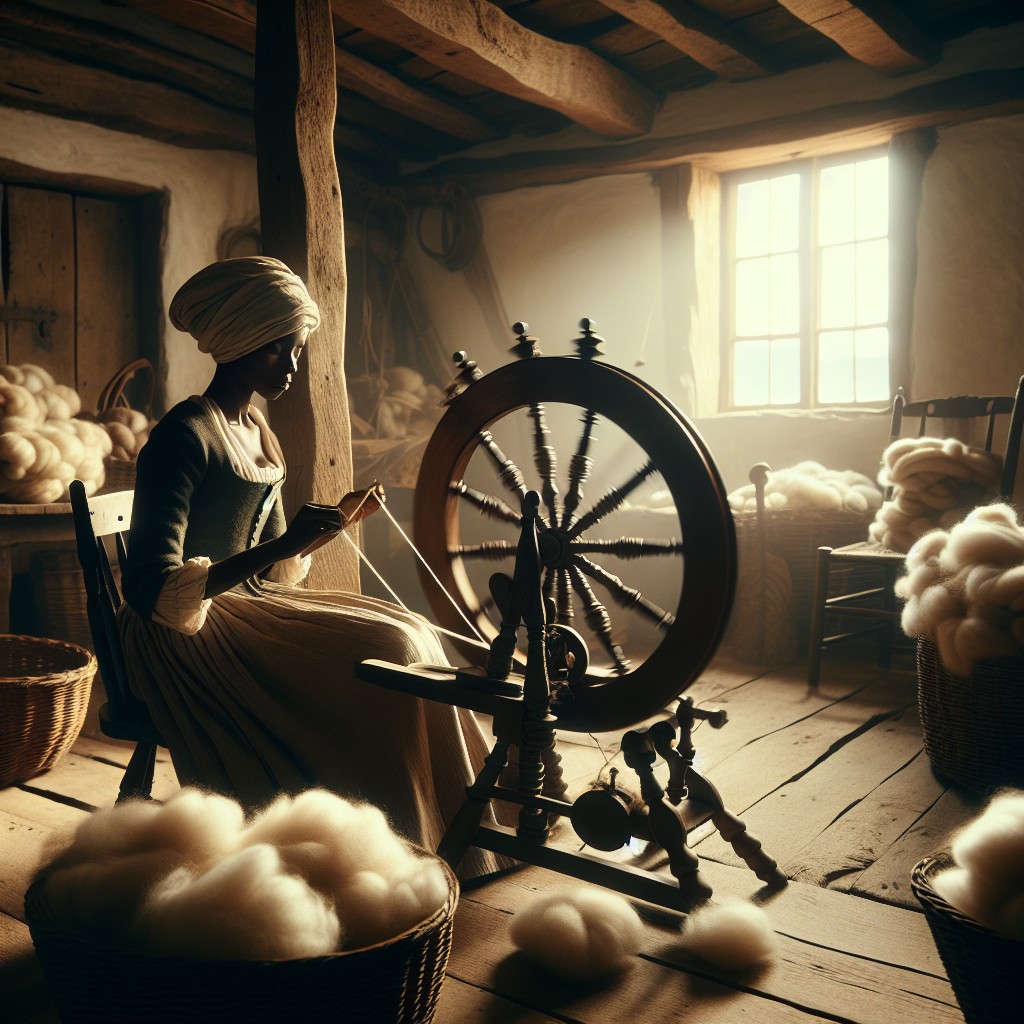
Selecting your first spinning wheel is a pivotal step in advancing your yarn crafting skills. Traditional spinning wheels are composed of a wheel that turns via foot pedal, a flyer that twists the fiber into yarn, and a bobbin where the finished yarn is wound. Single-treadle wheels operate with one foot, while double-treadle wheels use both, offering more control and less fatigue during longer spinning sessions.
When choosing a wheel, consider portability; folding styles are available for crafters on the go. The size of the wheel affects spinning speed – larger wheels produce yarn more quickly. Also, look for a model with adjustable tension, which provides the ability to create different types of yarn, from fine and delicate to thick and chunky.
An entry-level spinning wheel should be user-friendly. Models that are known for their ease of use and simple construction often draw beginners. Maintenance should be straightforward, typically requiring only occasional oiling of moving parts and keeping the wheel clean.
Consider joining a local spinning group or taking a beginner’s workshop. Many experienced spinners are happy to share their insight on wheel function and yarn production, offering a hands-on opportunity to test various wheels before making a purchase.
How to Choose a Wool Breed for Beginner’s Spinning
Selecting the right wool breed can significantly enhance the spinning experience for beginners. Consider ease of spinning and end-use when making your choice.
Corriedale: Often recommended for new spinners, Corriedale has a moderate staple length (about 3-6 inches) and isn’t too slippery, making it easier to handle. Its medium softness is suitable for a wide variety of projects.
Merino: Known for its softness, Merino wool is fine and can be a bit more challenging to spin. However, it’s well-loved for the luxurious feel of the yarn produced, ideal for garments that will be worn close to the skin.
Romney: With a longer staple length (5-8 inches) and a coarser fiber, Romney is durable and spins into a sturdy yarn that is excellent for outerwear and items that require structure.
Blue-Faced Leicester (BFL): BFL strikes a balance with its long, lustrous fibers that are neither too fine nor too coarse. Its natural sheen makes for beautiful yarn that’s a pleasure to spin and wear.
Ultimately, consider starting with wool that is neither too short nor too slippery. Over time, as skill and confidence grow, explore and experiment with a wider variety of breeds to discover personal preferences and the joys of handspun yarns’ diversity.
Finishing Your Yarn
After spinning your yarn, it’s crucial to set the twist to stabilize the fibers, ensuring they stay together during use. The process is straightforward:
1. Wash the Yarn: Soak your yarn in warm water with a gentle wool wash. This step removes excess oils and dirt.
2. Rinse Thoroughly: Rinse out the wash without agitating the yarn to prevent felting.
3. Squeeze Out Water: Gently squeeze the yarn to remove excess water. Avoid wringing, which can distort the strands.
4. Snap and Thwack: To further align fibers, hold the yarn skein at both ends, snap it like a whip, then thwack it against a hard surface a few times.
5. Dry the Yarn: Hang the skein to dry, optionally placing a weight at the bottom to stretch it slightly and help even out the twist.
6. Skein or Ball It: Once dry, wind the yarn into a skein or ball for storage or knitting. Use a niddy noddy for skeining or a ball winder for balls.
Remember, the way you finish your yarn can affect its final texture and strength, so take your time with each step.
FAQ
Can you spin yarn by hand?
Yes, yarn can be spun by hand by twisting fibers together to create a material suitable for crafting clothing and other items.
What is the cheapest way to spin yarn?
The cheapest way to spin yarn is by making and using a spindle yourself with accessible materials such as a stick, stone, and a piece of string.
How long does hand spinning take?
Hand spinning enough yarn to knit a sweater typically requires about 10-15 hours, not including additional time if the yarn is to be dyed.
What are the essential tools for hand spinning yarn?
The essential tools for hand spinning yarn are a spinning wheel or hand spindle, fiber for spinning, carding combs or brushes for preparing the fiber, and a niddy noddy for winding the spun yarn.
How does the type of wool affect the quality of hand-spun yarn?
The type of wool dictates the quality of hand-spun yarn by influencing its texture, durability, and ease of spinning.
What are the different methods of hand spinning yarn?
Hand spinning yarn involves methods such as drop spinning, supported spinning, Navajo spinning, takli spinning, and spinning on a wheel.


