Dive into the fascinating world of yarn crafting because understanding how to use a spinning wheel can propel your knitting and crocheting projects to a whole new level of creativity and intricacy.

Key takeaways:
- Familiarize yourself with the spinning wheel’s parts
- Properly prepare the wool before spinning
- Choose the right spinning wheel for your needs
- Understand the mechanics of the spinning wheel
- Master treadling and drafting techniques
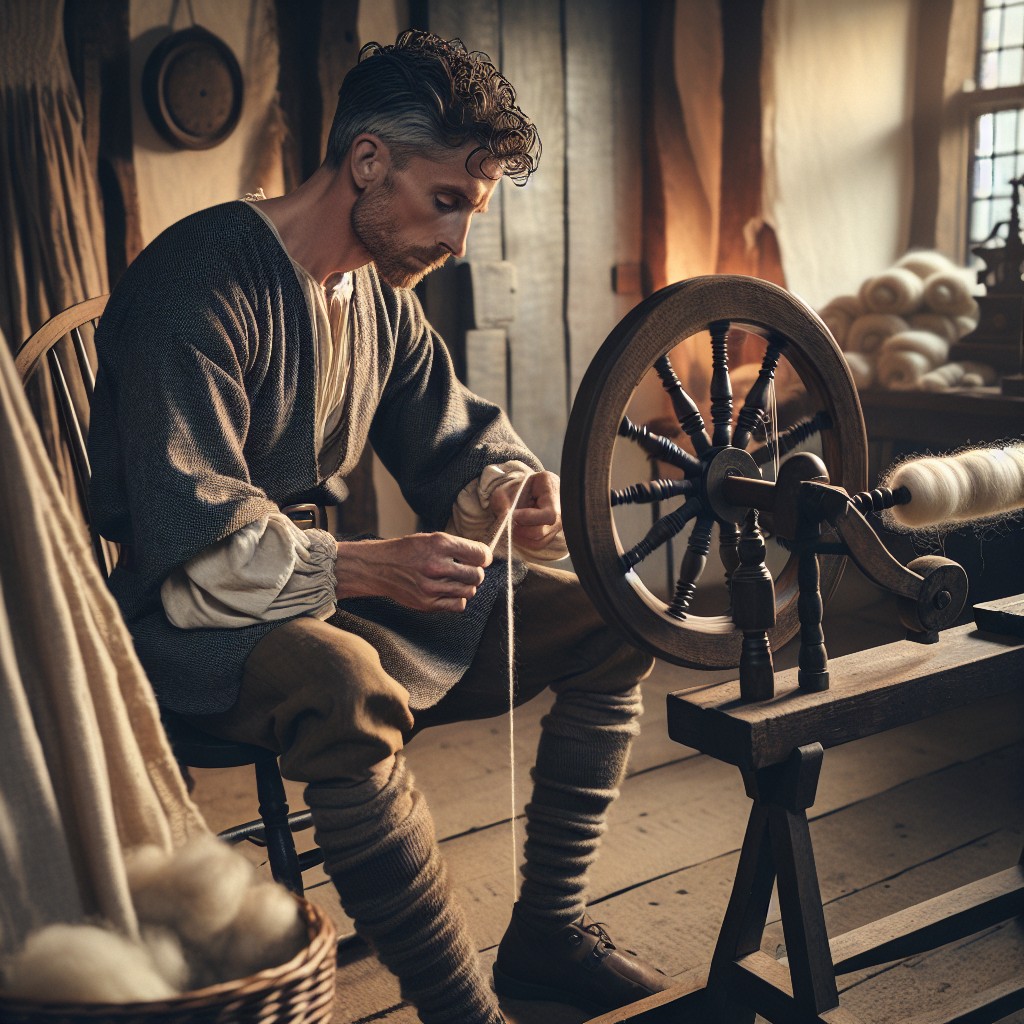
Getting Started
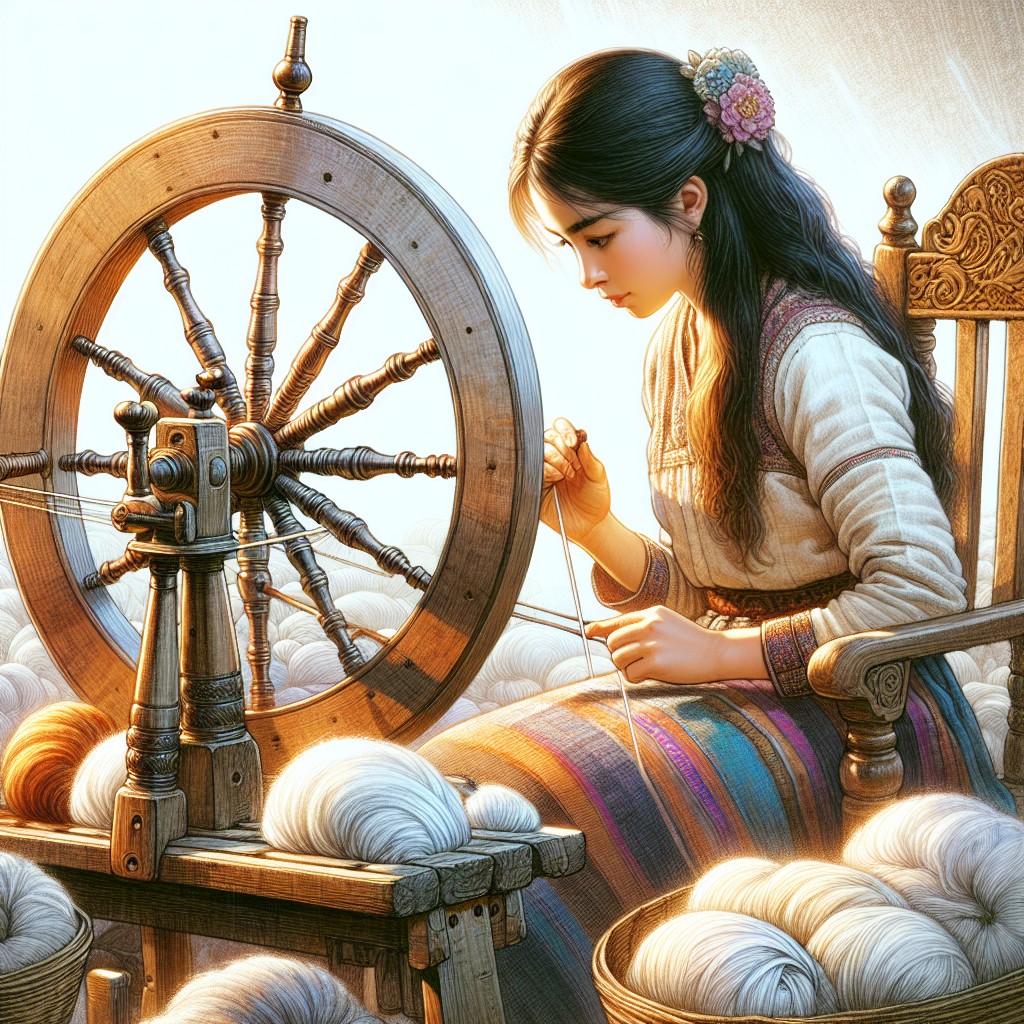
Before diving into the world of spinning, ensure you have all necessary materials at hand. You’ll need clean, carded wool, free of debris and tangles, to ease your learning curve. Familiarize yourself with the different parts of the spinning wheel, such as the flyer, bobbin, and treadle.
Adjust the chair height so your feet can comfortably reach the pedals, and the wheel sits at a suitable level for your arms to work without strain. Secure a small amount of wool to the leader thread on the bobbin, which is instrumental in getting your spun yarn started.
Set your wheel’s tension to a moderate setting — this will help manage the yarn’s take-up onto the bobbin without making it too tight or too loose. A well-maintained wheel, with oiled moving parts, ensures a smooth spinning process. With these preliminaries set, you’re poised to begin the journey of transforming wool into yarn.
Preparing the Wool
Before engaging with your spinning wheel, ensure your wool is properly prepared to maximize the quality of your spun yarn. Start by carding the wool, which untangles fibers and aligns them, making drafting easier during the spinning process. You can use hand carders or a drum carder for larger batches. Upon carding, create rolags – cylindrical rolls of fiber – which will facilitate an even feed into the spinning wheel.
Washing the wool before carding removes natural oils and dirt, but it’s optional and depends on your preference for spinning raw or washed fleece. If you opt for washing, do so gently to avoid felting the fibers, and let the wool dry completely before carding.
Additionally, consider if you want to spin woolen or worsted yarn. Woolen yarns are spun from carded fiber that is lofty and has a random alignment, giving a soft and fluffy yarn. In contrast, worsted yarns are spun from fibers aligned in the same direction, resulting in smoother, denser yarn. Choose your preparation method according to the desired outcome.
Selecting the Right Spinning Wheel

When embarking on the journey of yarn spinning, choosing a spinning wheel that aligns with your needs is critical. The three main types to consider are the traditional Saxony, the compact Castle, and the modern Wheel. Each style has unique features suited for different spaces, experience levels, and personal preferences.
Saxonys, with their horizontal layout, offer a classic aesthetic and large wheels, making them great for creating a smooth, long draw.
Castle wheels stand vertically, saving space and often providing built-in storage for tools and fibers.
Modern wheels often incorporate innovative designs and features, like adjustable tension systems and the ability to fold for transport.
Also, take note of the drive system the wheel uses:
Single drive wheels, where one drive band powers the flyer or the bobbin, are typically more straightforward to use.
Double drive wheels have a drive band looped twice, controlling both the flyer and bobbin simultaneously, allowing for more tension adjustments and suited to experienced spinners.
Don’t forget about the flyer:
Scotch tension (flyer lead) offers precise control with a separate brake on the bobbin, which can be ideal for fine or exotic fibers.
Irish tension (bobbin lead) provides a stronger take-up on the yarn, preferred for thicker, heavier yarns.
Finally, consider the wheel’s portability, the ease of finding replacement parts, and the overall comfort of use. Test spinning on a few models can be incredibly helpful in finding the right fit for your spinning style and goals.
Understanding Spinning Wheel Mechanics
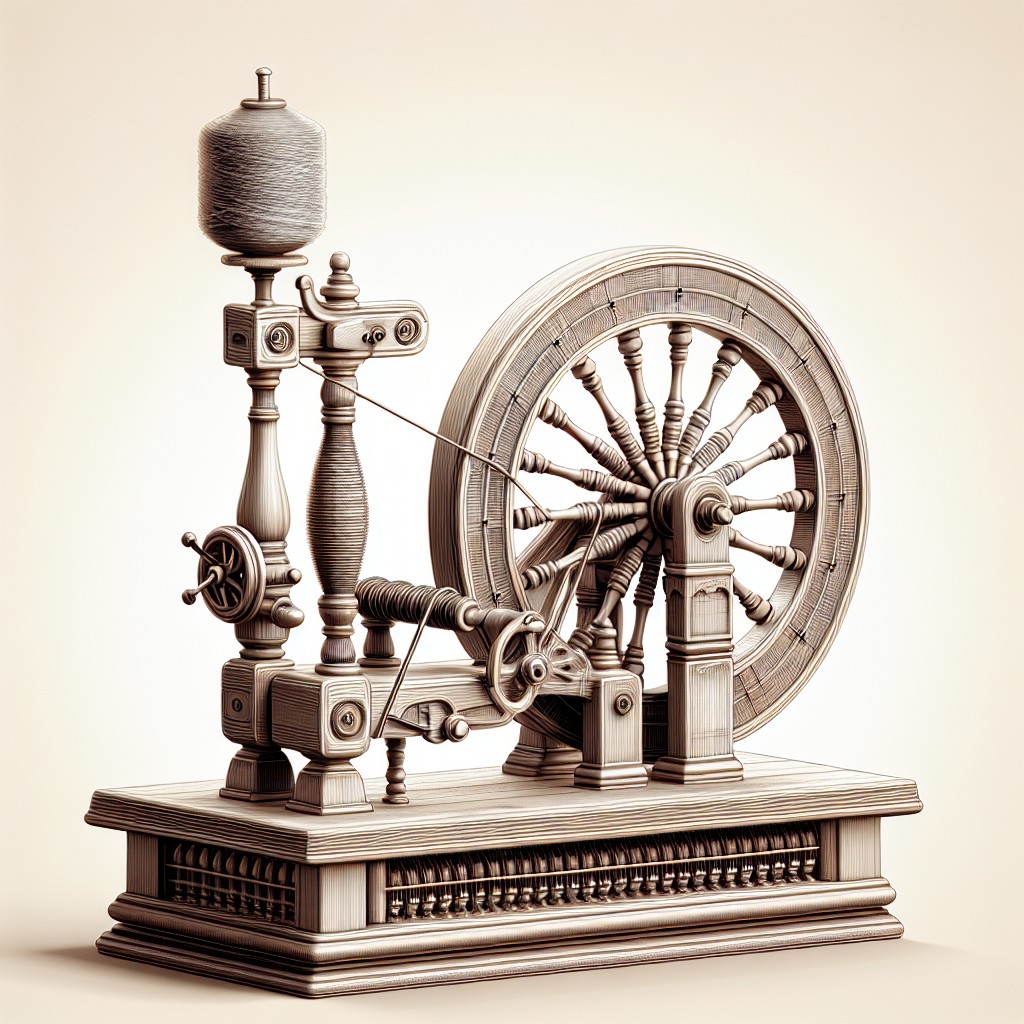
To harness the full potential of your spinning wheel, first familiarize yourself with its key components:
- Flywheel or Wheel: This is the large, round part that you spin with your feet. It drives the whole mechanism.
- Treadles: Pedal these with your feet to set the wheel in motion. Some wheels have one treadle, some have two.
- Drive Band: A cord that connects the wheel to the whorl, transferring motion to the spindle.
- Whorls: These are the small pulleys that fit onto the spindle. Different sizes affect the twist rate of your yarn.
- Spindle: The rod that twists and collects the spun yarn. It should rotate smoothly and consistently.
- Bobbin: Positioned on the spindle, it’s where your spun yarn is wound. Each spinning wheel can hold one or multiple bobbins.
- Mother-of-All: The structure that holds the maidens, spindle, and bobbin. It’s adjustable to control tension.
- Maidens: The small posts that the spindle or bobbin rotates between.
- Brake: A system, often a knob or a spring, that controls the amount of tension on the yarn as it winds onto the bobbin.
Each part works in concert to convert fiber into yarn. For example, the treadle movement dictates the wheel’s speed, affecting twist frequency, while tension adjustments can alter yarn thickness and strength. Proper maintenance and understanding of these elements ensure a smoother spinning experience.
Treadling
Mastering treadling is essential for a smooth spinning process. Here are key points to help you perfect this skill:
- Maintain a steady rhythm: Start slow and focus on keeping a consistent speed. A regular treadling rhythm prevents slubs and ensures even yarn.
- Adjust the tension: Your wheel’s tension should be just right to pull the yarn onto the bobbin without snapping it. Experiment to find a comfortable balance.
- Alternate feet: To reduce fatigue, switch between your left and right foot if your wheel design permits. This promotes better control and endurance.
- Posture matters: Sit comfortably with your back straight. Good posture allows for easier treadling and reduces strain over long spinning sessions.
- Listen to your wheel: Pay attention to the sound of your wheel. A rhythmic whir should be your goal, indicating everything is moving as it should.
- Take breaks: Treadling is repetitive and can tire your legs. Pause periodically to prevent cramping and to keep your treadling consistent when you resume.
Drafting Yarn
Drafting is the process of pulling and thinning the fibers before they are spun into yarn. This practice determines the thickness of the yarn and ensures an even consistency.
- Hold the fiber loosely: Grip the fiber supply gently to avoid unnecessary tension, which can make drafting difficult.
- Use the pinch and pull technique: Pinch the fibers with one hand to control twist, pull with the other to extend the fibers into a thinner strand.
- Find a comfortable rhythm: Work in sync with the spinning wheel to establish a flow that prevents the fibers from bunching or breaking.
- Consistent fiber feed: Ensure that the amount of fiber being pulled is consistent to create a uniform yarn.
- Adjust tension as needed: If the fibers are not forming into yarn smoothly, adjust the wheel’s tension to find the right balance for your drafting speed and style.
- Practice: Drafting requires a level of finesse that improves with experience. Keep practicing to refine your skills and produce high-quality yarn.
Spinning the Wool
With the wheel set up and fibers prepared, it’s time to create your yarn. Start with a leader thread tied to the spindle or bobbin to guide the wool onto the wheel. This thread will also help to establish rhythm and tension.
Gently treadle to start the wheel’s motion, typically in a clockwise direction for spinning single-ply yarn. Your hands will work in unison, one hand drawing fibers from the prepared wool (drafting), while the other guides the forming yarn onto the spindle.
Focus on maintaining a consistent speed with your feet to keep a steady flow of twist into the fibers. The drafting hand should pull fibers back only as fast as the wheel can twist them. If the twist is too slow, the yarn might be weak and break; too fast, and the yarn could become overspun and difficult to manage.
Allow the twist to travel up to the drafted wool, thus locking the fibers together. Once there is enough yarn twist, wind the yarn onto the bobbin using the wheel’s mechanism. Continue this rhythm: draft, twist, wind, always checking for consistency in thickness and strength.
Remember, spinning is a skill that improves with practice. Your first few attempts might not yield perfect results, but each length of yarn will bring you closer to mastering the art.
Joining New Wool
To seamlessly add in fresh fiber, open the twist of the spun yarn with your fingers. Tease out a few inches of the fibers from its end, creating a wispy taper. Take a similar amount of the unspun wool, fluff it up for better integration, and lay it atop the thinned-out end of your working yarn.
Hold the overlapped section between your thumb and forefinger, allowing the wheel to pull the new wool in. The twist will travel up, locking the fibers together securely. Make adjustments as you go to ensure evenness and maintain the desired yarn thickness.
If the join breaks, simply overlap the fibers again and recommence spinning. Consistency and a gentle touch will yield undetectable transitions between wool additions.
Plying Yarn
To create a stronger, balanced yarn, plying is a crucial step. It involves twisting two or more strands of yarn together in the opposite direction to how they were originally spun. This counters the twist energy of the singles, resulting in a finished yarn that’s less likely to curl upon itself.
- Set up your spinning wheel for plying, often requiring a larger bobbin and a different flyer.
- Decide on the number of strands to ply; two-ply and three-ply are common choices, each producing a distinct yarn character.
- Pull equal lengths of singles from the bobbins or spools, and tie them together onto the leader of the plying bobbin.
- Adjust the tension to have enough take-up to wind the plied yarn without overstretching it.
- Treadle slowly, feeding the singles evenly through your fingers; they should twist together just as they enter the orifice.
- Keep the angle consistent to ensure an even twist throughout the length of the yarn.
- Regularly check for balanced ply by letting a small length of yarn twist back on itself. Adjust as needed.
- Once the bobbin is full or you’ve finished your singles, cut the yarn, leaving a tail to secure.
- Allow the plied yarn to rest on the bobbin before winding off to set the ply and reduce later twisting or tangling.
Maintenance of the Spinning Wheel
Regular upkeep ensures your spinning wheel functions smoothly, producing the highest quality yarn. Firstly, routinely oil any moving parts to prevent friction and wear; this includes the flyer, bobbin, and treadle joints. Use oil specifically designed for spinning wheels to achieve the best results. Over time, drive bands may stretch or wear down—check them occasionally and replace as necessary to maintain the proper tension.
Keep the wheel clean, gently wiping away lint, wool fibers, and dust that can accumulate and hinder the wheel’s operation. Inspect the wheel for any loose screws or parts, and tighten them to prevent wobbling or noise that can disrupt your spinning rhythm.
It’s also important to store your wheel in a safe, dry place when not in use to avoid any warping or damage from environmental factors. By adhering to these maintenance practices, your spinning wheel will remain a reliable tool for crafting beautiful yarns for years to come.
FAQ
What can you do with a spinning wheel?
A spinning wheel is used to twist fibers together tightly to create yarn from materials like wool or spin flax into linen.
Which way does a spinning wheel spin?
A spinning wheel typically spins in a clockwise direction when spinning singles, and a counter-clockwise direction when plying yarn.
What are the essential components of a spinning wheel?
The essential components of a spinning wheel include the wheel itself, the drive band, the whorl, the spindle, the flyer, and the bobbin.
How to maintain and care for your spinning wheel?
Maintaining and caring for your spinning wheel involves routine cleaning, oiling the moving parts regularly, checking for loose or worn out pieces and replacing them as needed, and protecting it from extremes of heat and humidity.
What are the different types of fibers suitable for spinning on a spinning wheel?
The different types of fibers suitable for spinning on a spinning wheel include wool, alpaca, mohair, angora, silk, cotton, flax, hemp, and synthetic fibers.


