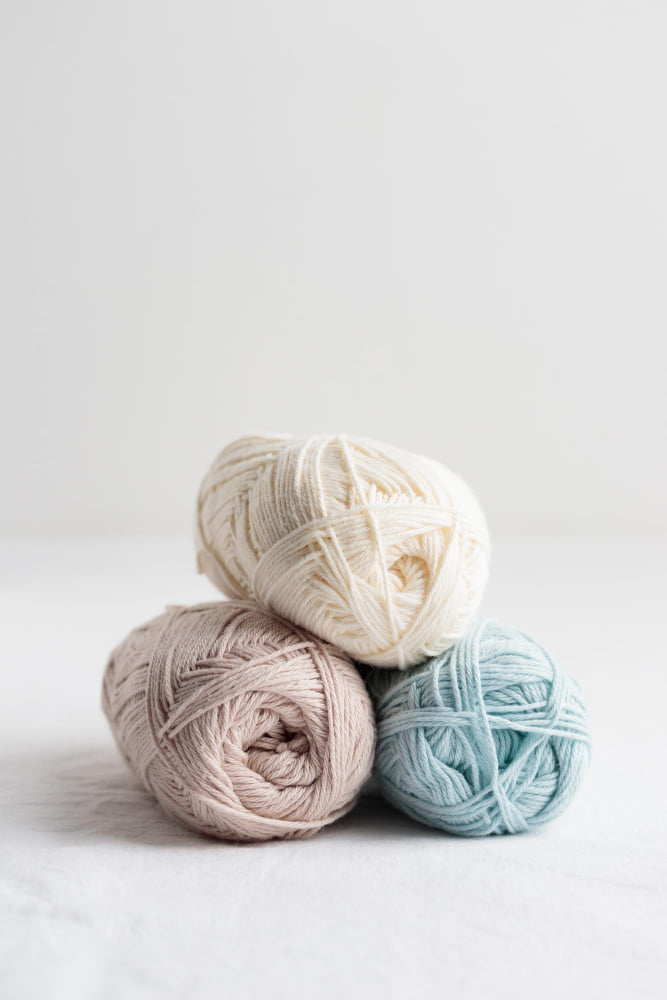
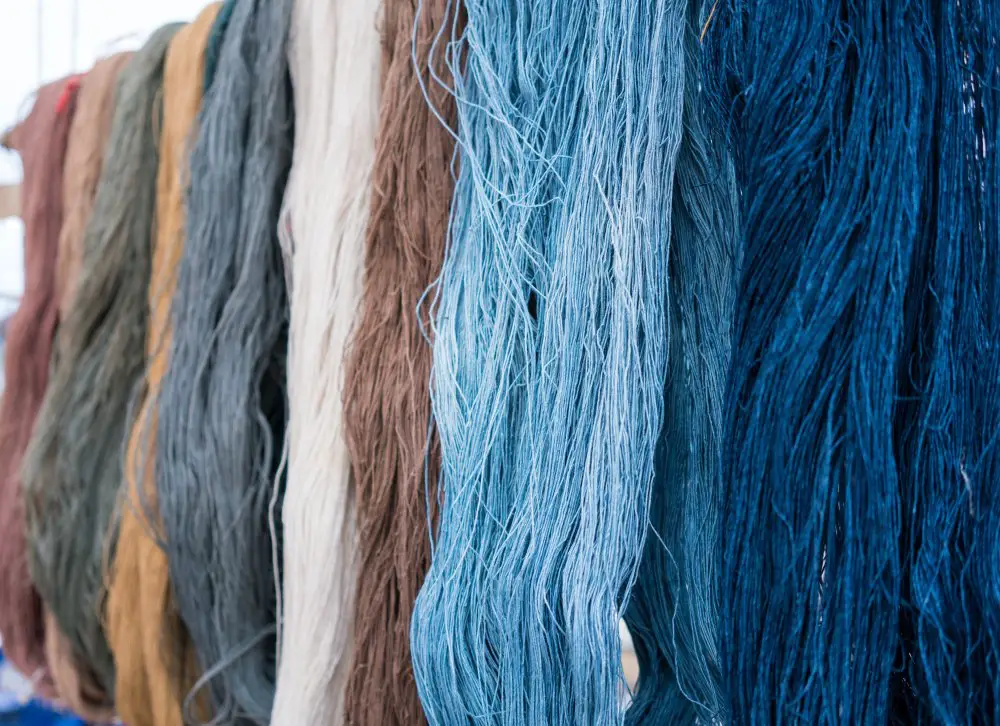
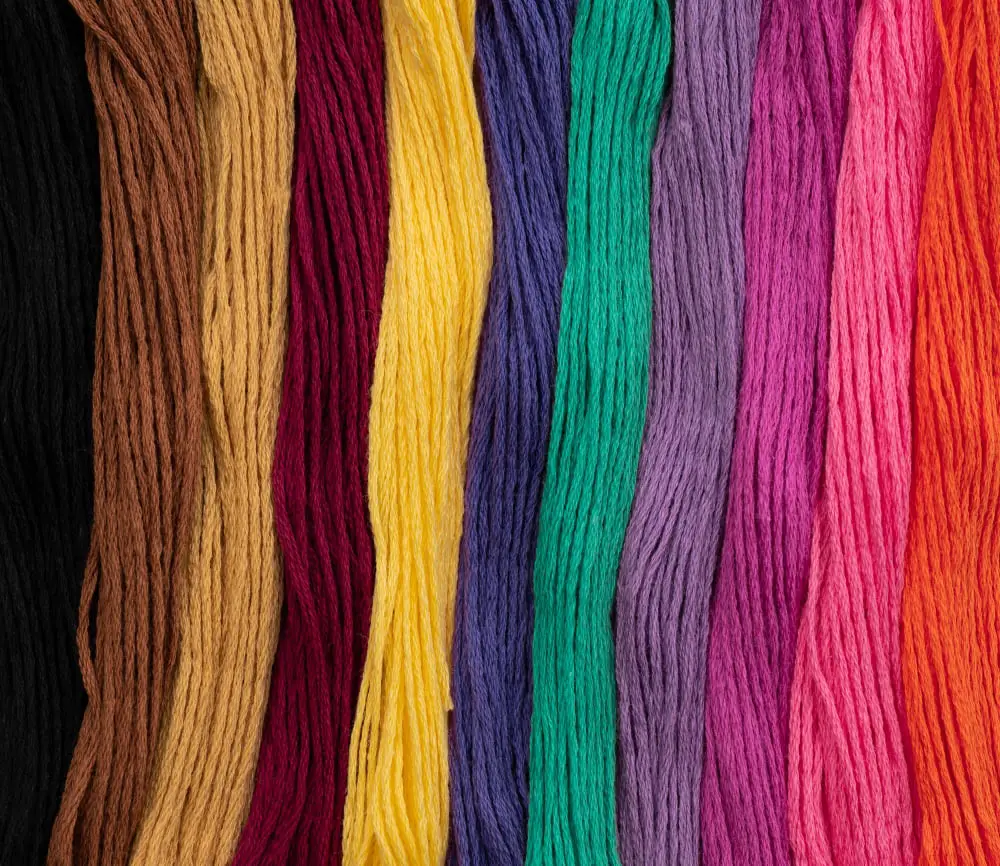
Dying cotton yarn at home becomes an exciting adventure because it allows you to customize your knitting projects to your personal taste and creativity.

Dyeing cotton yarn at home is a creative way to customize your knitting and crocheting projects.
This process involves preparing the yarn, selecting and preparing the dye, dyeing the yarn, and finally, rinsing and drying it.
This article will guide you through each step, providing detailed instructions and tips to ensure you achieve vibrant, long-lasting colors.
Whether you’re a seasoned yarn crafter or just starting, this comprehensive guide will equip you with the knowledge to successfully dye cotton yarn in your preferred shades.
Let’s dive into this colorful journey!
Key takeaways:
- Choose fiber reactive dyes for vibrant, long-lasting results.
- Avoid using food coloring or Kool-Aid to dye cotton yarn.
- Rit dyes are suitable for dyeing cotton yarn.
- Gather necessary supplies before dyeing.
- Take safety precautions while dyeing yarn.
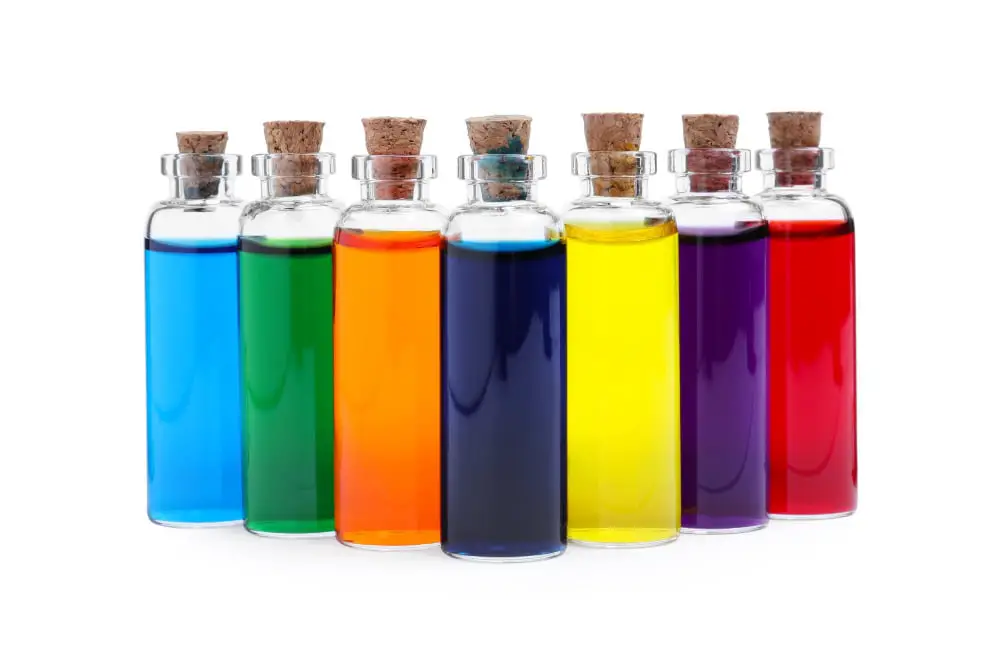
Choosing Suitable Dyes for Cotton Yarn
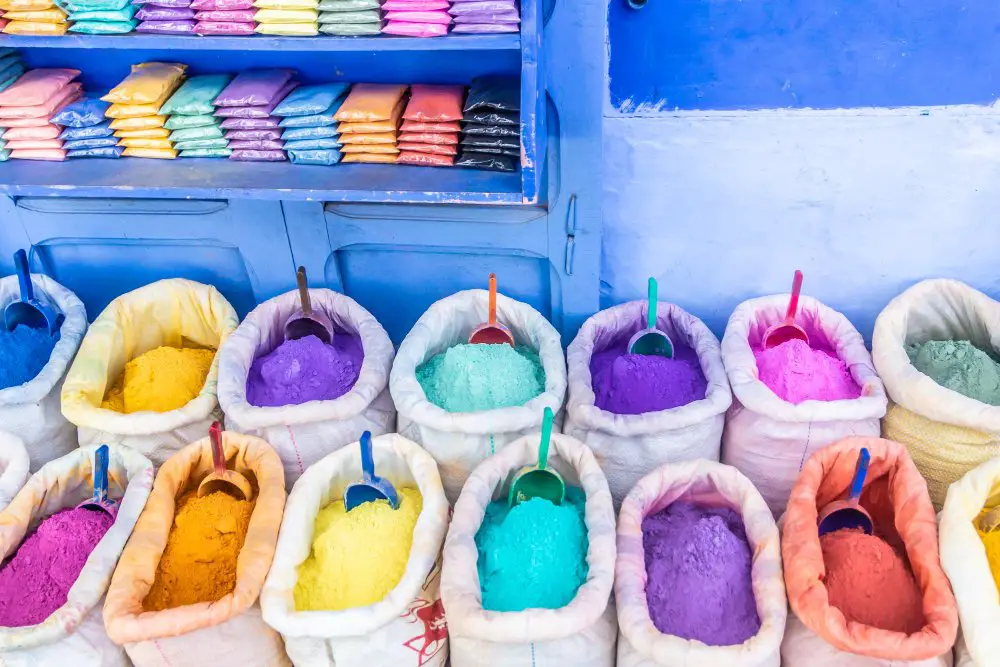
Cotton yarn accepts a specific kind of dye known as fiber reactive dyes much better than other forms. These dyes chemically bond with the cellulose fiber, ensuring vibrant and long-lasting color. Procion MX dyes are a common choice among crafters. These dyes offer a wide range of colors, from bright hues to dark shades and cover the color spectrum comprehensively. Additionally, they promise good wash fastness, meaning the color won’t easily fade when laundered.
The key to getting the best results with fiber reactive dyes lies in their process of use. They require a high pH for successful dyeing, and this is typically achieved by including soda ash in the dye bath.
Remember, not all dyes are equal. Natural dyes like tea, coffee, and turmeric, for instance, aren’t ideal for use with cotton since they’re known as substantive dyes and are more suitable for protein fibers like wool or silk. Hence, picking the suitable dyes for cotton yarn can make all the difference in your DIY dyeing endeavor.
Can Cotton Yarn Be Dyed With Food Coloring?
Food coloring, while a household item, is not an ideal option for dyeing cotton yarn. The reason primarily lies in the inability of cotton fibers to properly absorb the color from food dyes, resulting in a faded color that lacks vibrancy.
Unlike protein-based fibers like wool or silk, cotton fibers have a different molecular structure that requires specific types of dyes for optimal color absorption. Furthermore, food dyes are not colorfast on cotton, meaning colors may wash out or fade quickly over time.
Therefore, while it’s possible, the result might not meet the expected standards of brightness and colorfastness.
Can Cotton Be Dyed With Rit Dyes?
Absolutely! Rit Dyes are fiber-reactive and well-suited for cotton yarn. They bond with the fabric fibers at a molecular level, resulting in durable and vibrant colors. First, ensure your yarn is clean and free of oils that might impede dye absorption. Rit dyes come in a variety of colors, so you can achieve nearly any shade you desire.
Here’s a brief step-by-step rundown:
- 1. Add the Rit dye to hot tap water and stir thoroughly.
- 2. Submerge the yarn fully in the dye bath.
- 3. To ensure an even color distribution, continually stir the yarn in the dye bath for 30 minutes.
- 4. Rinse the yarn with cold water until it runs clear, then air dry.
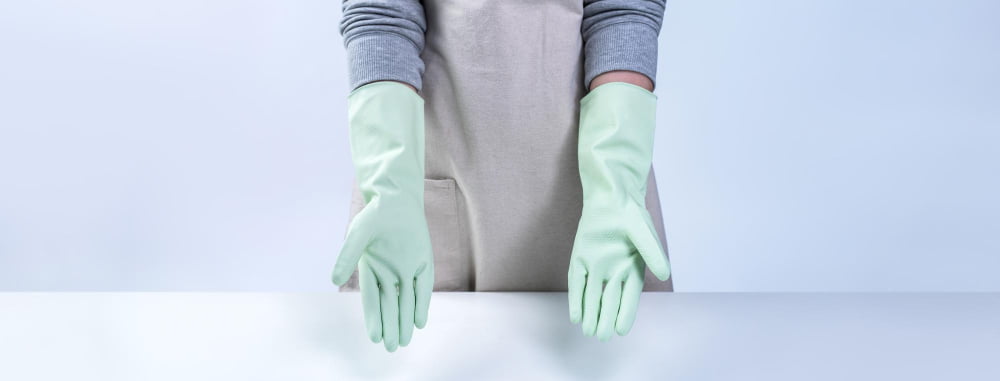
Remember, gloves are a must to prevent hand staining, and be sure to cover your workspace to avoid unwanted dye spills. This way, you can effectively convert your cotton yarn into any color of your choice with Rit Dyes!
Necessary Supplies for Dyeing Cotton Yarn
To make this colored transformation happens, gather the following equipment:
- Cotton Yarn: Choose high-quality cotton yarn for best results. The number of skeins will depend on your project.
- Dye: Fiber-reactive Procion type dye is recommended for cotton and it is available in various shades.
- Soda Ash: It raises the pH of the dye bath facilitating the dye to bond with the cotton yarn.
- Measuring Spoons and Cups: These will ensure consistency in your dye preparation.
- Large Wash Tubs/Buckets: Needed to soak and rinse the yarn.
- Stirring Utensils and Gloves: To protect your hands and stir the dye solution.
- Plastic Squeeze Bottles: For easy application of the dye.
- Plastic Wrap: This is needed to cover the yarn during the setting period.
- Racks for Drying: You’ll need a designated space for the yarn to dry undisturbed once dyed.
- Old Towels and Newspaper: These will protect your working space from accidental spills or drips.
Almost all these supplies can be found in everyday life or easily acquired from a craft supply or online store. Preparation is key to a successful dyeing process.
Safety Precautions While Dyeing Yarn

With the right tools, dyeing cotton yarn can be a safe and enjoyable activity. However, it’s vital to keep certain precautions in mind.
1. Wear Protective Gear: Always don gloves and a mask during the process to protect your skin and lungs from the dye particles.
2. Adequate Ventilation: Work in a well-ventilated area, preferably outdoors, to minimize inhalation of any dye powders.
3. Separate Utensils: Dyeing equipment should never be used for food purposes later on. Designate specific pots, spoons or pans for this craft.
4. Safe Handling: Dyes, particularly powder forms, should be handled with care. Avoid direct contact with skin or eyes.
5. Children: If kids are involved, they must be supervised at all times during the process.
6. Proper Disposal: Remaining dye materials need to be disposed of responsibly. Check the dye manufacturer’s instructions for guidance.
7. Cleaning: After dyeing, clean all used surfaces thoroughly to remove any remaining dye particles.
Correct Procedure to Soak the Yarn in Soda Ash
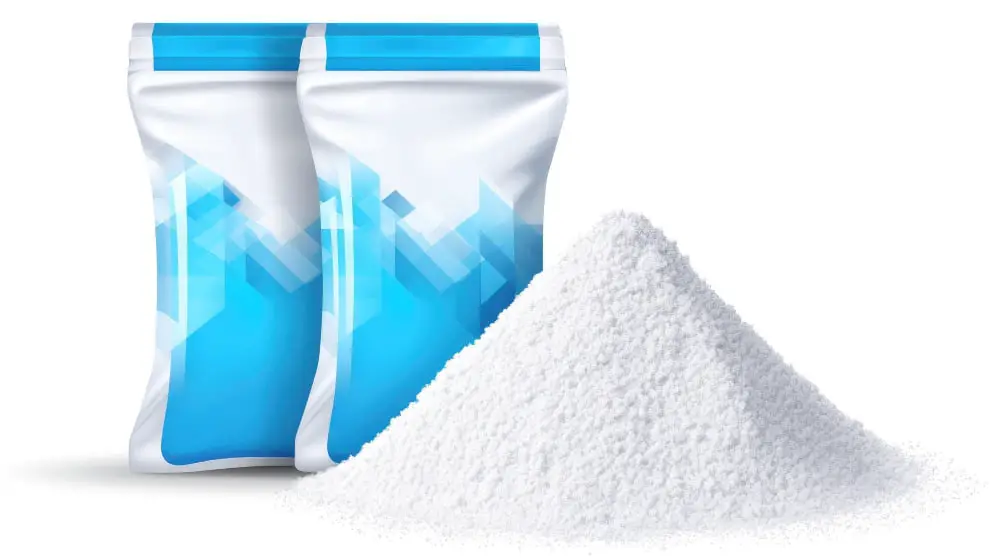
Before diving into the actual dyeing process, it’s vital to prepare the cotton yarn adequately for optimum color absorption. This involves treating the yarn with soda ash, which plays the essential role of a color fixer. It increases the yarn’s pH, encouraging direct, vibrant, and long-standing color adherence during the dyeing process.
Here’s the guideline on how to carry out the soaking procedure:
- 1. Dissolve one cup of soda ash in one gallon of warm water. Ensure the soda ash is entirely mixed into the solution as undissolved soda ash could damage the yarn fibers.
- 2. Place the cotton yarn gently into the soda ash solution. Make sure it is completely submerged to ensure a uniform application.
- 3. Let the yarn soak for about 30 to 60 minutes. This duration allows the yarn to fully absorb the solution, preparing it for the dyeing step.
- 4. Use rubber gloves to remove the yarn from the solution, and squeeze out excess liquid gently. Be careful not to twist or wring the yarn as that could result in damage or tangling.
- 5. It’s time for the yarn to dry slightly before the dye application. Spread it out carefully on a clean, dry surface, out of direct sunlight. You want the yarn damp but not dripping for the dyeing process.
Remember, the soda ash solution is quite caustic, so handle it with care and make sure to always wear rubber gloves and eye protection.
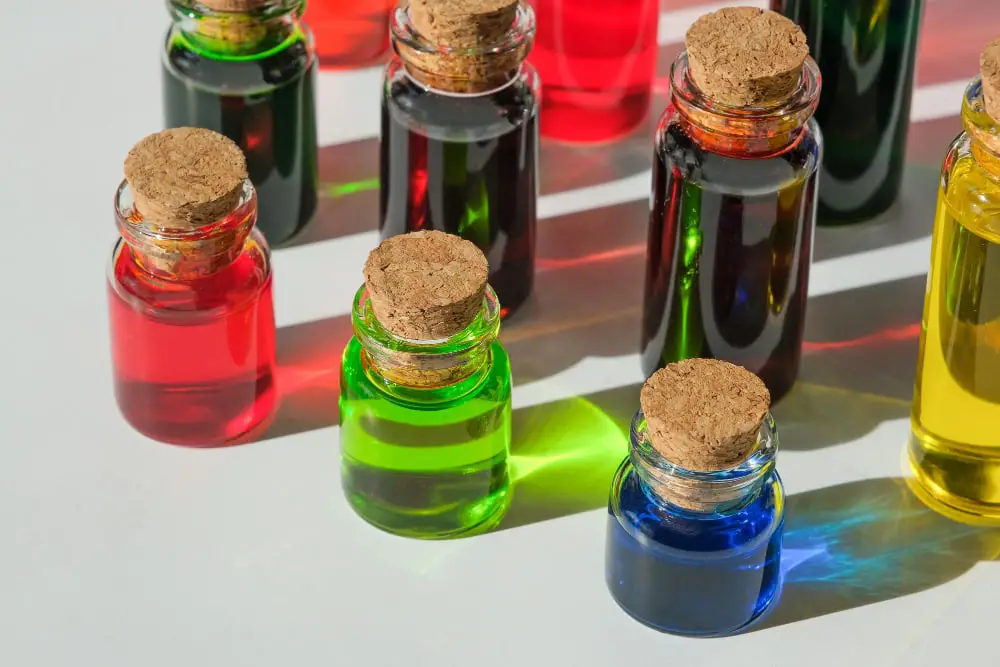
Instructions On How to Mix Dyes
Begin by wearing protective gloves and an apron to protect your skin and clothes. Prepare the dye solution in a non-reactive pot or container following the manufacturer’s specific instructions. Different dyes have different mixing guidelines. Some may require warm water while some may dissolve better in cold water. Stir until the dye is completely dissolved. Make sure not to breathe any dye powder dust, a dust mask is a cheap and efficacious preventive solution here.
For a consistent color, ensure the solution is thoroughly mixed. Inconsistency in the mix can lead to uneven dyeing. Also, do not rush with mixing, settle when the solution is uniform.
Lastly, add some liquid dish soap to the mix. This acts as a leveling agent, promoting even distribution of color throughout the yarn. About a teaspoon should suffice, but this too can vary with the amount of dye and water used.
In essence, while mixing dyes, the key elements are safety, precision in following instructions, stirring until dissolution, and the soap promotion of even color distribution.
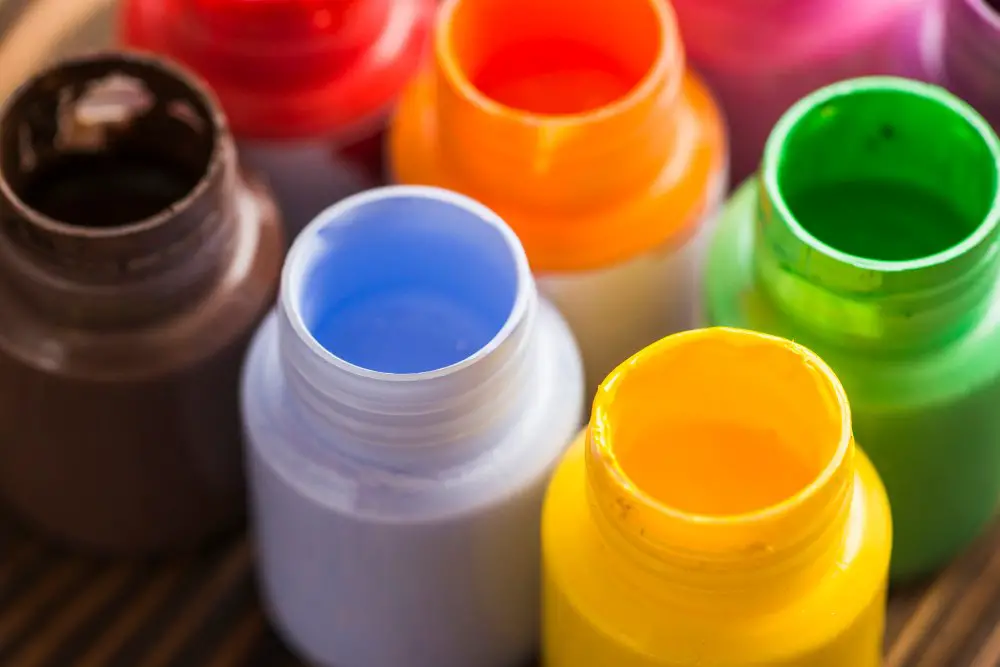
Applying Dye to Cotton Yarn
Start by laying out your presoaked yarn on a surface covered with plastic wrap. This will keep your work area clean while preventing unwanted dye transfer. Distribute the dye evenly over the cotton yarn using a squeeze bottle for precise application.
Use different colors if desired, ensuring that each color transitions smoothly into the next for a gradient effect. Remember, it’s essential to allow the dye to penetrate all areas, including inside any yarn hanks. Use gloved hands to gently work the dye in if needed.
In the event of applying multiple shades, remember to start with the lightest before moving to darker tones, making sure to rinse your hands between color changes to prevent unintended mixing. Once the dye has been applied to your satisfaction, gently squeeze out any excess before moving on to the heat setting process.
This step is where you can truly showcase your creativity, making your hand-dyed cotton yarn truly unique. But, always remember to take your time and enjoy the process, as each piece you dye is a reflection of your individual style and artistic flair.
Time and Temperature Guidelines for Dyeing Process

Maintaining optimum time and temperature is pivotal for the successful dyeing of cotton yarn. Once the dye is properly mixed, the cotton yarn submerged in it should be kept at a temperature between 95 to 105 degrees Fahrenheit. A lower temperature might result in uneven color distribution, while a higher one could lead to color fading.
For saturated hues, let the yarn soak for at least 30 minutes. For pastel shades, reduce the soaking time. As each dye might have a slight variation in preferred time/temperature combination, it’s always a good idea to refer to the specifics of the brand. Temperature regulation may be more challenging with home equipment, so consider investing in a yarn dyeing kit with a dedicated heater.
To maintain the temperature consistently, consider using a thermometer and adjust the heat source as needed. A slow, steady, and sustained heat is better than quick bursts at high temperatures. Remember, haste makes waste, especially in yarn dyeing.
As implied, patience is the key. After the dyeing, let the yarn slowly return to room temperature – rapid cooling can cause the dye to blotch. This slow cooling process allows the dye molecules to link with the cotton fiber, ensuring a vibrant and long-lasting color.
Also, it’s worth mentioning that silk, wool, and synthetic fibers may require different temperature ranges and timing, so ensure to verify these guidelines specifically for cotton yarn.
Drying Time and Procedure After Dyeing
Once the yarn has marinated in the dye for the prescribed time and temperature, it’s time to proceed to the drying stage. This process is fairly straightforward but demands care.
1. Before attempting to dry, rinse the cotton yarn thoroughly in lukewarm water. The water’s temperature should gradually be decreased during the rinsing process, to prevent color bleeding and fading.
2. After the rinsing is complete, you need to remove any excess water from the yarn. Avoid wringing the yarn out as it can distort or harm the fibers. Instead, gently squeeze the yarn or roll it in a clean, dry towel to extract the water.
3. The yarn should be left to air dry completely. This could be done by placing the yarn on a flat, clean surface away from direct sunlight or hanging it up vertically. Ensure the chosen spot is well-ventilated to speed up the drying process.
4. It is essential to let the yarn dry to full completion before using it for your intended project. Rushing to use even slightly damp cotton yarn can affect both its texture and the overall look of your project.
By following these instructions, a vibrant and evenly dyed cotton yarn would result. Preparation and patience are both key in this drying process. This way, the beauty of the dyed yarn can be preserved for longer, leading to visually striking and durable finished objects.
Cleaning Process After Dyeing Yarn
Once your dyed yarn has cooled down, you’re ready for the cleaning process. Start by rinsing it thoroughly under running water. During this rinse, it’s crucial to keep the temperature consistent as sudden changes could lead to unwanted felting.
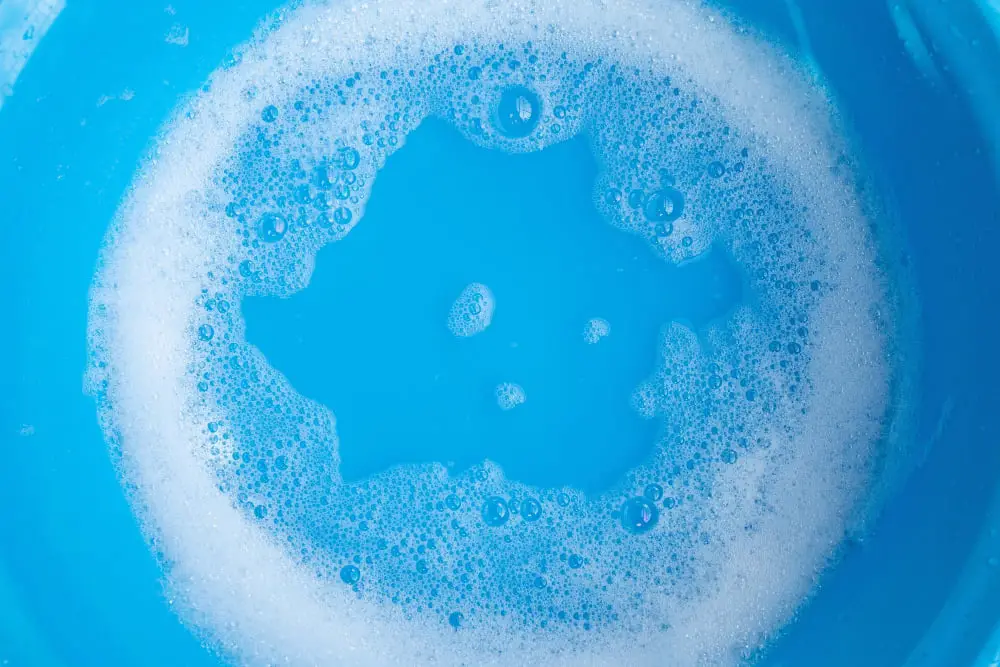
After a thorough rinse, soak your yarn in a solution of lukewarm water mixed with a mild soap or textile detergent. This soak will help to remove any excess dye residues, enhancing the color fastness of your yarn.
When using soap or detergent, remember to use a minimal quantity rather than an excessive amount which could leave a residue on the yarn. After the soak, rinse your yarn again to eliminate any soap or detergent traces.
Finally, gently squeeze out the excess water. Instead of wringing your yarn, which can lead it to lose its shape, roll it in a clean dry towel and apply gentle yet firm pressure. This will help in absorbing most of the moisture. Leave the yarn to air dry, lay it flat to preserve its form.
Refrain from using heating appliances such as hairdryers for drying your yarn as these can cause shrinkage or other damage to your beautifully dyed yarn. Allow it to naturally air dry. This higher patience approach can enhance the longevity and quality of your dyed yarn considerably.
Maintaining Color Fastness in Dyed Cotton Yarn
Ensuring that your newly dyed cotton yarn maintains its vibrant hue is crucial. First, it’s key to thoroughly rinse the yarn once the dyeing process is complete. This helps to flush out any excess dye that may still be attached to the fibers. Rinse until the water runs clear, indicating that the remaining dye has been successfully washed away.
Second, using a professional quality fixative seals in the dye, preventing it from washing out over time. This should be applied after the dye has been thoroughly rinsed from the yarn. Be sure to use a fixative that matches the type of dye used for best results.
Third, avoid exposing your dyed yarn to prolonged periods of sunlight. UV light can cause the colors to fade, especially in darker hues.
Lastly, when washing your dyed yarn or any projects made from it, use cold water and mild soap. Avoid any harsh detergents or bleach as these can strip the yarn of its color.
By following these four steps, your dyed cotton yarn will retain its color for a longer period, ensuring that your projects stay vibrant and colorful for a long time.
Annual color fading is natural for dyed yarns, so don’t be discouraged if your yarn slightly lightens over years of use. That’s part of the beauty of hand-dyed goods.
Alternative Dyeing Methods: Food Coloring and Kool-aid Method
For a unique and light-hearted approach, food coloring or Kool-Aid packets can serve as dye alternatives.
When using food coloring, bear in mind that this method may not yield as vibrant results as other dyes. Start by preparing a mixture of one part vinegar to four parts water. Soak your cotton yarn in the solution before applying the dye.
Kool-Aid, on the other hand, can yield surprisingly vibrant results and offers a variety of color options. Simply mix packets into a pot of water until the desired depth of shade is achieved. Heat the water, immerse the yarn, and leave it to absorb the color.
Remember, while these methods offer a fun and cost-effective solution, the longevity of the dye may vary. It’s best to hand wash items created from yarn dyed using these methods to preserve the color for as long as possible.
FAQ
Can you dye 100% cotton yarn?
Yes, you can effectively dye 100% cotton yarn, especially if it’s white or off-white as this allows for a true color outcome.
What can you use to dye cotton yarn?
Cotton yarn can be effectively dyed using Fiber Reactive Dyes or Cold Water Dyes, specifically Jacquard Procion MX Fiber Reactive Dyes designed for plant materials.
What is the best dye for cotton yarn?
The best dye for cotton yarn is fiber-reactive dye.
Can you use Rit dye on cotton yarn?
Yes, you can use Rit dye on cotton yarn.
How do you prep cotton yarn for dyeing?
To prepare cotton yarn for dyeing, it is essential to first soak it in a mixture of hot water and soda ash for about 30-60 minutes to ensure the dye adheres properly.
Can you tie-dye cotton yarn for unique patterns?
Yes, cotton yarn can be tie-dyed to create unique color patterns using specific dye for textiles.
What safety measures should be taken when dyeing cotton yarn at home?
When dyeing cotton yarn at home, ensure adequate ventilation, wear protective clothing and gloves, and avoid direct skin contact with the dye.


