Embrace the art of quilting with yarn, because it does more than just securing the layers together; it adds to the aesthetic appeal, making the end-product your unique handmade masterpiece.
Tying a quilt with yarn is a charming, rustic way to finish your quilt and ensure its layers stay together. This technique involves threading yarn through the quilt’s layers and tying it off, creating small tufts throughout the quilt’s surface.
This article will guide you through the process step-by-step, covering everything from the materials you’ll need, to the actual tying technique, and even some tips for choosing the right yarn.
Whether you’re a seasoned quilter or a beginner, you’ll find this method straightforward and rewarding. Let’s dive into the details.
Key takeaways:
- Use a robust hand-sewing needle for quilt tying.
- Experiment with knot spacing for the desired look and function.
- Attach buttons or charms for added elegance and strength.
- Explore different quilt tying patterns using yarn.
- Choose between strip binding and pillowcase binding based on durability and preference.
Quilt Tying Supply List
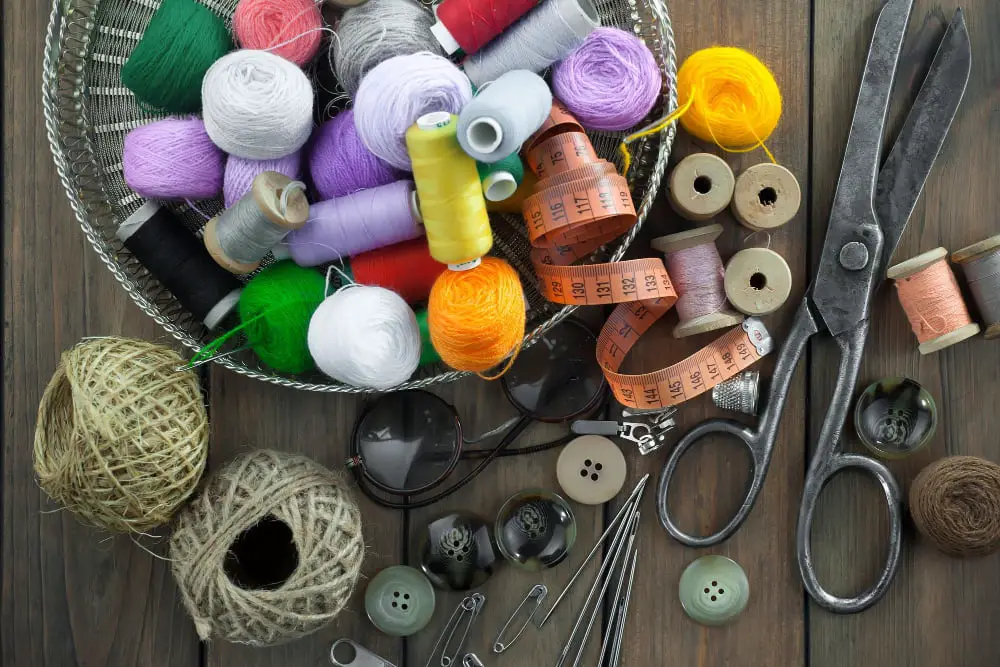
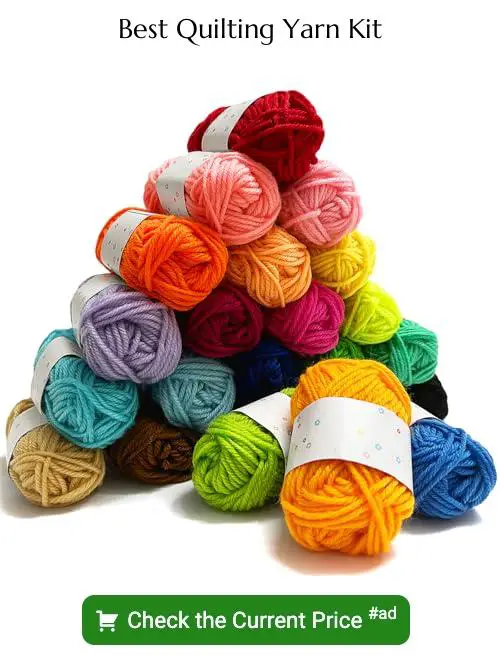
Gathering your tools upfront can streamline the quilt tying process and make the overall experience more enjoyable. You’ll need a robust hand-sewing needle, typically a size 5 or 7 for this type of task. Its large eye and sharp point make puncturing the quilt layers and threading yarn easy. Opt for a durable yarn, such as 100% wool, or a wool blend, which will withstand both use and washing.
A transparent ruler comes in handy for spacing your ties evenly, while scissors or snips will be required for cutting the yarn. Also consider a thimble, this tool will protect your finger when pushing the needle through the quilt layers. Lastly, quilting safety pins are great for stabilizing your quilt sandwich during the tying process. Getting your supplies in order will pave the way for a successful quilt tying project.
Step By Step Instructions On Tying a Quilt With Yarn
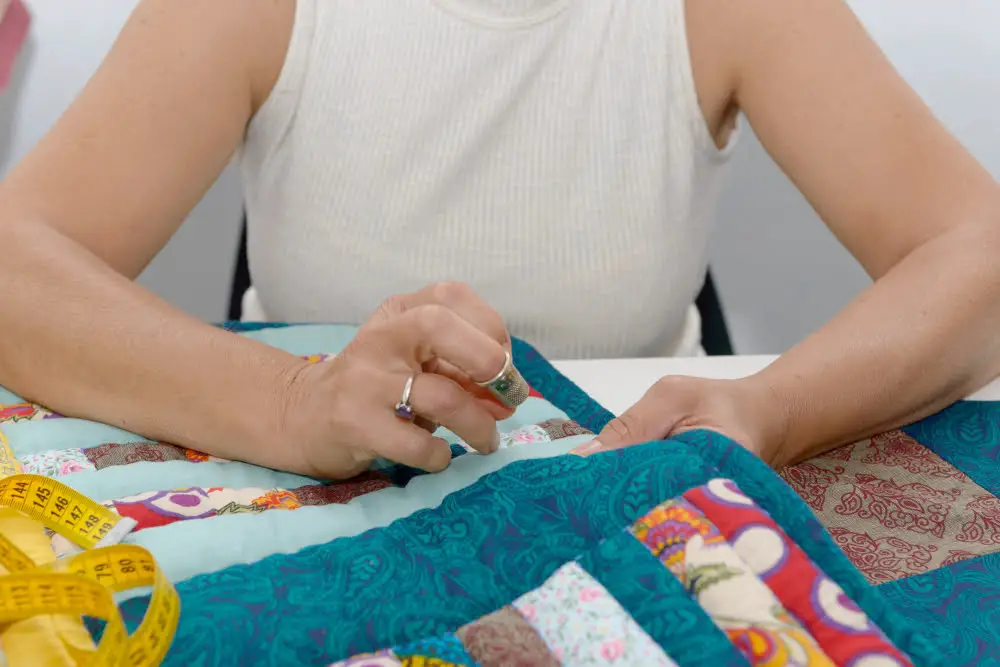
Begin by spreading the quilt out flatly to easily access its layers. Take a length of yarn about 18 inches long, then thread it through the yarn needle. Start in the center of the quilt and pierce the quilting sandwich (top, batting, and back) from top to bottom. Pull the yarn through, leaving about 3 inches hanging on the top side.
For the second stitch, pierce the quilt close to the first location, but in reverse, from bottom to top. Remove the needle, hold both yarn ends together, and tie them in a square knot. Trim the ends to about 1 to 1.5 inches long. They should stand on end.
Repeat this process as necessary, spacing the ties evenly according to your design. Your quilt will become secure, with a decorative touch added by the ties.
How Far Apart Should the Knots Be?
Traditionally, quilt knots are placed roughly 4-6 inches apart. This spacing ensures a balance of functionality and aesthetics. However, the exact distance can depend on several factors:
1. Yarn Type: Thicker yarn might need less frequent knots due to its strength and ability to secure the quilt layers more effectively. Thinner yarn, on the other hand, may require knots spaced closer together.
2. Quilt Use: If the blanket’s primary purpose is decorative, knots could be more spaced out. But quilts designed for everyday usage might need knots closer together for added durability.
3. Personal Style: The frequency of knots can have a significant impact on your quilt’s overall appearance. More knots create a patterned, textured look, whereas fewer knots can result in a cleaner, simpler design.
4. Quilt Thickness: More substantial quilts may require closer knots to ensure all layers are securely fastened. Lighter quilts may be fine with more distant knots.
Remember, experimentation is key to finding out what works best for your particular project. Don’t be afraid to play around with knot spacing until you find your preferred balance of functionality and design.
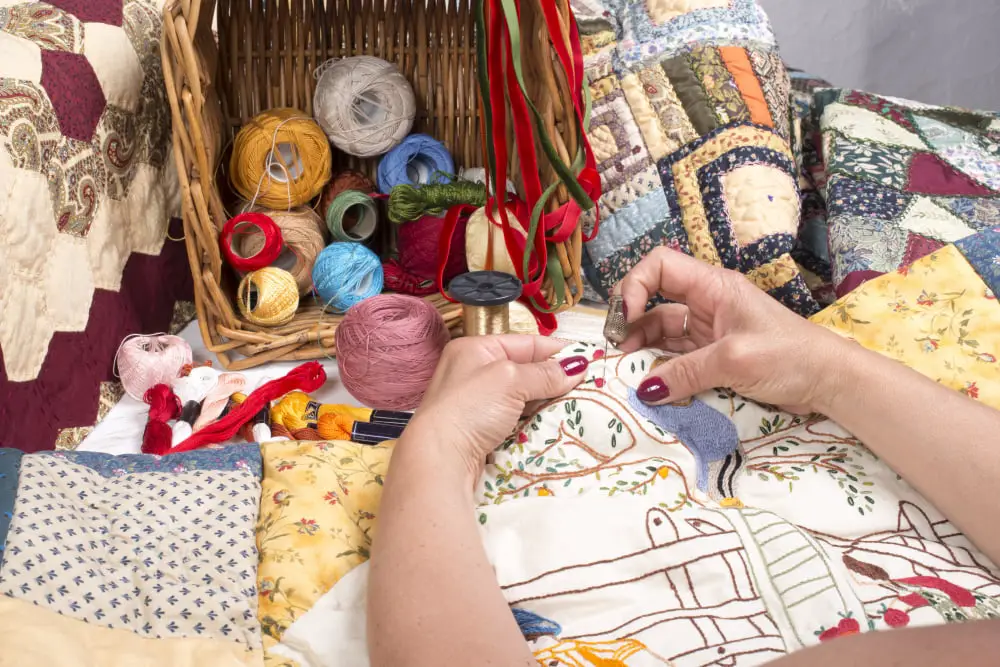
How to Tie a Quilt Using Buttons or Charms
Incorporating buttons or charms adds a touch of elegance and personal style to a quilt. To attach them correctly, follow these steps:
1. Position: Place the button or charm where you would place a yarn tie, ensuring it aligns well with the quilt’s design.
2. Secure: Use a doubled length of yarn, thread it through the button or charm and then through the quilt layers.
3. Knot: Repeat threading through a few times, then finalize with a surgeon’s knot. You may hide the knot on the back of the quilt or make it a design feature, depending on your taste.
4. Trim: Cut the yarn leaving a bit protruding to avoid an unravel.
5. Repeat: Follow the same pattern spacing every button or charm knot consistently apart.
Remember, buttons or charms not only aesthetically elevate your quilt but also distribute the quilt’s weight evenly, lending an extra layer of strength. Moreover, while buttons can be picked based on size, color, and form, charms can bring symbolic meanings, providing a storytelling element.
Try to balance the look and function, always considering the recipient’s preferences, the quilt’s overall theme, and its intended use.
Trending Quilt Tying Patterns Using Yarn
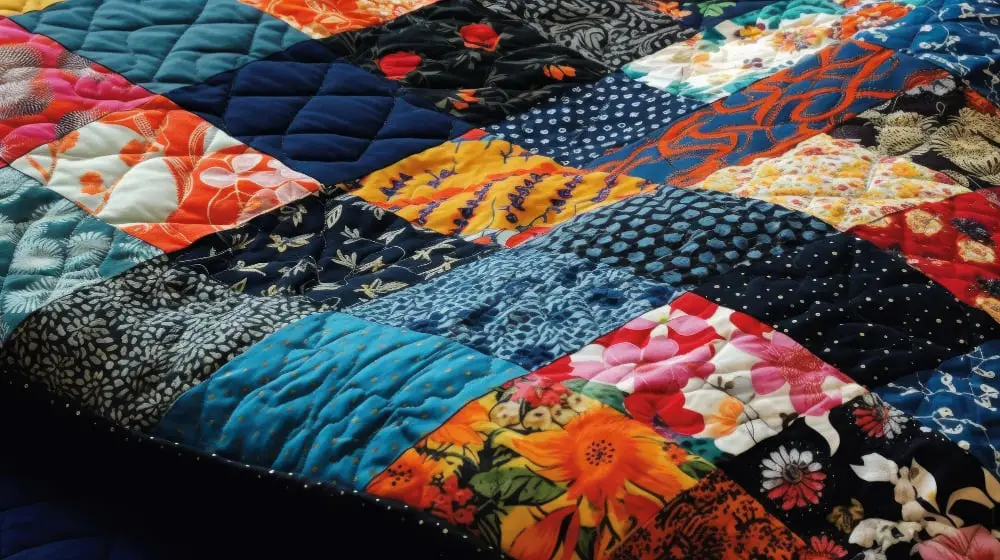
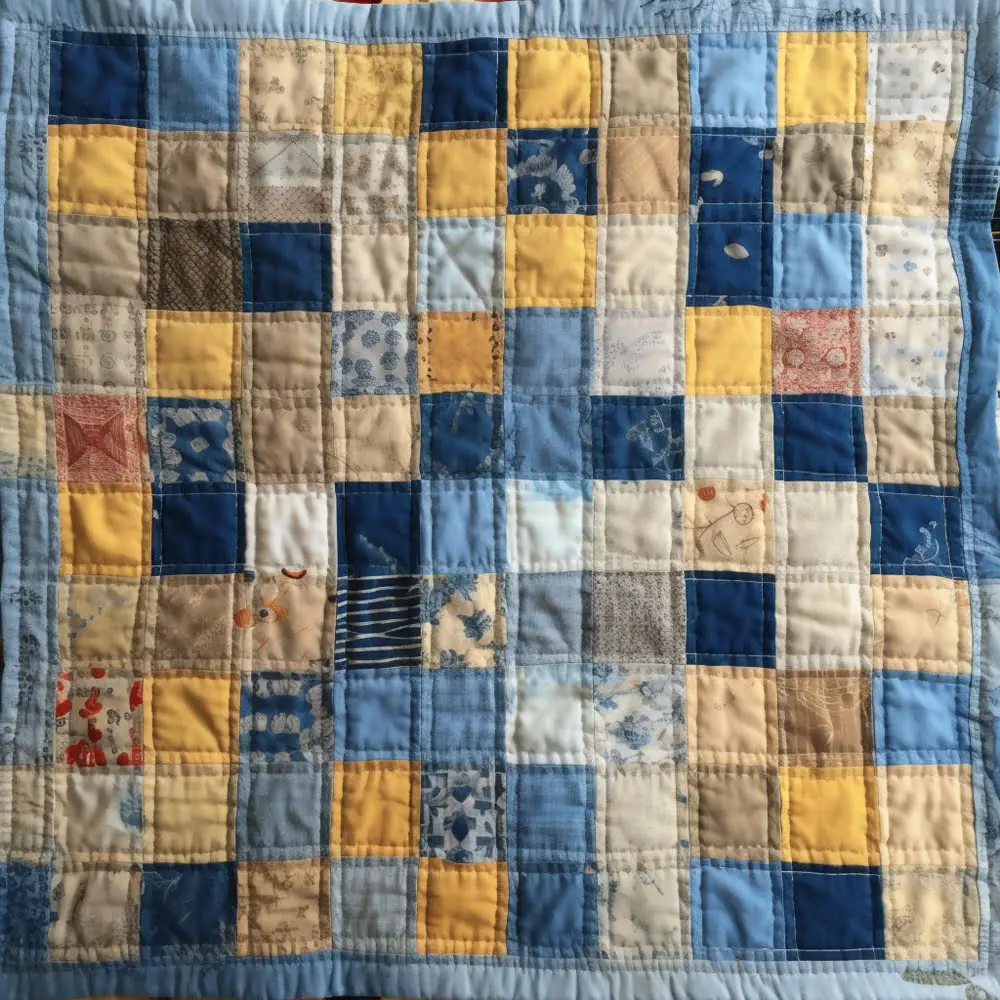
One common pattern that has gained popularity is the basic square knot pattern. It is something that even beginners can comfortably execute. One could alternate colors of the yarn to create a visual treat on a modest solid-colored quilt.
Another favorite is the repetition of the diamond pattern to quilt. To achieve this effect, the placement of the yarn knots becomes essential, and they should maintain an angular pattern uniformly across the quilt.
An ambitious and worthwhile endeavor is the intricate circular pattern. With the knots representing the center of each circle, it creates an appealing aesthetic when used with multicolored or variegated yarn.
Aspiring for something more natural? The random pattern is your answer. No particular order needs to be adhered to which gives a wholesome organic look to your quilt. This may however require a bit more forethought to seem random and still aesthetically pleasing.
Finally, keep in mind that the appeal of yarn knotted patterns lies in their simplicity and the beauty of the yarn used. While the above are just a few examples, the possibilities for patterns are truly endless!
Tying Quilts With Strip Binding Vs. Pillowcase Binding
Strip binding provides a robust finish, as it involves the addition of a separate piece of fabric that wraps around the edges of the quilt. It’s suitable for quilts that will see frequent use and need to withstand regular washing, as it offers greater durability. There are two common methods – double-fold bias and straight-of-grain binding.
On the other hand, pillowcase binding, also known as envelope closure or birthing a quilt, doesn’t require additional materials. It’s created by layering the quilt backing, batting, and top and then sewing around the perimeter, leaving a small opening. The quilt is then turned right side out through this opening, which resembles the closure on a pillowcase, hence the name. This method is quicker and uses less fabric, making it a viable option for beginner quilters or those on a tighter schedule or budget.
However, durability might be a concern with pillowcase binding, and it might not be the best choice for heirloom quilts or those that will see heavy use. Overall, the method you choose depends on your project’s needs, your skills, and your preferences.
Tips for Sewing Perfect Quarter-Inch Seam for Quilting
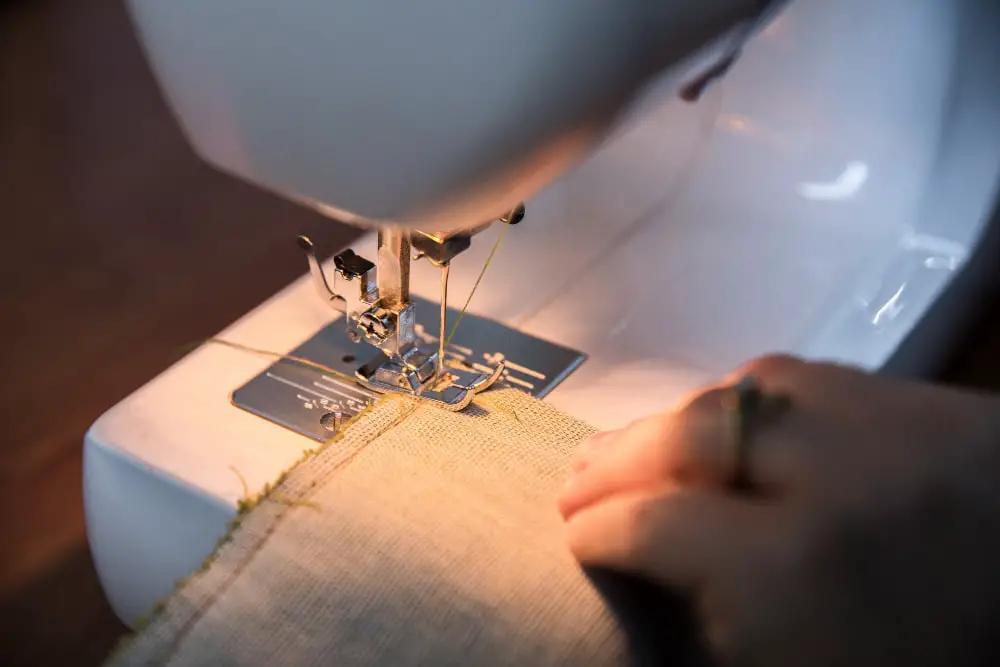
There are several tactics to help produce excellent quarter-inch seams. First, using a quarter-inch foot can be a game-changer. This special foot has a guide that helps you keep the fabric at the perfect width away from the needle. If your sewing machine doesn’t come with one, they’re readily available in craft stores or online.
Next, try the “scant” quarter inch seam technique. To do this, line up the edge of your fabric just slightly to the right of the quarter-inch mark on your sewing machine. When you press your fabric, this scant seam will spread out to a perfect quarter-inch.
It’s also important to remember to keep a consistent seam allowance throughout your project. This will help your quilt blocks fit together properly. Keep a close eye on your sewing needle position and fabric alignment for consistency.
Lastly, pressing your seams correctly can greatly affect your quilting accuracy. Press your seams to one side, rather than open, while quilting. This creates less bulk and aids in matching points.
Use these points next time you’re sewing a quarter-inch seam for a more precise and beautiful finish.
FAQ
Do you tie a quilt before or after binding?
The quilt should be tied before applying strip binding, but after binding if employing the pillowcase style.
What are the best types of yarn for quilt tying?
Cotton, wool, and polyester are typically the best types of yarn for quilt tying due to their durability, texture, and ease-of-use.
How to properly secure yarn ties in a quilt?
To properly secure yarn ties in a quilt, pass the yarn through the quilt layers, tie a secure knot, trim the ends to the desired length and repeat at regular intervals as dictated by your quilt’s layout.
What is the recommended spacing for yarn ties in a quilt?
The recommended spacing for yarn ties in a quilt is typically between 4 to 6 inches apart.


