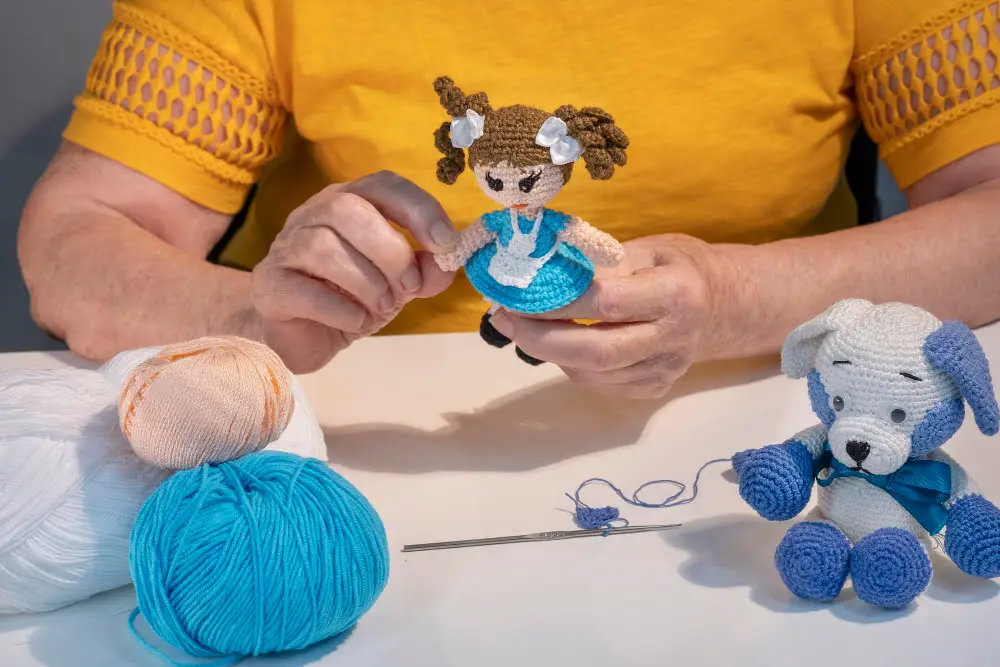
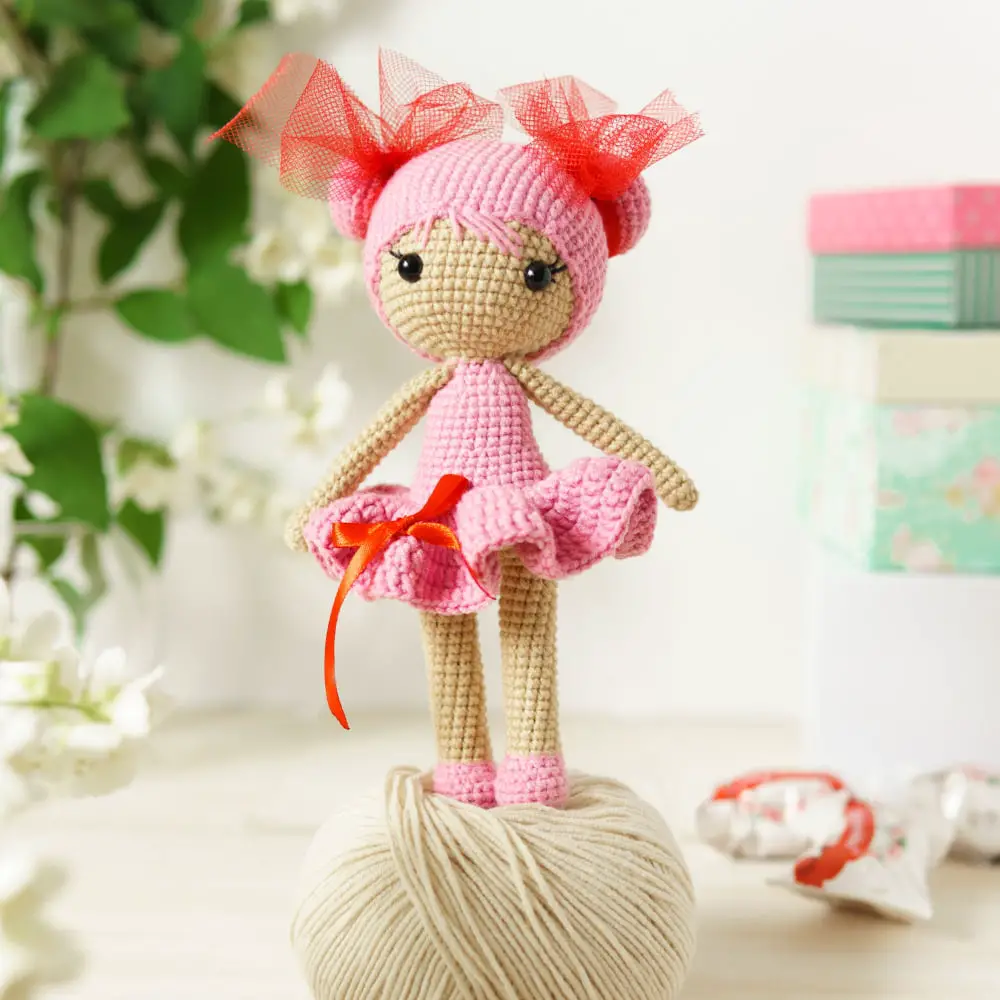
In this blog, you’ll discover the step-by-step process to create a charming yarn doll from scratch.
Creating a yarn doll is a delightful craft that combines simplicity and creativity. This article will guide you through the process, providing step-by-step instructions from selecting the perfect yarn to adding the final touches. Whether you’re a seasoned crafter or a beginner, you’ll find this guide helpful.
The process isn’t complicated; it involves wrapping yarn, binding, cutting, and a little bit of styling. By the end of this article, you’ll have all the information you need to create a charming yarn doll of your own.
Key takeaways:
- Choose soft and durable yarn for your doll.
- Consider the color and storytelling aspect when selecting yarn.
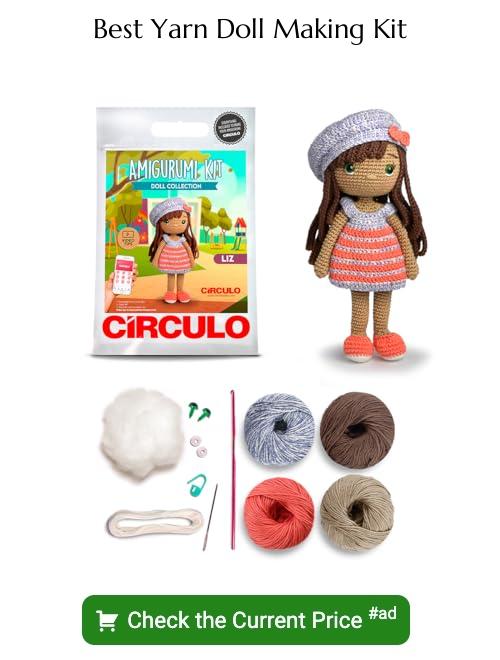
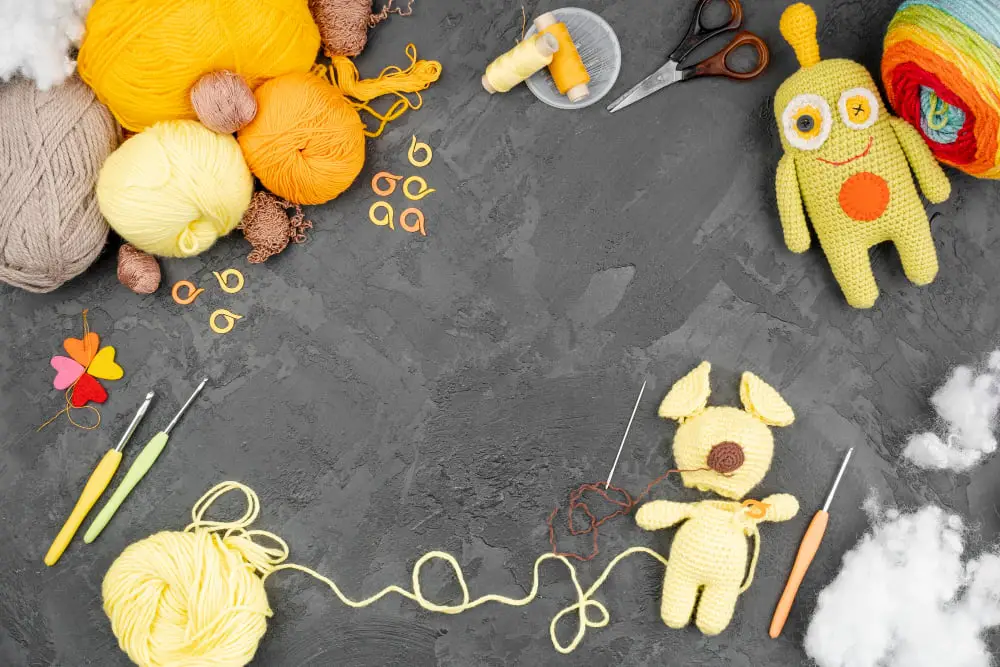
- Gather quality materials like wool or acrylic yarn, cardboard, scissors, and embroidery floss.
- Cut multiple strands of yarn for a fuller body and trim for uniformity.
- Wrap yarn around a piece of cardboard, secure, and remove from cardboard.
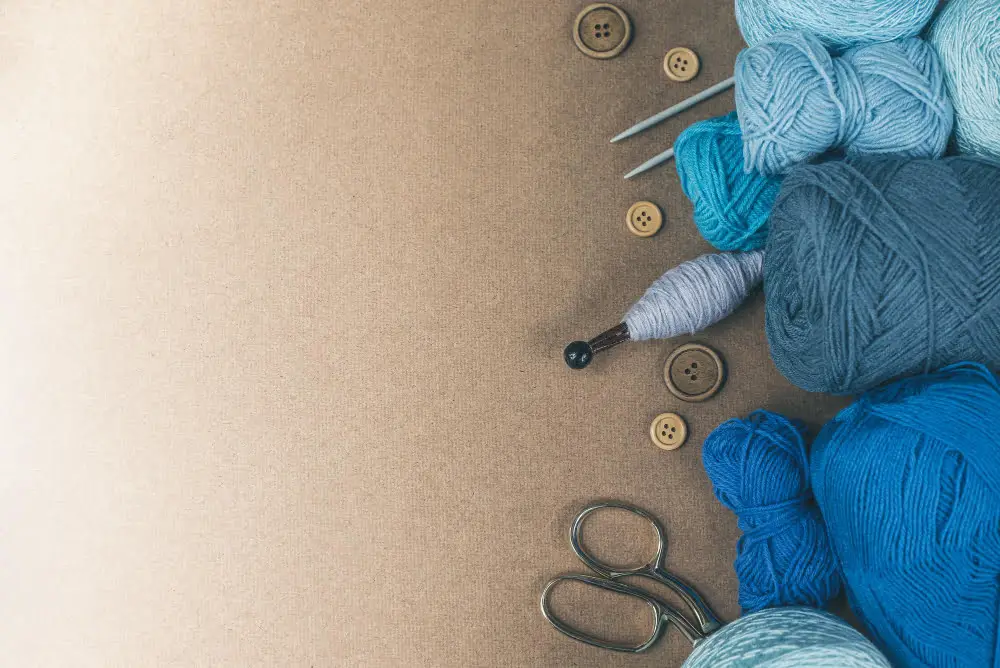
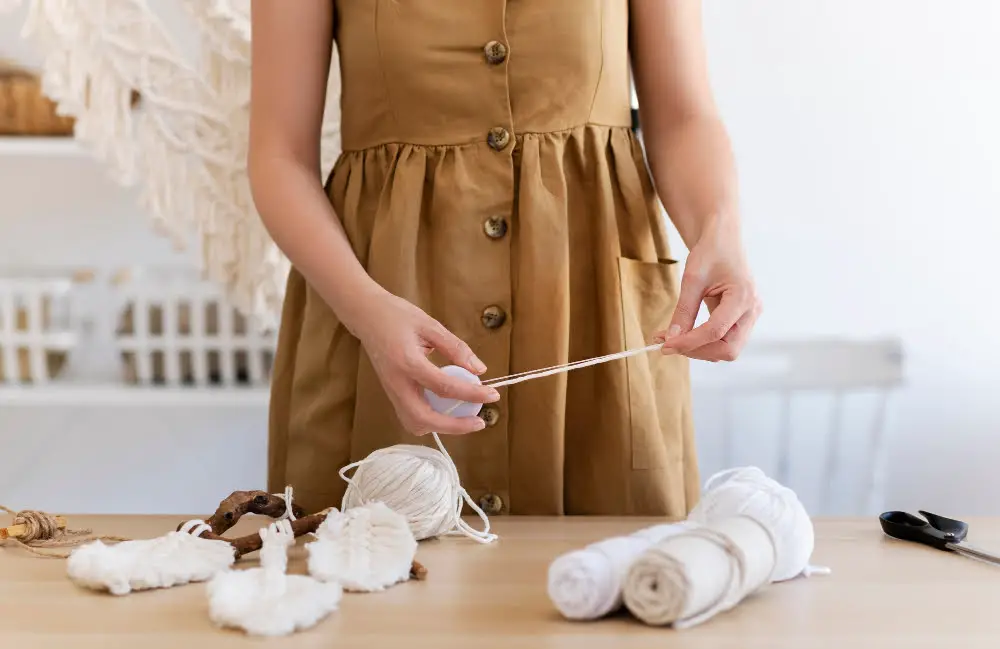
Selecting Quality Yarn and Color for Your Doll
Quality and color are vital when choosing yarn for your doll, impacting both aesthetics and durability. Here are some key factors to consider:
For yarn quality, comfort and durability matter. Opt for wool, acrylic, or cotton yarn, which are soft and wear-resistant.
Test the yarn’s texture by rubbing it between your fingers. Yarn used to make dolls should feel smooth to the touch.
When it comes to color, personal preference assumes a significant role. Consider who the doll is for or where it will be placed.
Choosing a color also has a storytelling aspect. Think of the character or mood you want your doll to embody.
Please remember, lighter-colored yarn may show dirt more easily, whereas vibrant colors may cause color bleeding when washed. Always wash your yarn prior to use if you suspect color bleeding.
Consider mixing different colored yarns for unique combinations. Experimentation can yield beautiful results, like creating dolls with multicolored hair or dresses.
Lastly, be sure to buy enough yarn in the same dye lot to finish your doll. This ensures color consistency throughout the doll.
Following these guidelines will set a strong foundation for your yarn doll project, preparing you for the next steps: cutting and wrapping your yarn.
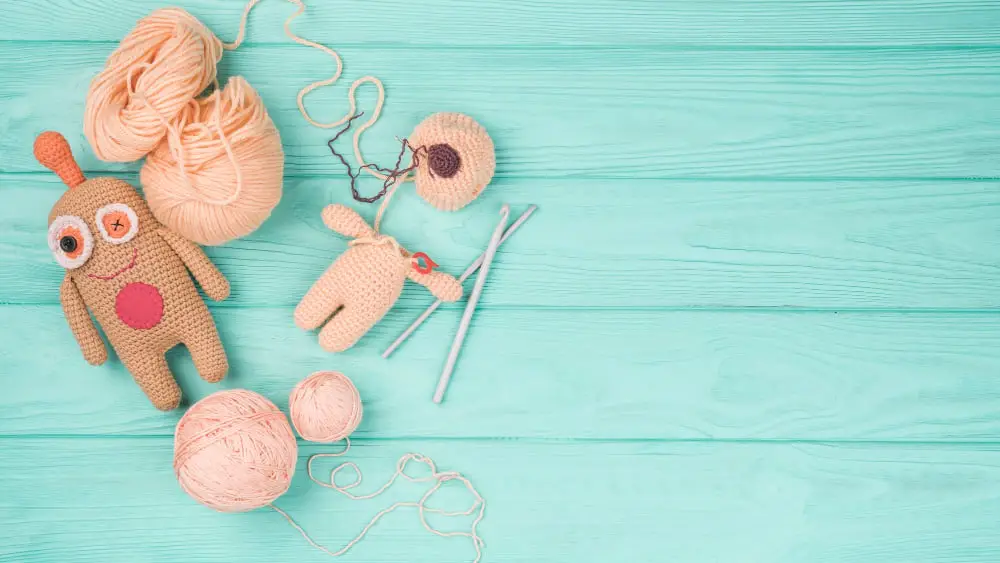
Gathering Required Materials for Yarn Doll Creation
Dolls of such charm and creativity necessitate a few key materials. As you start creating, you will want to have a high-quality yarn on hand. Wool or acrylic yarn are excellent choices, providing durability and a satisfying tactile experience. A color that suits your doll’s personality will also make your creation stand out.
Besides yarn, a piece of cardboard is needed. Its width will directly determine the yarn doll’s size, as it is used to wrap, cut, and shape the yarn. Sharp scissors for precise cuts, and a ruler for accuracy are also essential.
Last but not least, small hair ties, rubber bands, or thread can be used to tie off sections of yarn to form the body and limbs. For facial features and other small details, embroidery floss or small beads can add that unique touch. These are optional, but add depth and personality to your yarn doll.
Making a yarn doll is a delightful craft that is only enhanced by carefully chosen and gathered materials. The process uses these seemingly ordinary objects to create something simple, yet extraordinary.
Cutting Required Lengths of Yarn
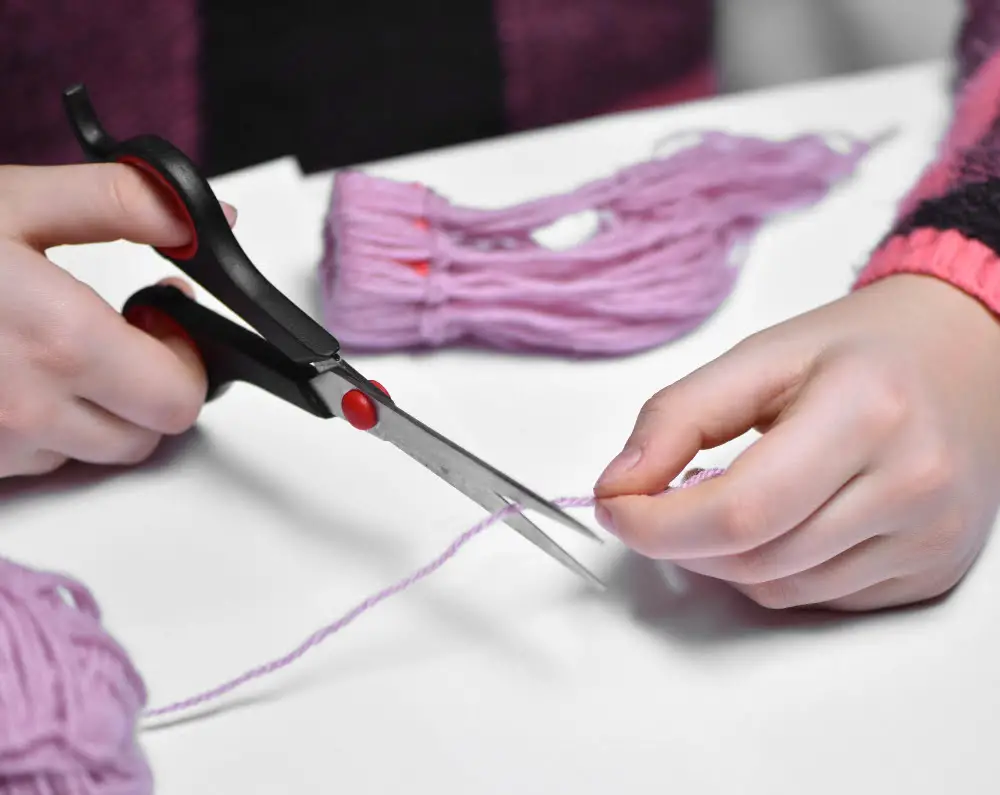
Start by identifying the length of yarn needed for your doll. For a medium-sized doll, approximately 36″ of yarn would be ideal, translating to strips of around twelve inches when folded in half. However, the length can vary depending on the size of the doll you desire to craft. A larger doll will naturally demand longer pieces, while a smaller figurine will use shorter strands.
Ensure to cut multiple pieces of yarn of the same length. These collectively will form a more substantial, fuller body for the yarn doll. The number of strands is subjective to your own preference, with the rule of thumb being – more strips introduce more bulkiness and fullness to the doll.
Remember, always cut a few additional lengths of yarn, which will be used to tie sections of your yarn doll together and form various figures, such as the head, arms, and legs.
Trimming your yarn pieces to a uniform length will help to preserve the symmetry and overall aesthetics of your finished yarn doll.
Wrapping Yarn Around a Piece of Cardboard
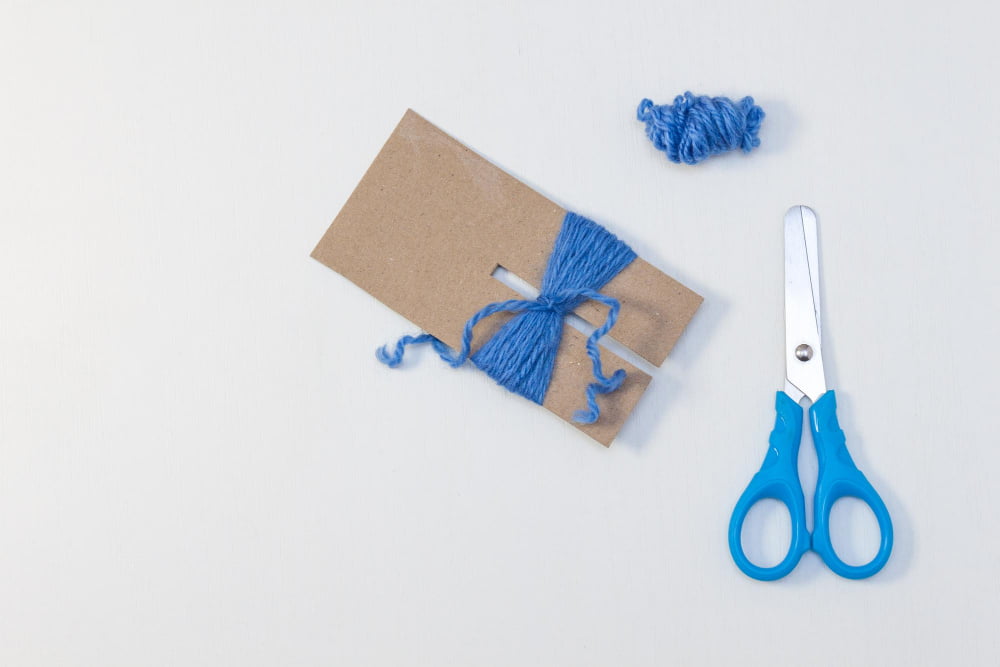
Start by choosing a piece of cardboard whose length corresponds to the desired height of your yarn doll. The cardboard’s width is not crucial; something between 4-6 inches usually works perfectly.
Begin by holding the end of the yarn at the top of the piece of cardboard. Start wrapping the yarn around the cardboard, ensuring it’s snug but not too tight. The wraps should be even and consistent, covering the full length of the cardboard.
Remember, the density of the wraps will impact the thickness of your doll. More wraps equate to a thicker doll, fewer to a thinner one.
Be sure to keep the yarn flat against the cardboard; avoid crossing over wraps. Once you’ve achieved the desired thickness for your doll, cut the yarn from the skein.
Secure the end of the yarn with a piece of tape, to prevent unravelling. Now we are ready to move on to forming the doll’s shape.
Securing the Yarn At the Top
After wrapping the desired amount of yarn around the cardboard, take a separate piece of yarn, approximately 20 cm long. Place this under the wrapped yarn at one end of the cardboard. You’ll now tie it in a secure knot. This operation is vital to maintaining the bound bunch of yarn.
To secure the top, follow these simple steps:
- Put the loose yarn piece beneath the wrapped yarn so it lines up perpendicular to the cardboard.
- Lift both ends up, cross them over the top of the wrapped strands.
- Firmly tie a double knot, ensuring all wrapped strands are caught in it.
This forms what will become the “top” or “head” of your doll. Care should be taken to ensure the knot is as tight as possible to prevent the wrapped yarn from unraveling. It’s appropriate to leave the ends of this piece free, as they become part of your doll’s “hair”. Tying this knot also forms the basic shape of your yarn doll, setting the stage for creating more distinct features later.
Make sure your knot is secure by gently tugging on the yarn ends. This will guarantee fewer complications as you continue constructing your yarn doll.
Detaching Yarn From the Cardboard
Once you’ve wrapped and secured the yarn on a piece of cardboard, the next step involves gently removing the yarn bundle from the cardboard.
- Carefully lift up the tied end of the yarn from the cardboard.
- While supporting the untied end, slowly slide the cardboard out. It should leave a neatly wrapped bundle of yarn.
Ensure you maintain the shape of the bundle during this process. This forms the basic structure of your yarn doll, which will be trimmed and tightened in the following steps. Be gentle and patient to avoid tangling or losing strands. The efficiency of this step significantly impacts the formation of the remaining doll parts.
Forming the Doll’s Head
To form the doll’s head, start by carefully locating the center of the yarn bundle you have previously prepared. Secure this area tightly with a piece of yarn. To give the doll more realistic proportions, the head should be appropriately sized, so consider cinching an area about one third from the top of the bundle. This will create an oval shaped head above your knot.
Tighten it securely so the form stays in shape. Meanwhile, make sure the knot is at the back of your doll to keep it hidden. Practice the cinch and knot procedure a few times until you are comfortable with it. By handling the yarn gently, yet firmly, your doll’s head will take a proper shape.
Take your time and be patient with this process. Try different sizes to achieve your desired look. Keep in mind that the more realistic the proportions, the more lively your yarn doll will appear. Do not worry about any stray pieces of yarn – you can trim those later.
Remember: Locating the right spot for the head, cinching the yarn tightly, practicing the procedure, and continually refining are integral parts of creating a well-made yarn doll.
Creating the Yarn Doll’s Arms
After forming the head section, separate a smaller bunch of yarn strands from the main body, on either side. This will serve as your doll’s arms. Make sure both arm bundles are about equal size for a balanced appearance.
Hold the arm bundles in place and tightly tie a piece of yarn around each bundle, a short distance from the top of each bundle to form the wrists of the doll.
Spread out the bundle of strands below the wrist ties to create the hands. The unbound strands below the hands will form the doll’s body. Trim the edges of the hands to create a uniform look, if desired. It’s that simple.
Crafting the Doll’s Body
After forming the doll’s head, next comes the creation of the doll’s body, a critical step in achieving a balanced doll structure.
First, choose a longer strand of yarn and position it appropriately beneath the ties of the head to represent the body. Ensure the body’s length aligns with the proportions of the doll, keeping it neither too short nor too long.
Tie another piece of yarn to form the waist of the doll. This creates a partition that defines the body from where the doll’s legs will eventually be created.
Lastly, ensure consistency in the body region by evenly distributing the strands of yarn. This enhances the doll’s overall visual appeal and gives it a more professional, finished look.
Remember, patience is key during this process and will determine the overall outcome of the doll’s appearance. Try to make small adjustments wherever necessary and enjoy your craft!
Constructing the Yarn Doll Legs
To construct the legs of the doll, follow these easy steps.
Begin by determining where the legs will be. This will typically be from the halfway point of the doll’s body downwards.
Take an extra lengthy piece of yarn. Thread this through the middle of the doll, dividing the lower body yarn mass into two equal parts. This will act as an anchor for the legs.
Take hold of one side of the divided yarn, making sure to keep the pieces in order. Bind these strands together close to the doll’s body using the anchored yarn. Secure it with a tight knot.
Repeat the same process on the second side to form the other leg.
Snip off any excess yarn at the bottom, ensuring each leg is of equal length. Trim the ends for a neat finish.
Feel free to add details like shoes or boots using colored yarn or even by crocheting small covers. Make sure they are securely attached to avoid unraveling.
Remember, the beauty of a yarn doll lies in its homely and rustic appearance, so perfection is not required. It’s the unique, handcrafted aesthetic that gives your yarn doll its charm!
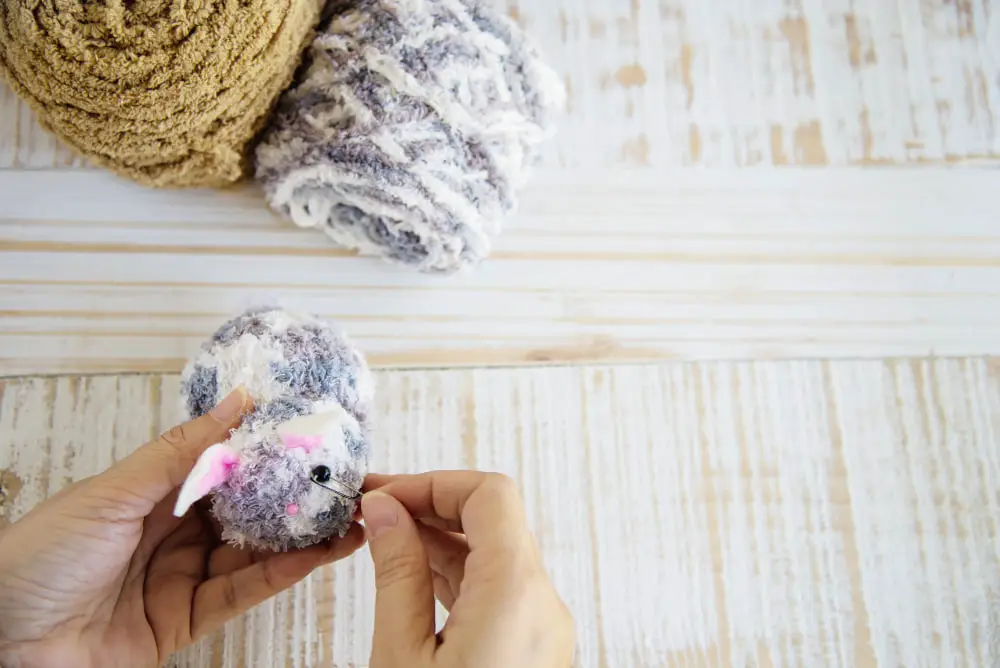
Incorporating Skirts and Other Details to Your Yarn Doll
For an added layer of intricate detail, consider giving your yarn doll a chic skirt. Start by choosing a complementary or contrasting yarn color to create the skirt. Cut these lengths slightly longer than the total length of your intended doll skirt, as this excess will be styled into the frills.
Wrap this set of yarn around a smaller cardboard piece – the width of this cardboard would set the width of the skirt. Slide the wrapped yarn off the cardboard carefully. Position this looped yarn around the waist of your doll, horizontally, sliding it up or down to get the desired skirt length. Tie this tightly in the middle – just as the doll’s head and body were created earlier. Cut through the loop ends to create the skirt’s fluffy appearance.
To customize your doll further, accessories such as hats or bags can also be created using similar processes, adjusting yarn lengths, and cardboard size accordingly. Finally, you may want to give your yarn doll a distinct personality. Add facial features using fabric paint, bead eyes, or stitched yarn features.
Remember, as in all crafts, the beauty lies in the uniqueness of each creation. So, feel free to let your creativity run wild when customizing your yarn dolls.
FAQ
Can you make a voodoo doll out of yarn?
Yes, a voodoo doll can indeed be crafted from yarn by cutting several lengths, fashioning these into a humanoid figure with arms, legs, and a torso, and securing each section tightly with additional lengths of yarn.
What materials, aside from yarn, are essential in creating a yarn doll?
Aside from yarn, the essential materials for creating a yarn doll are a pair of scissors, a sewing needle, and thread.
How can you add unique visual elements to your yarn doll, such as facial features or clothing?
To add unique visual elements to your yarn doll, you can use embroidery floss or small fabric cutouts to create facial features and clothing.
What techniques are required to ensure the durability of a yarn doll?
To ensure the durability of a yarn doll, techniques such as choosing high-quality, durable yarn, applying firm and consistent stuffing, implementing sturdy stitches using a crochet or knitting technique, and securely attaching the parts together are required.


