Learn how to create a crochet chain, the foundational step in crafting crochet projects, with these simple guidelines.
Key takeaways:
- Hook and yarn selection is crucial for a successful crochet chain.
- Creating a slip knot and holding the hook correctly are important starting steps.
- Following the proper technique for forming the foundation chain is essential.
- Troubleshoot common chain issues, such as twisting and tension problems.
- Practice and patience are key to mastering the crochet chain.
Gathering Your Materials
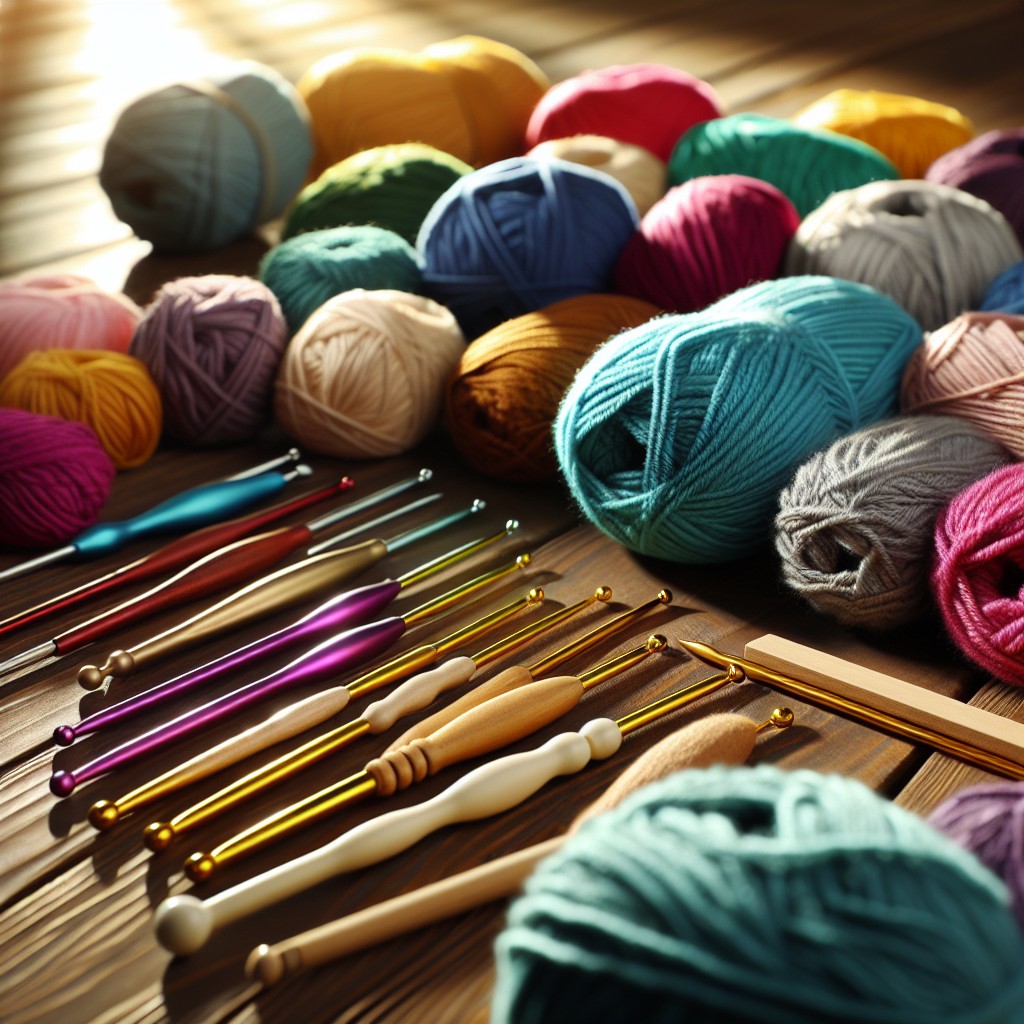
Before you dive into your crochet journey, arm yourself with a crochet hook and yarn. Think of these tools as your trusty sidekicks in the craft. The hook size can make or break your project – a mismatch with your yarn weight and you might find yourself in a tangle. Browse the yarn label for guidance; it often suggests an appropriate hook size. Lighter yarns work well with smaller hooks, while bulky yarns pair nicely with larger hooks.
Hooks come in various materials like aluminum, plastic, bamboo, or ergonomic designs to give your hands a break during those marathon crocheting sessions. When selecting yarn, consider its purpose. Acrylic yarn is a jack-of-all-trades, perfect for beginners due to its forgiving nature and wallet-friendly price. Wool, on the other hand, is cozy and warm, ideal for snuggly projects.
Once you’ve got your dynamic duo of hook and yarn, create a dedicated space for them. Keep them within arm’s reach to fuel your spontaneous bursts of crochet creativity. Now, you’re set to start your chain with everything at your fingertips.
Selecting the Right Hook and Yarn
Before diving into the sea of stitches, let’s talk hooks and yarn. Imagine them as dance partners; their compatibility is crucial. A bulky yarn paired with a tiny hook will be like trying to thread a camel through the eye of a needle – frustratingly futile.
On the flip side, a dainty thread with a hook that could double as a pirate’s peg leg is no good either. You’ll end up with lacy holes big enough to lose your goldfish through.
So, let’s keep it simple:
- Opt for a medium weight yarn (often labeled as ‘worsted’) to start. It’s the Goldilocks of yarns – not too thick, not too thin, just right.
- Your hook size should match your yarn’s recommendation. Check the yarn label – it knows what it’s talking about. Typically, a size H-8 (5mm) hook works wonders for beginners.
- Look for smooth hooks without snags. They should let the yarn glide like a figure skater on ice.
Remember, the right match will make your first chain feel less like a knitting knot and more like a smooth cha-cha slide.
Creating a Slip Knot and Holding the Hook
To kick off your crochet journey, a slip knot is your first port of call. Picture this as the handshake between yarn and hook, a little loop that says, “Let’s start something beautiful together.” There’s a simple trick to crafting this knot: think of making a pretzel shape with your yarn. Lay the tail end over the working yarn, loop it back underneath, and pull a bit of the working yarn through this newly created eye. Voila, you have a slip knot!
Grasping the hook can feel as natural as holding a pencil or as outlandish as wielding a wand, depending on your perspective. Your goal is to find a happy medium between a firm grip and nimble fingers. Imagine you’re lightly clasping a bird – enough to keep it with you, but gentle enough to let it move freely. Your thumb and index finger shall rest comfortably near the hook’s flat surface, while the others balance and steady the tool.
As you slide the slip knot onto your hook, give the yarn a gentle tug to secure it, but don’t strangle your hook; it still needs to breathe. A good rule of thumb is the knot should shimmy up and down the hook with ease, but not so loose that it risks an escape!
Forming the Foundation Chain
With your slip knot snugly on the hook, you’re ready to crochet the chain. Here’s your guide for smooth sailing:
Hold your hook in a way that feels natural, like you’re holding a pencil or knife, with the slip knot resting just on the hook. Your yarn should be in your other hand, tensioned (but not too taut) and ready to work with.
Yarn over (yo); that’s crocheter speak for looping the yarn over the hook. From back to front, swoop the yarn, catching it with your hook. A little twist of the wrist and you’ve got it.
With the yarn on the hook, it’s time to pull it through the loop. Gently but confidently, guide the hook back through the slip knot loop with its new friend, the yarn over.
Voila! You’ve created your first chain stitch. Now, it’s just a matter of repeating steps 2 and 3. Keep the motion consistent for even chains.
As you proceed, the chain will grow. Picture it as a caterpillar inching along—a uniform, snaky line of stitches.
If your chain starts to twist or you snag on the yarn, no panic! Just back up a stitch or two by gently pulling out the yarn from the loop on the hook and try again.
Remember, the foundation chain is the springboard for your entire project; get this right and you’re golden. Keep at it, and soon you’ll have a sturdy yet flexible base for your crochet masterpiece. Just like riding a bike, it’s all about practice and finding your rhythm. Keep the loops even, stay relaxed, and you’ll be chaining like a pro in no time.
Troubleshooting Common Chain Issues
Is your chain twisting like a pretzel? This is a classic newbie hiccup. Hold the nascent chain between your thumb and forefinger, keeping it straight as you work. It should help prevent your work from turning into a curly fry.
Chains tighter than a drum? That’s tension showing its true colors. If your yarn is as unyielding as a bank vault, relax your grip – your yarn isn’t about to make a break for it! It’s okay to give it some breathing room.
Loop sizes ranging from pea-sized to bagel-sized in the same chain? Consistency is king in crochet. Try to apply the same pull for each stitch. Imagine you’re a machine, where each loop is a carbon copy of the last.
Got a snarled yarn situation? It happens to the best of us. Keep your skein tangle-free by letting it sit in a yarn bowl or a no-frills bowl from the kitchen. It keeps your yarn rolling smoothly – no knots, no fuss.
Remember, practice makes perfect—no need to fret over every imperfection. Each chain is a stepping stone to becoming a crochet whiz. Keep at it, and soon you’ll be chaining like a pro!
Related Stories
- How to Crochet a Square: Simple Steps for Beginners
- How to Start a New Row Crochet: Step-by-Step Instructions for Beginners
- How to Crochet a Scarf: Step-by-Step Instructions for Beginners
- Single Crochet Stitch: Step-by-Step Tutorial for Beginners
- How to Make a Magic Ring: Step-by-Step Tutorial for Beginners