Learn how to crochet a square step by step, perfect for beginners or those looking to brush up on their skills.
Key takeaways:
- Gather necessary materials: yarn, crochet hook, scissors, needle.
- Create a secure slip knot to start your square.
- Learn the basics of single crochet for the first row.
- Continue building the square with consistent tension and stitches.
- Finish off your square by binding off and weaving in ends.
Materials and Equipment
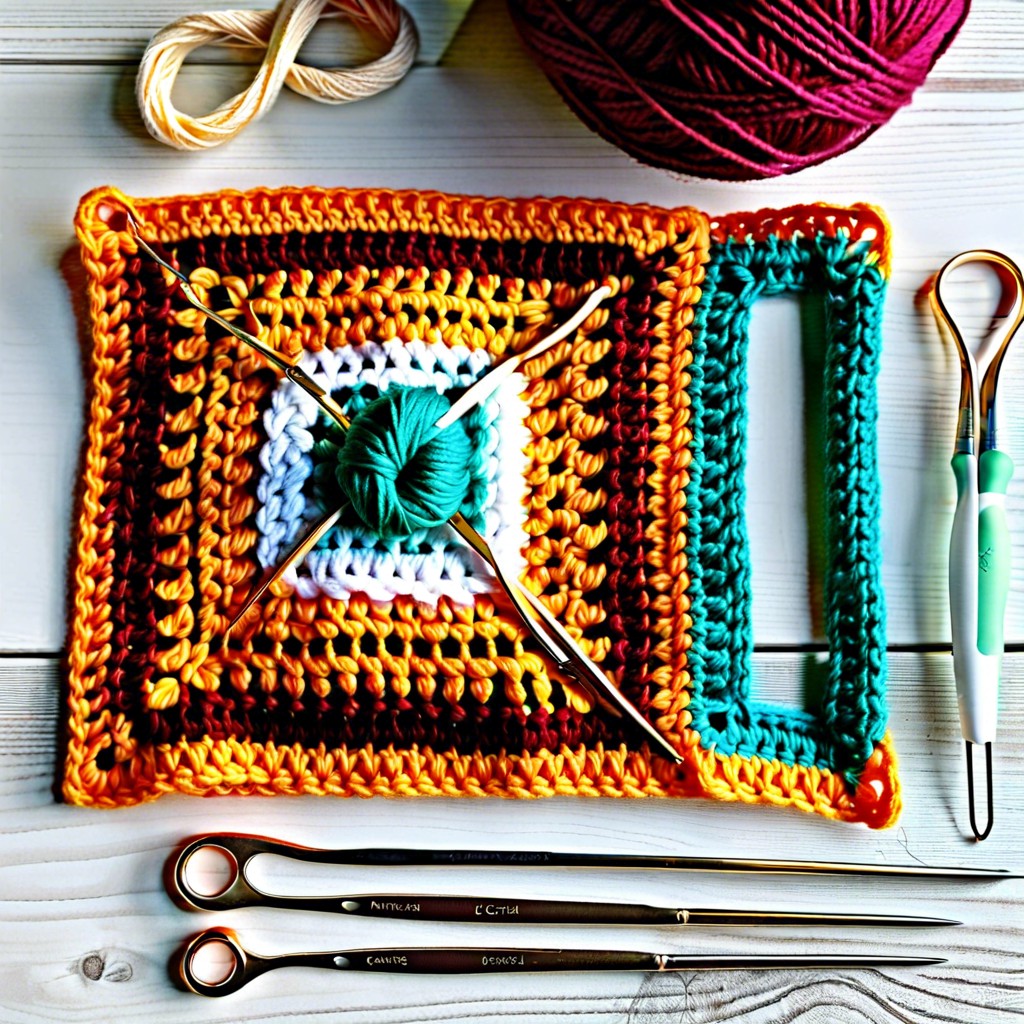
Before starting your crochet project, gather the necessary materials and tools. Choose a yarn that’s easy to handle; many beginners prefer medium weight yarn for its versatility and ease of use. Next, select a crochet hook compatible with your yarn’s thickness. Look for a hook that feels comfortable in your hand. This is usually marked on the yarn label as a recommended size. Optionally, a pair of scissors and a yarn needle will come in handy for finishing off your work. With these essentials, you’re ready to begin creating your crochet square.
Starting Your Square: Creating a Slip Knot
To kick off your crochet project, begin by making a slip knot. This foundational step is crucial as it secures the yarn to your crochet hook. Here’s a step-by-step guide:
- Choose your yarn: Any standard yarn works, but a smooth, medium-weight yarn might be easiest to handle.
- Make a loop: Lay the yarn flat and loop the end over itself to form a pretzel shape. Ensure the tail end is under the working yarn.
- Pull through: Reach through the loop and grab the working yarn (the yarn leading back to the skein). Pull it through the pretzel shape to create a new loop.
- Adjust the loop: Slide this new loop onto your crochet hook. Pull gently on both the tail and working yarn ends to tighten the loop around the hook. Make sure it’s not too tight—you want to allow the hook to move freely.
- Test the slip knot: Give a slight tug on the working yarn. If the loop tightens and loosens easily around the hook, you’ve done it right.
This simple knot marks the beginning of your square and sets the stage for subsequent stitches. Ensuring your slip knot is secure yet adjustable will make your crocheting experience smoother.
First Row: Single Crochet Basics
After creating your slip knot and chaining the required number of stitches for the base, you’re ready to start crocheting the first row. To begin, insert your hook into the second chain from the hook. Wrap the yarn over the hook, then pull it through the chain stitch. You should now have two loops on your hook.
Next, wrap the yarn over the hook again and pull it through both loops. Congratulations, you’ve just made your first single crochet stitch! Continue this process in each chain across the row. Remember, keeping your stitches consistent in size will make your square look neat and professional.
When you reach the end of the row, make one chain stitch to turn your work. This ensures your square edges are crisp and even. Now, you’re set to start the next row!
Subsequent Rows: Building the Square
After nailing the first row, the real fun begins as you expand your project. Continue by creating a turning chain, which usually consists of one or two chains, depending on your desired stitch height. This small step prepares you to work back along the first row.
As you start the next row, insert your hook into the first stitch, ensuring your yarn is positioned over the hook for an even loop pull through. This technique keeps the work tidy and uniform. Repeat the stitch you chose—whether it’s single crochet, half-double, or double crochet—across the row.
Remember, consistency in tension is key. Keep your yarn tension even to avoid irregularities in your square’s shape. If the fabric puckers or the edges curl, a tighter or looser grip on your yarn might be necessary.
To build the square, simply repeat this process for each row. Maintain the same number of stitches across all rows to keep the shape of your square. If you’re feeling creative, you can switch colors after a few rows for a striped effect!
By routinely checking the alignment and count of your stitches, you’ll see the square taking shape as you crochet row by row. Keep on stitching and watch your square grow right before your eyes!
Binding Off: Securing the Final Row
Once you’ve completed the last row of your crochet square, it’s time to finish off the work to prevent it from unraveling. To do this, cut the yarn, leaving about six inches of tail. Pull this tail through the last loop on your hook and tighten it to secure the stitch.
Next, weave in the ends of the yarn using a yarn needle. Thread the tail through the needle, and then weave it back and forth through several stitches on the wrong side of the square. This hides the yarn end and helps keep your square neat.
For an extra secure finish, weave the tail through stitches in one direction, then turn and weave back in the opposite direction. This “locking” motion helps ensure your yarn tail won’t come loose with use or washing.
Remember, taking a few extra minutes to properly bind off your crochet project will improve its durability and appearance, keeping it snug and tidy for longer.
Related Posts
 Easy Crochet Gnome Pattern Free: Transform Yarn into Whimsical Friends
 Crochet Star Blanket: A Stellar DIY Guide
 How to Crochet Slippers for Beginners Step by Step with Pictures: Cozy Feet Awaits
 Adjustable Ring Crochet: Master the Magic Circle
 How to Crochet Without a Hook: Hands-On Creativity