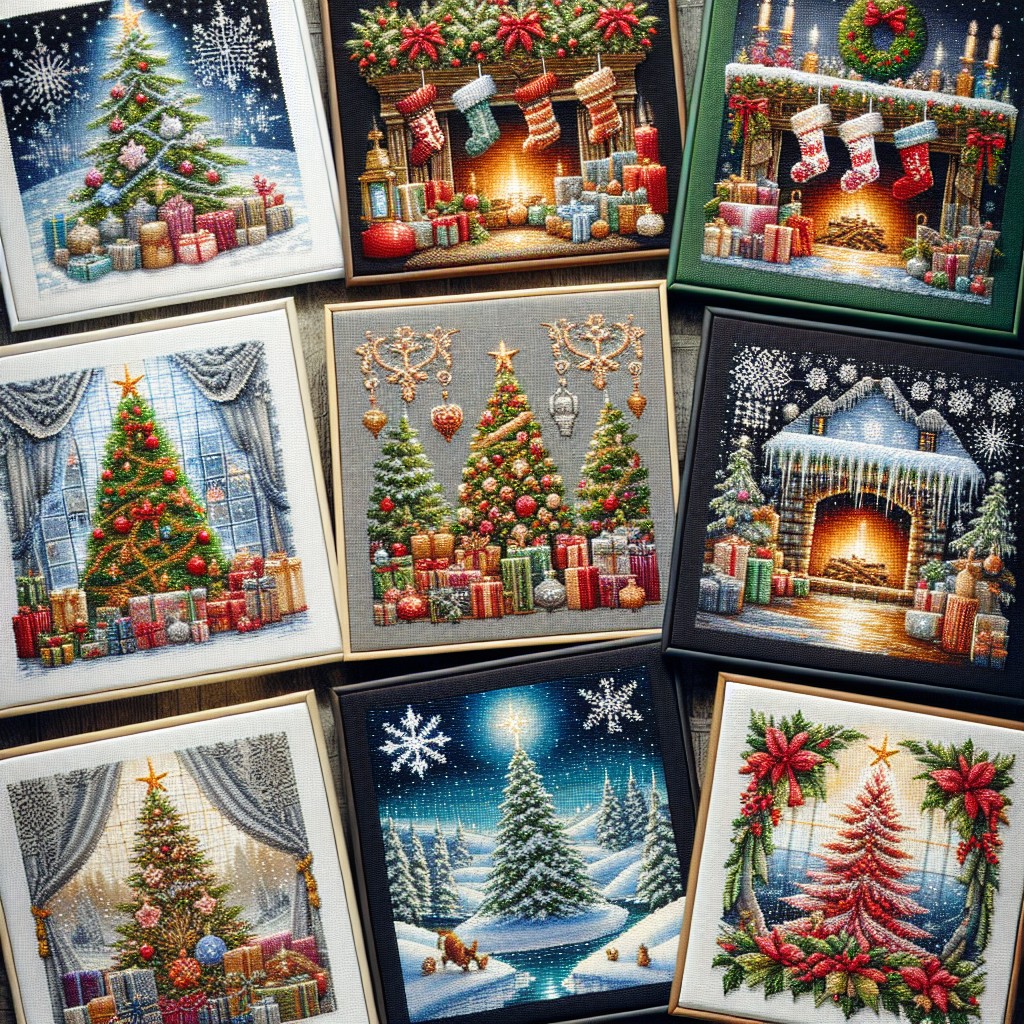
This buying guide offers valuable insights into choosing the perfect Christmas cross stitch kit to brighten up your holiday decor.
Key takeaways:
- Choose the right fabric for Christmas cross stitch: Aida cloth, linen, evenweave, and waste canvas.
- Select threads and colors for festive appeal: Green and red, metallics, white and blue tones, variegated threads, and specialty threads.
- Read and understand Christmas cross stitch patterns: Familiarize yourself with the legend, locate the center, consider the level of detail, and follow additional instructions.
- Master the basic cross stitch techniques: Starting your stitch, creating the X, maintaining thread tension, managing your threads, and working with multi-colored patterns.
- Finish your project: Wash and iron it carefully, choose appropriate framing or mounting techniques, and handle with care for longevity and vibrancy.
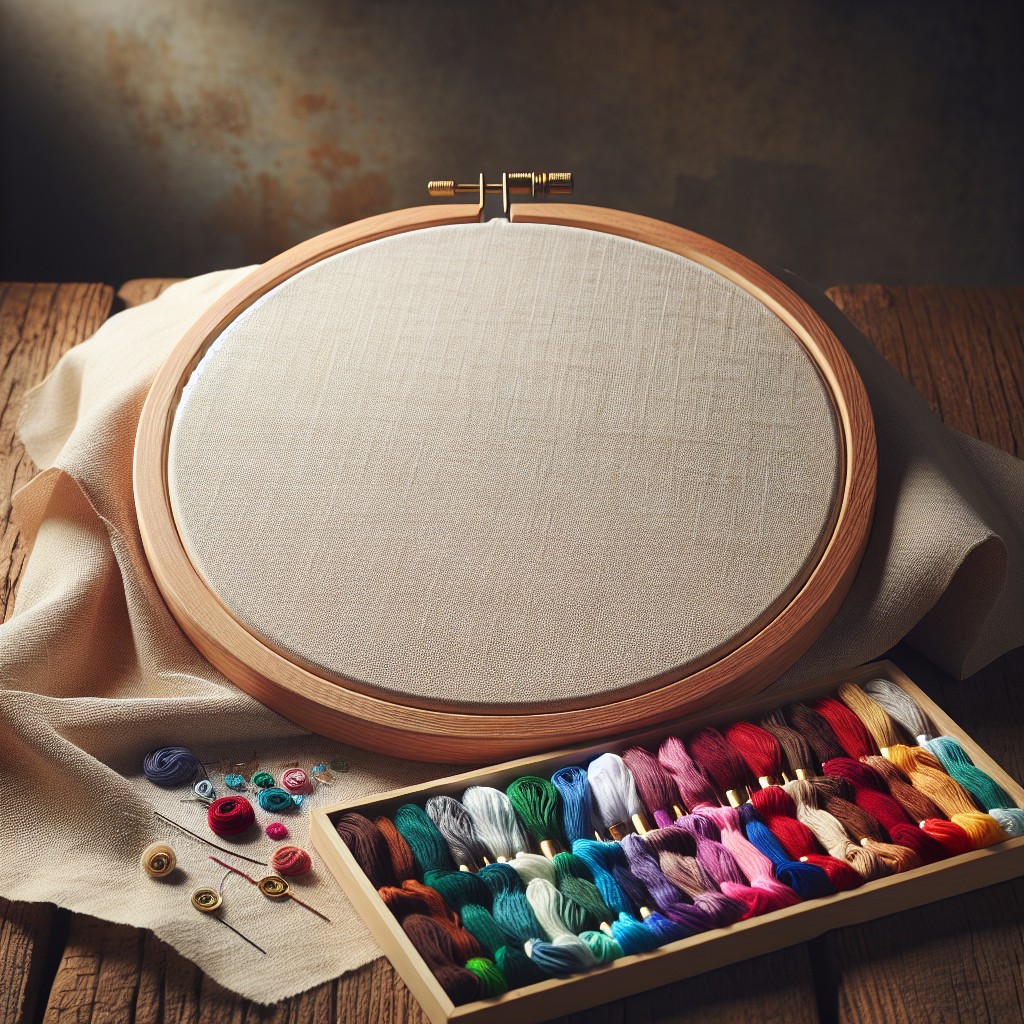
Choosing the Right Fabric for Christmas Cross Stitch
Aida cloth is a common choice for its evenly spaced holes, which can accommodate various thread counts. For finer detail, a higher count Aida, such as 18 or 22, is suggested. Conversely, a 14-count Aida might be preferred for larger designs and a more rustic look.
Linen offers a more traditional and elegant appearance with a natural weave, creating a sophisticated backdrop for Christmas designs. Typically, linen is used with a 28 or 32 count, which can be challenging for beginners but yields exquisite results.
When considering fabric color, a classic white or cream provides a neutral canvas, allowing colors to pop. However, for a warm, festive feel, opt for shades of gold, red, or green. Be mindful of the pattern’s background; a darker fabric might require brighter or metallic threads to stand out.
Pre-cut fabric sizes are available, but if a custom size is needed, ensure to leave a 3-4 inch margin around the design for framing or finishing.
Waste canvas can transform any fabric into a cross stitch base, perfect for adding holiday motifs to unconventional materials such as stocking cuffs or table linens.
Evenweave fabrics are an alternative for those seeking a balance between Aida and linen; they provide a regular structure with a less pronounced weave.
Before starting, wash and iron the fabric to prevent shrinking and distortion post-completion, ensuring a pristine base for your festive stitching.
Selecting Threads and Colors for Festive Appeal
Embroidery floss is typically used for cross-stitch, coming in a variety of fibers like cotton, rayon, and silk. For Christmas projects, consider the following points:
1. Shades of Green and Red: These quintessential colors evoke traditional Christmas sentiments. Various shades are available, allowing for depth and dimension in your design.
2. Metallics for Sparkle: Gold and silver threads add a festive shimmer. Use these sparingly for highlights and accents to avoid overwhelming your piece.
3. White and Blue Tones: Representing snow and winter skies, they complement traditional colors and add a chilly, wintry feel.
4. Variegated Threads: These offer a multi-tonal effect and add interest without complex stitching patterns.
5. Thread Quality: Opt for high-quality, colorfast threads to ensure your finished project doesn’t bleed or fade after washing.
6. Specialty Threads: Consider glow-in-the-dark or scented threads for a unique touch.
Choosing threads thoughtfully will contribute to the visual appeal and longevity of your festive cross stitch creation.
Reading and Understanding Christmas Cross Stitch Patterns
Navigating a cross stitch pattern is vital for bringing your Christmas project to life. Start by familiarizing yourself with the legend or key, which details the symbols corresponding to specific thread colors. Patterns typically display a grid with symbols in the squares that mirror the fabric’s weave. Each square on the pattern represents a cross stitch on the fabric.
Always locate the center of the pattern and the fabric, as this is where you will begin stitching to ensure an even and centered finish. Many designs recommend starting from the middle to balance the work on the fabric. Use the pattern’s arrows or lines to find this central point.
Consider the level of detail in the pattern. Simpler designs, with larger areas of the same color, are easier to follow and can be more suitable for beginners. More intricate patterns with numerous color changes and details will require careful attention to avoid errors.
Lastly, pay attention to any additional instructions that may come with the pattern, such as guidelines for backstitching or French knots, as these can add texture and dimension to the piece. By understanding these basic principles, managing the complexity of a Christmas cross stitch project becomes a more manageable and enjoyable task.
Mastering the Basic Cross Stitch Techniques
To ensure your Christmas cross stitch project turns out beautifully, it’s crucial to have a firm grasp of the foundational stitches. Here are some key points you’ll need to keep in mind:
1. Starting your Stitch: Secure the thread at the back of your fabric without using knots, which can cause bumps. Utilize a waste knot or weave the end under other stitches to start smoothly.
2. Creating the X: Work each cross stitch by forming an angled half-stitch (/) followed by a half-stitch that crosses it (\), completing the X. Consistency is key. Always start from the same direction to maintain a uniform look.
3. Thread Tension: Maintain even tension. Pull the thread so that it lies flat against the fabric but is not so tight that it puckers.
4. Managing Your Threads: Sort and cut your threads before you begin to prevent tangling. Use shorter lengths to reduce wear and ensure stitches look crisp and even.
5. Multi-colored Patterns: When working with multiple colors, complete all stitches of one color in a section before moving on to the next. This helps to keep the work tidy and minimize the back of the work from becoming too cluttered with thread.
6. Neatness Counts: Keep the back of your work as neat as the front. This makes it easier to run the thread under stitches when starting or ending a thread and ensures the front looks smooth.
Incorporate these techniques into your stitching routine to create a polished Christmas cross stitch piece that captures the magic of the season.
Finishing Techniques: Washing, Ironing, and Displaying the Completed Project
To ensure your Christmas cross stitch piece looks its best, start by gently washing it in lukewarm water with a mild detergent to remove oils and residue. Rinse thoroughly and lay flat on a clean towel to remove excess water. Iron the piece while it is still damp; place it face down on a fluffy towel to preserve the stitches’ texture, using a pressing cloth between the iron and your project to protect the fibers.
When displaying, choose framing materials suitable for archival preservation or consider fabric mounting techniques that keep the piece taut and smooth. For an alternative display, turn your handiwork into an ornament, affixed onto an Aida insert, or integrate it into a festive quilt that becomes a seasonal family heirloom. Always engage with the craft as you would a cherished memory, handling with care to ensure longevity and vibrancy.
Related Posts
 How to Embroider Large Areas: Step-by-Step Techniques for Stunning Results
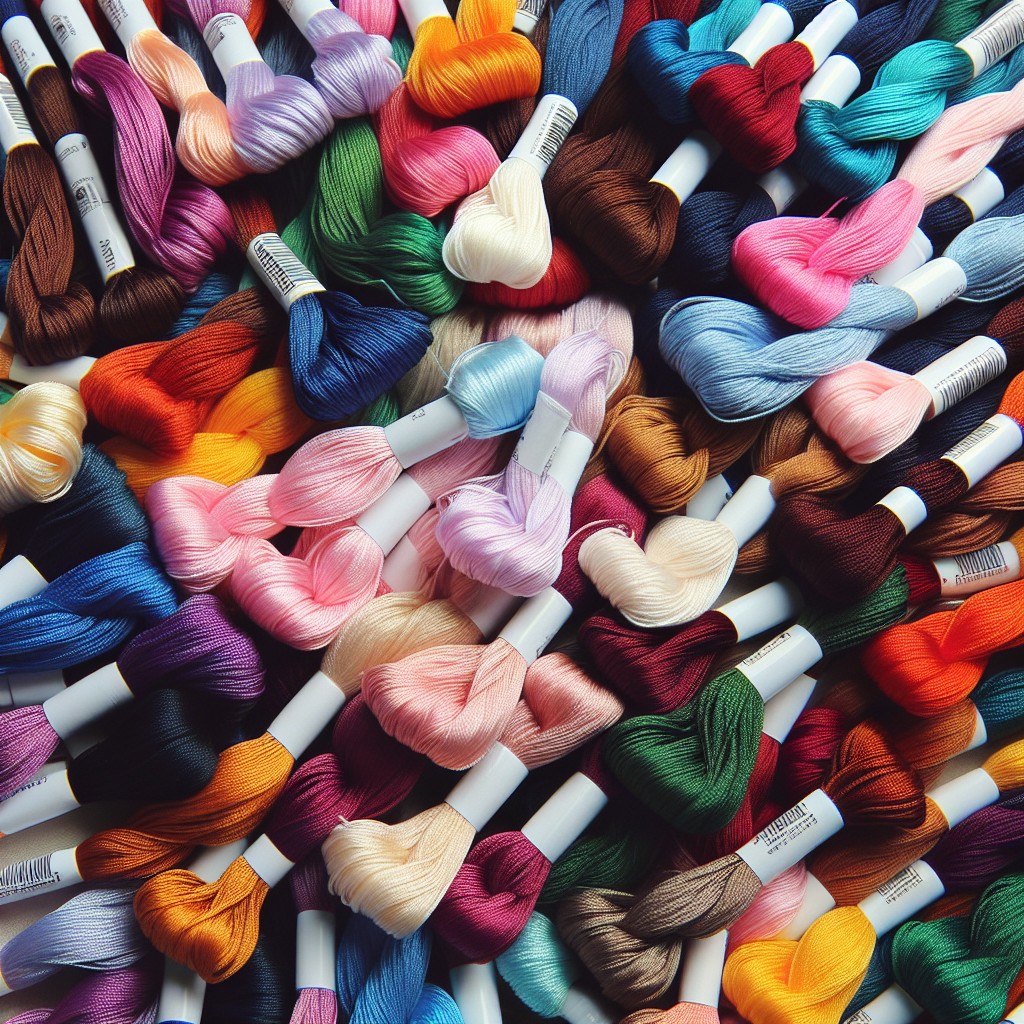 How Many Threads for Embroidery: Choosing the Right Amount for Your Project
 Best Embroidery Stitches for Outlining: Techniques and Tips
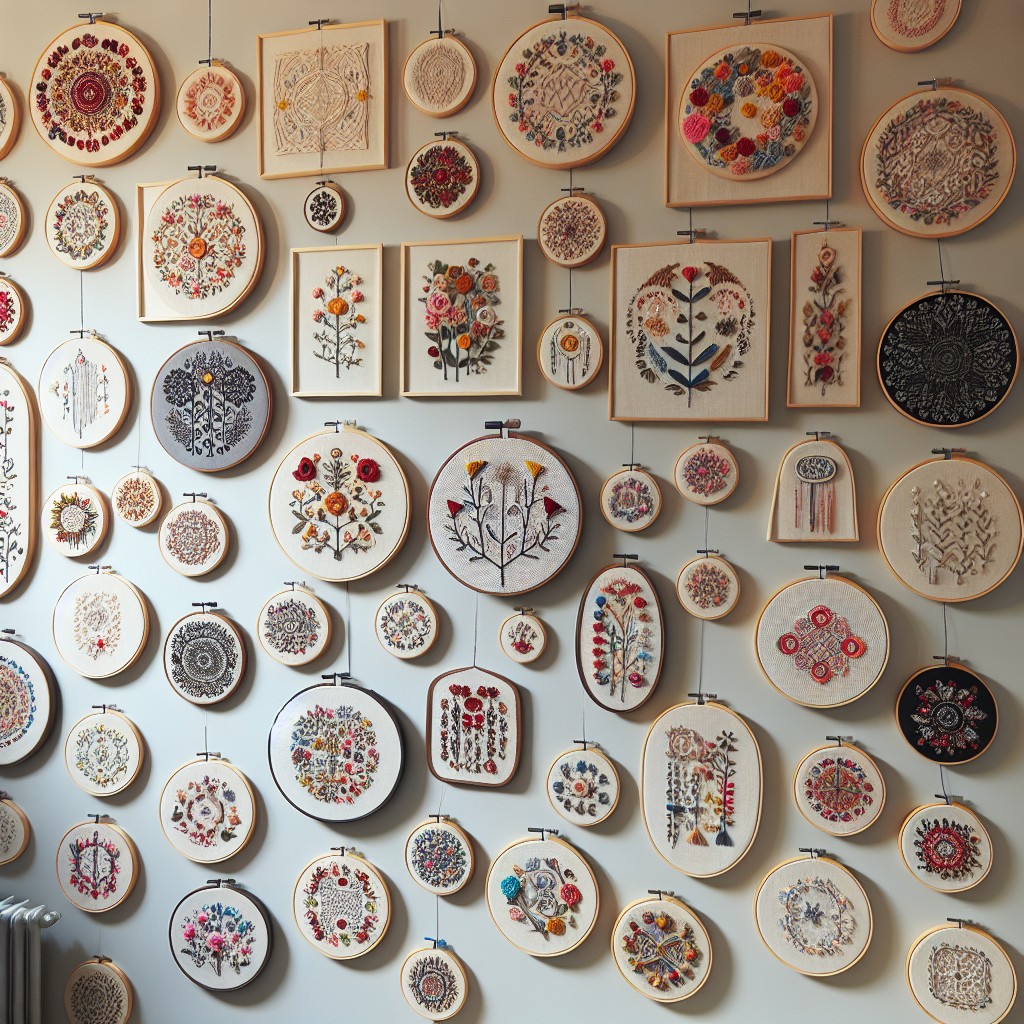 How to Display Embroidery Hoops: Creative Ideas for Your Home Decor
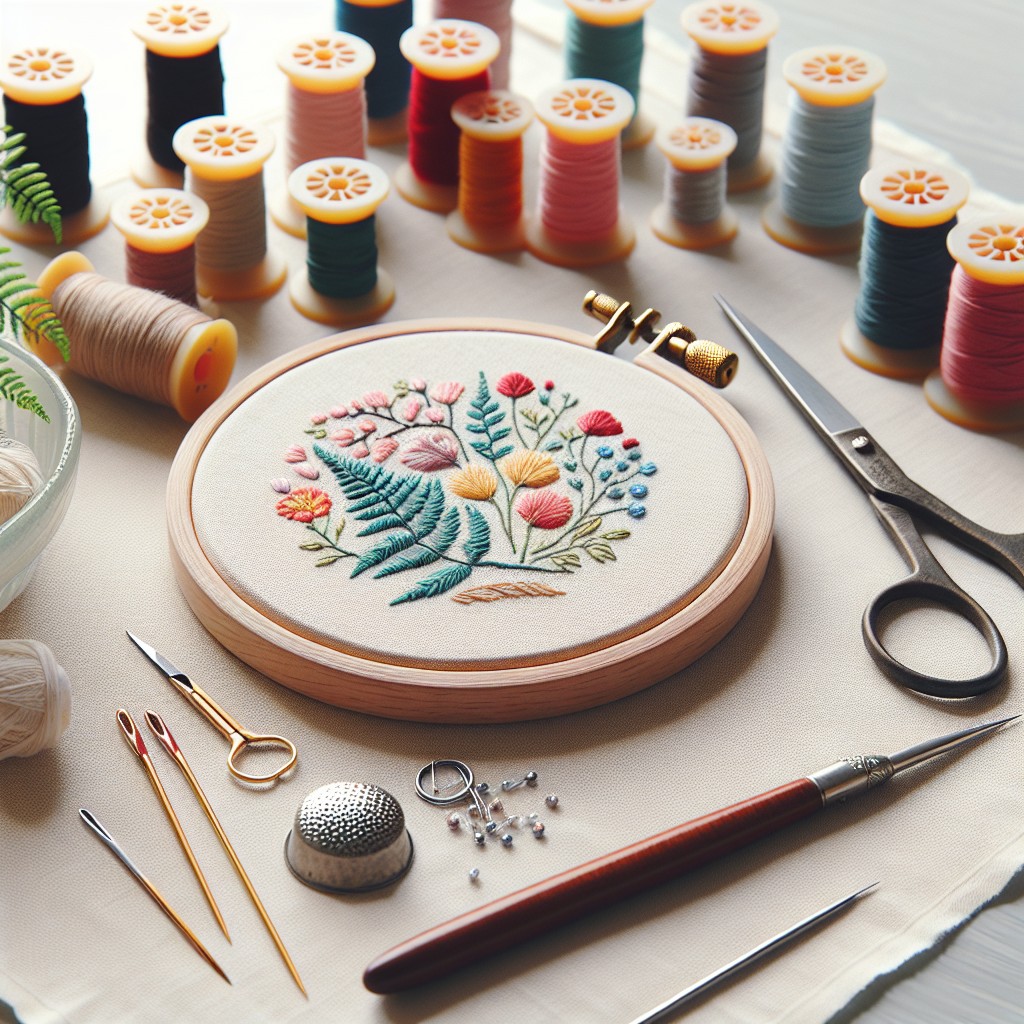 How to Finish the Back of an Embroidery Hoop: Step-by-Step Instructions