This article provides clear guidelines for selecting the appropriate number of threads for various embroidery projects to ensure the best possible results.
Key takeaways:
- Choose the number of strands based on desired thickness and visual effect.
- Conduct a test swatch to observe how the thread behaves.
- Fabric count and thread density determine coverage and appearance.
- Specialty threads add unique textures and effects to embroidery.
- Balance thread usage for economical or aesthetic outcomes.
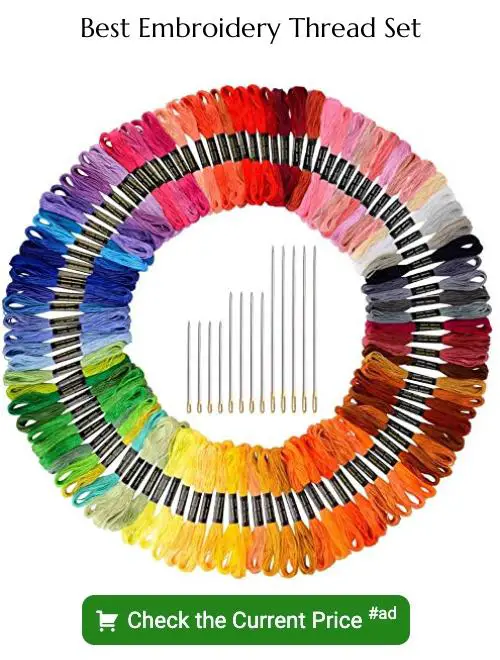
Understanding Embroidery Floss
Embroidery floss is typically made of cotton and composed of six strands that are easily separable. This allows you to adjust the thickness of your stitching by choosing the number of strands. For example, using all six strands results in thicker, more pronounced stitches, while using fewer strands can create finer, more delicate embroidery.
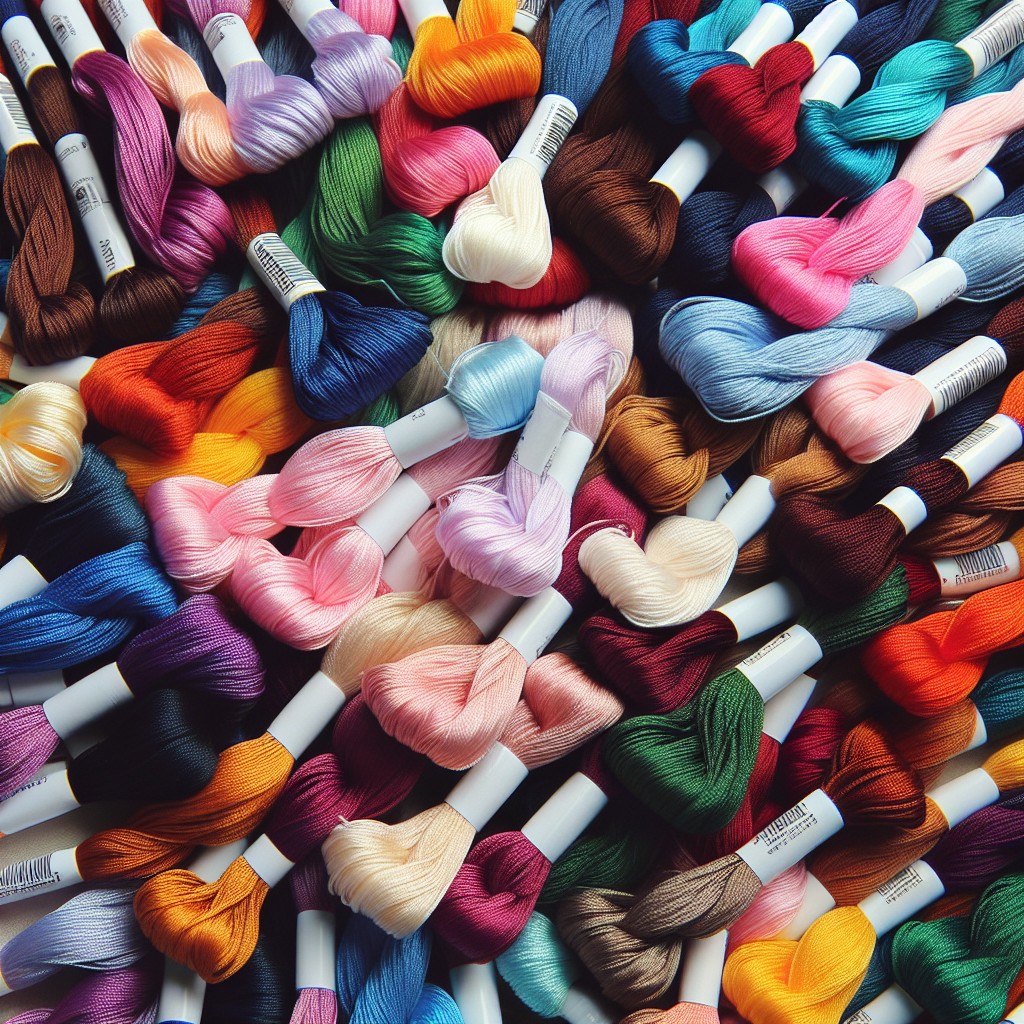
Different types of floss exist, including rayon, silk, and metallic, each bringing a unique texture and sheen to your work. It’s worth noting that these alternative fibers may not always separate into individual strands as cotton does.
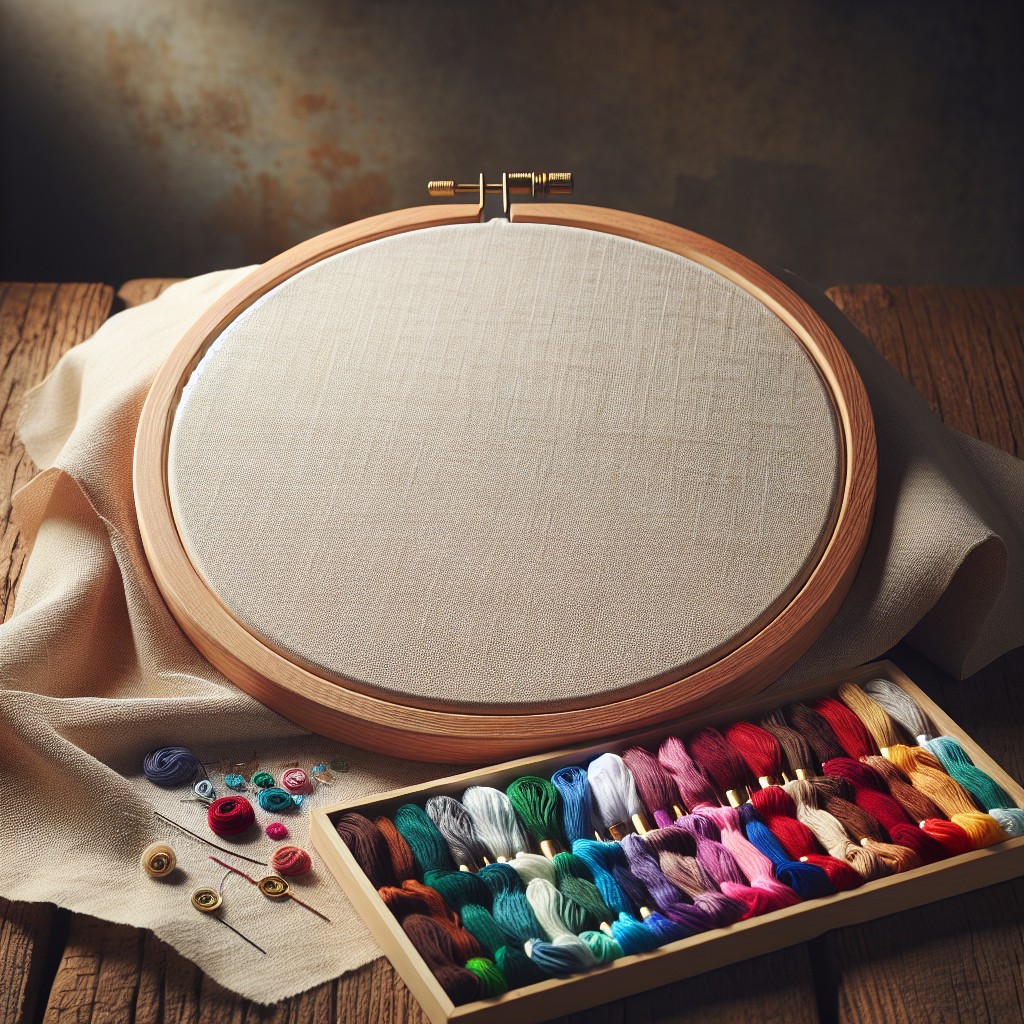
When preparing to start your embroidery, gently separate the desired number of strands from the full thickness. Cut a length of about 18 inches to prevent tangling and to ensure smooth stitching. Always thread your needle with an even number of strands to maintain symmetry in your stitches.
The choice of how many strands to use is influenced by the desired visual effect and the fabric’s weave. A tighter weave generally requires fewer strands, while a looser weave might need more to fill the space adequately.
Determining the Number of Strands for Your Project
Determining the appropriate number of strands for your embroidery project hinges upon both the level of detail desired and the fabric’s weave. A higher strand count typically yields a fuller, more textured result, ideal for bold designs and larger fabric weaves. Conversely, fewer strands are preferable for delicate fabrics and intricate patterns, granting a more refined, subtle finish.
Always consider the needle size in relation to the strand count. Using too many strands with a small needle can lead to difficulty pulling the thread through the fabric and potentially damage both the thread and the fabric. Conversely, too few strands with a large needle may yield a sparse, uneven look.
A helpful strategy for decision-making is conducting a test swatch. Stitch a few lines with varying strand counts on a fabric scrap identical to your project’s material. This trial run allows you to directly observe how the thread behaves and appears, facilitating an informed selection for the best visual and textural effect.
Fabric Count and Thread Density
Fabric count, measured in threads per inch (TPI), directly influences the number of embroidery threads necessary for adequate coverage. Higher counts, indicative of finer weaves, typically require fewer strands to prevent a crowded appearance and to ensure the fabric’s integrity. For instance, an 18-count Aida benefits from using fewer strands, potentially one to two, for cross-stitching, whereas a 14-count Aida may see better results with two to three strands.
Thread density refers to the thickness and coverage that the chosen number of threads will create on the fabric. A denser thread pack can provide a richer, more pronounced embroidery but may present challenges in pulling the needle through the fabric multiple times. On the other hand, a lighter density might be suitable for delicate designs or fabrics but may result in the background fabric peeking through.
Selecting thread density and strand count also depends on the desired effect and the type of stitch used. For instance, satin stitches often look best when more strands are used for a smooth, glossy finish, whereas backstitches may require fewer strands to maintain sharpness and definition.
Ultimately, the combination of fabric count and thread density will determine both the visual and tactile qualities of the finished piece. It’s advised to conduct a small test swatch to assess the interplay between the fabric’s count, the chosen thread, and the stitch type prior to finalizing decisions for a project.
Specialty Threads and Alternative Materials
Embroidery is not limited to just cotton floss; a variety of specialty threads and alternative materials can add unique textures and effects to your work.
Metallic threads, for example, offer a shiny finish that can make your design sparkle, but they can be stiffer and more difficult to work with than cotton. To avoid fraying, use shorter lengths and a gentle touch.
Silk threads provide a lustrous sheen and smooth finish, enhancing the elegance of your project. They can be more delicate, so handle with care to maintain their integrity.
Wool yarns are thicker and create a raised, textured effect, ideal for adding dimension to your embroidery. Due to their volume, fewer strands are necessary to cover the fabric.
For a rustic or natural look, consider linen or hemp threads. They bring an organic feel to the piece and work well with less densely woven fabrics.
When experimenting with these different materials, adjust the number of strands according to their thickness and the desired outcome on your fabric. Always test on a small area first to determine the best thread count for your specific project.
Thread Economic Use Vs. Aesthetic Outcome
Choosing the number of threads for embroidery involves a balance between the thriftiness of your materials and the visual impact of the final design. More strands mean a fuller look and a faster fill but also a quicker depletion of your floss. Conversely, fewer strands extend the life of your skein while producing finer, more delicate stitching.
For projects where texture is key, or large areas need coverage, opting for more strands will give you a lush, raised effect. This is particularly effective in floral designs or when creating bold outlines. However, it does mean you’ll work through your embroidery floss at a faster rate.
On the other hand, if you’re aiming for subtlety or working on a piece with intricate detail, fewer strands may be the way to go. These will facilitate more precise stitches and sharper definition, ideal for facial features on a character or fine lettering. This approach conserves your thread but requires more stitching time to cover ground.
Budget-conscious embroiderers may lean towards fewer strands, stretching resources over several projects. Crafters aiming for a rich, luxurious look might prioritize the aesthetic, using more threads regardless of the increased material cost.
Ultimately, the decision is a personal one, guided by the desired outcome of your work, your budget, and your patience for the task at hand. Each project may call for a different approach, so consider your priorities before threading your needle.
Related Posts
 How to Embroider Large Areas: Step-by-Step Techniques for Stunning Results
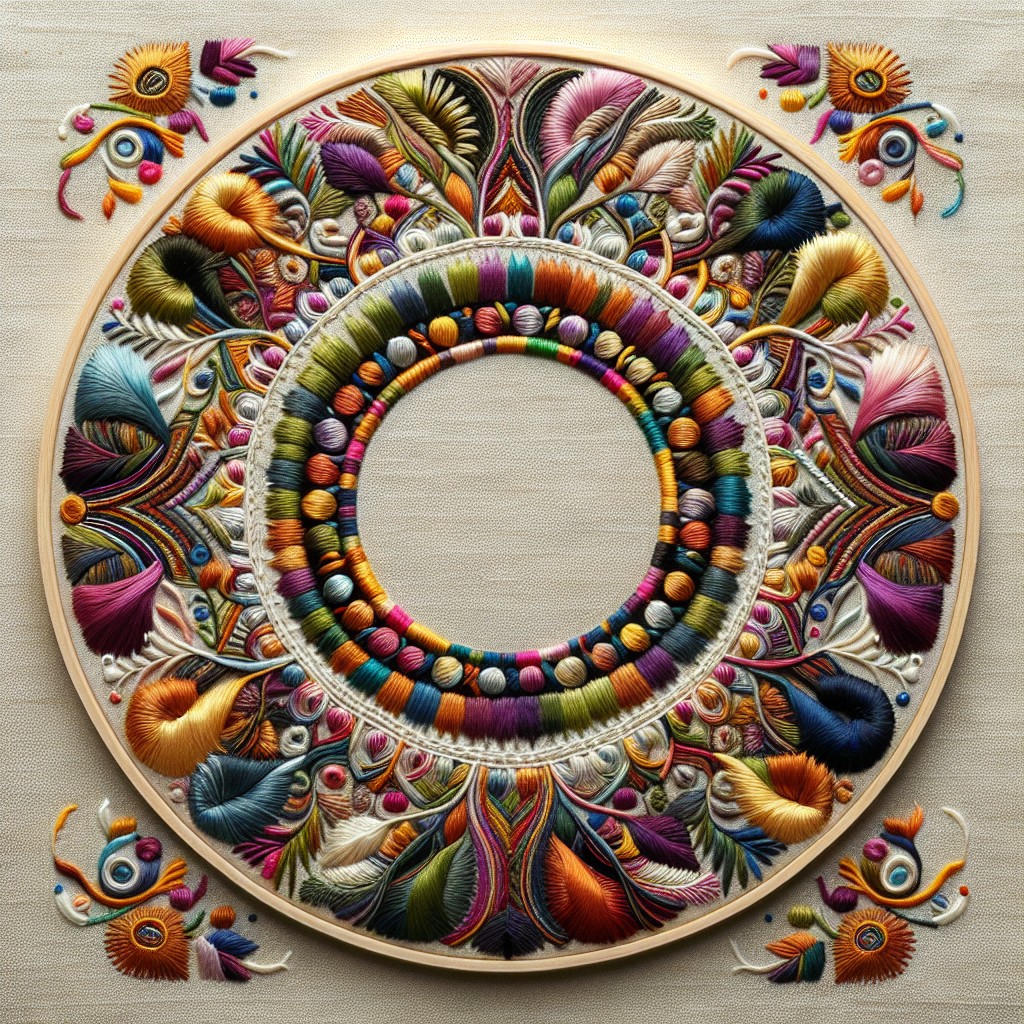 Best Embroidery Stitches for Outlining: Techniques and Tips
 How to Display Embroidery Hoops: Creative Ideas for Your Home Decor
 How to Finish the Back of an Embroidery Hoop: Step-by-Step Instructions
 What Does 3 Strands Doubled Mean in Embroidery: Understanding Thread Thickness