In this how-to guide, you’ll learn the essential techniques for stitching on canvas to create durable and vibrant needlework pieces.
Key takeaways:
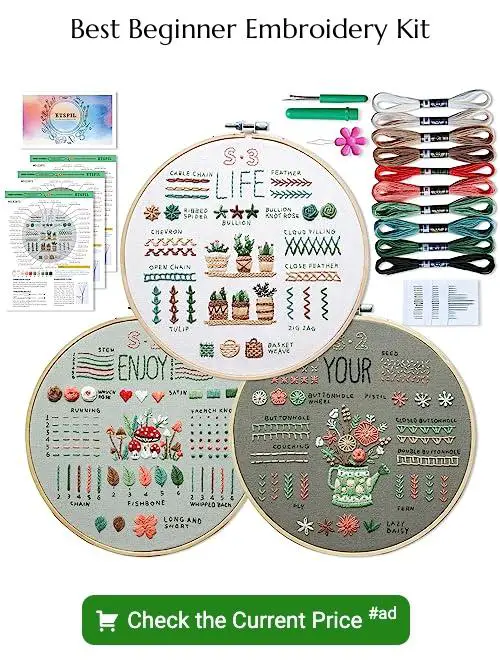
- Choose the right materials: canvas, needle, thread, hoop, scissors.
- Prepare the canvas properly before stitching.
- Mark your design and start stitching strategically.
- Hand-stitching techniques: needle, thread, stitches, tension, hoop.
- Sewing machine tips: needle, thread, tension, stitch length, speed.
What You Need
Embarking on a canvas stitching project requires a few essential supplies:
1. Canvas Material: Choose a sturdy fabric such as needlepoint canvas or mono canvas, available in various mesh sizes to suit different project needs.
2. Embroidery Needle: A tapestry needle with a blunt end is preferable for canvas work to avoid splitting threads or piercing the fabric unnecessarily.
3. Thread or Yarn: Select an appropriate weight and fiber content based on the project, whether it’s embroidery floss, wool yarn, or pearl cotton.
4. Embroidery Hoop or Frame: To maintain tension and provide ease of stitching, use a hoop or frame, especially for larger projects or finer canvas material.
5. Scissors: A sharp pair for cutting thread cleanly without fraying.
6. Pattern or Design: If not creating freehand, have a chart or pattern ready for reference.
7. Thimble: Protect your fingers when pushing the needle through the dense canvas.
8. Lighting and Magnification: Good lighting is essential, and a magnifying tool may be helpful for seeing intricate details.
9. Marking Tools: For transferring designs onto the canvas, use water-soluble pens or chalk.
With these tools at hand, you are ready to begin the meticulous and rewarding process of stitching on canvas.
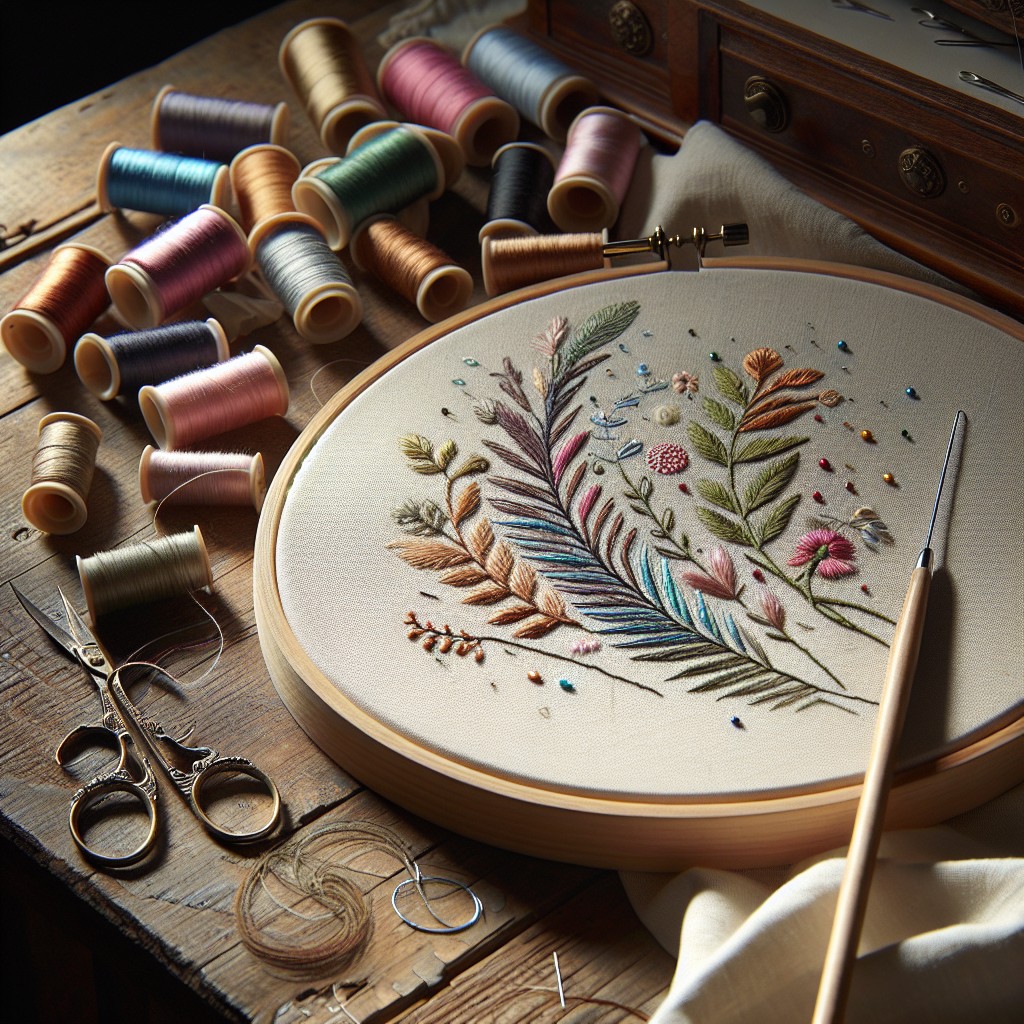
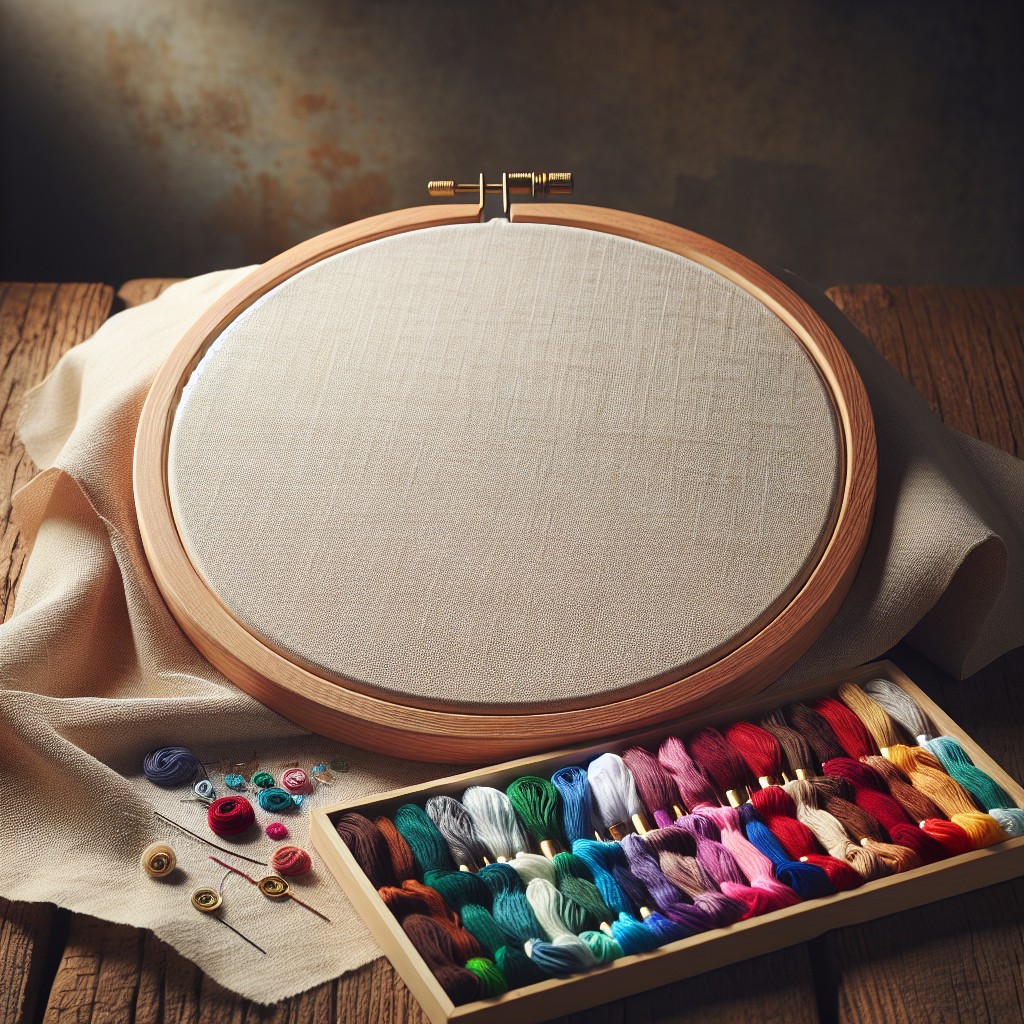
Preparing the Canvas for Embroidery
Before you begin your embroidery project on canvas, ensure the material is taut and secure. Use an embroidery hoop or a stretcher bar frame for best results. This keeps the canvas from warping or puckering as you stitch. If using an embroidery hoop, tighten the screw until the canvas feels snug, like a drum skin.
Select the appropriate needle – a tapestry or chenille needle usually works well for canvas, as they have blunt ends that won’t split the canvas threads. The size will depend on the count of your canvas; generally, for finer counts, use smaller needles, and for larger counts, larger needles.
Next, it’s important to determine the grain of the canvas to align your stitches properly. The canvas has two directions of threads – warp and weft. Align your work so that these are straight and perpendicular to the edges of the hoop or frame.
Lastly, if your design requires, you might pre-mark your canvas. A water-soluble marker or tailor’s chalk can be used for light-colored canvases, and a light-colored pencil for darker canvases. Be sure to test these on a scrap of canvas first to ensure they can be easily removed after stitching.
Starting the Canvas Embroidery
Before diving in, mark your design on the canvas using a water-soluble pen or tailor’s chalk for guidance. Secure the canvas in an embroidery hoop, ensuring it’s taut for even stitching.
Thread a needle with embroidery floss; if you’re new to this, six-stranded floss is versatile. For a bold effect, use all six strands, or for finer details, separate them and use just two or three.
Start from the back, leaving a small tail, and secure this with subsequent stitches to avoid knots. Choose a starting point that makes logical sense for the direction of your work to ensure smooth progress.
If your pattern requires different stitches, such as cross-stitch or backstitch, familiarize yourself with these techniques beforehand. Always pull the thread through gently to prevent puckering, and remember to stretch the canvas again if it becomes loose over time.
Use these tips as your roadmap to navigate the initial stages of canvas embroidery seamlessly.
Hand-Stitching Canvas
Embroidering on canvas by hand involves a few specialized techniques due to the sturdy nature of the material. Here’s guidance to ensure successful stitching:
1. Select the right needle: A tapestry or embroidery needle with a large eye is ideal for threading thicker yarn or embroidery floss through canvas.
2. Choose appropriate thread: Cotton or ribbon embroidery floss, yarn, or pearl cotton are all suitable. The thread thickness should complement the canvas weave.
3. Threading the needle: Use a threader if necessary and avoid overly long threads to reduce tangling.
4. Secure the starting point: Begin with a waste knot on top or an away knot for threads that will be covered by subsequent stitches.
5. Employ the correct stitch: Use a half-cross, cross, or tent stitch for coverage and texture. Beginners may start with a simple back stitch for outlining.
6. Maintain even tension: Keep stitches consistent without pulling too tightly, which could cause the canvas to warp.
7. Use a hoop or frame: This keeps the canvas taut and makes it easier to achieve uniform stitches.
8. End your thread: Weave the tail under the existing stitches on the back of the canvas to secure it.
Each of these points plays a crucial role in ensuring that your hand-stitched canvas piece is well-executed and durable, creating a professional-looking final product.
Equipping and Testing Your Sewing Machine
To ensure success in stitching on canvas with a sewing machine, select a needle specifically designed for heavy fabric. A size 90/14 or 100/16 needle is typically suitable. Use strong thread such as upholstery thread to withstand the canvas’s weight and texture. Adjust your machine tension accordingly; a tighter tension is often required for canvas.
Before beginning your project, run a test on a scrap piece of canvas. This helps you gauge the right stitch length and tension settings. A longer stitch length prevents the dense fabric from bunching up. Begin with a length of 3 and adjust as needed based on your test results.
Check your bobbin case to ensure it’s clean and free of lint, which can affect stitch quality. If you’re using a thicker thread, you might need a larger bobbin to accommodate it.
Finally, go slow. Working with canvas is different from stitching lighter fabrics. Slower speeds give you more control, helping prevent skipped stitches and ensuring an even, consistent line of embroidery on your canvas project.
Related Posts
 How to Embroider Large Areas: Step-by-Step Techniques for Stunning Results
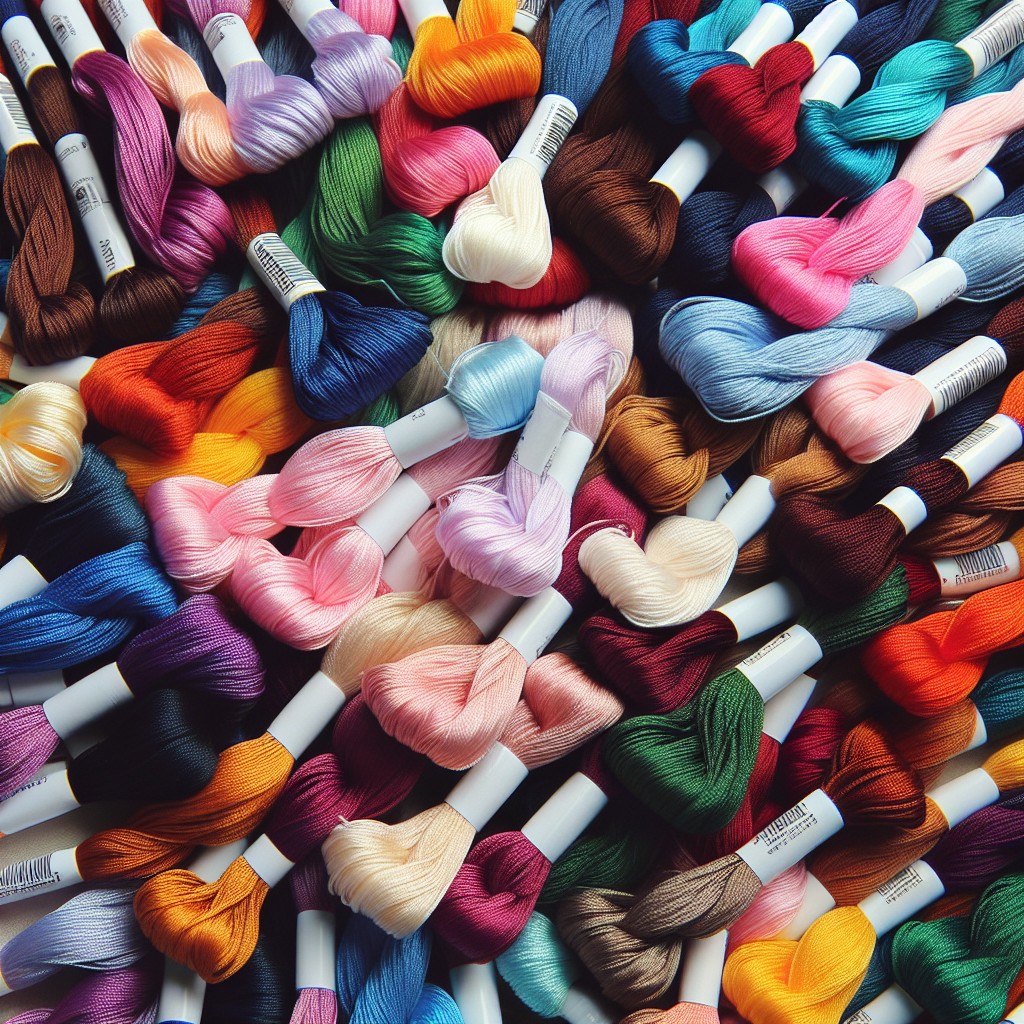 How Many Threads for Embroidery: Choosing the Right Amount for Your Project
 Best Embroidery Stitches for Outlining: Techniques and Tips
 How to Display Embroidery Hoops: Creative Ideas for Your Home Decor
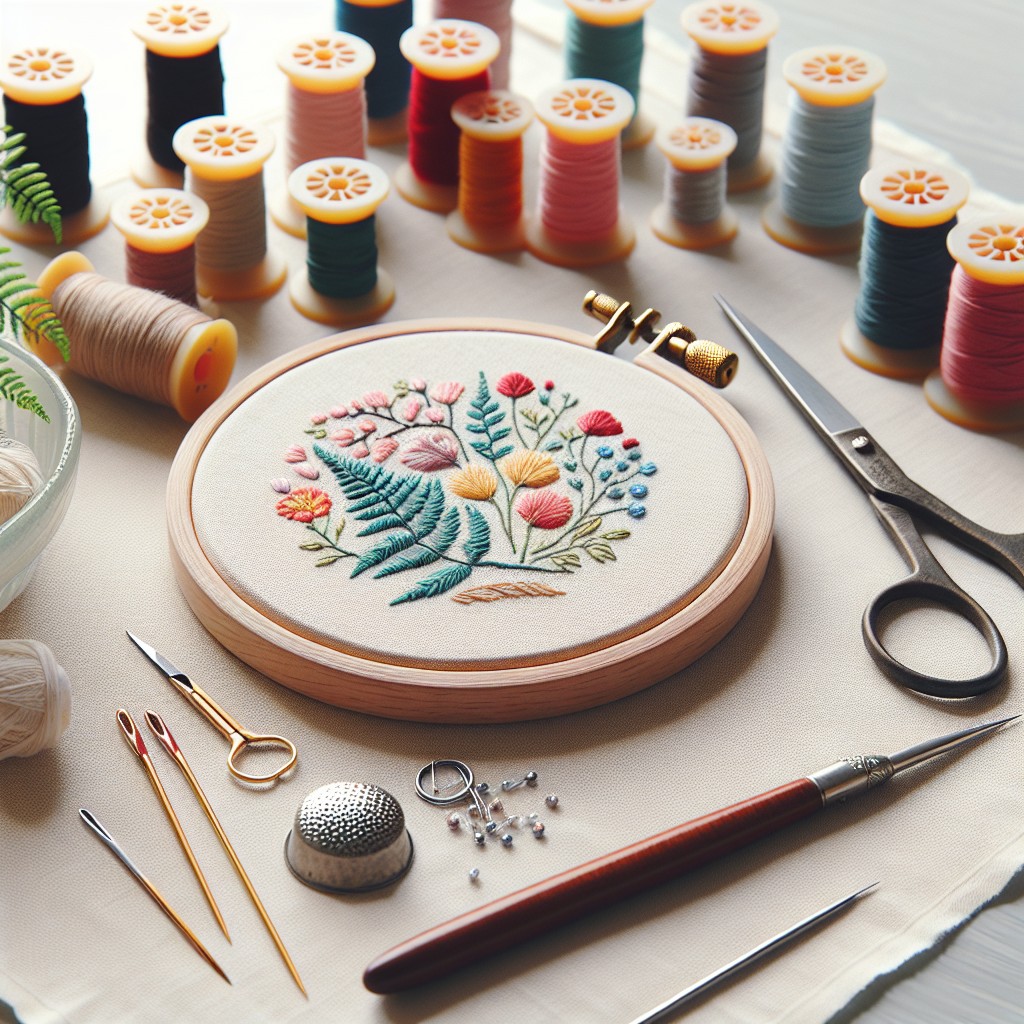 How to Finish the Back of an Embroidery Hoop: Step-by-Step Instructions