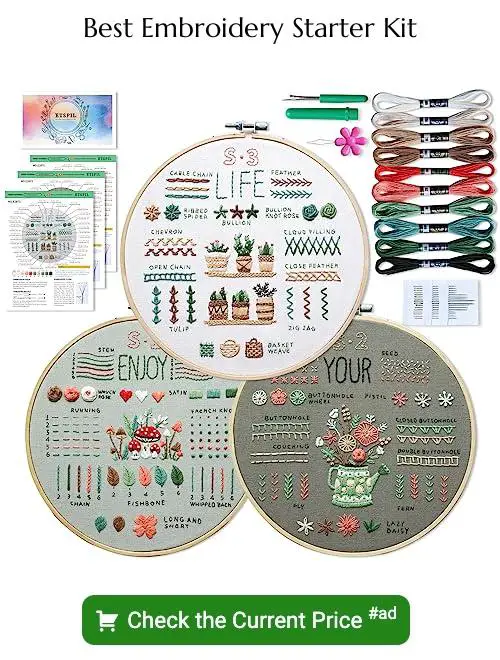
This how-to guide provides step-by-step instructions for embroidering large areas, ensuring your projects have a professional and polished finish.
Key takeaways:
- Use sturdy fabric, pre-wash, and iron for smooth surface.
- Choose appropriate thread for coverage, texture, and durability.
- Transfer design accurately onto fabric before embroidering.
- Use efficient techniques like long and short stitch or thread painting to fill large areas.
- Finish by trimming threads, pressing, securing back, and considering care instructions.
Preparing Fabric for Large Embroidery Projects
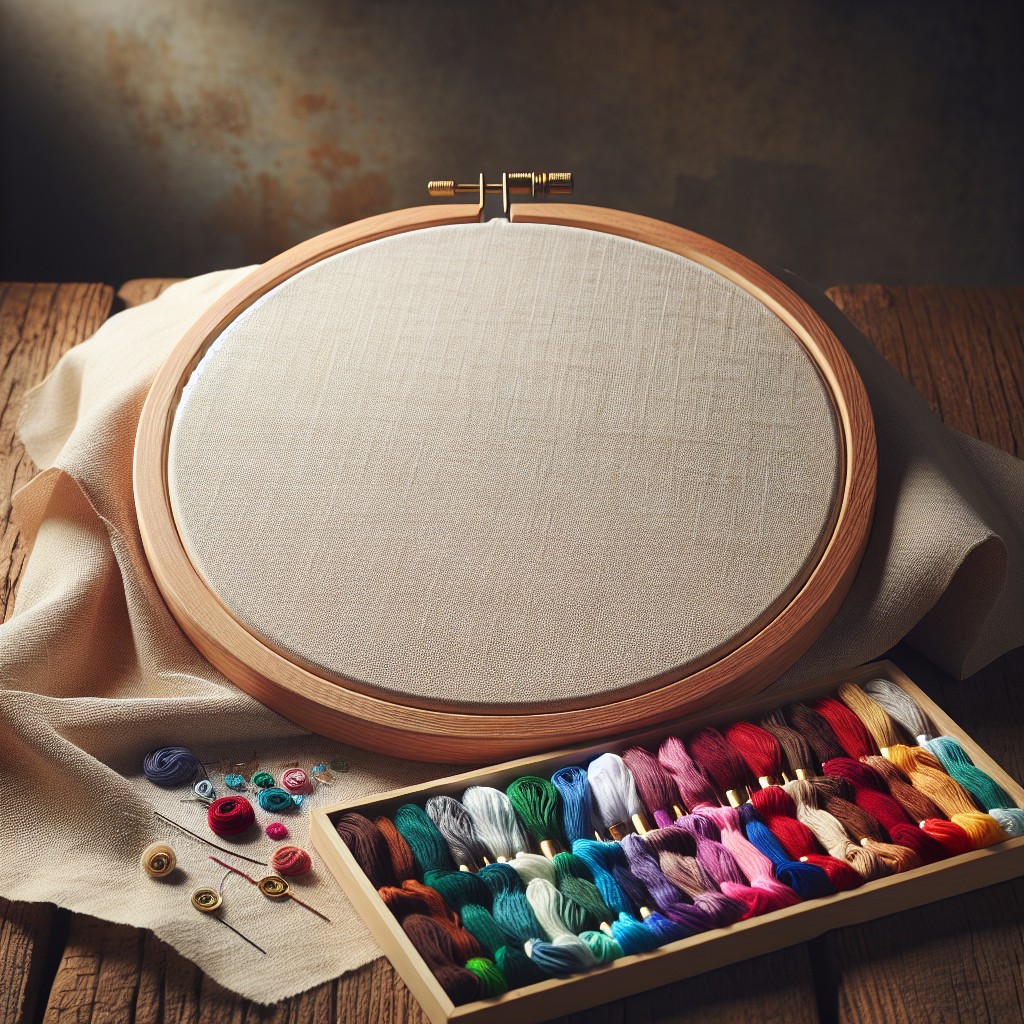
For successful embroidery on large areas, starting with properly prepared fabric is essential. Choose a sturdy fabric that can support the weight of the embroidery. Lightweight fabrics may require an additional stabilizer to prevent puckering.
Before beginning your work, the fabric should be pre-washed to prevent shrinkage after the embroidery is complete, which could distort the design. Iron the fabric to remove any wrinkles, ensuring a smooth surface to work on.
Using an embroidery hoop or frame is advisable to maintain fabric tension. This prevents the fabric from gathering or warping as you stitch. When working on very large pieces, consider repositioning the hoop as you progress to avoid over-stretching any section of the fabric.
Finally, make sure your fabric is large enough to fit into your embroidery frame with extra space around the design area. This ensures easy handling and allows for the fabric to be pulled tight.
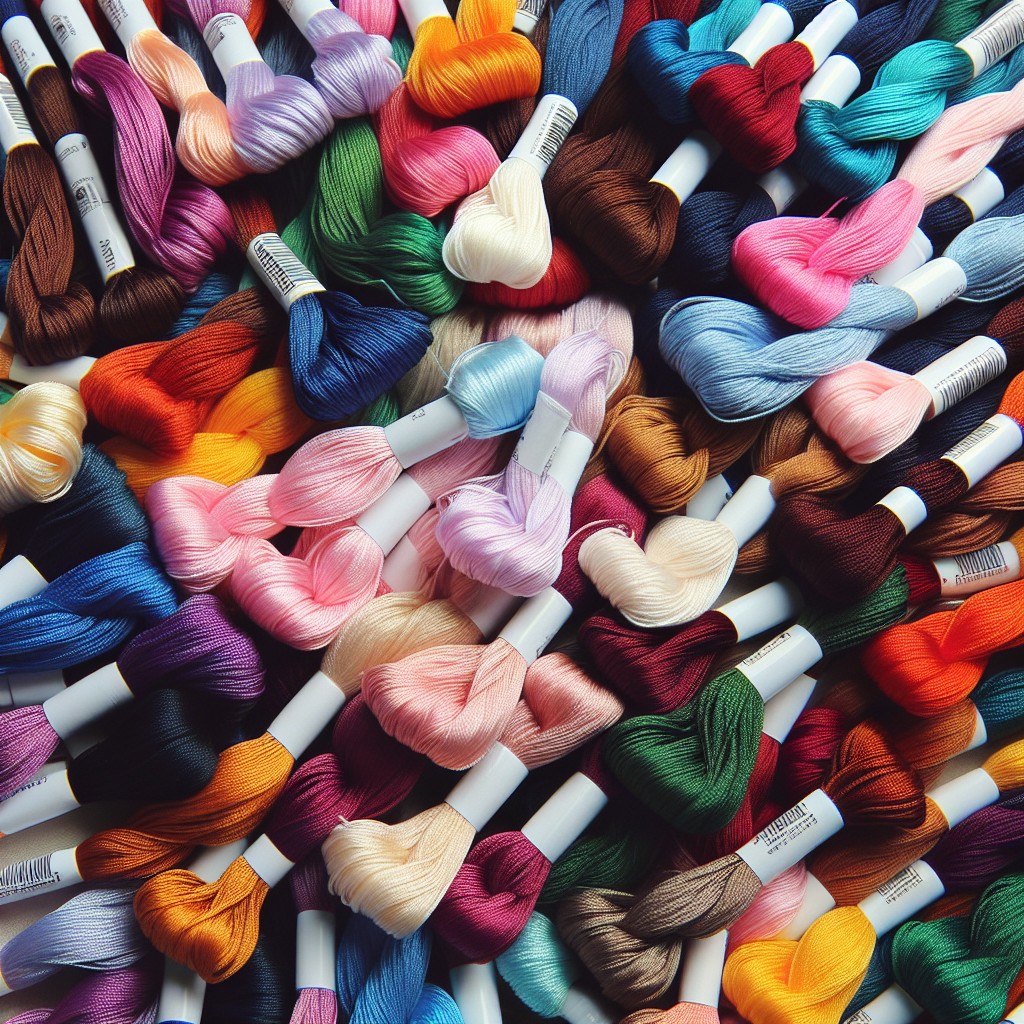
Selecting Embroidery Thread for Coverage and Texture
Choosing the right embroidery thread is crucial when facing the challenge of covering large areas of fabric. The type of thread you select will affect both the final visual and tactile qualities of your embroidery.
When considering texture, cotton thread offers a soft, matte finish, while rayon and silk threads provide a lustrous sheen. For a more textured effect, consider using wool or craft yarn. Each thread type interacts with light differently, influencing the richness and depth of the completed work.
Thread thickness is equally important in achieving full coverage without puckering the fabric. Heavier weight threads will cover more space with fewer stitches, while lighter weight threads require more stitching to fill the same area but can create a more delicate, detailed outcome.
Color choice plays a pivotal role; variegated threads can add a dynamic, multi-hued aspect with very little extra effort. For consistent color, solid-dyed threads are preferable.
Additionally, consider the thread’s durability, especially for items that will be used and washed frequently. Polyester embroidery thread is known for its strength and colorfastness, making it suitable for such projects.
Finally, test your thread choice on a scrap of your project’s fabric. This will allow you to assess coverage, texture, and tension before committing to the larger piece.
Transferring the Design to Fabric
To ensure your embroidery reflects your vision, the design’s transfer is key. Begin with a clean, ironed piece of fabric to avoid distortions. Choose a transfer method suited to the fabric type and complexity of the pattern. For dark fabrics, white dressmaker’s carbon paper can transfer patterns by tracing with a stylus. Lightboxes or sunny windows facilitate pattern tracing onto lighter materials.
For less intricate designs, a water-soluble stabilizer with the design printed directly onto it can be a timesaver. This stabilizer adheres to the fabric; after embroidering, it dissolves with water, leaving no trace. Alternatively, use a temporary fabric marker or a fine-tipped pen designed to vanish with air or water, perfect for precise lines.
Remember to secure the fabric in an appropriately sized hoop or frame to maintain tension, and check size and placement to avoid overlapping onto non-embroidered sections. This careful set-up ensures that your stitching will mirror your intended design accurately.
Techniques for Filling Large Areas Efficiently
Embroidery techniques for efficiently covering large areas can greatly impact the overall look and completion time of a project. Satin stitch is a popular choice for its smooth, silk-like finish, but when tackling vast sections, it’s not always practical due to potential puckering and thread waste.
Long and short stitch, a method where stitches of varying lengths are used to fill an area, provides a more textured, yet even coverage. This approach is not only time-effective but also gives the piece a dimensional appearance.
Thread painting, also known as needle painting or silk shading, is where multiple shades of thread are blended together by using a mixture of long and short stitches. It is an excellent way to add depth and realism to large areas of embroidery.
Split stitch filling is ideal for curves and corners within large designs. The technique involves splitting the previous stitch with a new one, creating a braided effect that covers fabric swiftly.
For geometric shapes or repeating patterns, consider using a counted-thread approach such as Blackwork. This method relies on a calculated, grid-based system to fill areas consistently and quickly.
Lastly, incorporating laid work into your project can speed up the process. This involves laying threads across the fabric, then securing them with small stitches, creating a grid that can be filled with various patterns.
Each technique offers unique benefits, dependent on the project’s requirements, such as texture, shading, and thread efficiency. Exploring these methods enriches your embroidery skill set and equips you to tackle large designs more effectively.
Finishing Techniques for Embroidered Pieces
After completing the embroidery work, proper finishing enhances durability and aesthetics. Start by trimming any excess threads on the fabric’s surface to ensure a neat appearance. Care must be taken to avoid cutting into the stitched areas.
Follow with pressing the piece to remove creases. Place the work face down on a towel to avoid crushing the stitches. Use a pressing cloth and iron on a low setting, suitable for the fabric type, to gently press around the embroidery.
Secure the back of the embroidery by weaving in loose thread ends. This prevents unraveling and ensures that your work remains intact.
If the embroidered item will be framed, consider mounting it on acid-free foam board or stretcher bars to maintain its shape. Wrap the fabric evenly and secure it at the back, avoiding over-stretching which can distort the design.
For wearable or frequently used items, protect the back of the embroidery by adding a lining or a protective cover, especially if the back will be subjected to friction. This is often done with fusible interfacing or fabric glue for a smooth finish.
Finally, it’s important to consider the care instructions for future cleanings. Ensure that any materials and threads used are suitable for the intended care regime, whether that’s hand washing, machine washing, or dry cleaning, and attach care labels if necessary.
Related Posts
 How Many Threads for Embroidery: Choosing the Right Amount for Your Project
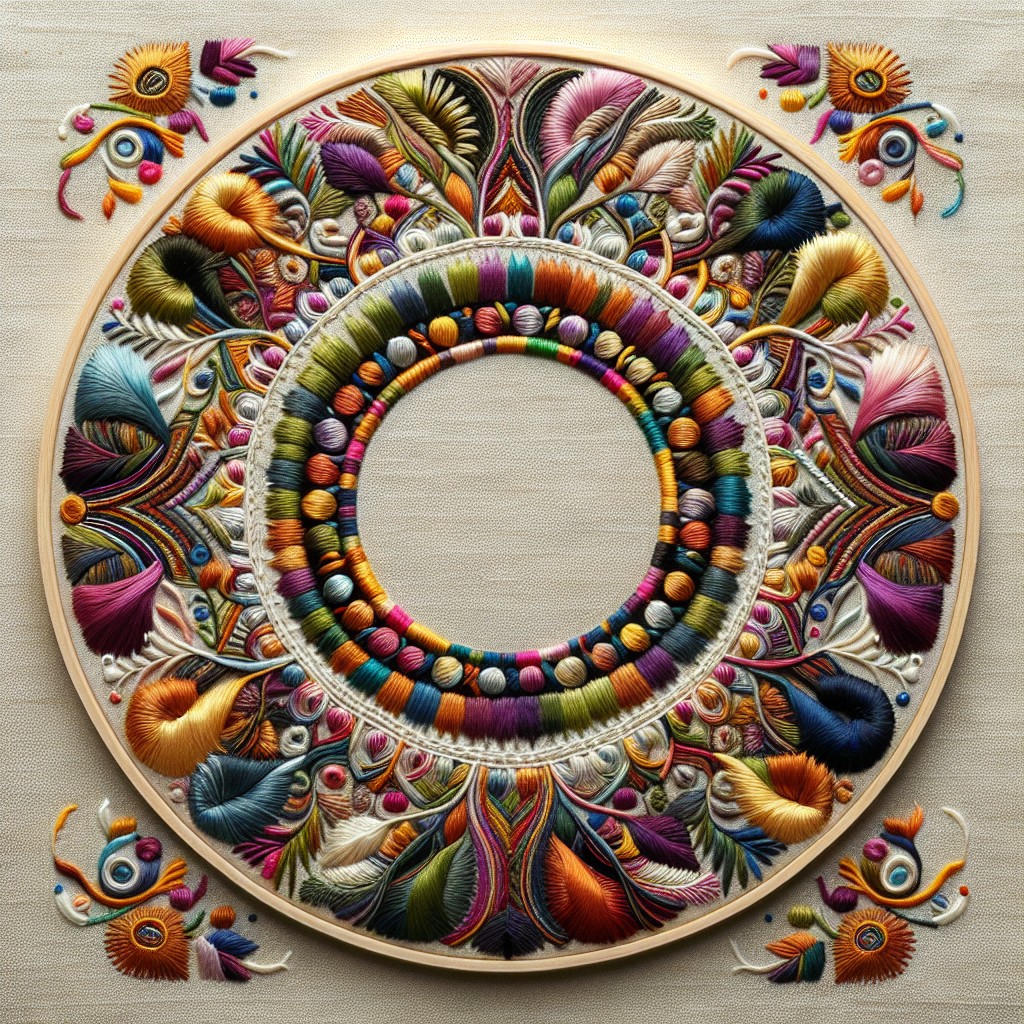 Best Embroidery Stitches for Outlining: Techniques and Tips
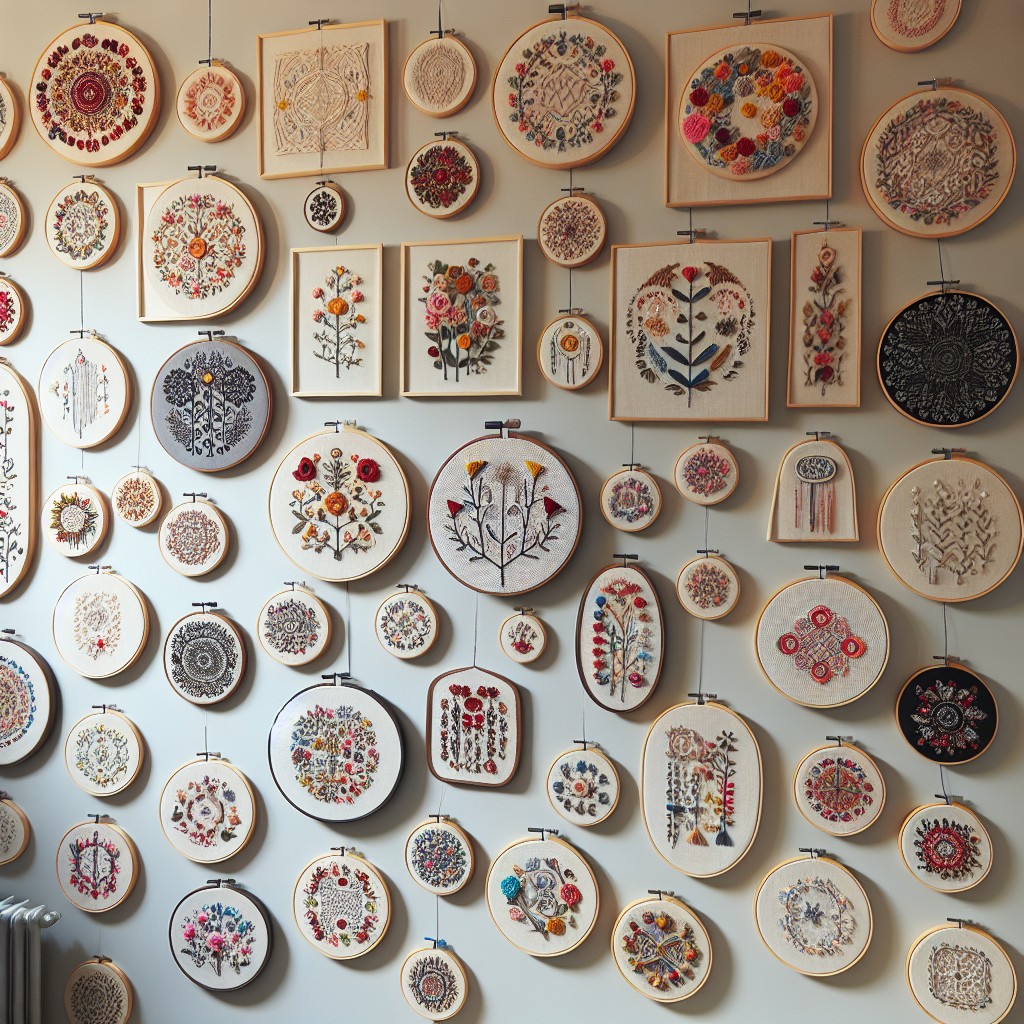 How to Display Embroidery Hoops: Creative Ideas for Your Home Decor
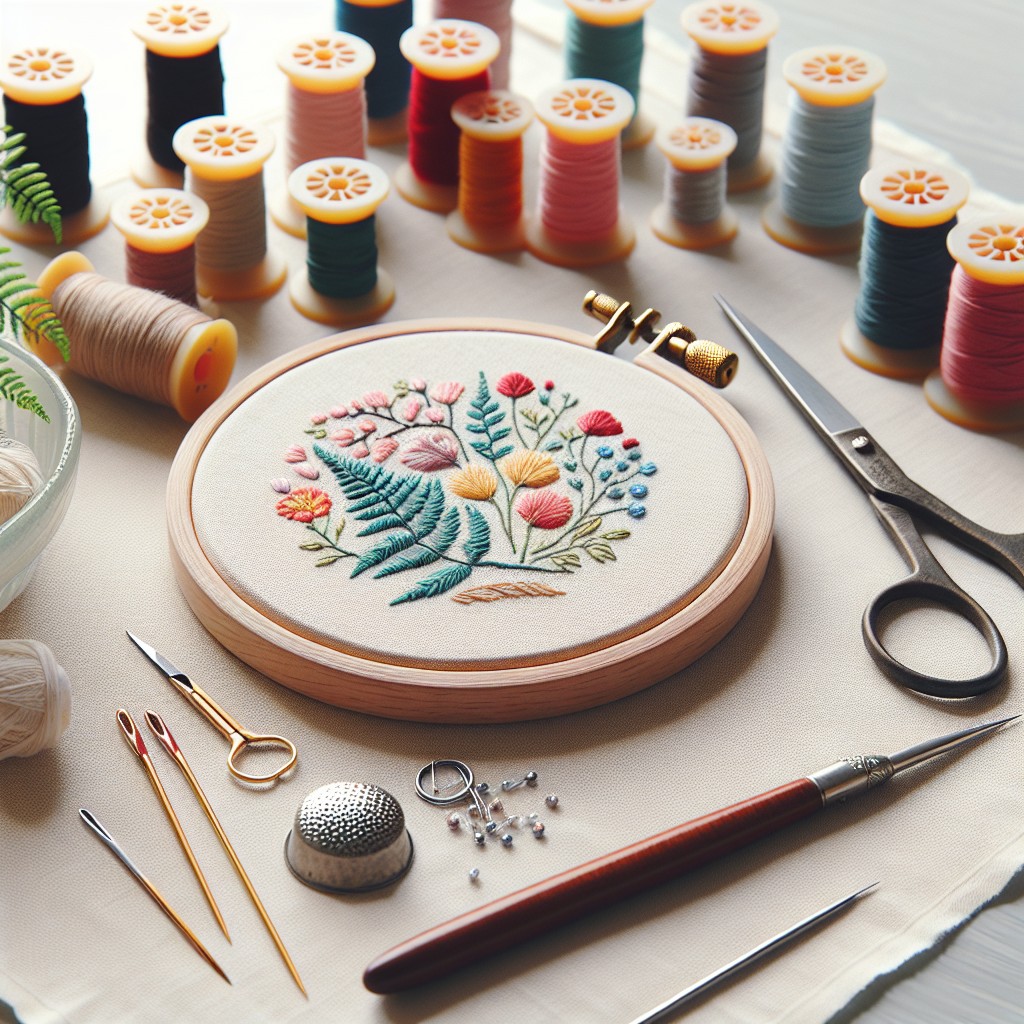 How to Finish the Back of an Embroidery Hoop: Step-by-Step Instructions
 What Does 3 Strands Doubled Mean in Embroidery: Understanding Thread Thickness