Understanding the term “3 strands doubled” is crucial for achieving the desired thickness and texture in embroidery projects.
Key takeaways:
- Folding three strands of embroidery floss creates six strands.
- Separate strands carefully to prevent tangling and ensure coverage.
- Consider fabric weight and desired outcome when choosing strand count.
- Adjust strand count based on fabric thread count for coverage.
- Use techniques like loops or away knots to secure floss.
Understanding “3 Strands Doubled” in Embroidery

When a pattern suggests using “3 strands doubled,” it typically indicates that you’ll fold three individual strands of embroidery floss in half to create six strands to thread through the needle, effectively doubling the thickness of the floss. This method enhances both texture and color saturation in your embroidery, making stitches more pronounced on your fabric.
To achieve this:
- Cut a length of embroidery floss that includes the desired six strands.
- Separate out three strands by gently pulling them apart from the remaining three.
- Align the ends of these three strands and fold them in half, forming six parallel strands.
- Thread the looped end through the eye of the needle, then pass the needle and the cut ends through the loop to secure the floss without knotting.
This approach not only simplifies the start of your work but also ensures uniform thickness throughout your stitching, giving your project a cohesive and professional appearance.
Separating the Strands of Embroidery Floss
Embroidery floss is composed of six finely twisted strands. For projects calling for “3 strands doubled”, you’ll need to extract three strands and then fold them to double up, achieving the six-strand thickness.
When pulling apart strands, gently separate them at one end by pinching between your thumb and forefinger and then firmly but slowly pulling one strand up and away. Continue with the remaining strands as needed. This prevents tangling and ensures even coverage when stitching.
To ensure smooth stitching, gently run the strands through your fingers to straighten them out before threading the needle. Remember, patience is key to prevent knots and ensure your embroidery has a neat, professional appearance.
How Many Strands of Embroidery Floss to Use
Embroidery floss typically comes in skeins of six ply strands. The number of strands you use can significantly affect the appearance and texture of your finished piece. A single strand is used for very fine detail, while six strands, the floss’s full thickness, create bold lines and can fill areas quickly.
For a project calling for “3 strands doubled,” take three strands out of the six, double them over, and thread the needle with the loop end. This gives you the equivalent of six strands in the needle at once, but with a “doubled” effect that provides extra volume and texture to your stitches.
Consider the weight of your textile: lighter fabrics may only handle up to three strands to prevent puckering, while heavier fabrics like canvas can withstand more strands for a richer, raised texture. The choice also depends on the desired outcome; fewer strands can be better for intricate patterns, while more strands can give a fuller appearance.
Adjusting for Fabric Count
When selecting the number of floss strands, consider the fabric’s thread count. Higher count fabrics, such as 28-count linen or 18-count aida, offer a tighter weave and might only require the use of 1 or 2 doubled strands for proper coverage. Conversely, lower count fabrics like 11-count aida allow for more strands without overcrowding the stitches. Test a few stitches to determine the right amount, ensuring a full look without distorting the fabric. Adjust the number of strands to balance the detail and texture desired within the constraints of the fabric’s weave. This balance is key to achieving a clean, professional appearance in the finished piece.
Techniques for Securing Embroidery Floss
When beginning your embroidery with multiple strands, you’ll want to ensure your floss stays secure to avoid slipping or unraveling. Start by threading the needle with an even number of strands, leaving a loop at the end. Pierce through the fabric, leaving the loop on the reverse side. After your first stitch, catch the needle through the loop to anchor the floss without knots, maintaining a flat, neat reverse side.
If using an odd number of strands or preferring a different method, initiate with a small “away knot”. Place this knot a few inches away from your starting point. Once several stitches are in place, trim the knot and weave the tail through the back of your stitches to secure. Alternatively, for an even more discreet start, use a “waste knot” directly above where you plan to begin, stitching over the tail as you go, and then removing the knot and weaving in the end later on.
For added stability when working with doubled strands, consider splitting them into two sets and tying each set together at the ends before threading the needle. This approach prevents twisting and uneven tension as you stitch. Always ensure to leave a short tail of floss at the beginning, to weave in after a few stitches, thus securing the thread without visible knots on either side of the fabric.
Related Posts
 How to Embroider Large Areas: Step-by-Step Techniques for Stunning Results
 How Many Threads for Embroidery: Choosing the Right Amount for Your Project
 Best Embroidery Stitches for Outlining: Techniques and Tips
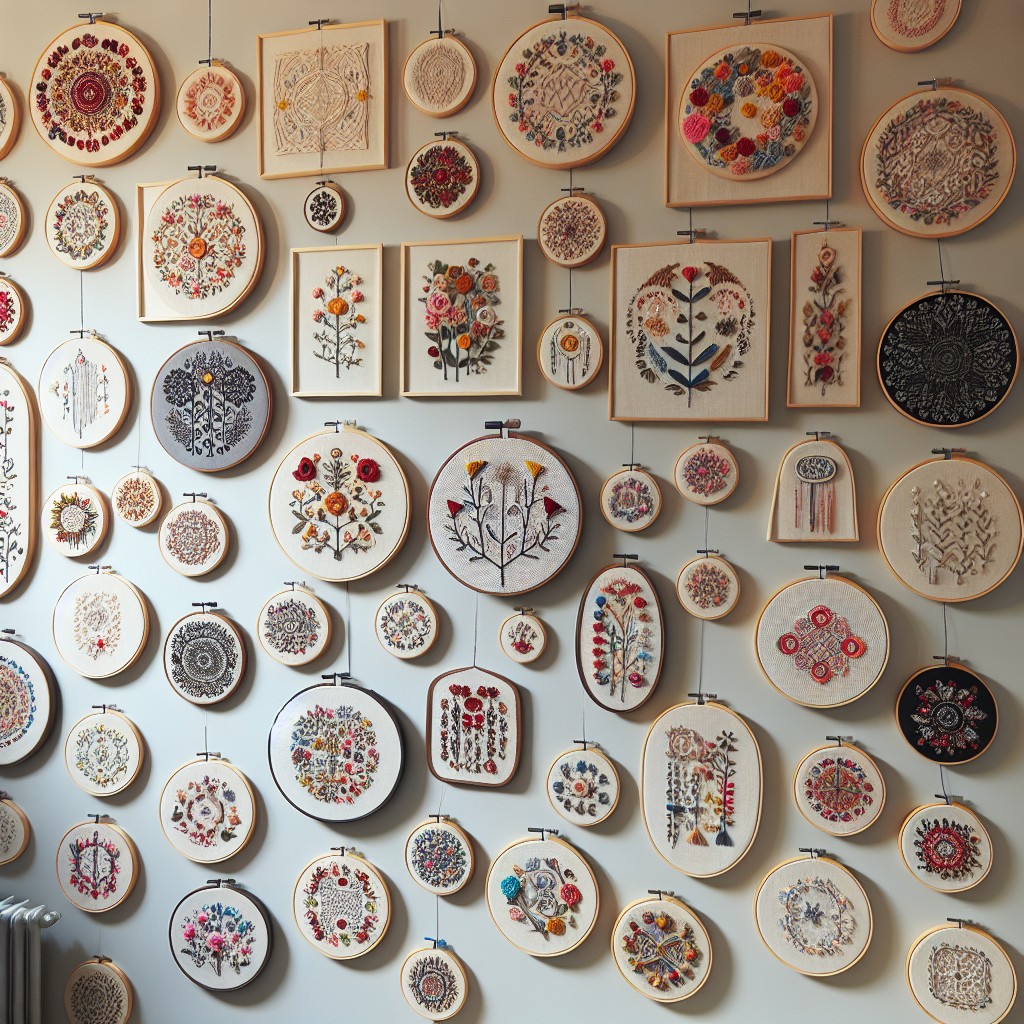 How to Display Embroidery Hoops: Creative Ideas for Your Home Decor
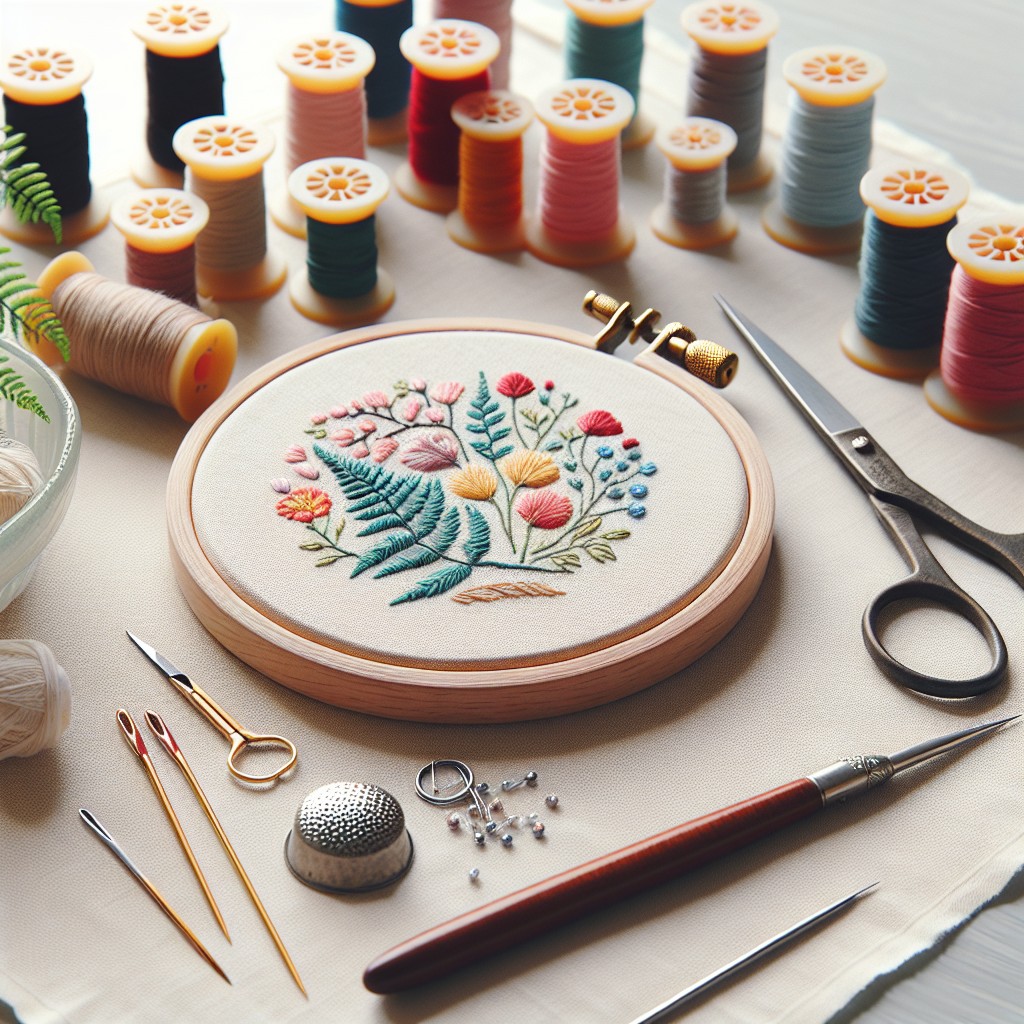 How to Finish the Back of an Embroidery Hoop: Step-by-Step Instructions